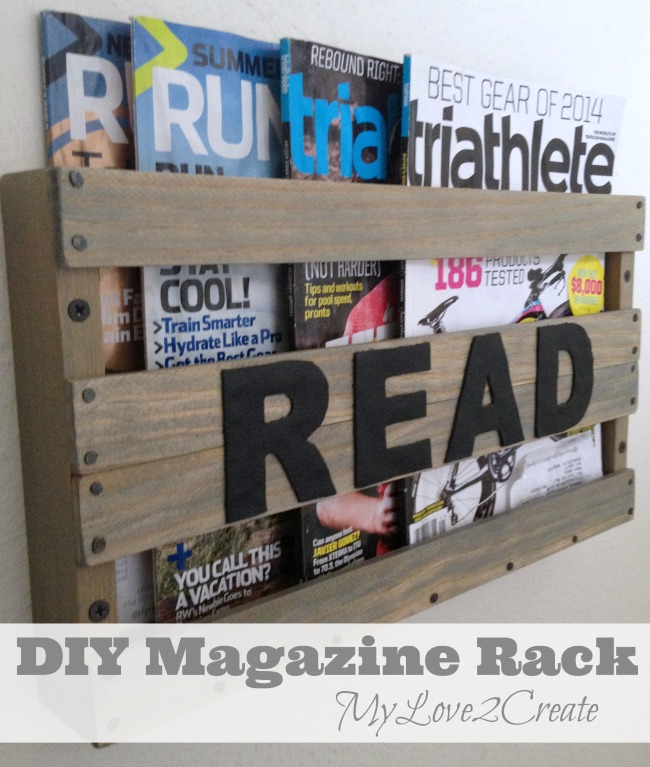
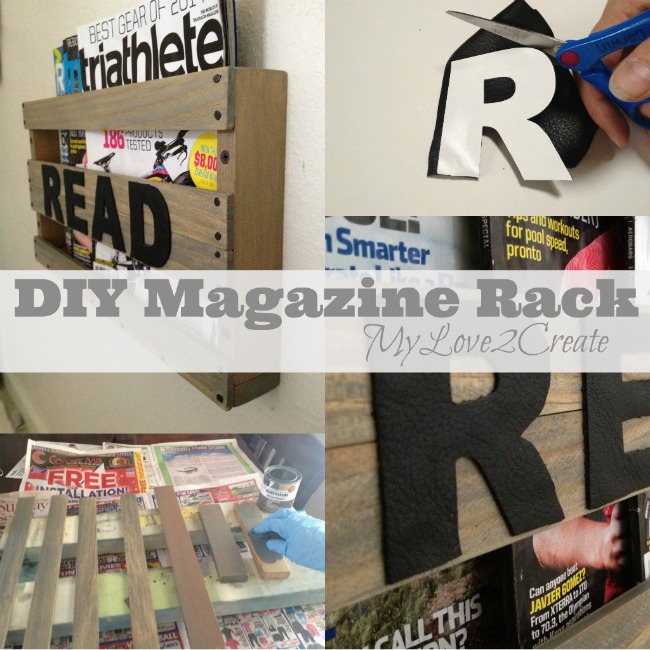
DIY Magazine Rack
Before we get to Mindi’s post, I wanted to give her a big THANK YOU for sharing her fabulous projects here at Oh My! Creative. This DIY Magazine Rack is Mindi’s last post with us, and I am so thankful she spent a year sharing on my blog! I am a little jealous of girls who know how to use power tools Some of Mindi’s other projects – Metal Box Makeover, Rustic DIY Shelf and this Easy Painted Burlap Sign! Stop by My Love 2 Create to continue to follow along with her!
Do you ever get an idea for a project that you know you will love, but you never quite get around to actually doing it?
For example a DIY Magazine Rack has been on my list of “to do’s” for a very LONG time.
That is the story of my life, but not today folks….

Because today, I made it happen, and I am feeling a little giddy about it. No more magazines cluttering the floor or the back of the toilet in my bathroom, no sireee!
This is a simple project and can be done in a few hours, unless life is happening, school is starting, and you are pulling massive bushes out of your backyard…just to name a few things that might delay it’s progress.

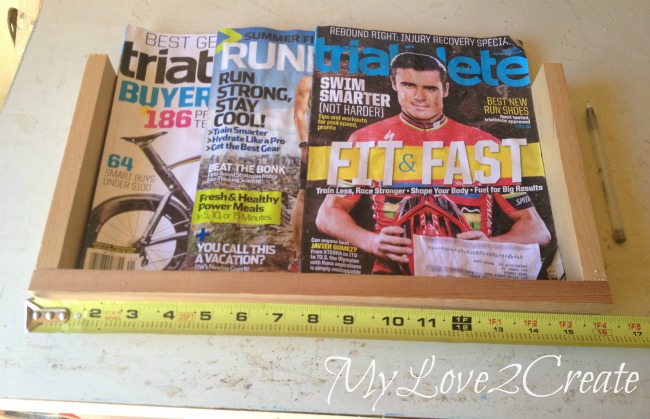
I started with some magazines and 1×2′s and cut the wood to where I thought would be a good height and length. You can see my tape measure is making sure that the rack will be 16 inches wide, perfect for screwing it directly into the studs.

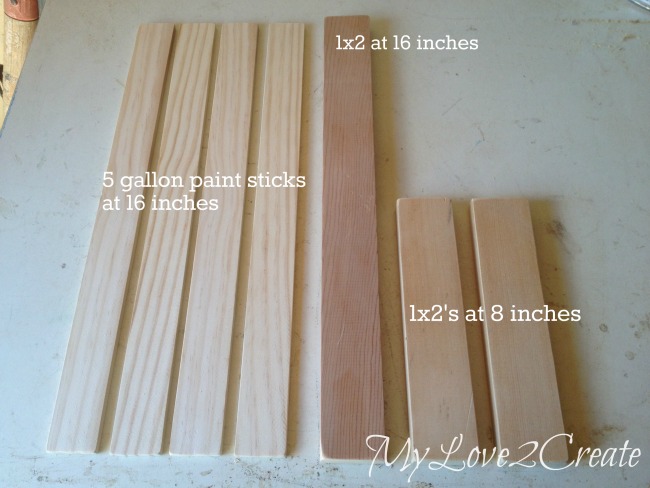
Here is what I ended up using, but the glorious thing about DIY is you can make it anyway you want! The five gallon paint sticks were free at Home Depot, and I had some scrap 1×2′s laying around. Man, I love free projects!

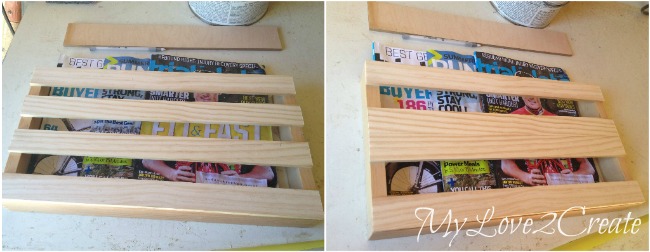
I tried out a few different layouts with the paint sticks and decided to keep the one on the right for my project, with the two middle paint sticks pushed together.

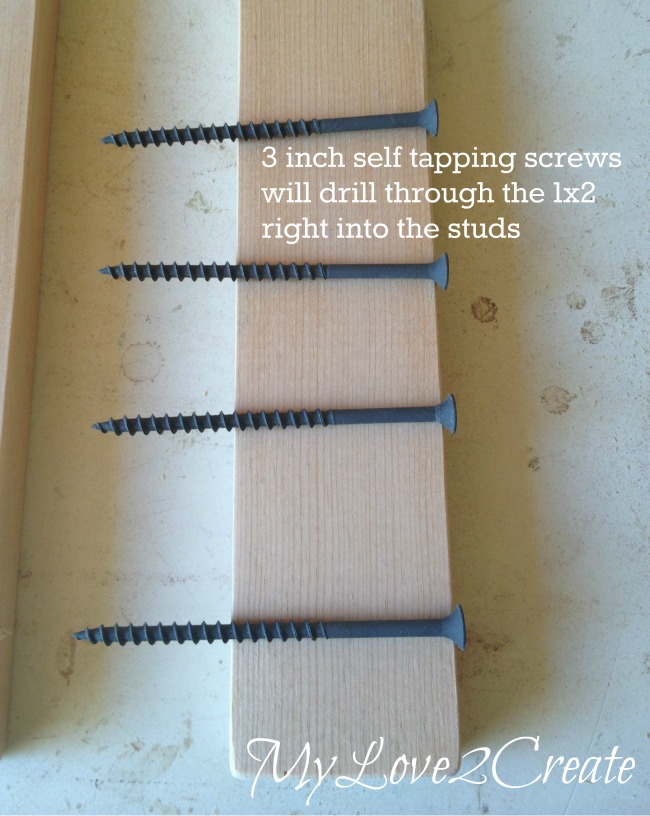
I knew I wanted the DIY magazine rack to sit flush with the wall, that way it wouldn’t need a back, and I could screw it directly into the studs. I grabbed some 3 inch self tapping screws and made sure they would go through my 1×2 and have plenty of room to go into the stud, they were perfect.

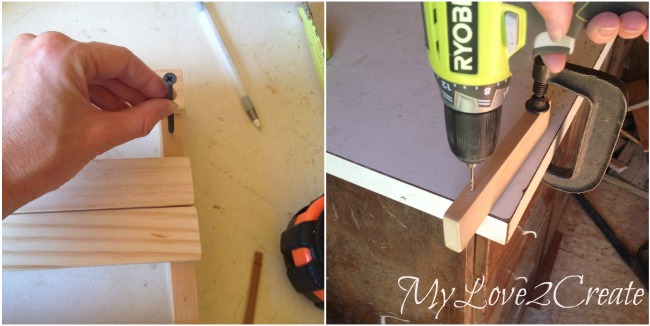
Next I marked where I would be placing the screws and pre drilled 4 holes into the two 8 inch 1×2′s.

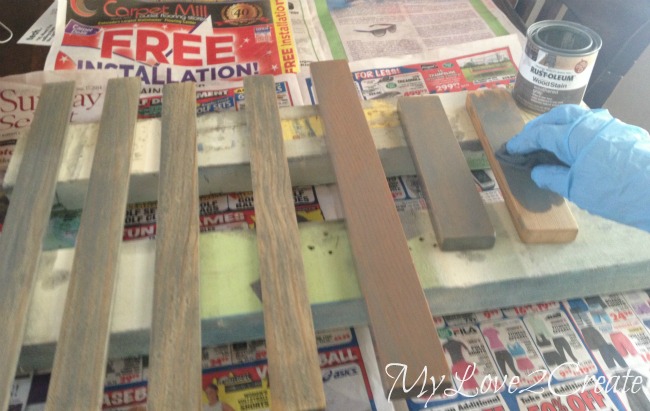
When you are doing anything with slats, it is SO much easier to paint/stain first, then build. I used pre wood conditioner and then applied Rust-oleum’s Weathered Gray. I love the rustic look of this stain, I also used it on my Old Deck Wood Laundry Crate.

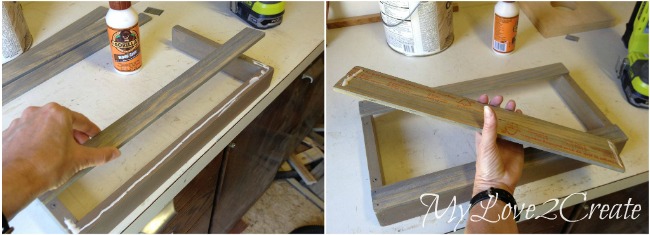
Once it dried I started building by adding the two 8 inch 1×2′s to the 16 inch 1×2. I used Gorilla Wood glue (my super fave) and a nail gun. You could pre drill holes and screw them together too. To keep it square I used this piece of wood, since I couldn’t find my actual square. It worked like a charm!


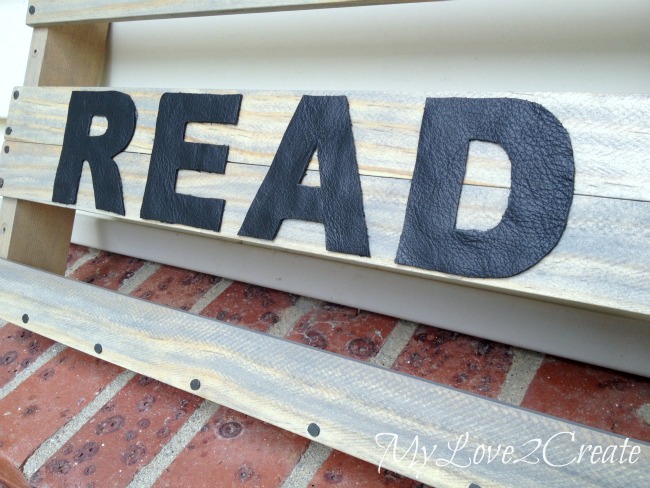
You could use stickers, a stencil, draw the letters onto the leather freehand, or cut them out onto contact paper and cut around them, which is what I ended up doing. It was super simple this way and I got the big bold letters I was looking for!

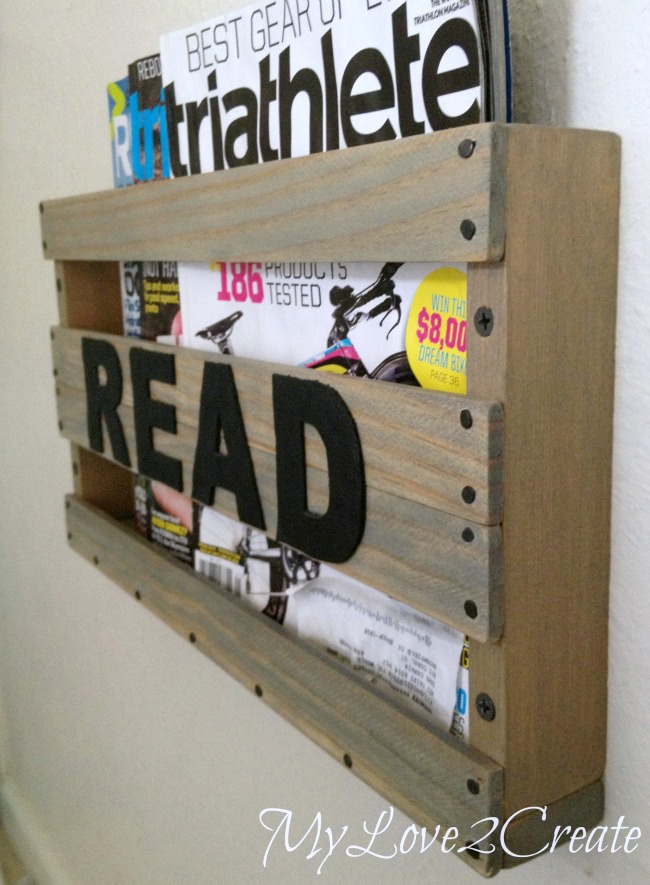
I also predrilled small holes right next to my nail holes, and then hammered in carpet tacks to give it a little more industrial look, and cover up the nail holes. If you do this, you MUST pre drill holes before hammering in the tacks or your wood will split, and that is not fun.

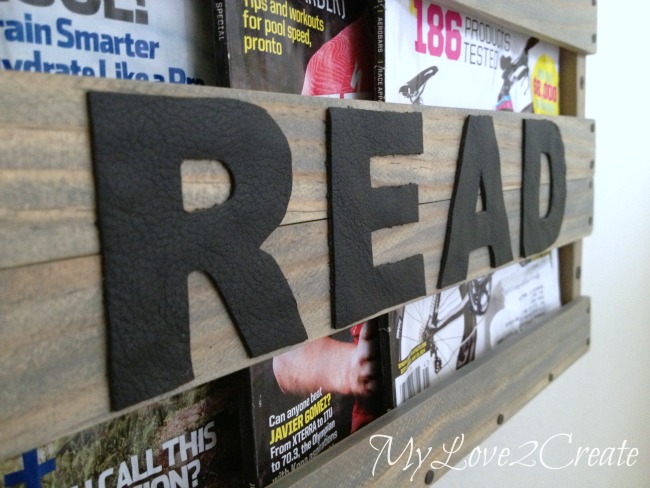
I simply hot glued the leather letters onto the wood and ta-da! Masculine and industrial, such a nice combo.

Since I previously pre drilled the holes for the screws, it was easy to screw them right into the studs. I used a stud finder marked where they were, placed my magazine rack in the correct spot and screwed it to the studs in the wall. I did use a level to make sure it was straight, and that is it!


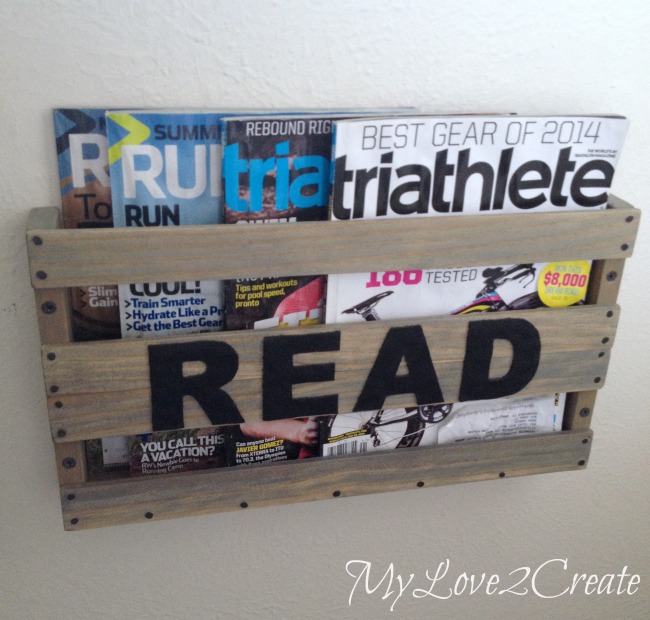
Every time I visit the bathroom, I shake my head and wonder why it took me so long to do this! It was so easy and totally worth it, makes me almost want to never procrastinate again…almost.

It also passed the husband test, the goal of masculine was a hit, and my original fear of making too girly flitted away.
So do you need a DIY Magazine Rack? This could be used for anything, and painted/stained for any style of home decor!
If you loved this project please come and visit me at MyLove2Create, or check out my Projects page! And a huge thanks Susan, for allowing me to share on your wonderful blog!
Hugs,
MindiThe post DIY Magazine Rack appeared first on Oh My Creative.