Fall Wood Pallet Art
Hi All! It’s Katie from View From The Fridge back today with a fun FALL craft! It is September (already?!?!), and that means it’s officially Fall in my book (yeah, yeah, I realize that Summer isn’t officially over just yet).
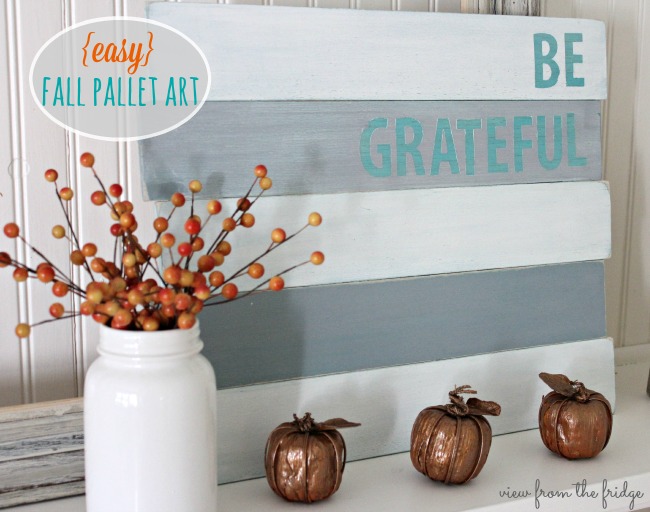
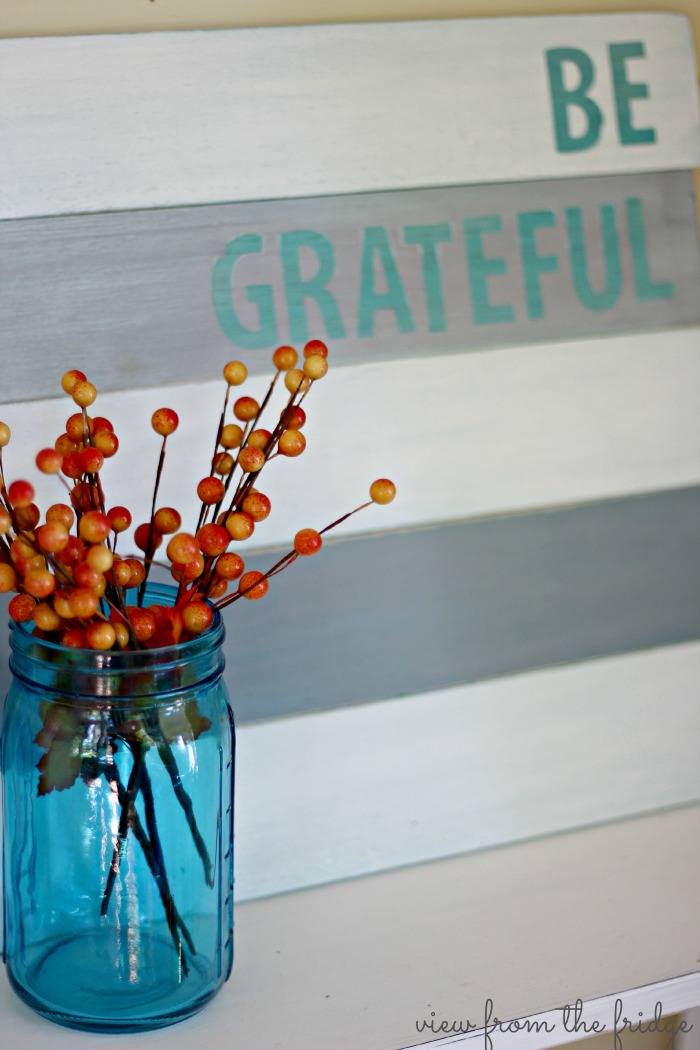
This year my plan for Fall decor is neutral with a few (key word here … few) pops of Fall color. Lots of white, grey, and natural elements as the base with some orange and turquoise pops of color.
To kick off my Fall decor this year, I made this easy (no tools required) Pallet Art.

Best part of this project? You need NO tools and NO fancy vinyl cutting machine or stencils. Just paint, letter stickers, sandpaper and glue!
Here’s how I made this one:

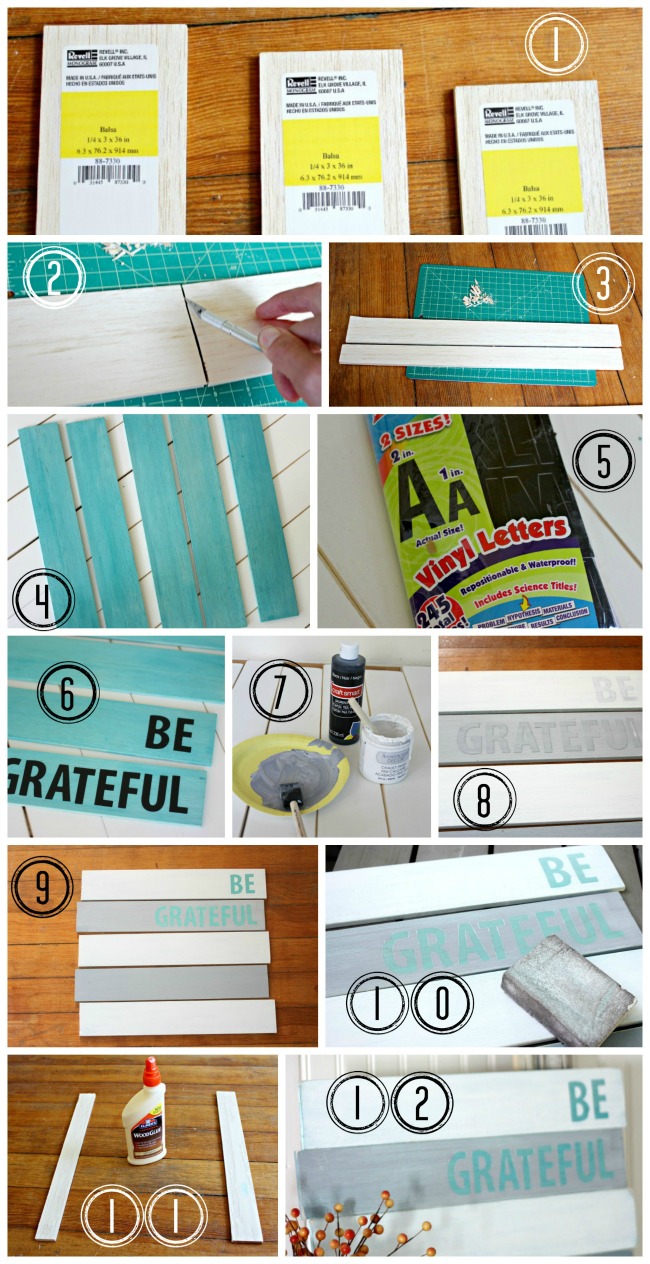
Steps:
- Start with three 1/4″ x 3″ x 36″ strips of balsa wood that you can purchase at the craft store (mine were from Michael’s).
- Cut each of the three boards in half lengthwise (so you have six 1 1/2′ pieces). You will use 5 of these boards for the front of the pallet, and the sixth will be your ‘frame’ to hold it all together.
- Cut the sixth piece in two skinny strips.
- I wanted some of the wood ‘grain’ to show through on these boards, so I watered down all my paint quite a bit. First … I painted all 5 boards a watered down turquoise color. This is the color the letters will be, and also the color that will show through after distressing.
- Now … for the words. Since I don’t have a fancy cutting tool, I used some adhesive vinyl letters that you can buy at Target (near the poster supplies).
- After the turquoise paint dried, I simply stuck these letters onto the pallet as shown.
- Next … for the top paint colors. I chose to use white chalk paint from Michael’s and a grey paint that I made by mixing the white chalk paint with black chalkboard paint. Again, I watered both of these down a bit.
- I painted over each of the five boards alternating the white and grey (and right over the top of the letters).
- Once this paint was dry, I peeled off the letters to reveal the turquoise letters underneath.
- Using a fine grit sandpaper, I then sanded the boards to reveal some of the turquoise underneath.
- To hold the five boards together, I used the two long strips I cut from the 6th board, simply applied wood glue to these, and stuck them to the back of the pallet.
- Complete!

This project was quick and easy, can be modified to any color scheme you’re looking for, is very inexpensive, and is super lightweight to hang anywhere easily.

Thanks for having me today! Have you started your Fall decorating? I’m easing into it … just don’t want to say ‘goodbye’ to Summer quite yet!
I’ll be back next month with more crafty ideas, but in the meantime, I’d love for you to stop over and say “hi” over at View From The Fridge!

The post Fall Wood Pallet Art appeared first on Oh My Creative.