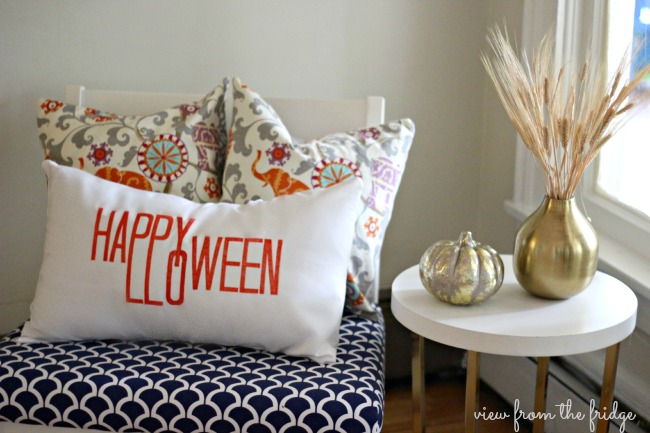
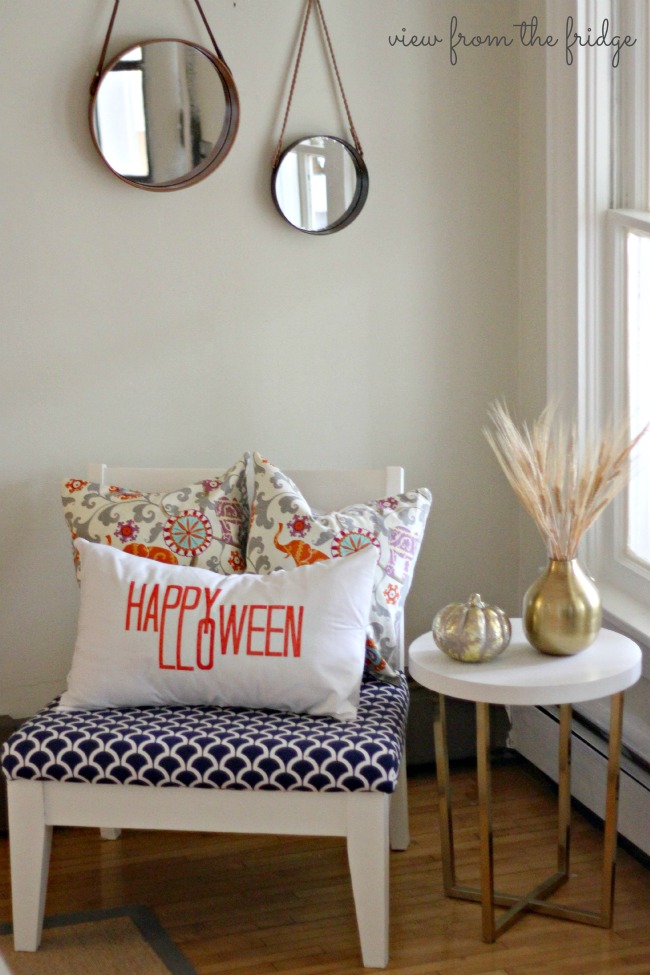
No Sew Happy Halloween Pillow Cover
October is upon up, my friends! Fall is officially here, and it’s finally starting to feel like it (at least up here in Minnesota)! It’s Katie back from View From The Fridge, and today I’m sharing a fun FALL project … A DIY No Sew Halloween Pillow Cover!

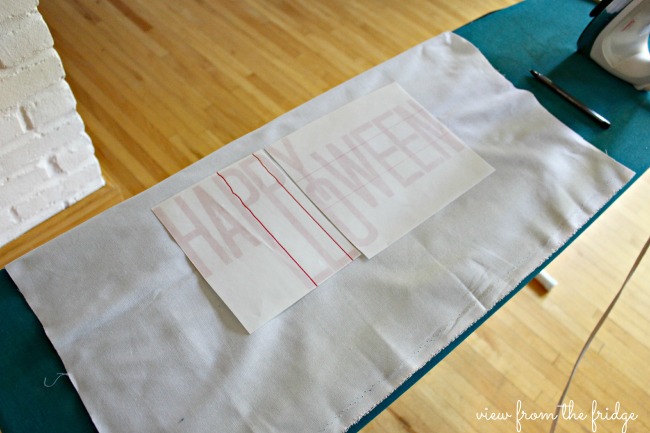
This pillow will have your guests taking an extra glance back to see what they just read, but making it couldn’t be easier!
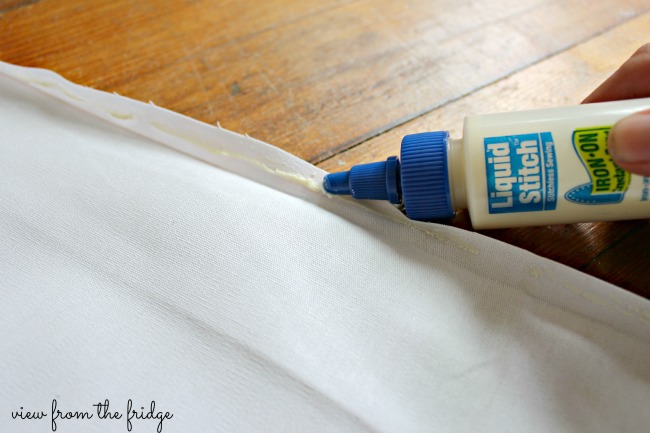
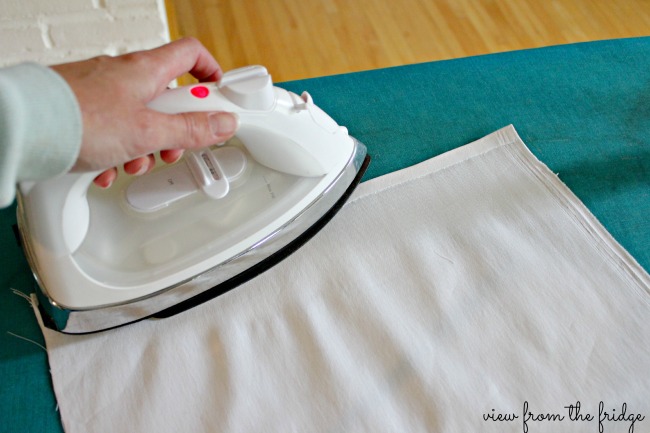
Now … I have a sewing machine, and I love to sew, but I’m also a huge fan of NOT sewing when and where possible. This project is just the place to skip the machine …. skip the thread …. skip sewing entirely, and just break out the iron.
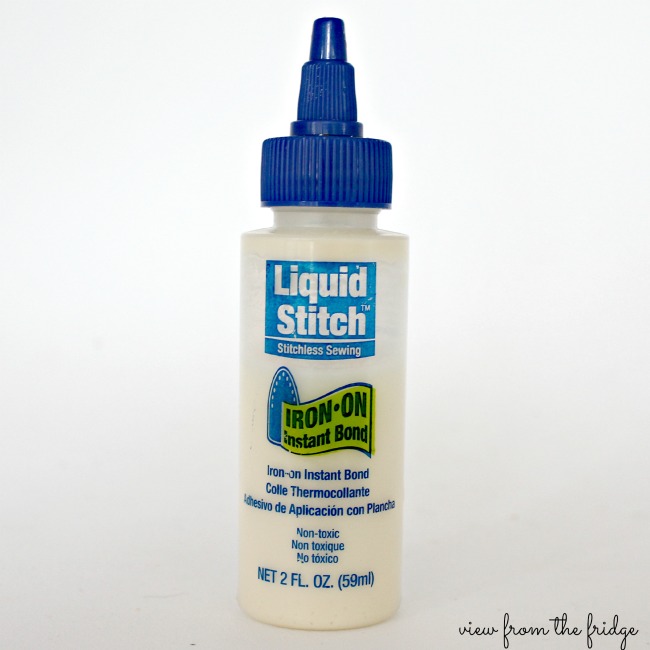
And some liquid stitch!!

I happened to have a rather enormous rectangular pillow that was in need of recovering … perfect for this project! Grab an old pillow that you might have, or go buy one from the craft store, and follow along …
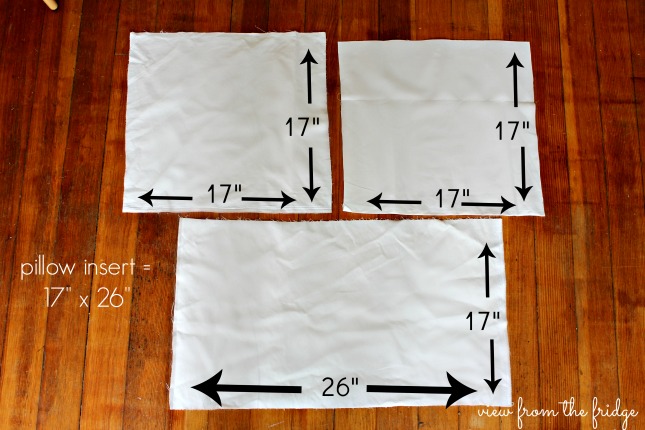
- You need enough fabric to cover your pillow on all sides. In my case, one yard of fabric was plenty.
- Cut three pieces of fabric in the following dimensions (a bit of math required here, folks!):


Huge thanks to Susan for having me here again today! I hope you all have a wonderful week! Like always, I’ll be back next month with more craftiness!
In the meantime, I’d love for you to stop over and say hello at View Fron The Fridge!

The post No Sew Happy Halloween Pillow Cover appeared first on Oh My Creative.