
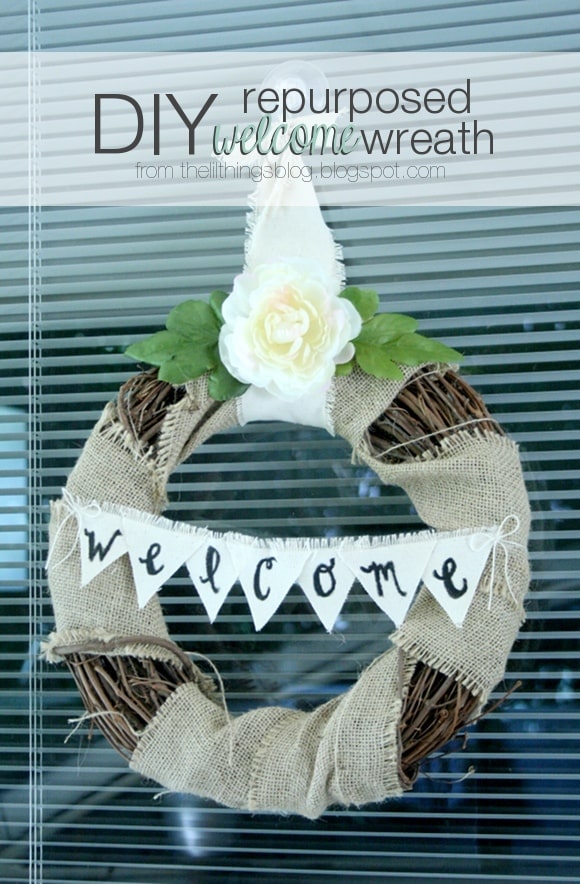
DIY // Burlap Welcome Wreath

A big “HEY Y’ALL” from down south! It’s Kelly from The Little Things and I’m sharing my new wreath with you today. This project would be great for any place that needs a little sprucing up. It would look great on your front door of course, in your entry way, a classroom door (We’re already back to school here in GA!), even your kitchen! We have two entry points to our house and the since the front door never gets used, I wanted a little something for the carport door. This is where EVERYONE comes into our home and I wanted it to be welcoming. What better way than with a wreath that says it?!
This project is part DIY, part repurpose but it doesn’t have to be a repurpose at all. I just happened to have an old wreath that I didn’t want anymore and gave it a face lift!
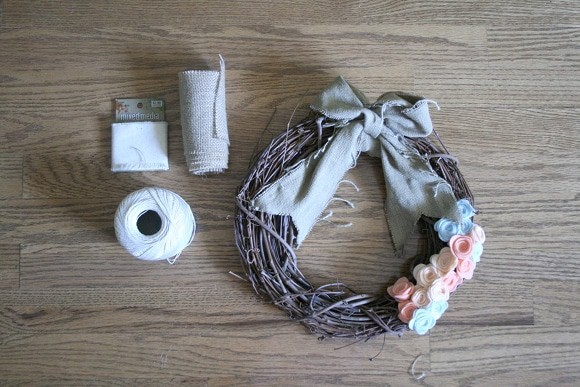
What You’ll Need: Bare Wreath, Burlap Trim, Canvas Trim, Twine, Faux Flower, Hot Glue


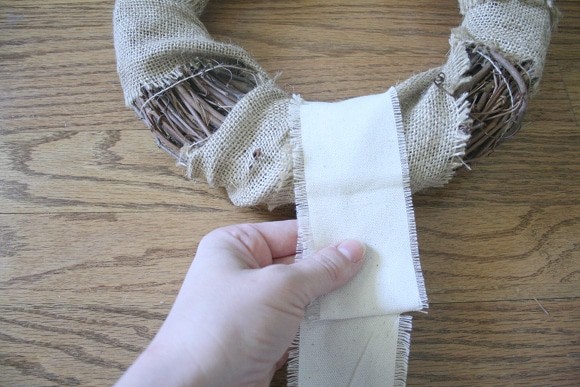
If you are using an old wreath, remove anything that is currently on the wreath. Then wrap the burlap trim around the wreath form. I wanted some of the natural twigs to be seen so I wrapped the trim loosely.


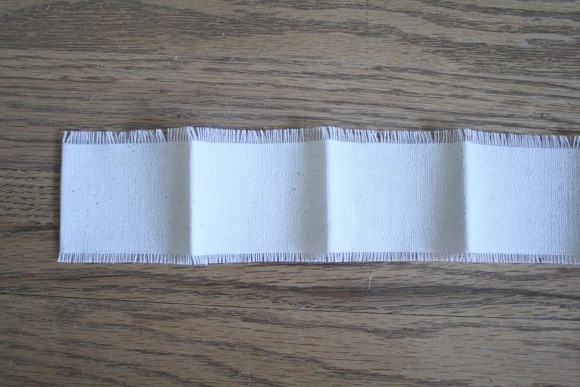
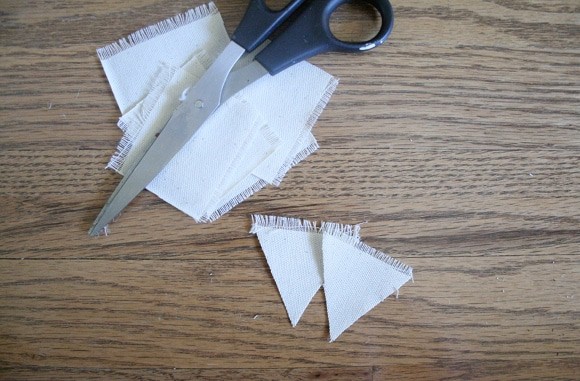
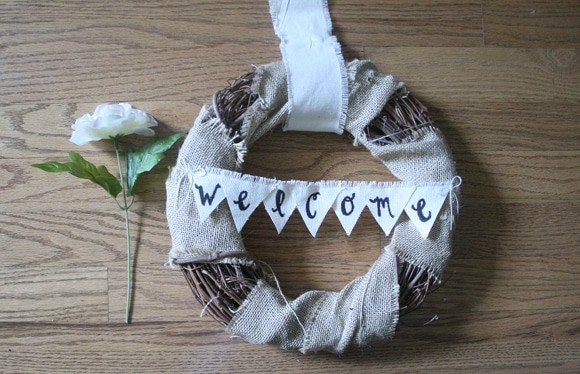
Cut out mini triangles from the canvas strip and write your message, one letter per triangle. Once they are dry, glue them together and then glue the twine to the back. Since my wreath was smaller, I opted to overlap my letters instead of cutting smaller triangles so the “welcome” ended up nice and big.


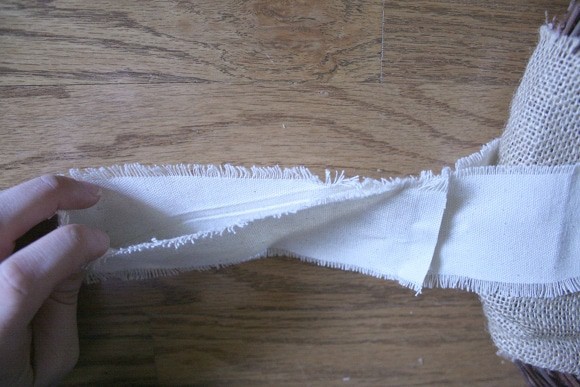
Using the rest of the canvas trim, create two loops (one small and one big) and secure with hot glue . The smaller loop goes around the wreath and the larger loop is for the hook. Snip the larger hoop and tie the ends, this help the wreath to hang flat.


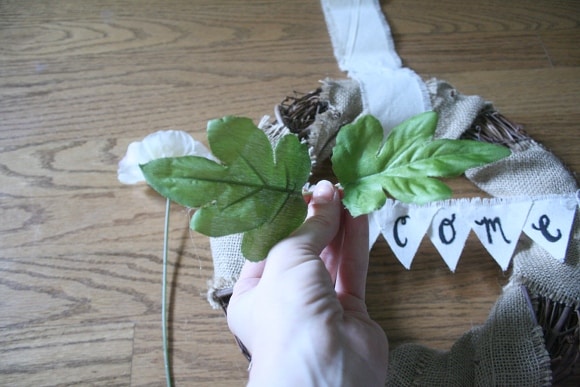
Glue the banner across your wreath and, if you like, you can add little bows to the sides to make it look as if it’s tied in place. Separate the flower and glue to the top, placing the petals on top of the leaves.


I love seeing this pretty piece every time I get home!
XO, Kelly
The post DIY // Burlap Welcome Wreath appeared first on Pretty Providence.