
The Less-Than-Perfect Girl's Guide to Painting Furniture
There may be a million different opinions and tutorials on painting furniture out there, but I guess this can be one million and one, because some of you are still emailing me now and then, asking about the basics for painting furniture.
So, like everything else you find on this blog, this is my less-than-perfect method, here in one post, to get you started on that special piece you want to paint.

My recent thrift store coffee table makeover was a good example of the different steps of my painting method, so I put together this little guide for you. I know it may seem long with lots of steps in the process, but I've tried to keep it concise so you can pin this and reference it later. I've also included a supply list at the end for quick ordering for your project.
This process is what I do for most of my painting projects, excluding those with spray paint and chalk paint. Those methods are a little different and we'll have to save those for another time. Today, I'm talking about brush painting with basic latex. Here we go!
1. Cleaning the piece. I know, this is my least favorite part, too, but no matter how much you're tempted, don't skip these steps. Be warned: the following pictures may not be suitable for those of you with weak stomachs. Blah!

As I did with my thrift store coffee table, when you buy someone else's furniture, you may inherit someone else's grime. (Thanks a lot, whomever you are.)
Just do what's necessary to get it clean, whether you have to use a cleaning rag, a firm brush, or a utility knife.


If you have to use soap and water to get it clean, just be sure to allow the piece to dry completely before proceeding with other steps.
2. Sanding. Again, not my favorite part either, but we'll get to the fun part-- I promise! You might like to wear a dust mask for this step, especially if your piece is really old, because you don't want to breathe in that dust.
Depending on the type of piece you're working on, you may sand with a palm sander or by hand with paper or a sanding block. If your piece has a lot of flat surface, the palm sander is great. I have this one that my husband bought me a few years ago. It's a great deal and I love all the features. But since this coffee table had lots of detail, I had to sand by hand.
A fine grit, such as 100 grit, works well for this purpose, and sanding blocks are a good tool to use as well.


When you sand, the goal is to remove the slick surface of the polyurethane to allow the paint to stick. It's not necessary to sand all the way down to bare wood, but just dull it up well to get that paint to stick.
Also, remember to sand in the direction of the grain as much as possible and don't sand too hard over carved areas or you can remove the detailing. This is especially important to remember when using a palm sander.

Once the finish is nice and dull, you'll need to remove the dust.

A Shop Vac is great for sucking up the dust out of crevices.

Then, a good wipe-down with tack cloth or a slightly damp clean cloth will help remove the rest.
3. Painting. You may have noticed I left out the priming. That's because I hate extra steps and do what I can do get a job done quickly and easily. That's why I chose to use a paint and primer in one. I like Sherwin Williams Super Paint, and have used it on many projects. However-- if you are using a regular latex paint, I recommend priming first, especially if you are going from a dark stain to a light color.

When choosing a paint color, keep in mind that if you plan to glaze your piece after, your paint color will darken somewhat, so you might want to choose a slightly lighter shade if that's the case.
We could talk about paint color choices all day, but if you're unsure about what paint color to choose, Pinterest is a really great tool for this. Search the plethora of painted pieces pinned by DIY-ers who will usually give the paint color they used as well. Seeing the paint color on a finished piece is much better than trying to choose from a paint chip.
I chose Sherwin Williams' Repose Gray for this coffee table, and with the glaze, it turned out just how I wanted it.
Most of the time, I use a flat or satin paint for my projects. Semi-gloss or high gloss is usually used on pieces for a more modern finish.
As for a brush, a fine nylon polyester brush works well for most pieces.

If your paint has been sitting for a while, be sure to use a paint stirrer and stir it well to get the true color.

Remember to protect your floor with a drop cloth and also think about which parts of your piece should be painted first for the best results. For instance, I turned my table over and started with the bottom of the legs. If I had painted the top of the table first, I would have had to wait until it was very dry before I could turn it over so it wouldn't damage the freshly-painted top.

When you finally dip that brush into the paint, just remember to coat moderately and evenly. Don't try to save time by coating it on too thick. Two good coats are always better than one. And sometimes even a third is necessary. Give the paint plenty of time to dry in between coats for best results.

Another thing to watch out for is paint pooling and drips. Brush over these areas before the paint starts to dry to smooth them out. If you do happen to miss this until after it's dry, sand the area down a little with some sandpaper and then paint over it.

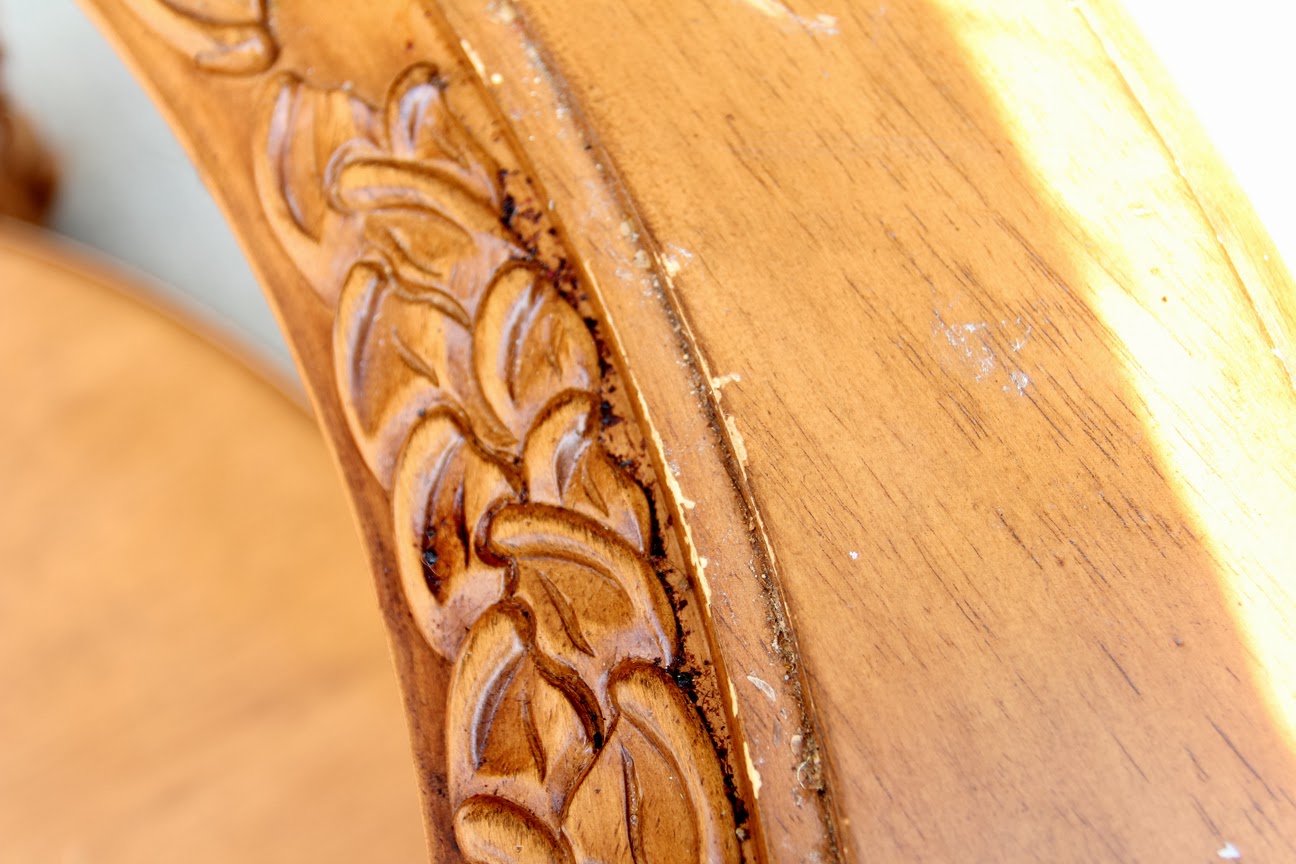
Also, look at your piece from different perspectives to be sure you haven't missed a spot. I almost overlooked this part under the lip, but when I got down to seat level, I realized it would be visible, so it had to be painted.

When it's time to take a little break in between coats or go make dinner, you can wrap your brush in plastic wrap so the paint won't dry in it.

Of course, if you're breaking for the day or if your painting is complete, thoroughly wash your brush with a little soap and plenty of warm water, then hang to dry.
4. Painting Accents. This won't apply to all furniture projects, but you may choose to highlight some parts of your piece with an accent color. For my table, I wanted to add some gold to the wreath motif on the top.
My favorite gold leaf paint is Liquid Leaf in Classic Gold. I buy mine from Hobby Lobby, but it can be ordered online here as well. This little bottle will go a long way. I used less than half the bottle for my table.

To apply, I use a small artist's brush and just brush it on in one light coat. In most cases, it's not necessary to do a precise, full coverage. A light highlight over the detail will accent it nicely.


5. Glazing. This is a step that's optional, of course, depending on how you want to finish your piece. Glazing is a great idea if you want to bring out details in the piece or if you want to give it an aged look. This is a super-simple step and anyone can do it. Here's what I use for glazing: a cheap paint brush (I normally just throw them away after), a soft cloth, a tiny bit of dark stain or paint, some clear mixing glaze, and a throw-away cup to mix it in.

A little bit of glaze goes a long way, so start out with a small amount and mix a little more later if needed. I only used about a half cup of glaze and a couple tablespoons of stain for this whole table.


To apply, just brush it on, dabbing it into the deepest crevices. Work in sections, brushing it on, then gently wiping it off. The purpose of the glazing medium is to prolong the drying time of the paint or stain, allowing time to wipe off the excess.

How much you leave on or wipe off is totally up to you and your taste. I prefer just a light glazing myself, which I did for this piece.


Also, brush and wipe the glaze in one direction rather than sporadically or in circles.


6. Distressing. I didn't want to distress my coffee table this time, but this would be the next step if you choose to do so. Distressing is simply trying to re-create the look of normal "wear and tear" after years of use. To get this, you just lightly sand over the surface of certain areas of your piece. More protruding parts of the piece like edges and corners will get the most wear. How much or how little distressing you do, again, depends on your taste, but it's always best to start off with a little and add more if it's not enough.
7. Sealing. Finally! The last and also the easiest step. Once the piece is completely dry, the paint needs to be sealed to protect against damage from moisture, scuffs and scratches.
I love using waxes for this because they're just plain easier than polyurethane. However, when finishing pieces such as dining tables which need lots of protection, a polyurethane coating is recommended.
The wax I like best lately is Johnson's Paste wax sold in hardware stores or here online.


Just rub it on with the cloth, wait until it dries to a dull finish (only takes a few minutes), then buff it with another cloth.

See the difference between the areas waxed and not waxed?

I'm pretty sure you'll love this stuff!
And I'm pretty sure once you start painting furniture, you'll be hooked on that, too!
See my finished coffee table in this post.
I hope you find this little guide helpful. If you do, please pin and share! And if you have some helpful tips on painting, share them below in the comments for all of us!
Below, you'll find a list of my favorite items to keep on hand so you're ready to paint when you find that perfect piece!
Amazon.com Widgets
Good luck with your projects! I can't wait to hear about them!

More posts from Julie Ryan