DIY Upcycled Children’s Christmas Frame


Here’s What You Need:
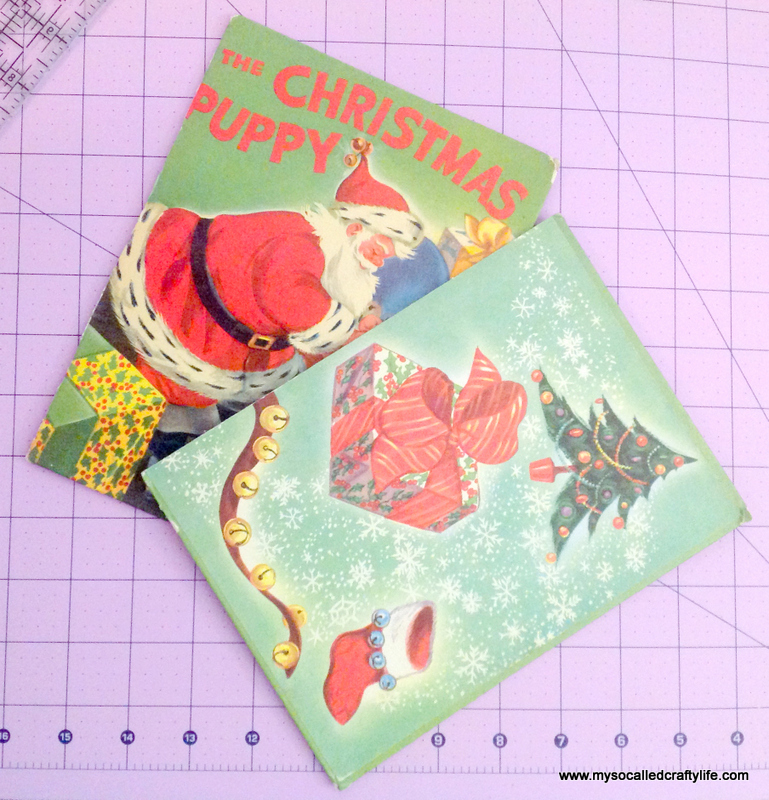
*Old book
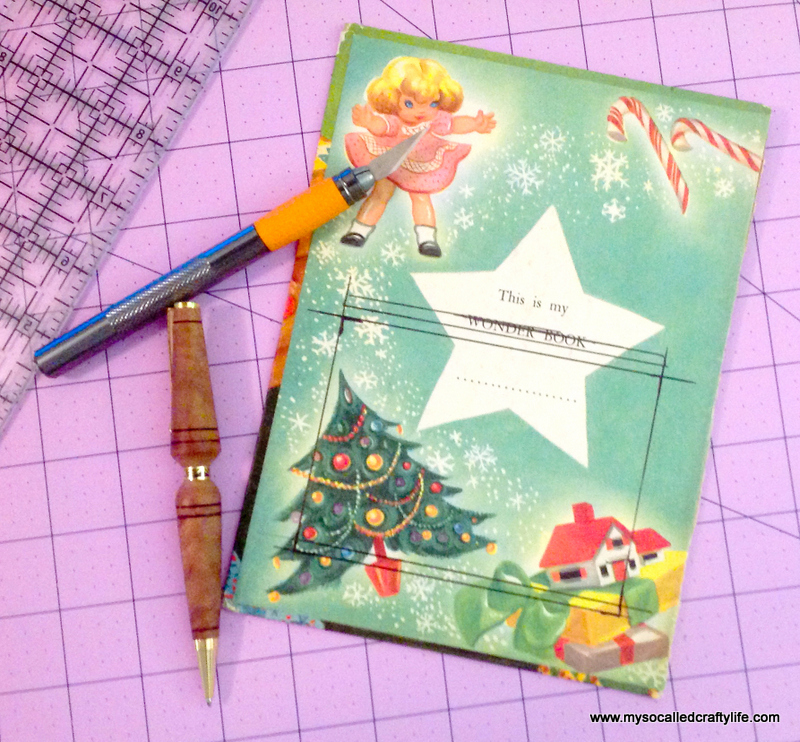
*Xacto Knife
*Ruler and pencil or pen
*Self healing mat
*Double stick tape
*Pipe cleaners or trim
*Eyelets and setting and punching tool ( i believe mine is called a cropodile)
*Ribbon or twine (I bought my thick striped sisal twine at Michaels)
*Easel back (mine is for a 5×7)
*Glue- e6000, hot glue, whatever you like to use…
Instructions:

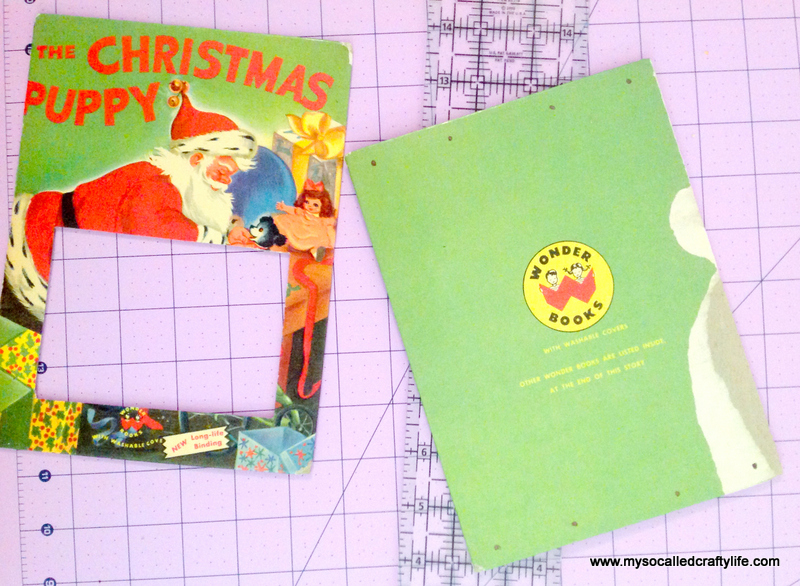
So, the first thing you want to do is prep your book. Remove the pages carefully. Sometimes they will already be coming out on their own and you can just gently pull them away from the spine. Some might need to be cut down the center of the spine. If you have a really thick book, sometimes you can just cut the cover off the front and back with your xacto. Once you have removed the pages, cut the front and back apart in the center of the spine. Trim off the excess spine on each, making sure that you end up with a back and a front that are the same size.

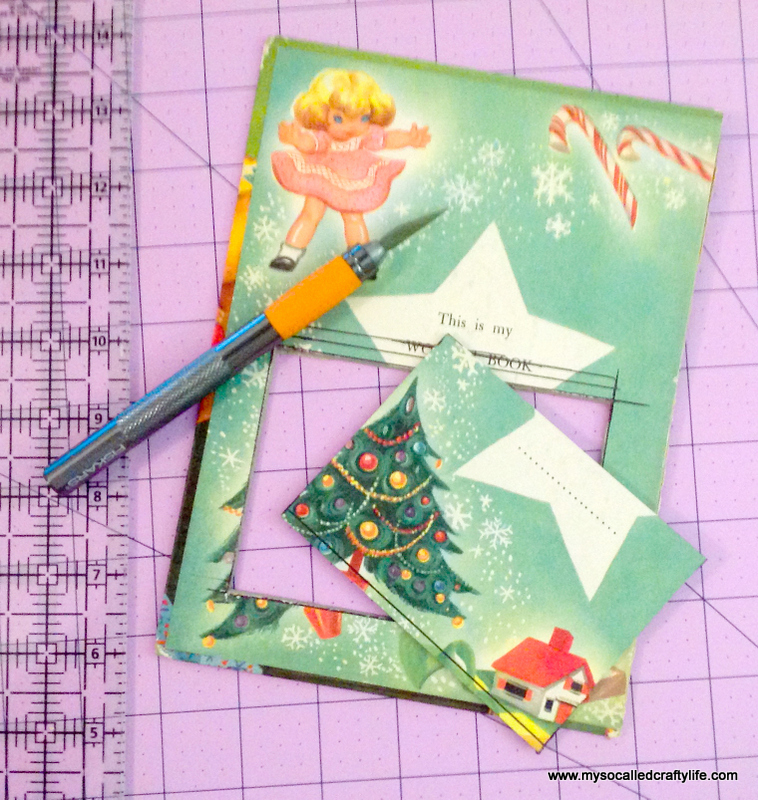
Now you will want to measure and mark your photo opening. Decide how far you want it from the edge or the bottom. Mark the halfway point of the book, then mark out in each direction for the size you want. I made my opening to be for a 3.5×5, so to allow for the photo to sit properly in the opening, I came in half an inch, so I made my opening to be 3×4.5.” It took me measuring out a couple of times before I decided exactly what size and the centering, so if your lines look off, remeasure and fix if you need to.

Next, using your ruler to cut straight, cut along the lines of the opening you drew on the back side of your cover with your xacto knife.


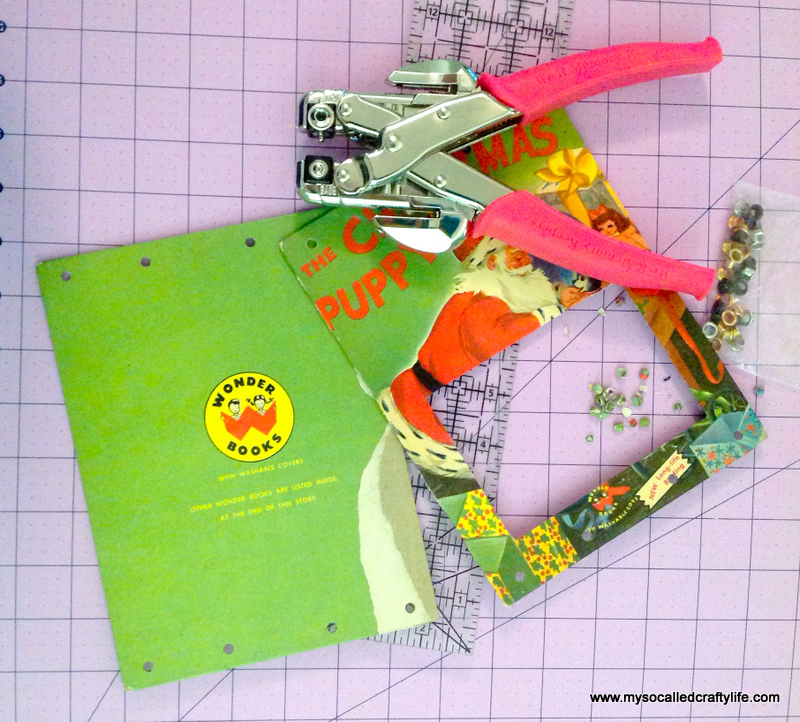
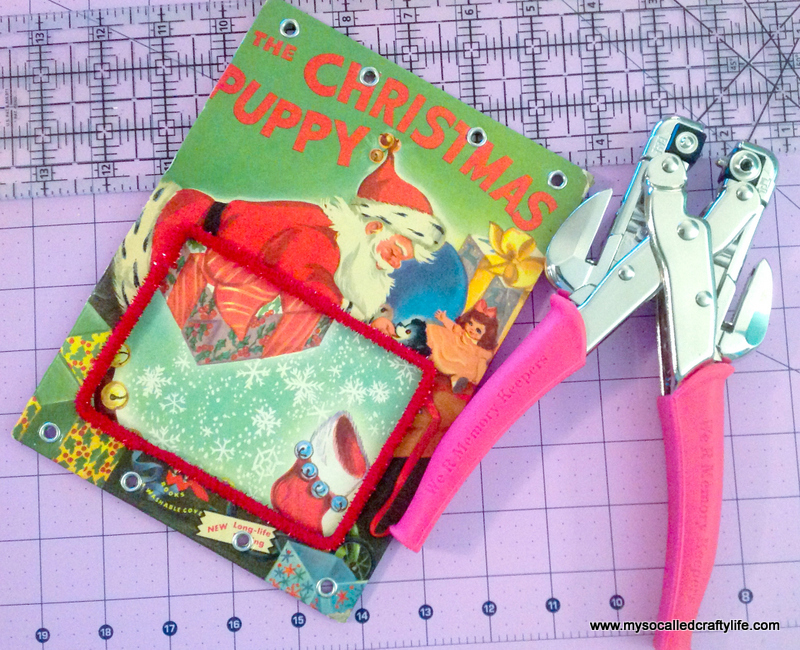
Now you need to punch your holes for your eyelets. I have a tool that punches the hole and then sets the eyelet. I used 1/8″ eyelets. Measure and mark where you want your eyelets to go on the top and bottom of your frame. These will help hold your frame together and also you will run your twine through them later.

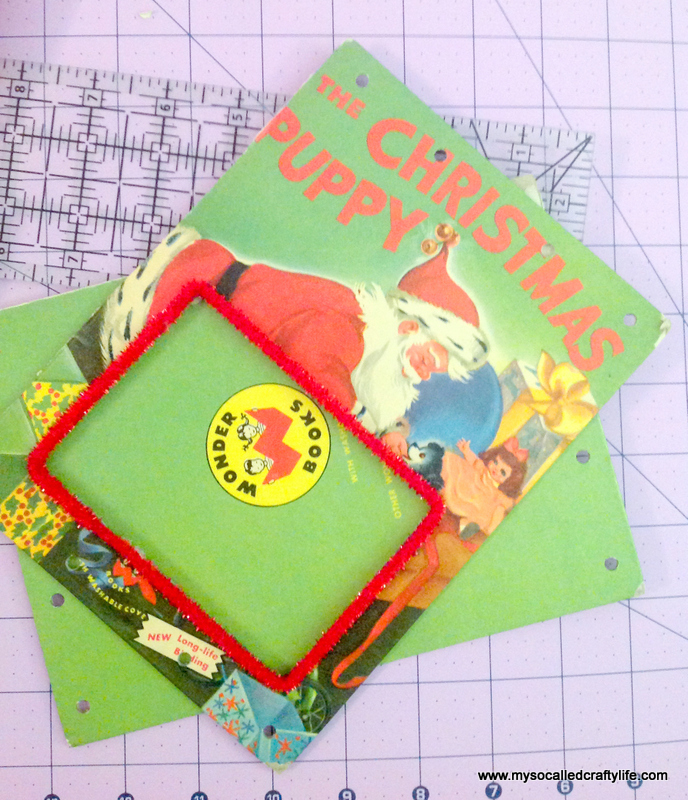
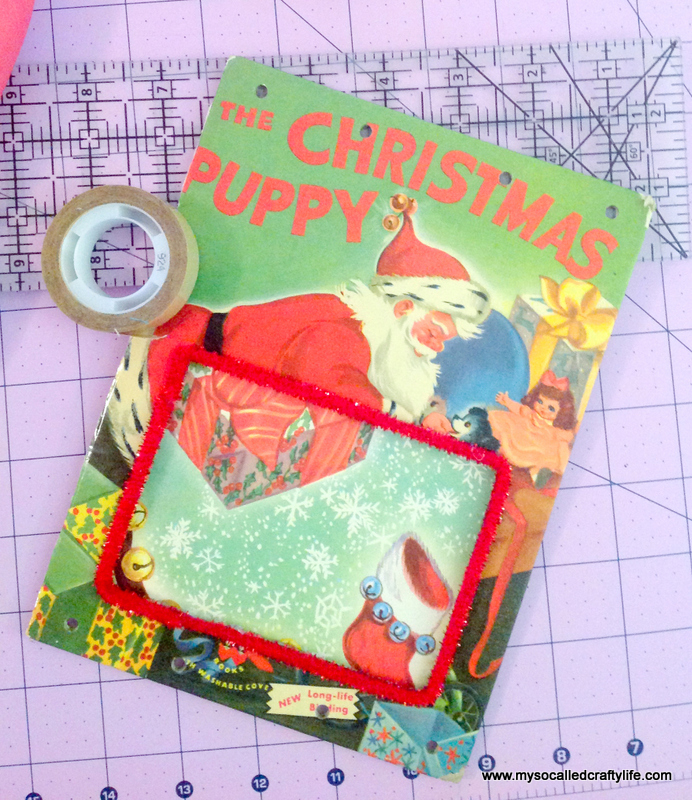
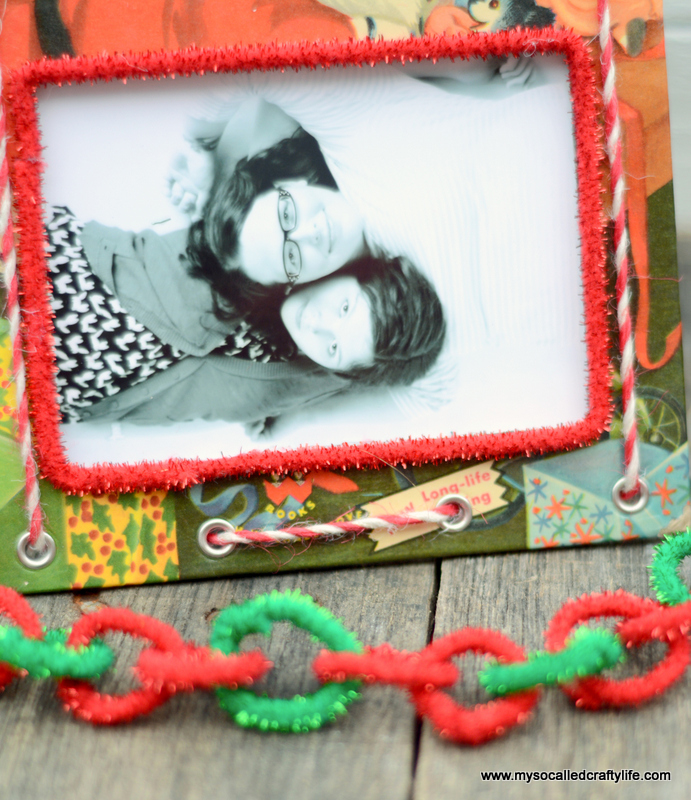
Now, glue a bit of trim or a couple of pipe cleaners around the opening on the front side of the cover.

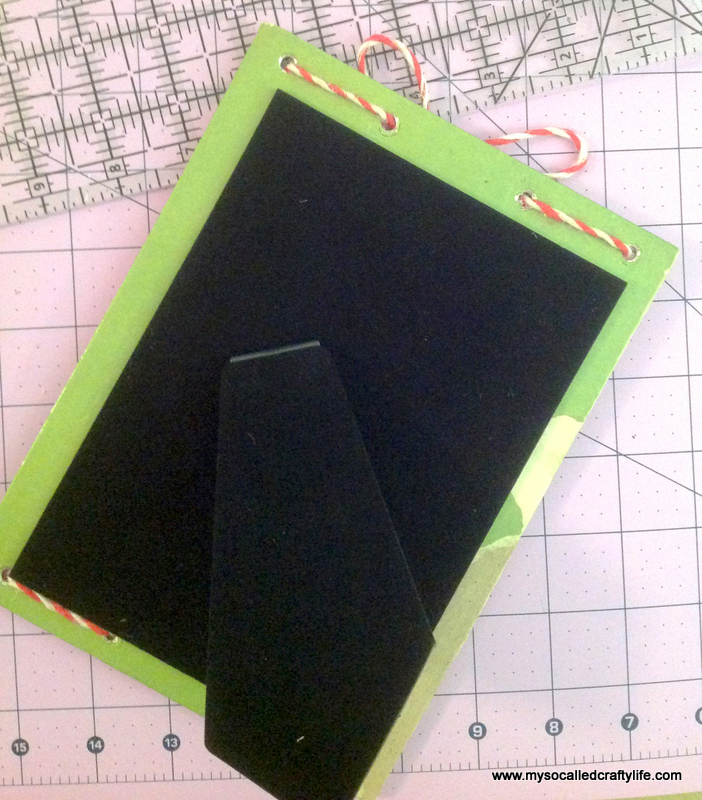
Now you need to tape the back and font together. I planned on sliding my photo in from the side, so I put my double stick tape near the top and bottom of the opening, and also in an “x” above the opening for extra hold. Make sure you line up all the holes in the front and back when you press them together.

Once you have taped your front and back together you are ready to set your eyelets. Place an eyelet through one of your holes, then use your punch to squeeze it and set it into the book. This can be a little confusing at first, so make sure you read the instructions on your eyelet setter if you have never used one.


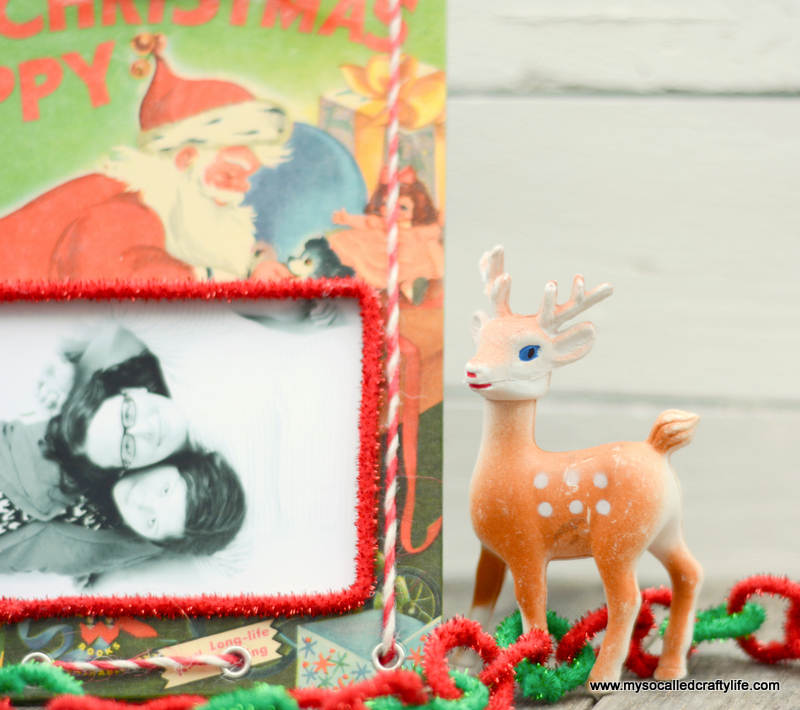
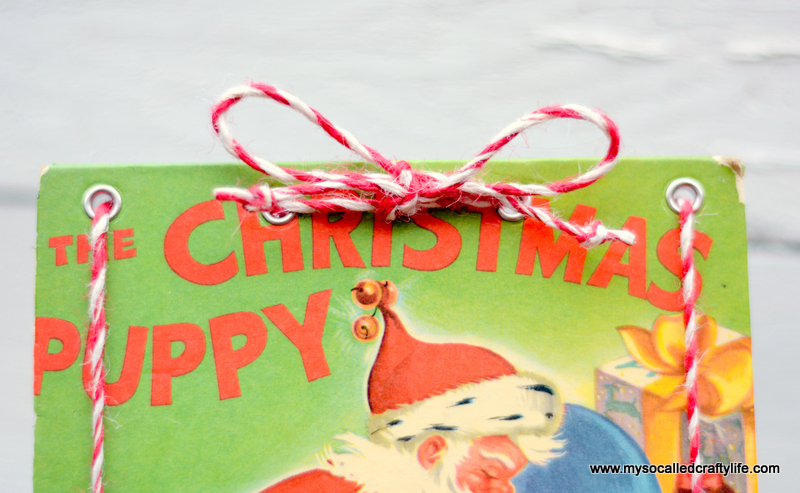
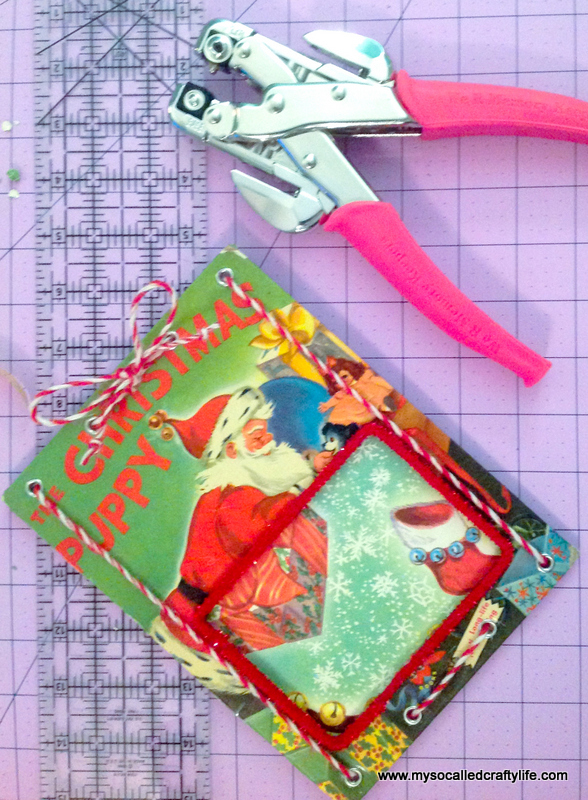
To finish off your frame, run some ribbon or twine through your eyelets and tie in a bow at the top. Now you are ready to insert your sweet photo and enjoy!


Happy Crafting!