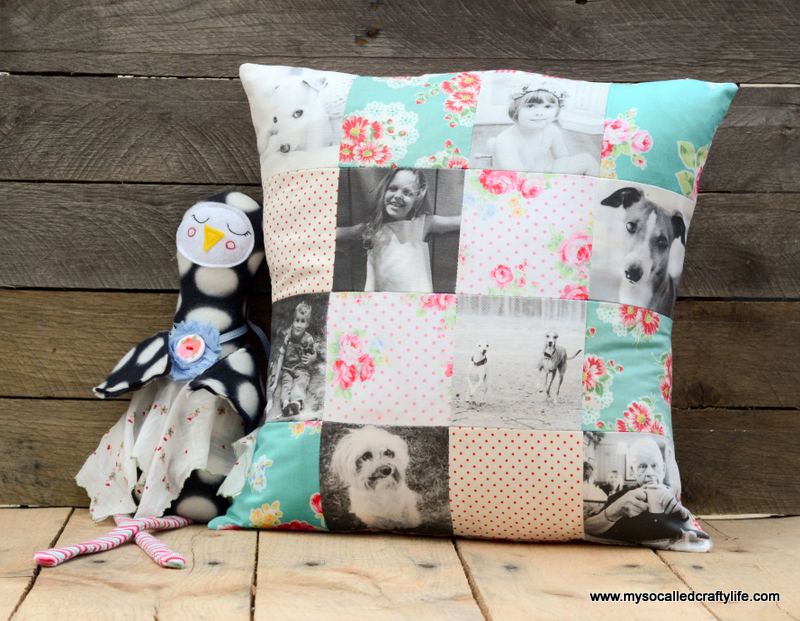
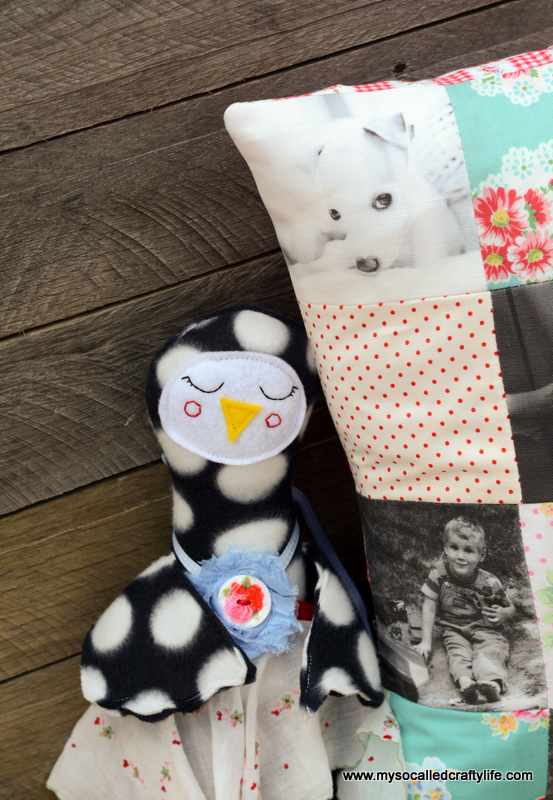
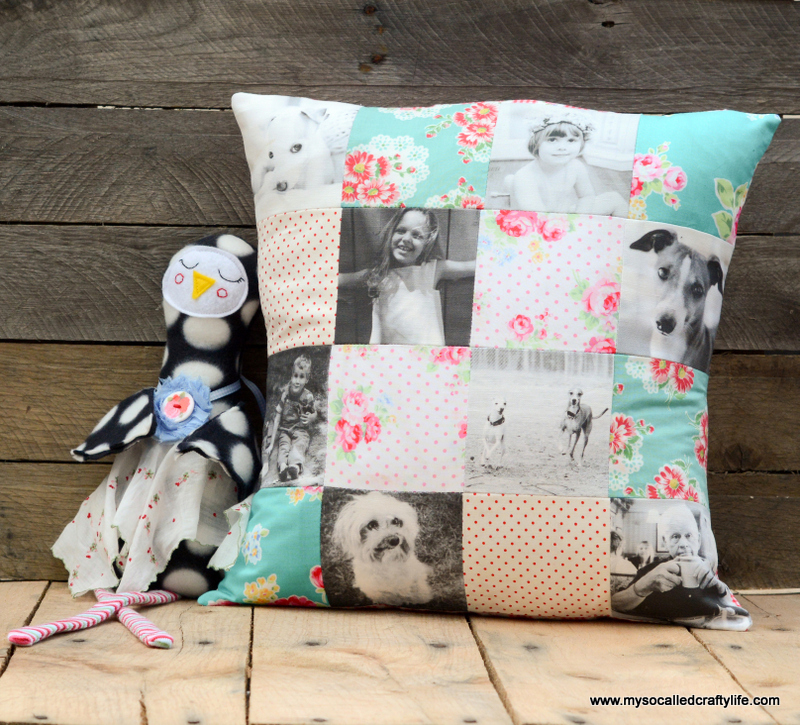
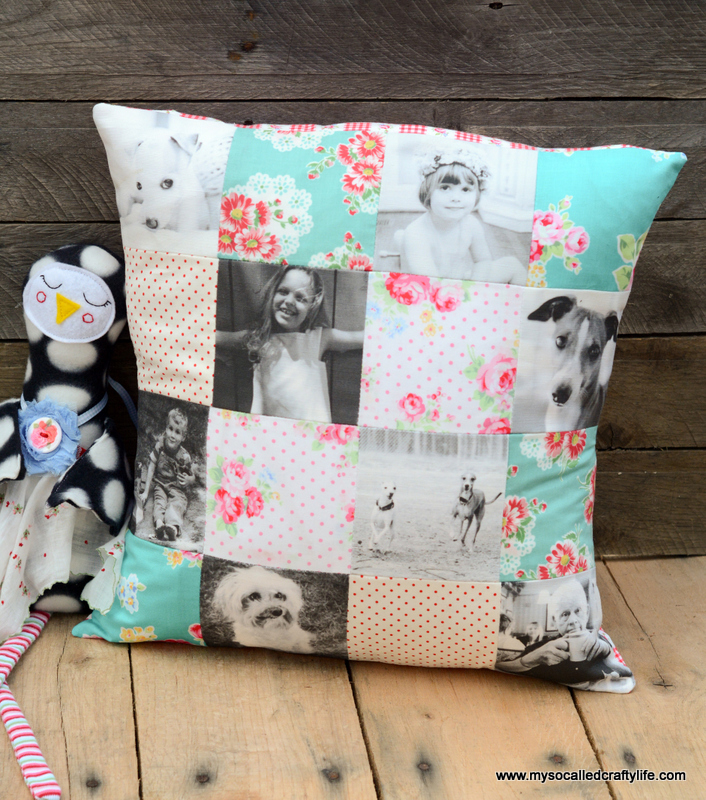
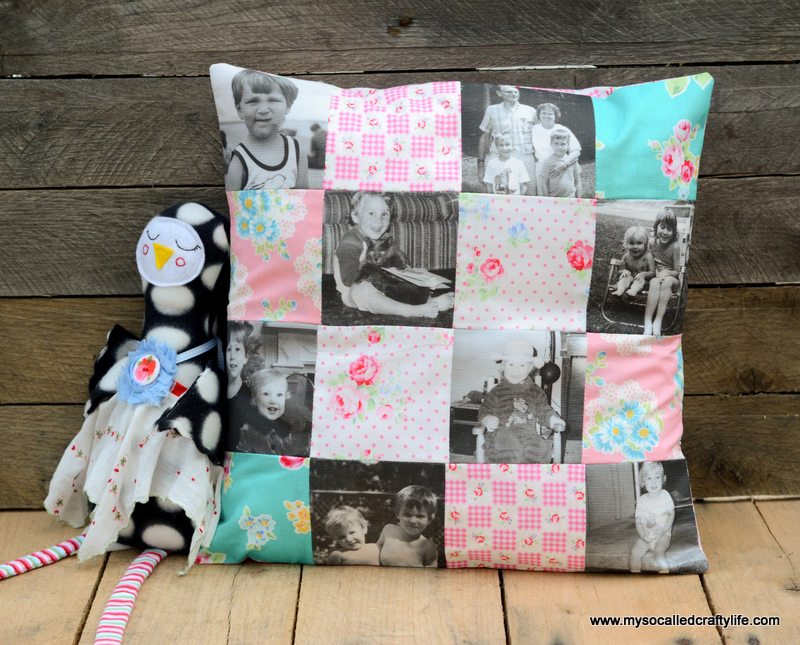
Handmade Gifts 2014- Custom Photo Patchwork Pillow


Here’s What You Need:
*Digital Photos and Photo Editing Software
*Spoonflower Fabric (I like the Linen Cotton Canvas)
*Cotton Quilting Fabric of your Choice
*Self Healing Mat
*Rotary Cutter
*Quilting Ruler
*Iron and Board
*Sewing Machine and Coordinating Thread
*Scissors
*Pillow insert (16×16)
Instructions:
I have to apologize. I was so into doing this project, I completely forgot to take photos of my process. So, I will try to explain the best I can. The first thing you need to do is import your photos into your photo editing program. I used photoshop elements. Resize your photos to the size you want your patches to be. I want my pillow to be 16×16, so I made my photos to be 4×4.” I used eight photos and eight fabric squares for my pillow. Create a new blank file to be a fat quarter size, 18×27″, and drag and drop your photos into the blank canvas. If you are using photoshop or elements, you can click on view and then show grid and also show rulers to evenly space out your photos. You want there to be 1″ between each photo to keep a half inch seam allowance. Save your file as a jpeg and then upload it to Spoonflower. For tips and help on designing and uploading fabric for Spoonflower visit their help page Here.
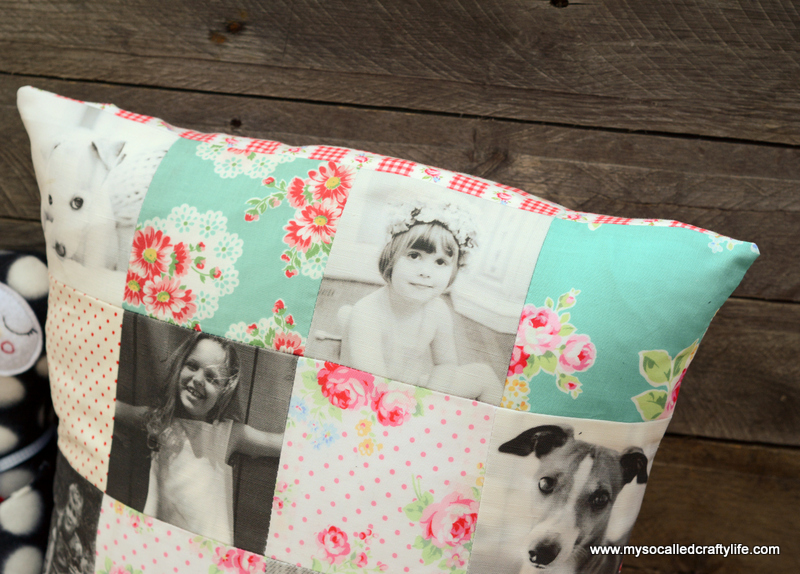
Once you have received your fabric you will need to cut out your squares. Cut out each square with a half inch seam allowance using your mat and rotary cutter and ruler. Your squares should be 5×5 inches. Cut out your eight fabric squares at 5×5″ too. Cut two pieces for your back at 10×17.
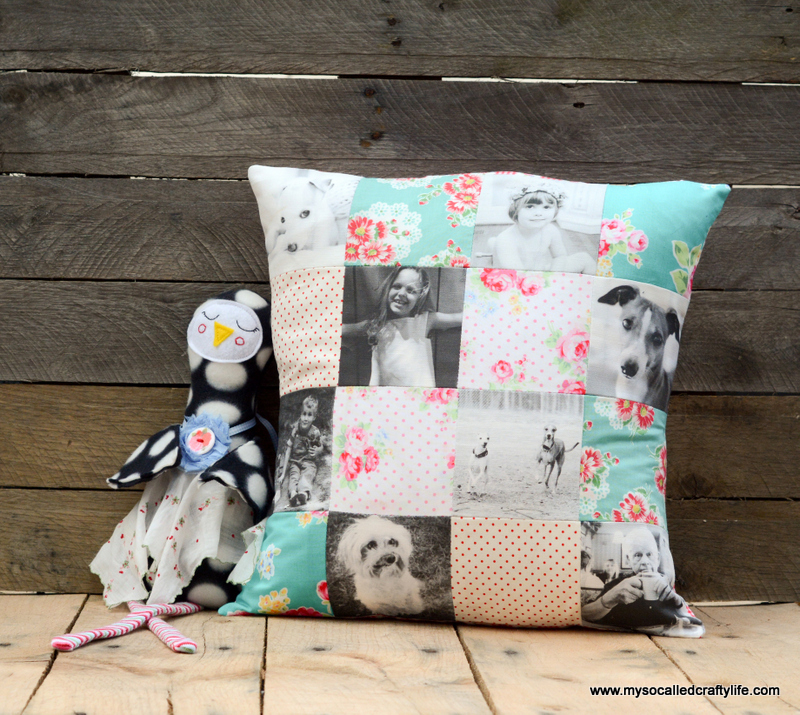
Next, you are ready to make your patchwork front. Lay out your squares into four rows of four. Stack the pieces by row. Take the first square from the first row and stitch it to the second square from the first row at the side seam. Then stitch the third square from the top row to the second square at the side seam and then the fourth to the third. You should now have a row of four squares stitched together at their side seams. Stitch the other four rows in the same way as the first.
Iron open all your seam allowances. Now you need to stitch your rows together. Lay your top row on your second row right sides together and the bottom of the first row meeting up with the top of the second row. Stitch the rows together with a half inch seam allowance. Stitch the third row to the second in the same way as the first, then stitch the fourth row to the third. You should end up with a piece that is four rows of four squares. Iron open all seam allowances. Set aside.
Now you need to get the back pieces ready. Fold under the top of each back piece by a quarter inch, then fold over by a half an inch or so and iron. Top stitch the edge closed.
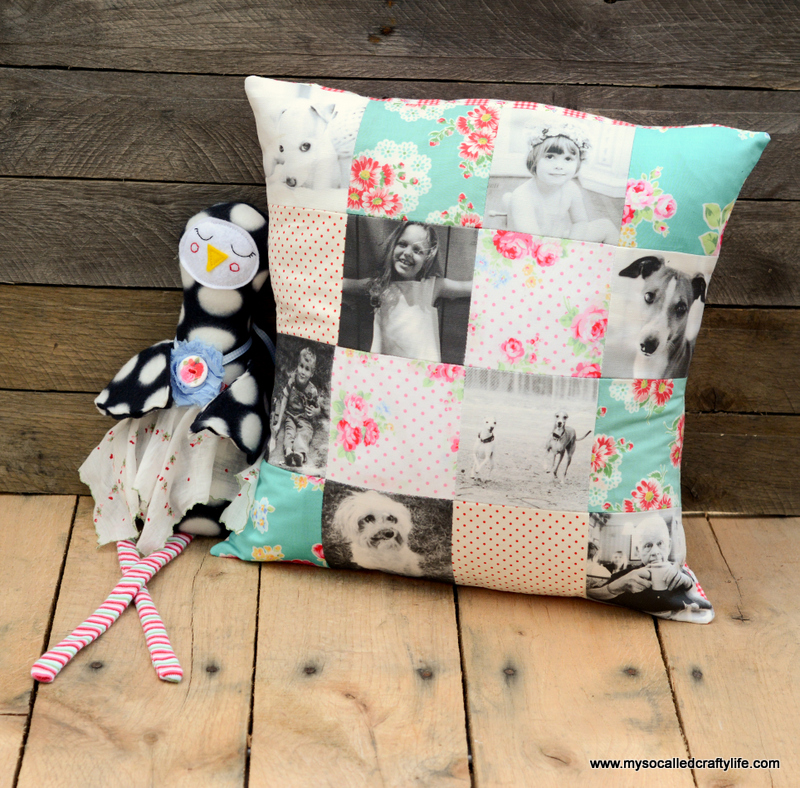
Now you are ready to pin and stitch your pillow. Lay the two back pieces on the front patchwork piece. The right sides should be touching and the finished edges of the back pieces should be in the middle of the back of the pillow cover and overlapping a little. Pin all the way around your pillow cover. Next, stitch all the way around back stitching at the beginning and end.
To finish the cover, clip the corners and turn the pillow cover right side out. Insert your pillow form and now you have a very special pillow for someone extraordinary!


Happy Crafting!