
Bright Idea: Covering Cardboard Boxes for Pencil Boxes
Every time I show a picture of my classroom as a whole, I get questions about the little boxes I have on the students' desks. So I thought it was about time that I wrote about them. :)

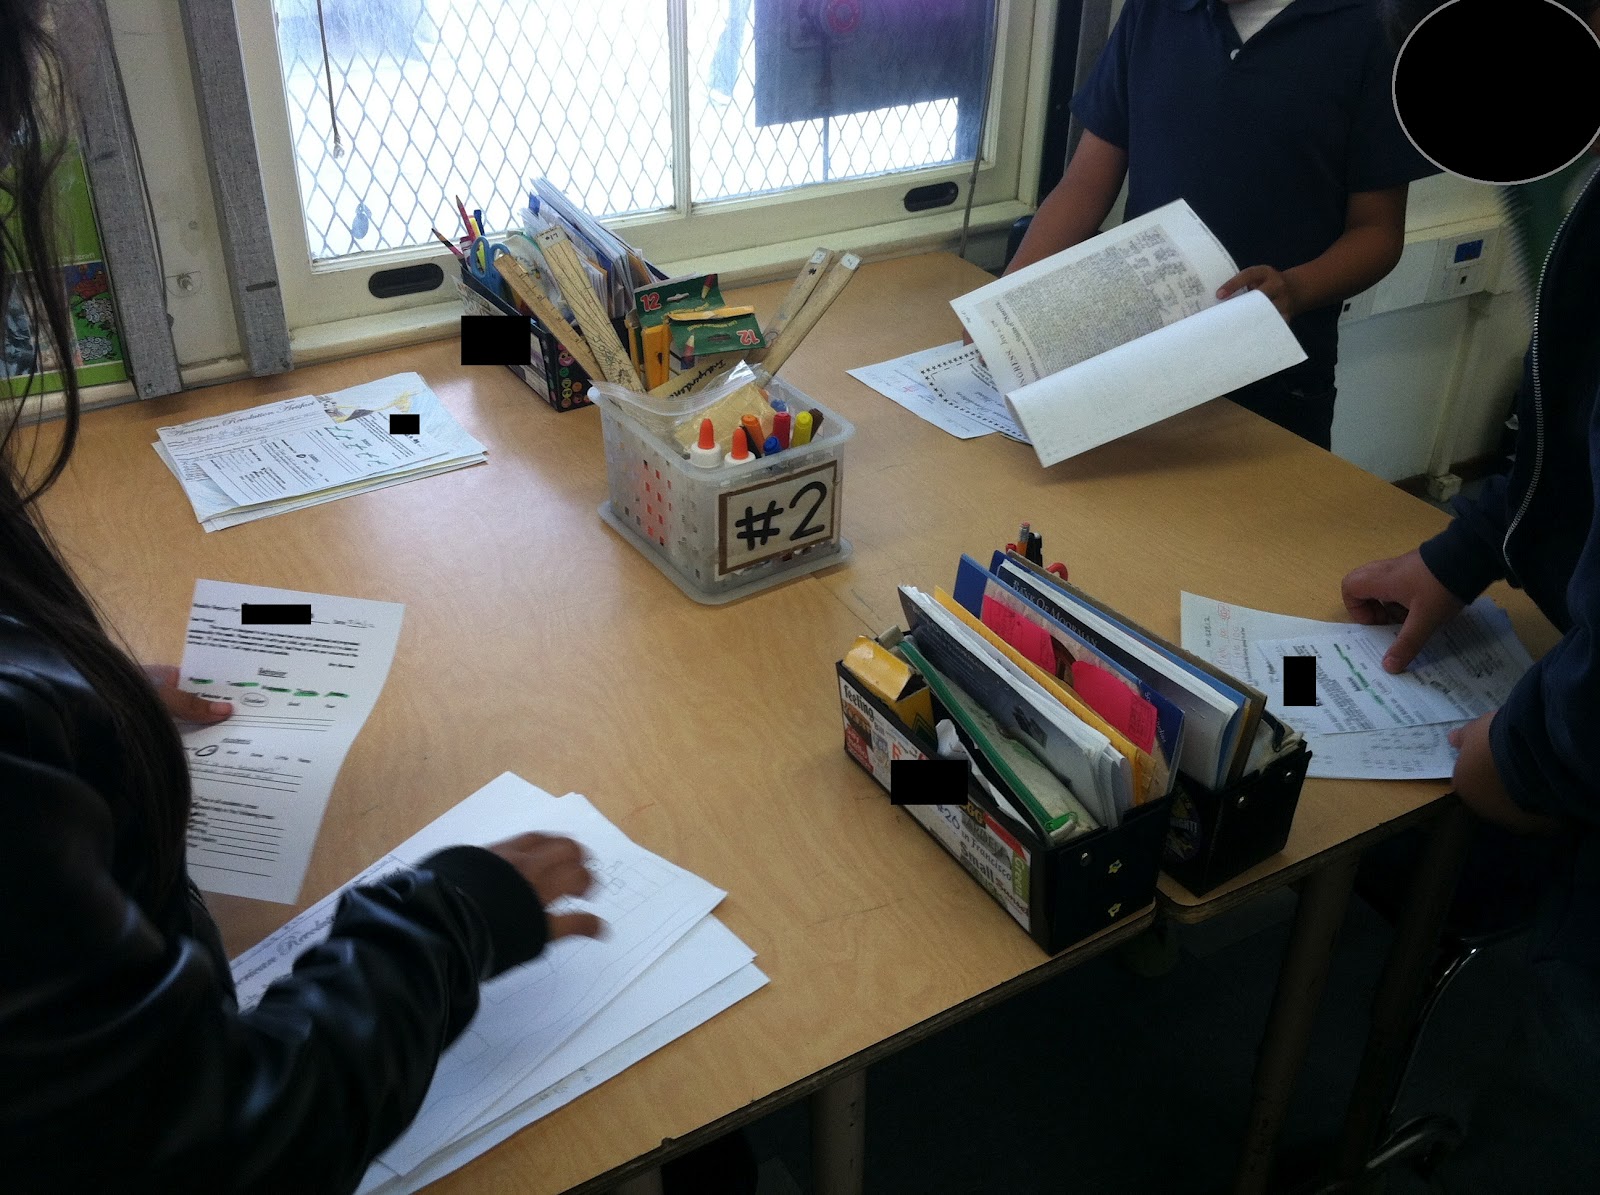
Can you see the black boxes on the desks?? That is what this post is about :)
They truly are something very, very simple to make. All you will need is:

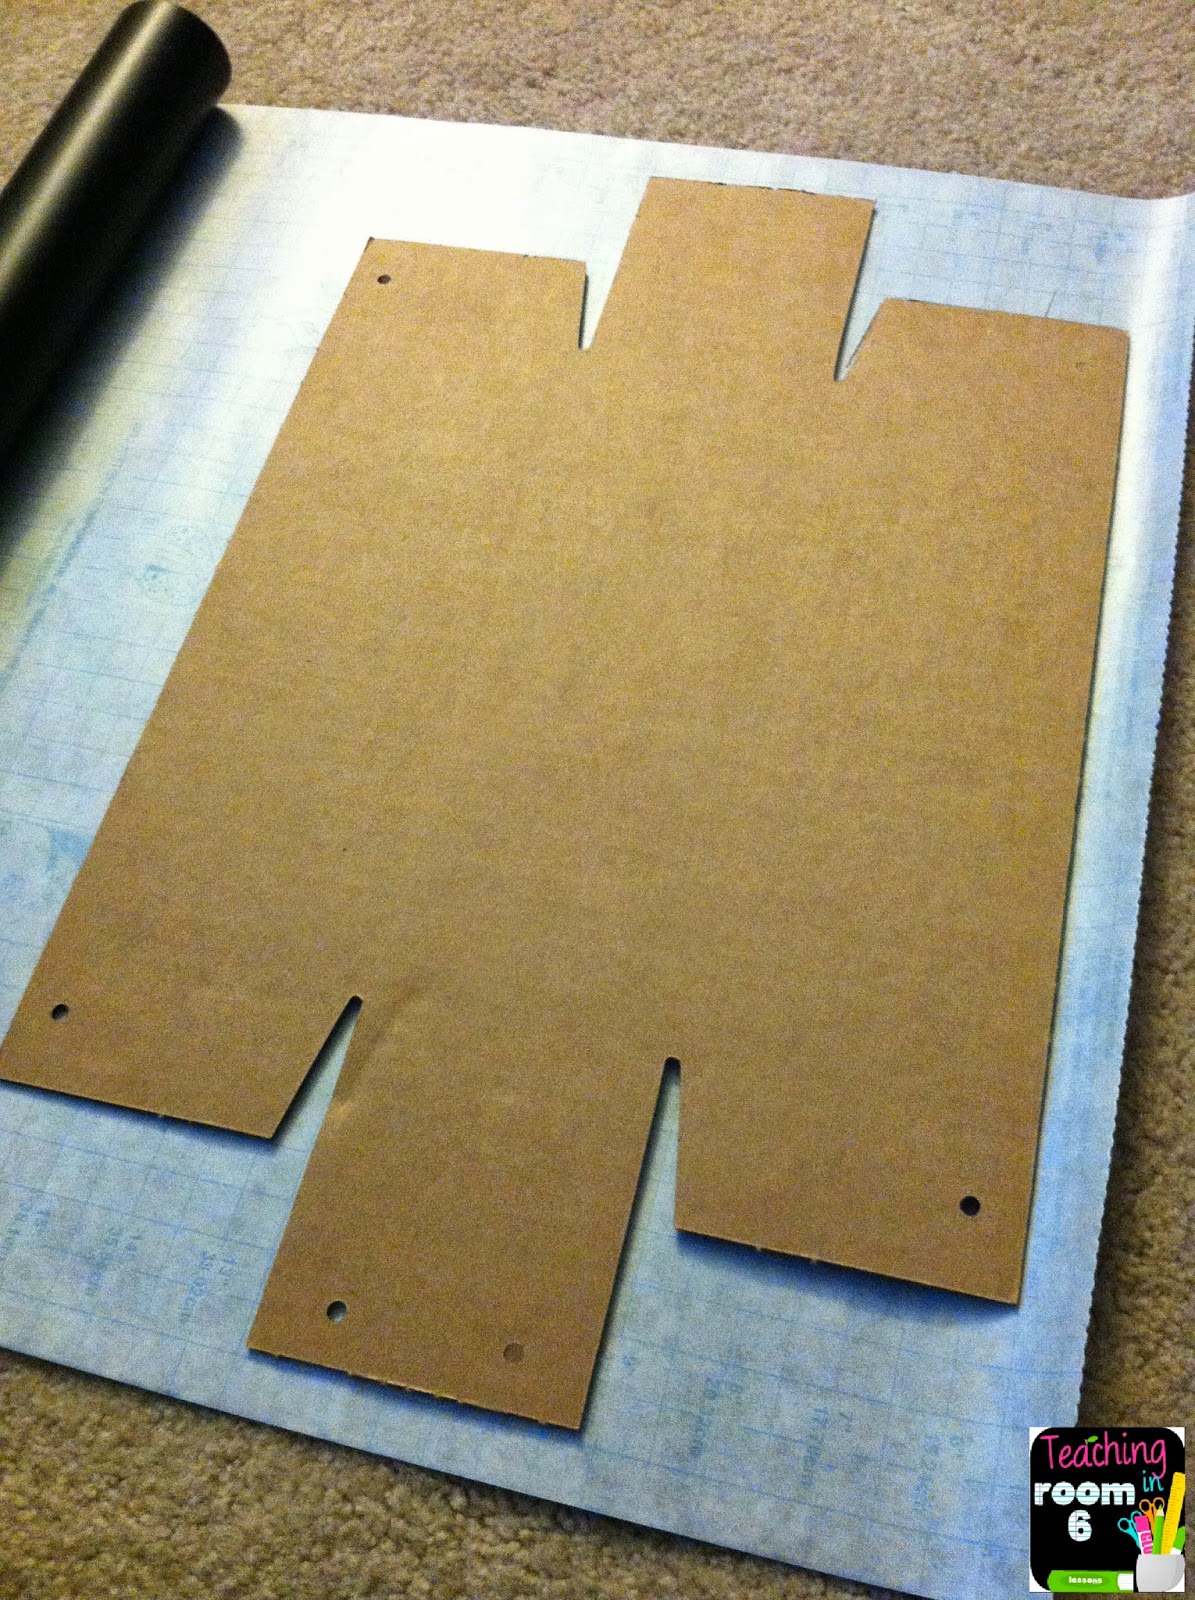
cardboard pencil boxes (flattened into the net)
contact paper
scissors
brads
I will have to say upfront that these cardboard boxes are given to me by my district. They have been provided by every school I have worked at and went to (I went to school in the same district I teach for ;) ) But you can get them at any school supply place that sells things in bulk. However, oddly enough the Velveeta box (you know, the cheese??) is the exact same shape. You can ask your students to bring in those boxes at the beginning of the year and do the same thing with it!
Anyway, once you have the boxes, covering them is rather easy. As I tell my students when we are doing long math problems, "It isn't hard, just time consuming."

Step 1: Cut a piece of contact paper about 1.5 feet long. This should be big enough that when you lay the box on it, about 1/2 inch is visible on either side.

Step 2: Remove backing paper from contact paper. Lay the cardboard box in the center.
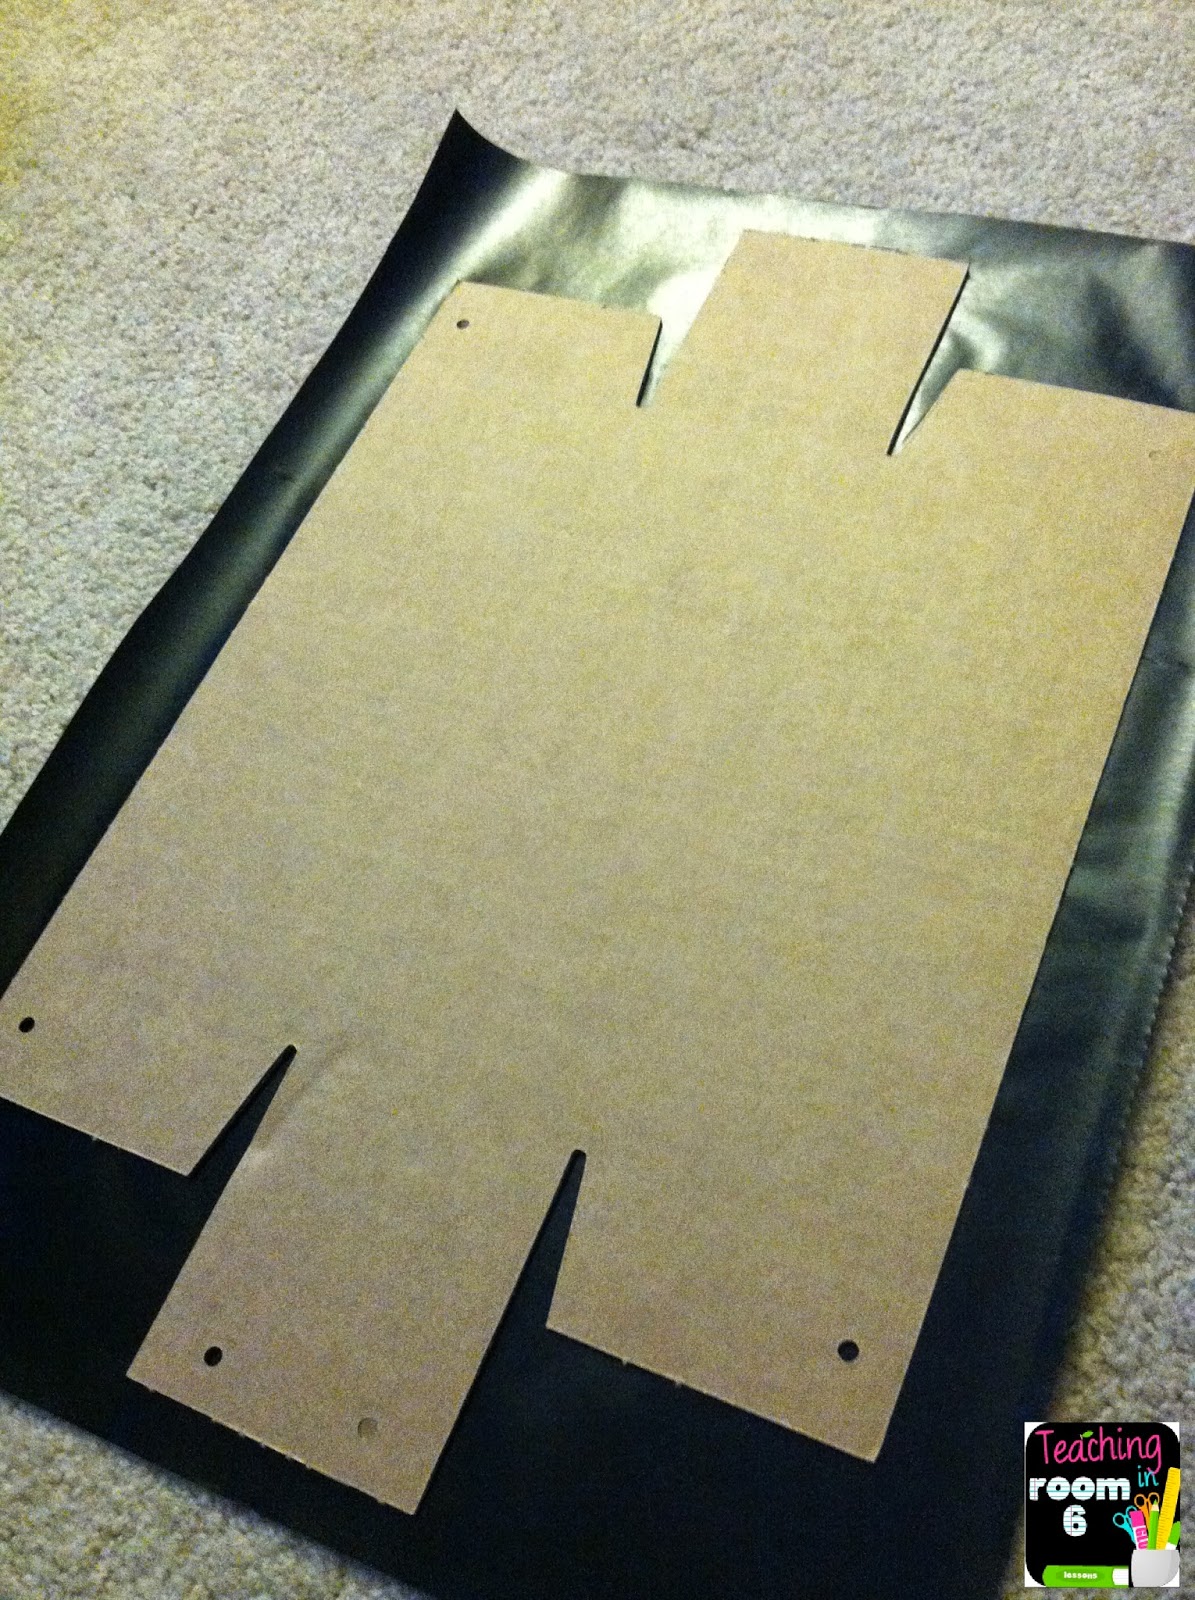
Step 3: Smooth out the paper. I usually turn over the box so that I see the contact paper and smooth out the bubbles that way.
Step 3: Smooth out the paper. I usually turn over the box so that I see the contact paper and smooth out the bubbles that way.

Step 4: Cut away the excess contact paper, leaving some to form flaps that can be folded over the edges of the box. I usually just stick it right back on the inside of the box. Makes it look interesting that way ;)


The box then looks like this when all covered. This is what the people will see when it is folded up, not the brown cardboard on the inside (all of the pencils and stuff will go in there!)


Step 6: Fold the box up, using brads to hold the sides together. Just punch the brad through the contact paper. There are actual holes already punched in the boxes I have, but if not, use scissors to create them.

Here is a close up view of one put together with name tags on them. You can see they are perfectly sized for the tags!

You can see the boxes here with all of the students' materials in them. I have the kids put their pencils, crayons, procedure manual, classroom wallet and a few other things in them.
Viola! You have a nice looking pencil box that the kids can use to put all of their own personal supplies in. They look attractive on the tables, hold nametags, and are just very convenient to have. All in all, this costs me the price of the contact paper (in my case, the black was $5 per roll at OSH. I used 2 rolls, so the total price was $10.)
I also use these to hold my own supplies on my desk. What I love is that I can change up the contact paper for an even more exciting look. They are perfect to hold markers, office forms, scissors, pencils, etc...
I really love these boxes :)

More posts from Stephanie