
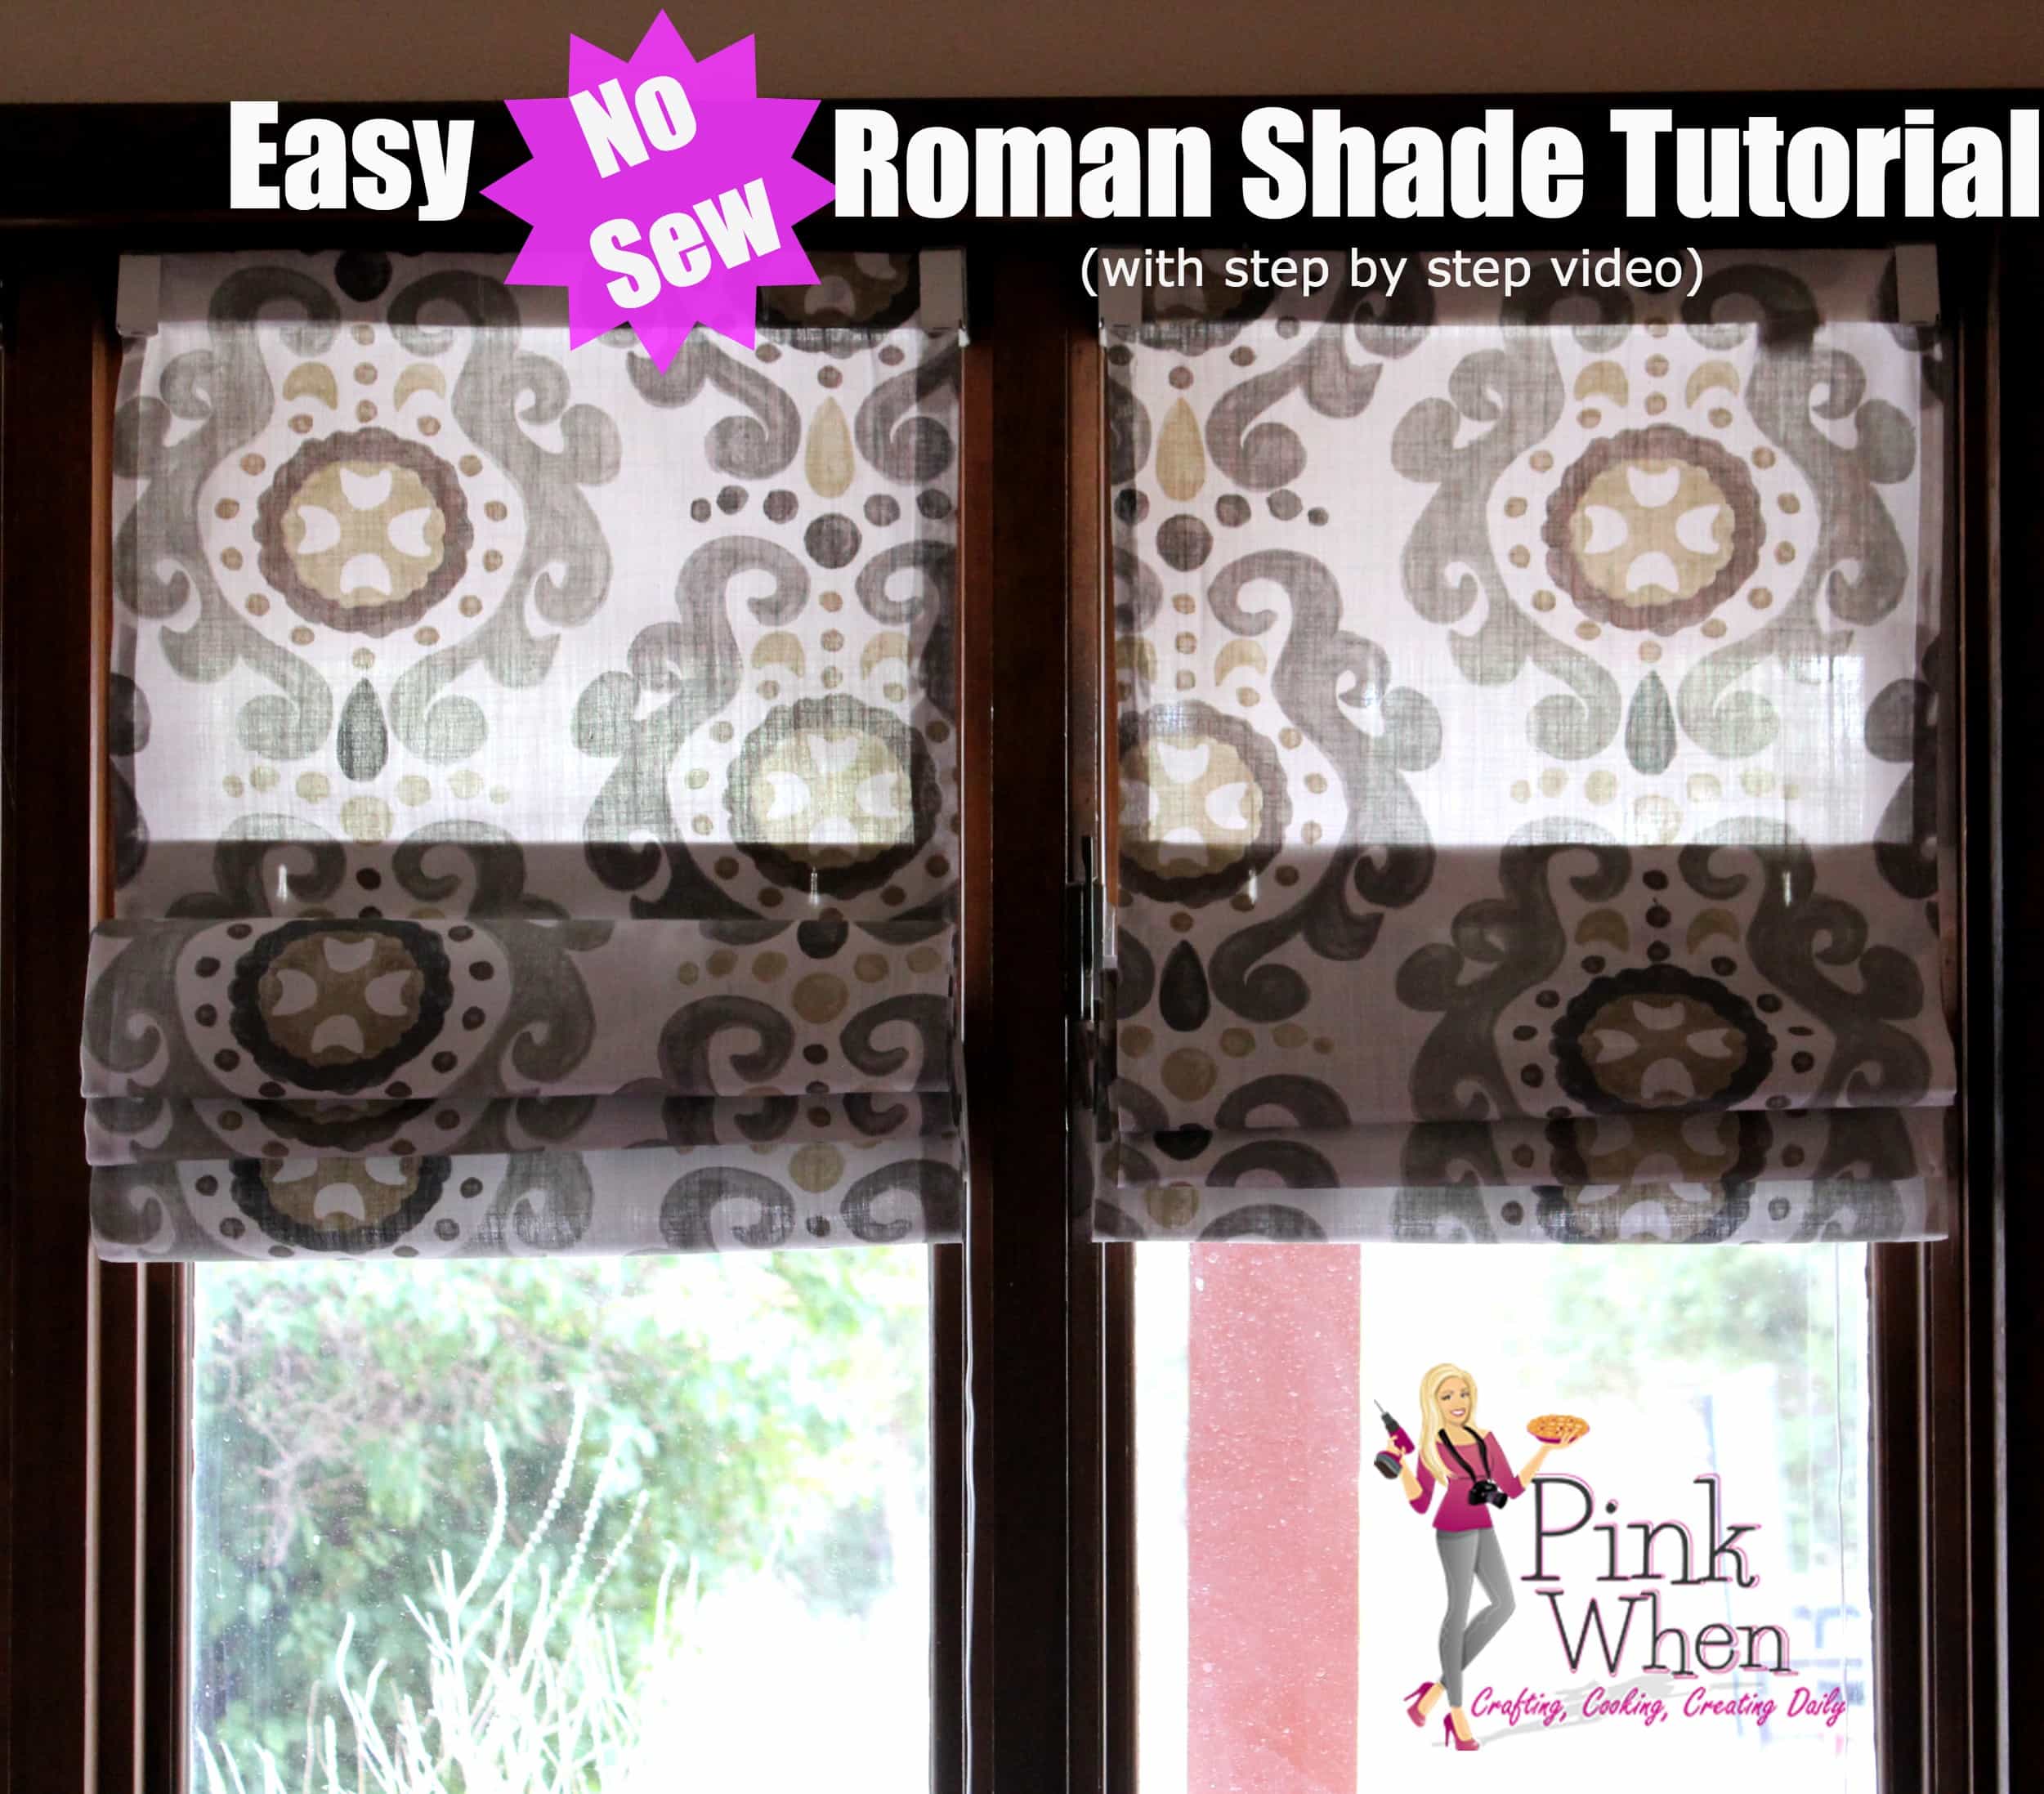
Simple No Sew Roman Shades

A couple of weeks ago I visited my friends in Colorado. This was such an awesome trip, and a different Summer vacation in the mountains versus what we normally do at the beach. They had just moved into their house and my friend was wanting to do a few things while I was there. One of those projects was this Simple No Sew Roman Shades Tutorial. I saw this project on Pinterest a while back and had it on my To Do list of things to try. While I did a few extra steps (mostly for my sanity) the inspiration came from her post.
It was such a quick and easy project, and I was able to knock out 4 of these in about an hour and a half! Talk about a quick project! You can follow the directions easy in this post, or you can always skip to the end and watch the quick 5 minutes video I put together showing you exactly how I created the Roman Shades.
While this room is a little on the dark side, the light see-through shades allow cover, and also allow light in to the room without over darkening.
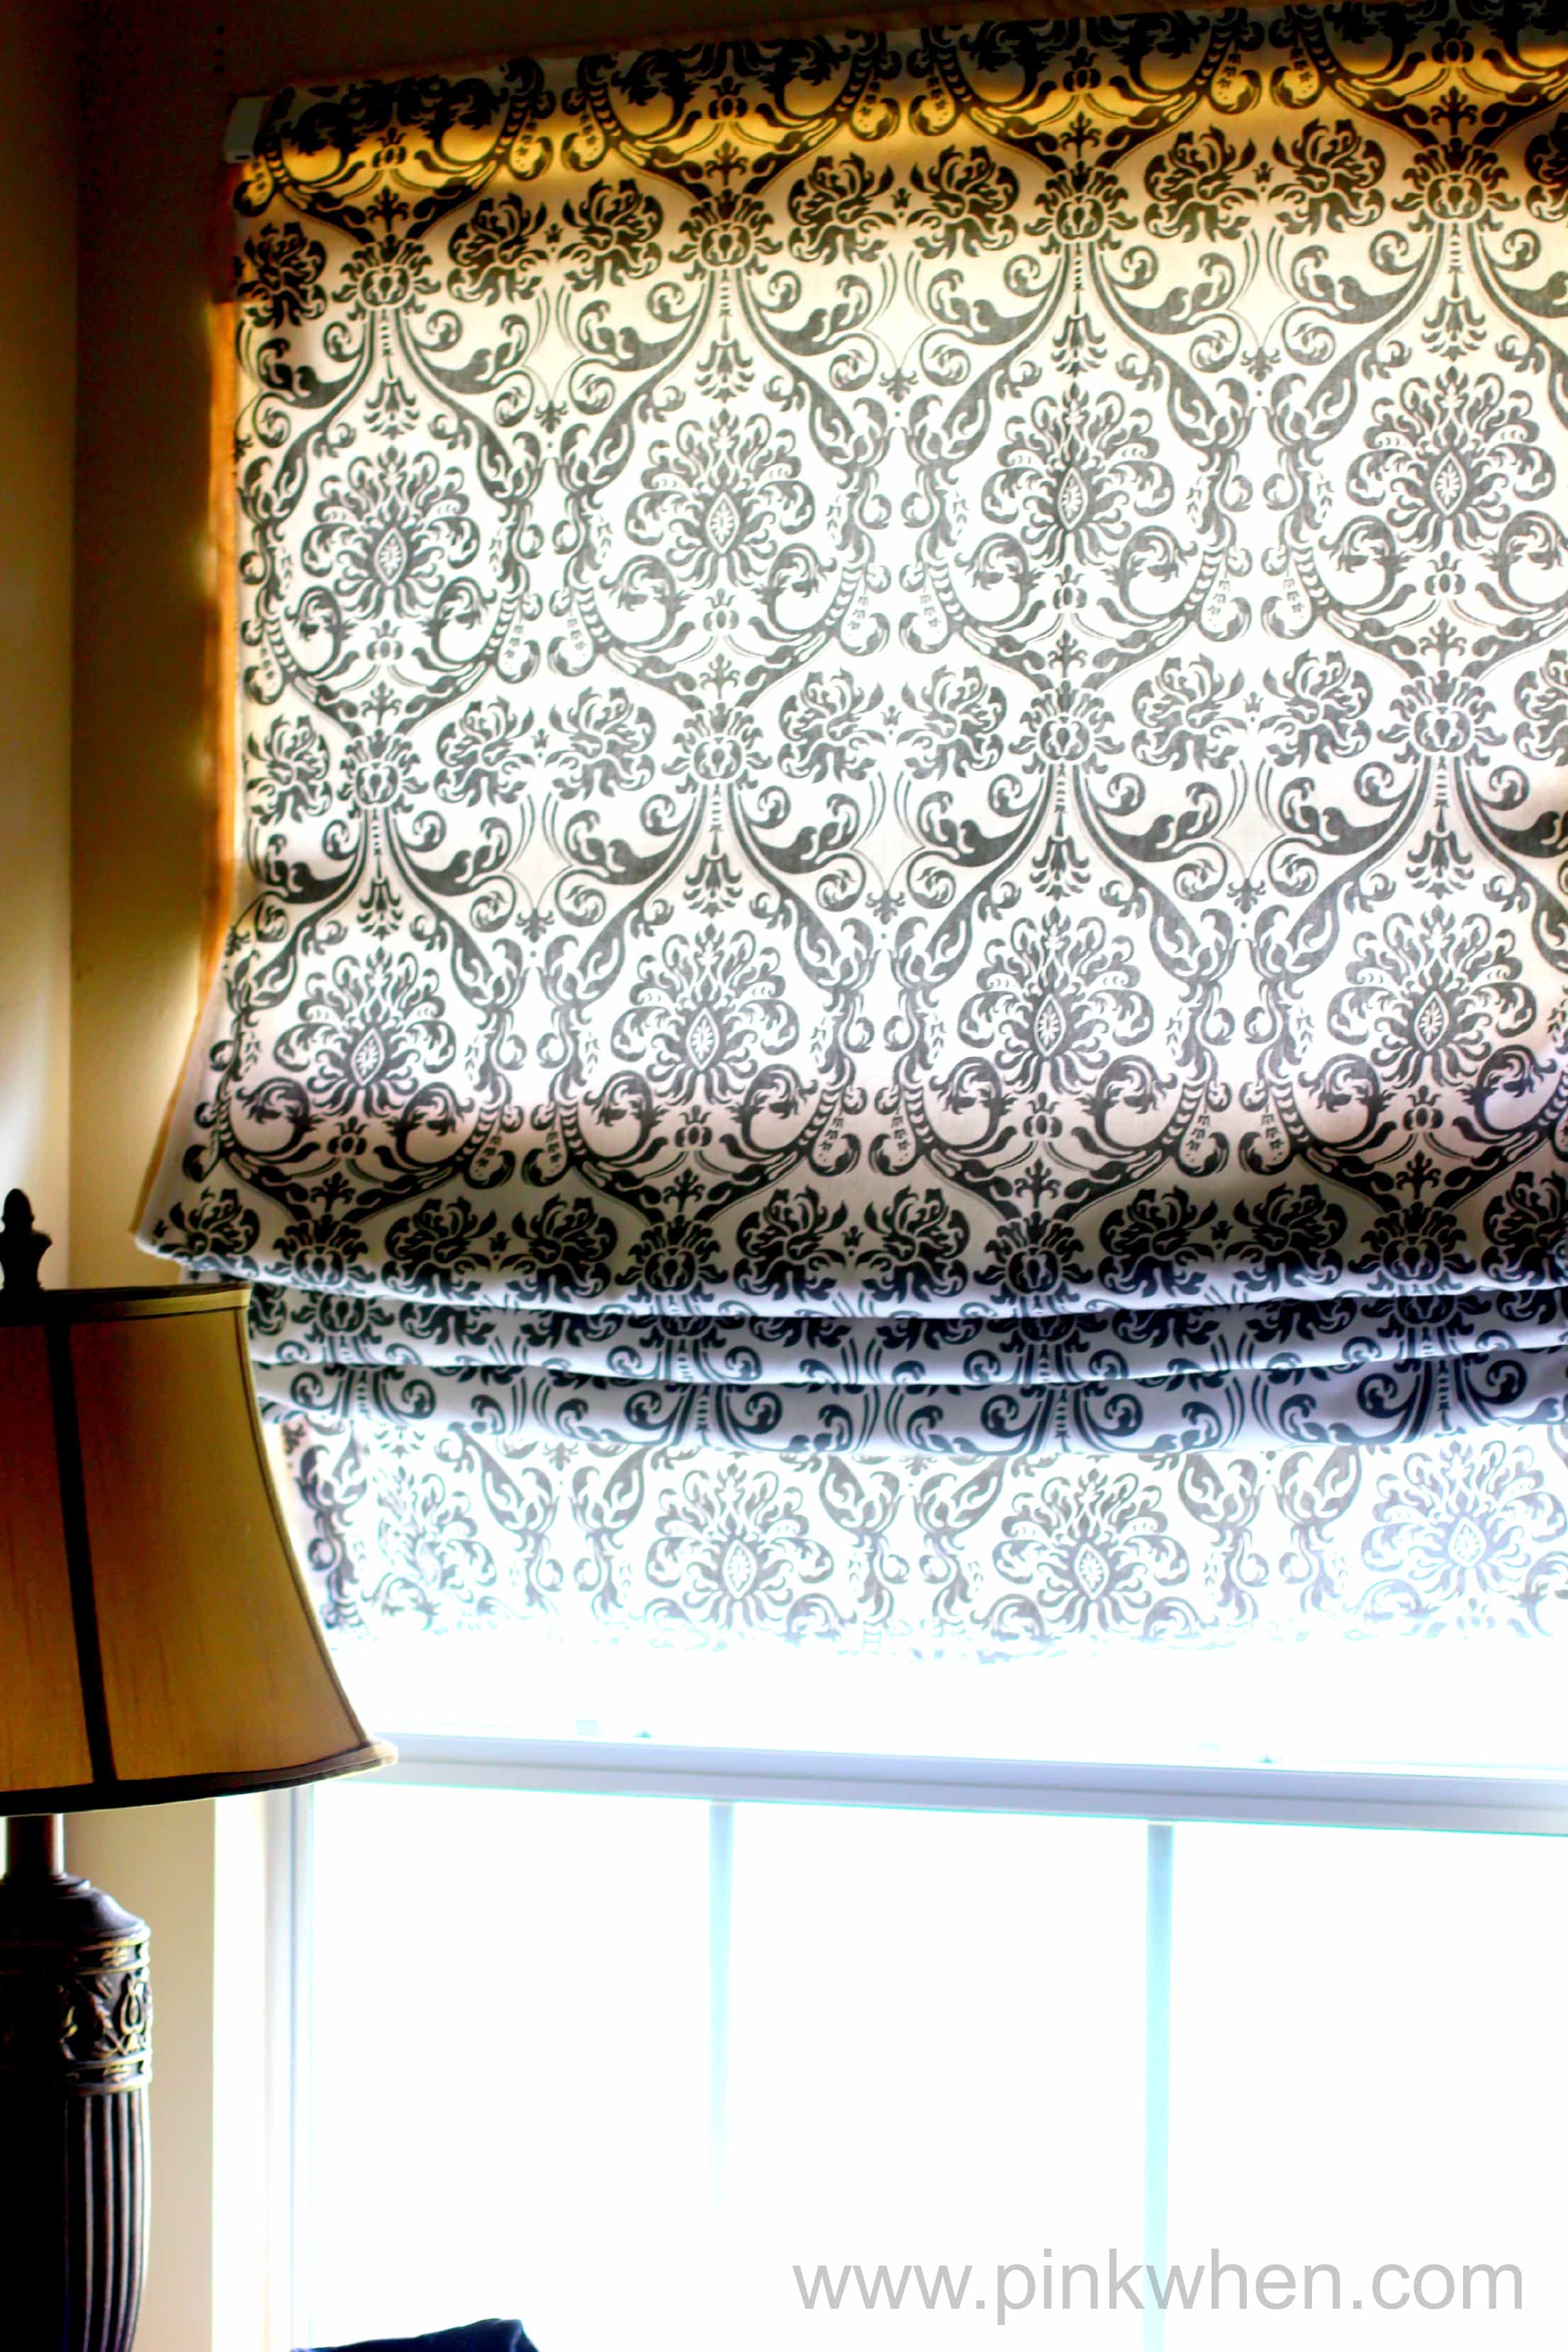
Here is a beautiful shade I made for my bedroom. This one has a lining to help keep the sun out in the bright early morning!

Easy No Sew Roman Shades
You will need a few supplies for this project:
- blinds
- fabric (or in our case, we used a shower curtain she had!)
- hot glue gun
- liquid stitch
- stitch witch
- scissors
- iron

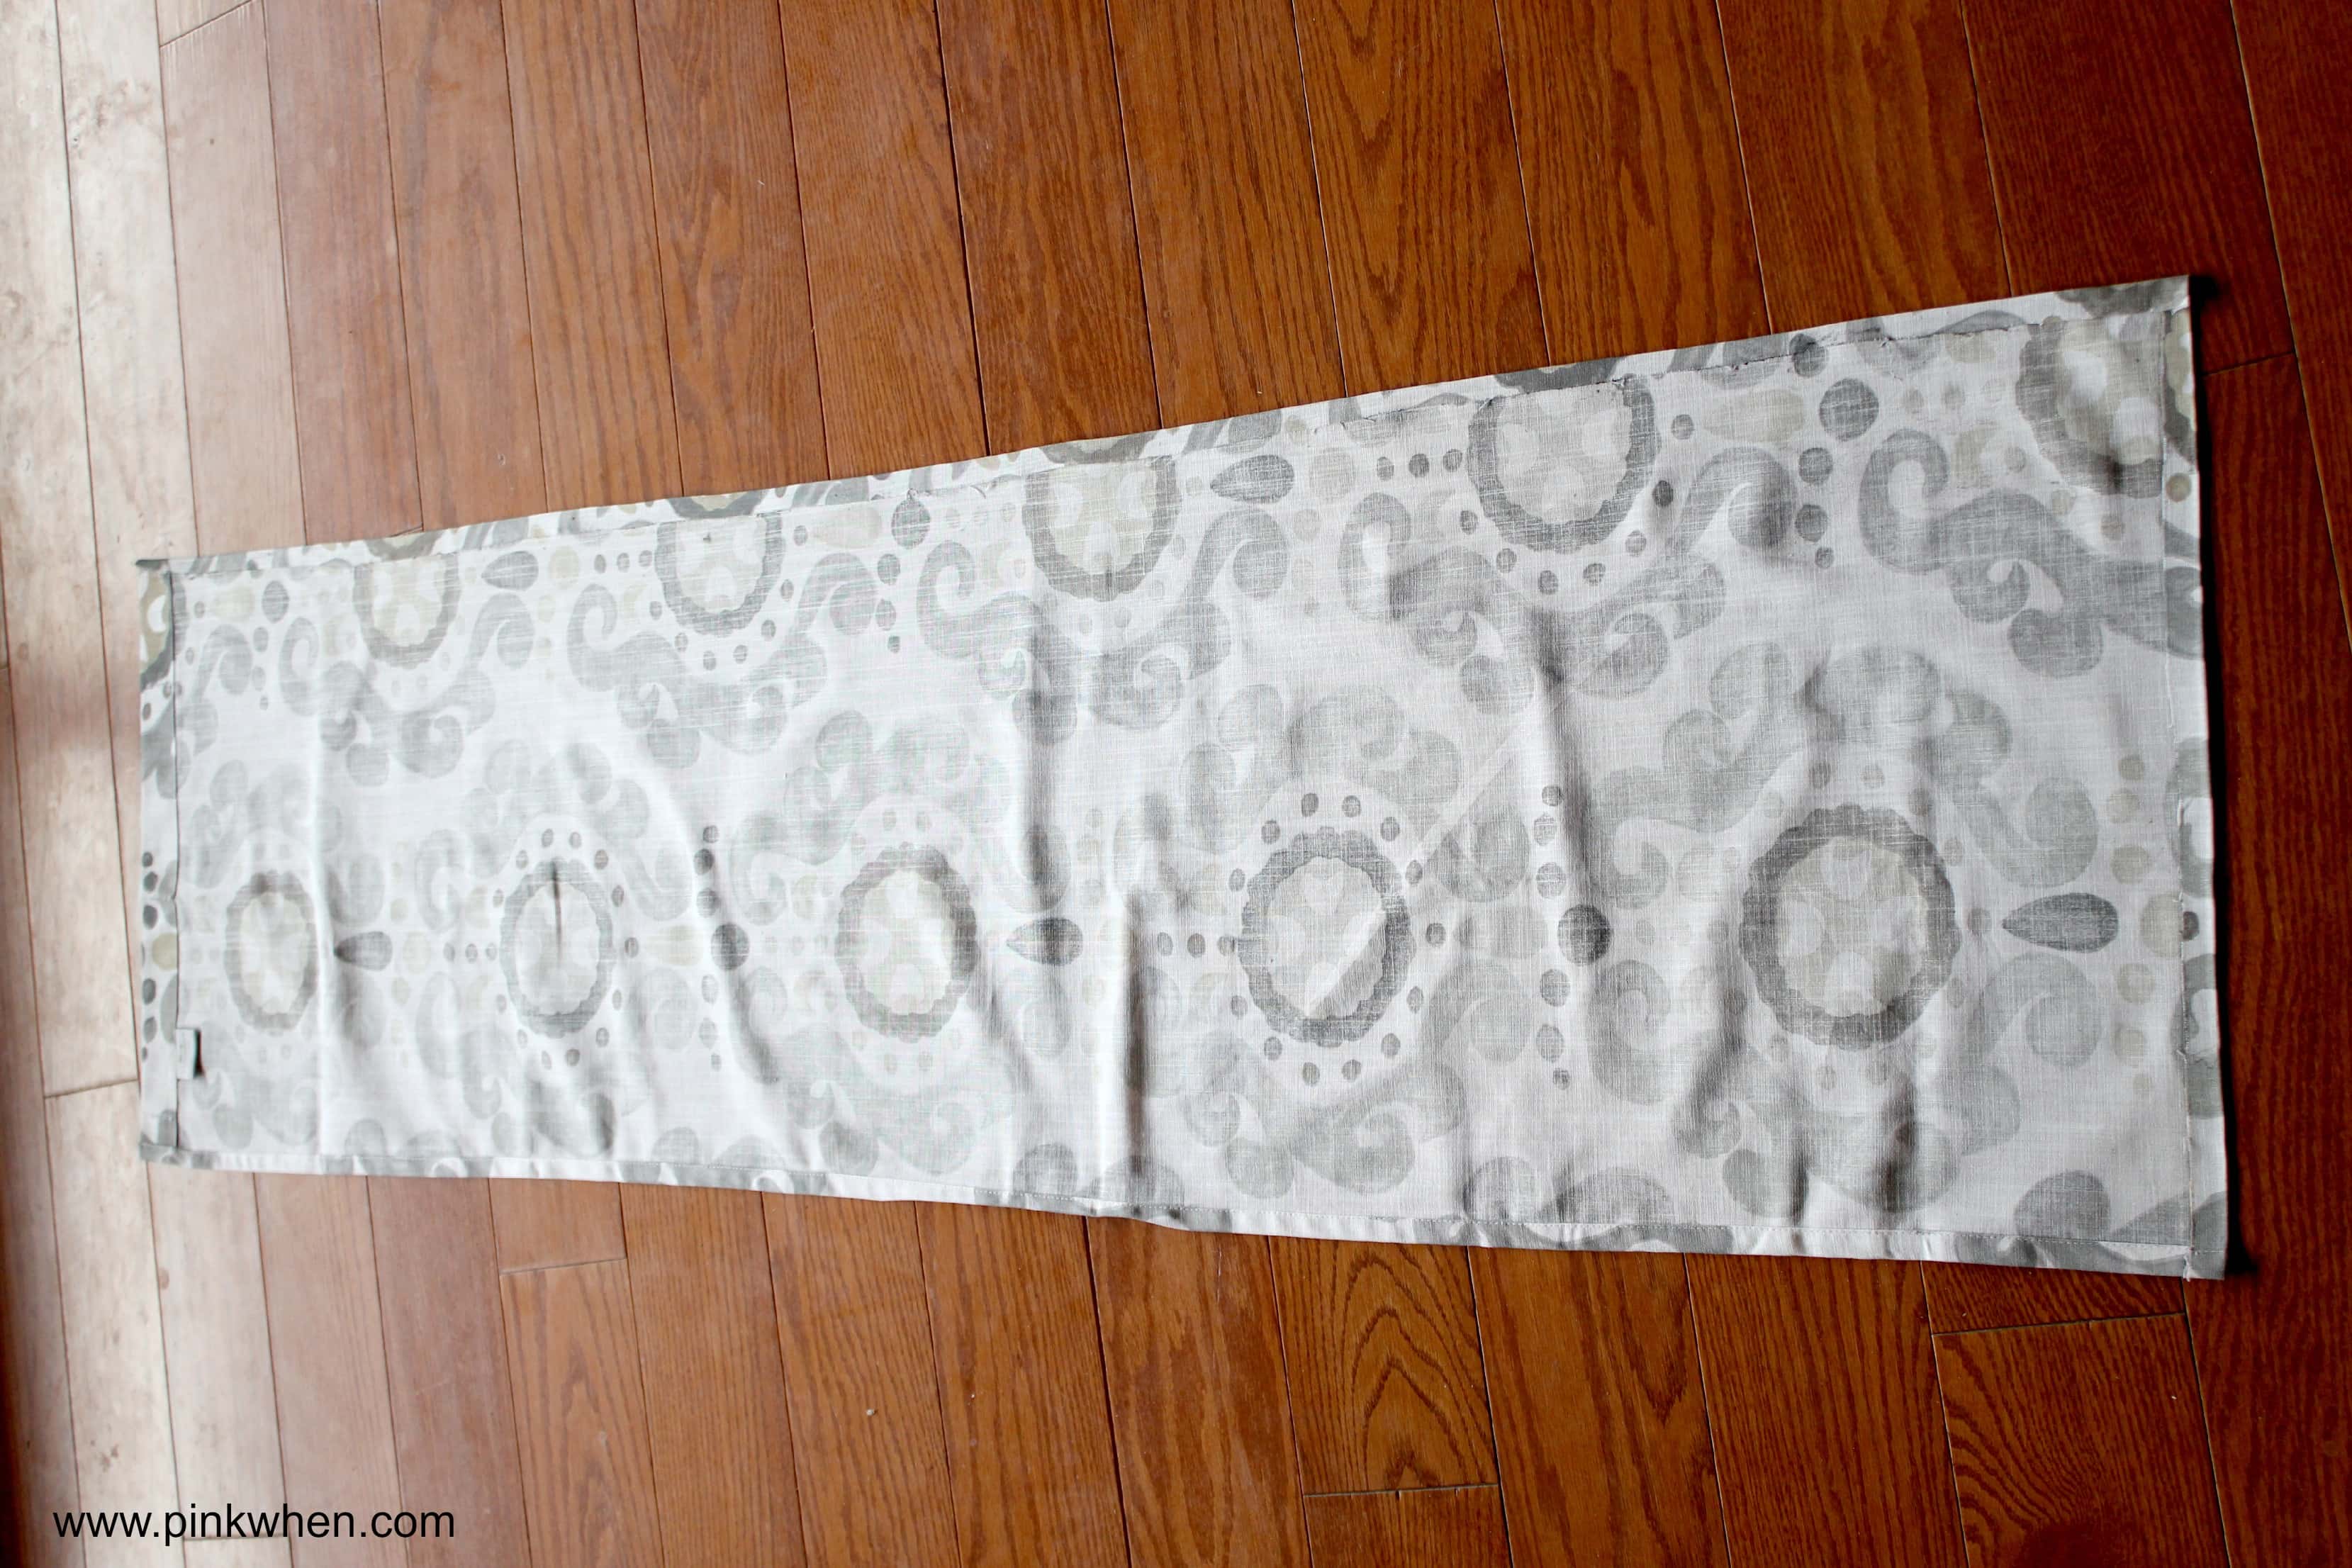
The first thing you want to do is measure the width and length of your blinds. Once you have that, add 2″ to each of those measurements. For example, our blinds were 18″ x 60″, so the fabric was cut 20″ x 62″. This is so you can create the seams in your fabric.

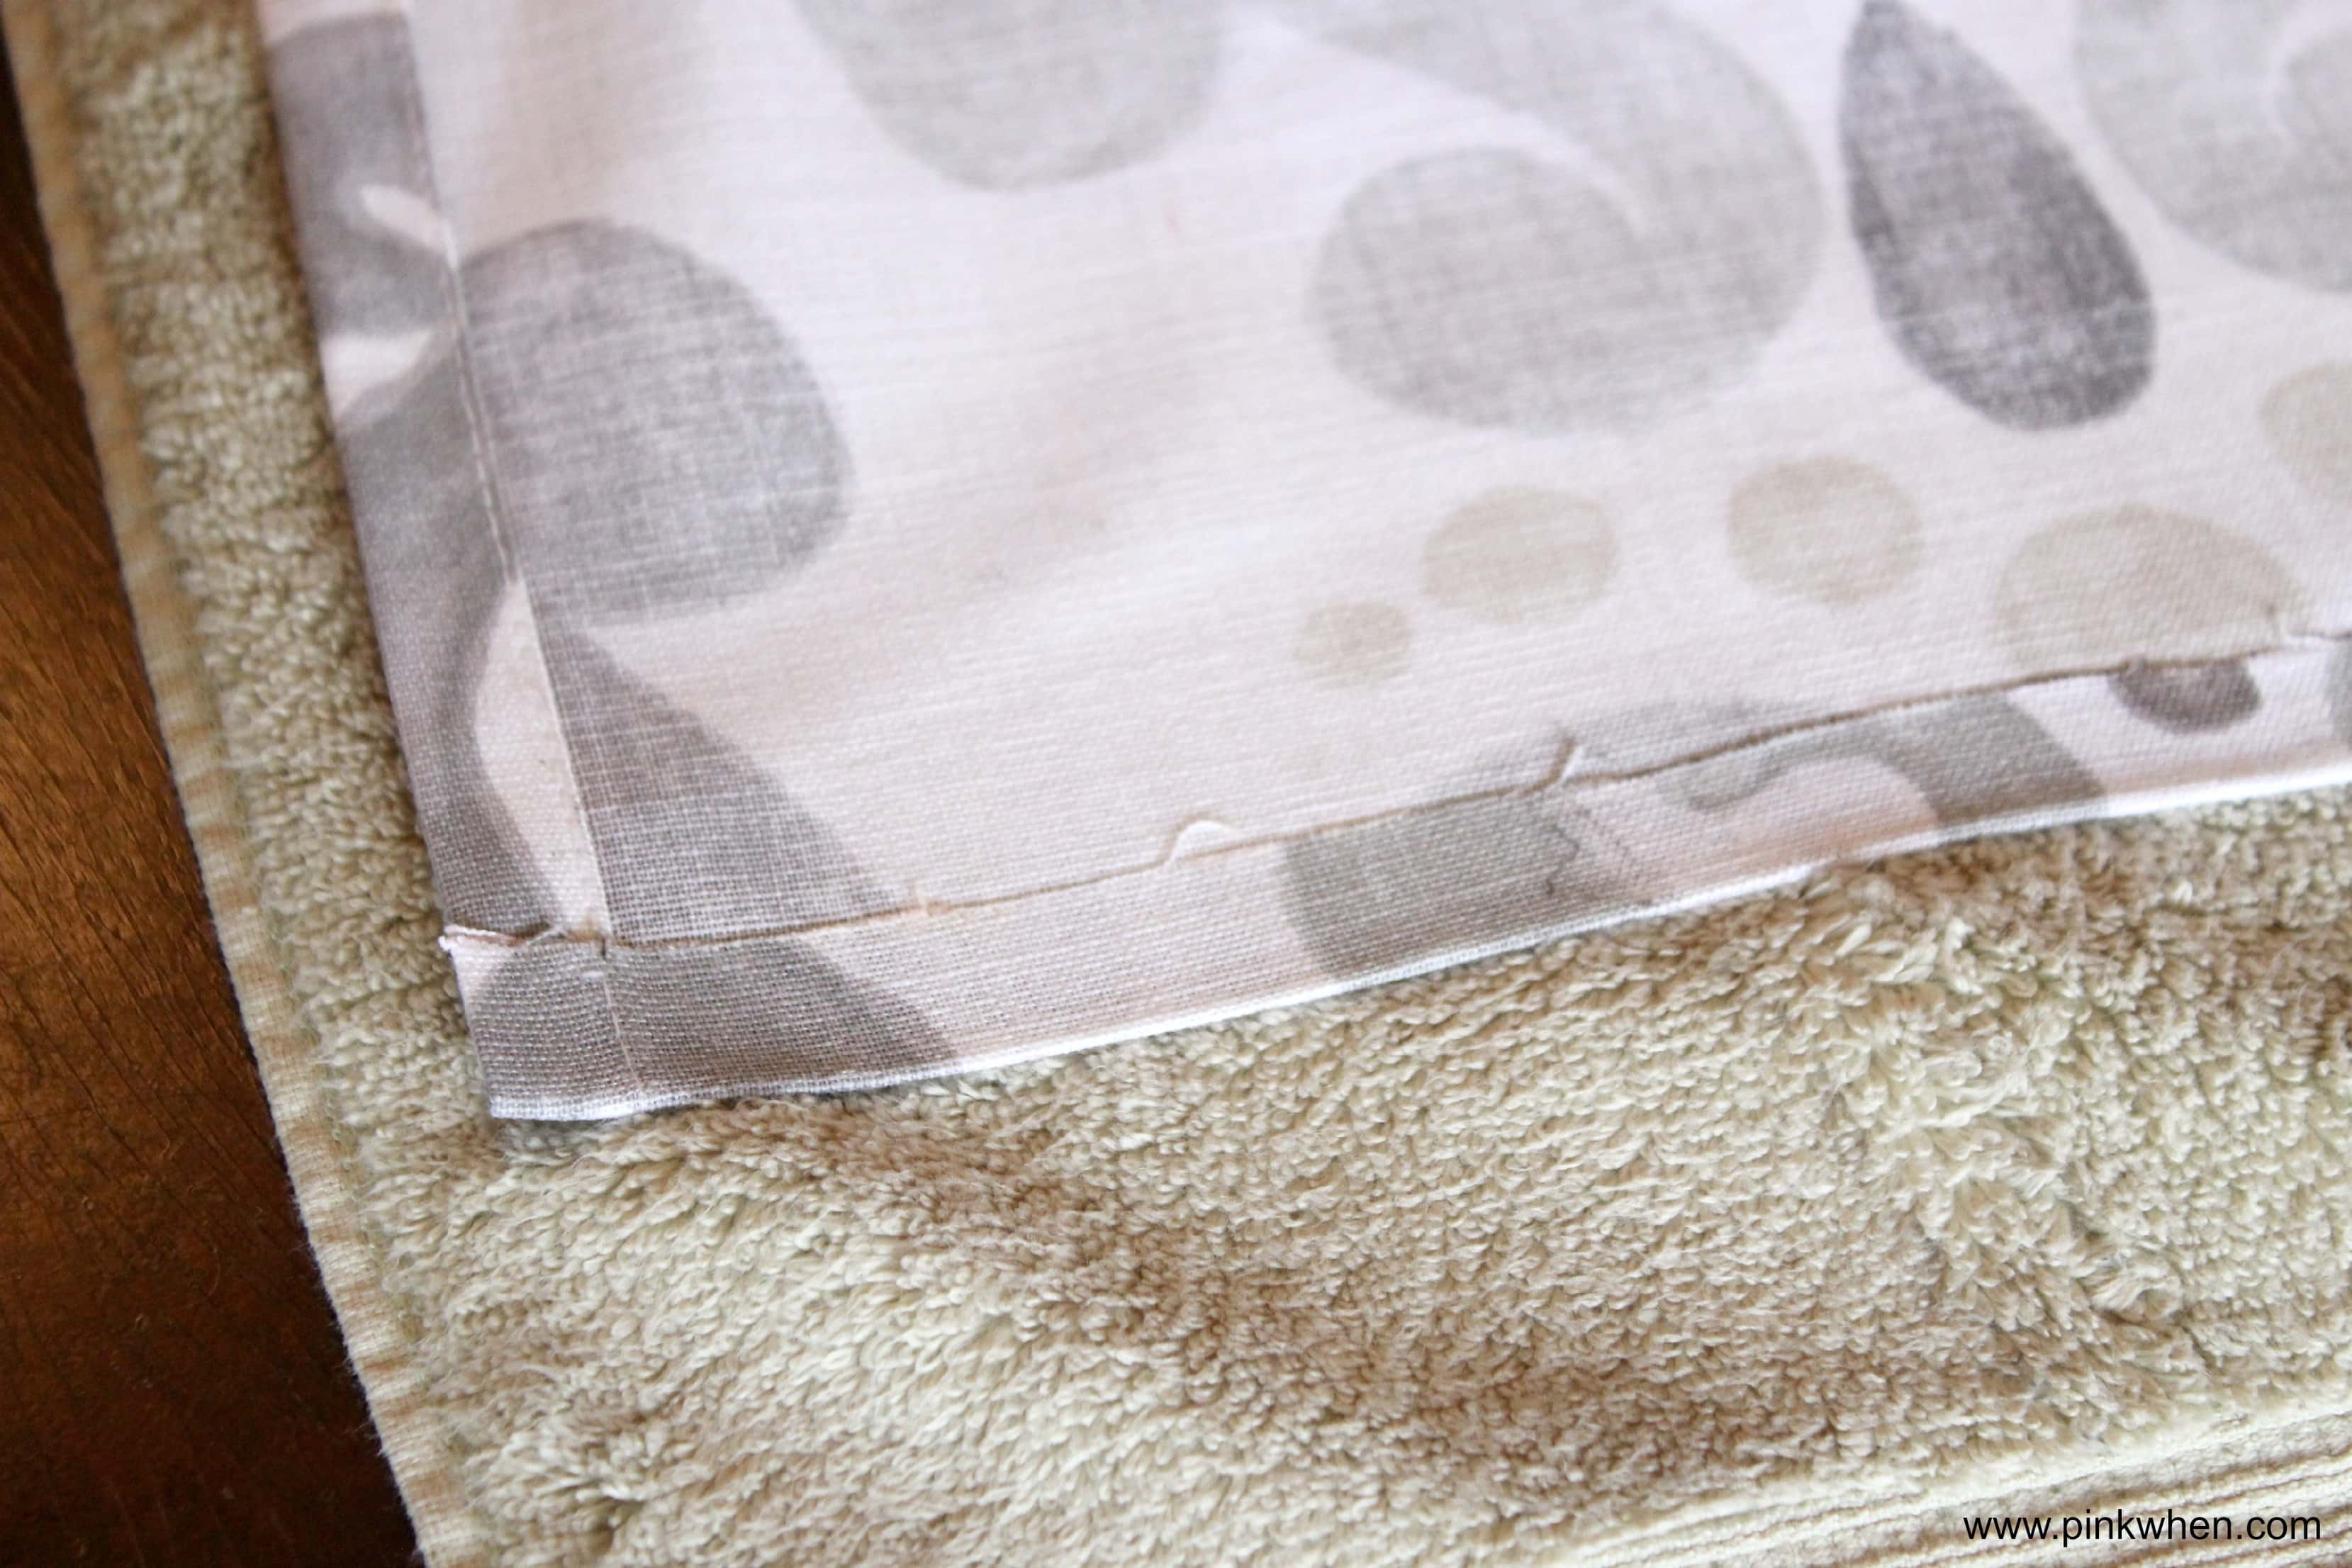
To create the seams, fold the fabric in one inch and iron. Add the the stitch witch and iron. You should now have a seam.

Do this all the way around your fabric until you have all of your seams completed.
Once that is done, you will want to cut the ladder cord from the blinds you will be using.
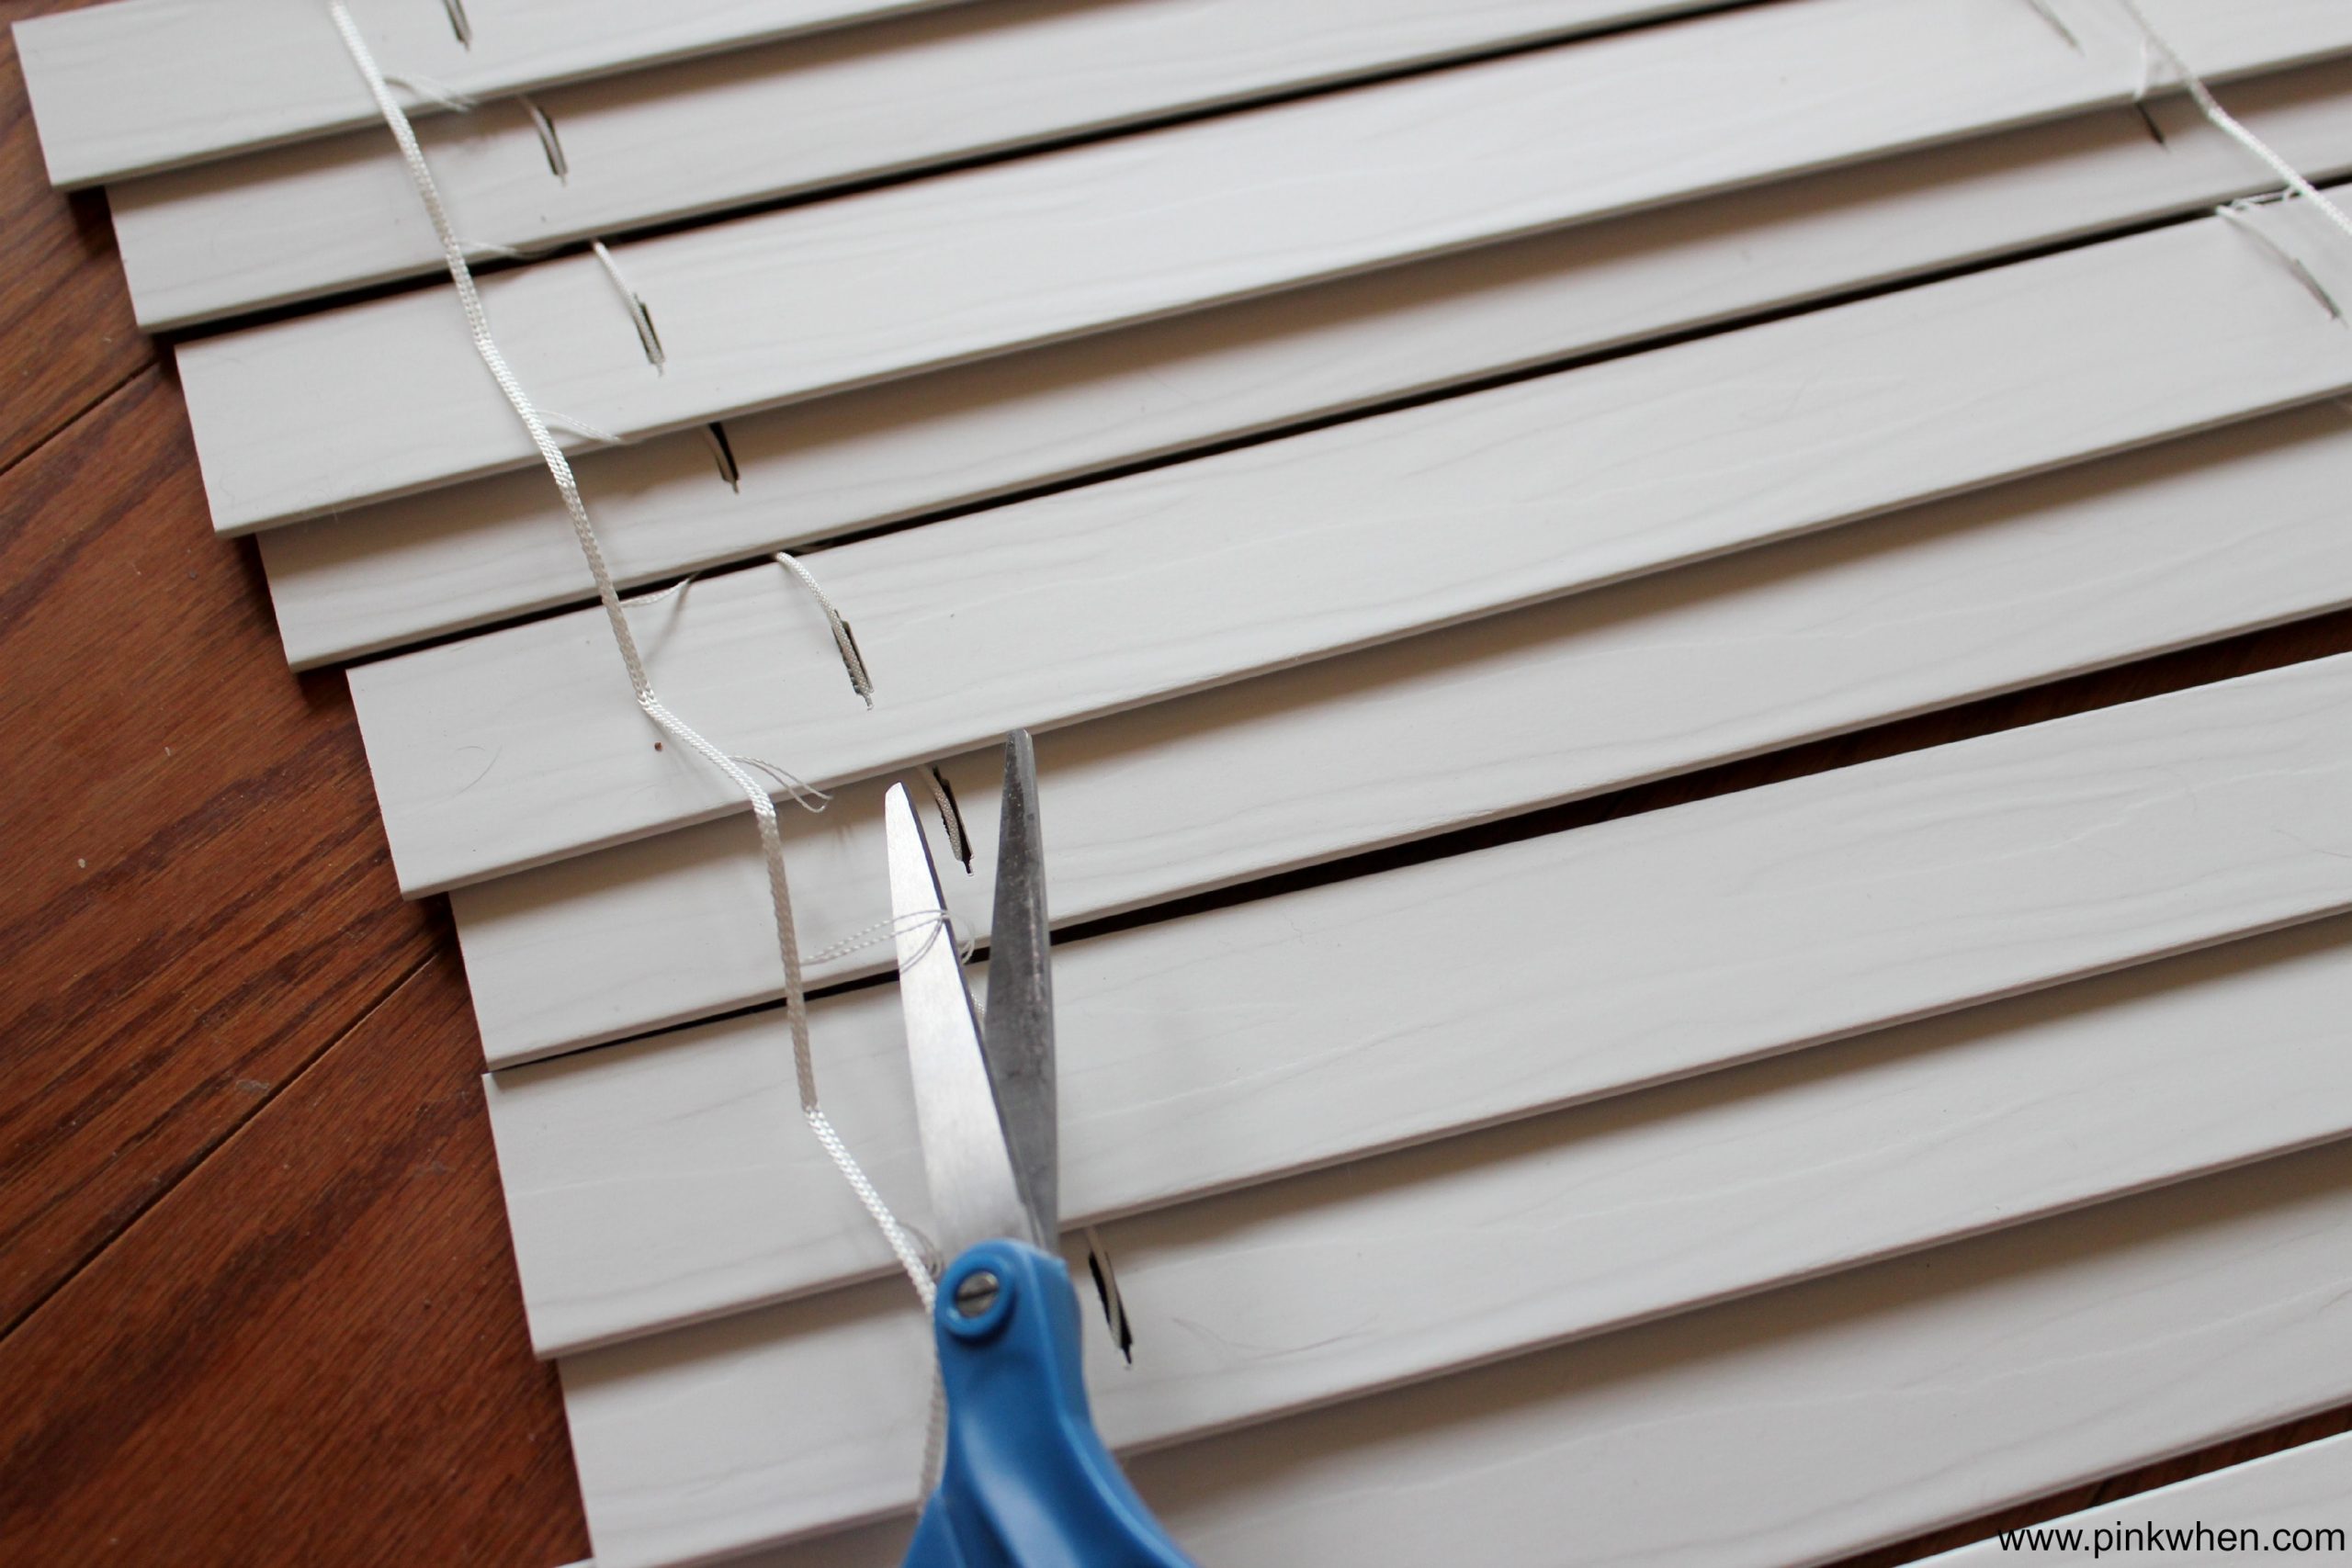

Take off the bottom caps from the bottom piece on the blinds and then remove that, and the extra slats.

Grab the blinds and place them on top of the fabric. You can space out the slats as you need, and ours here are spaced out at 10.5″.
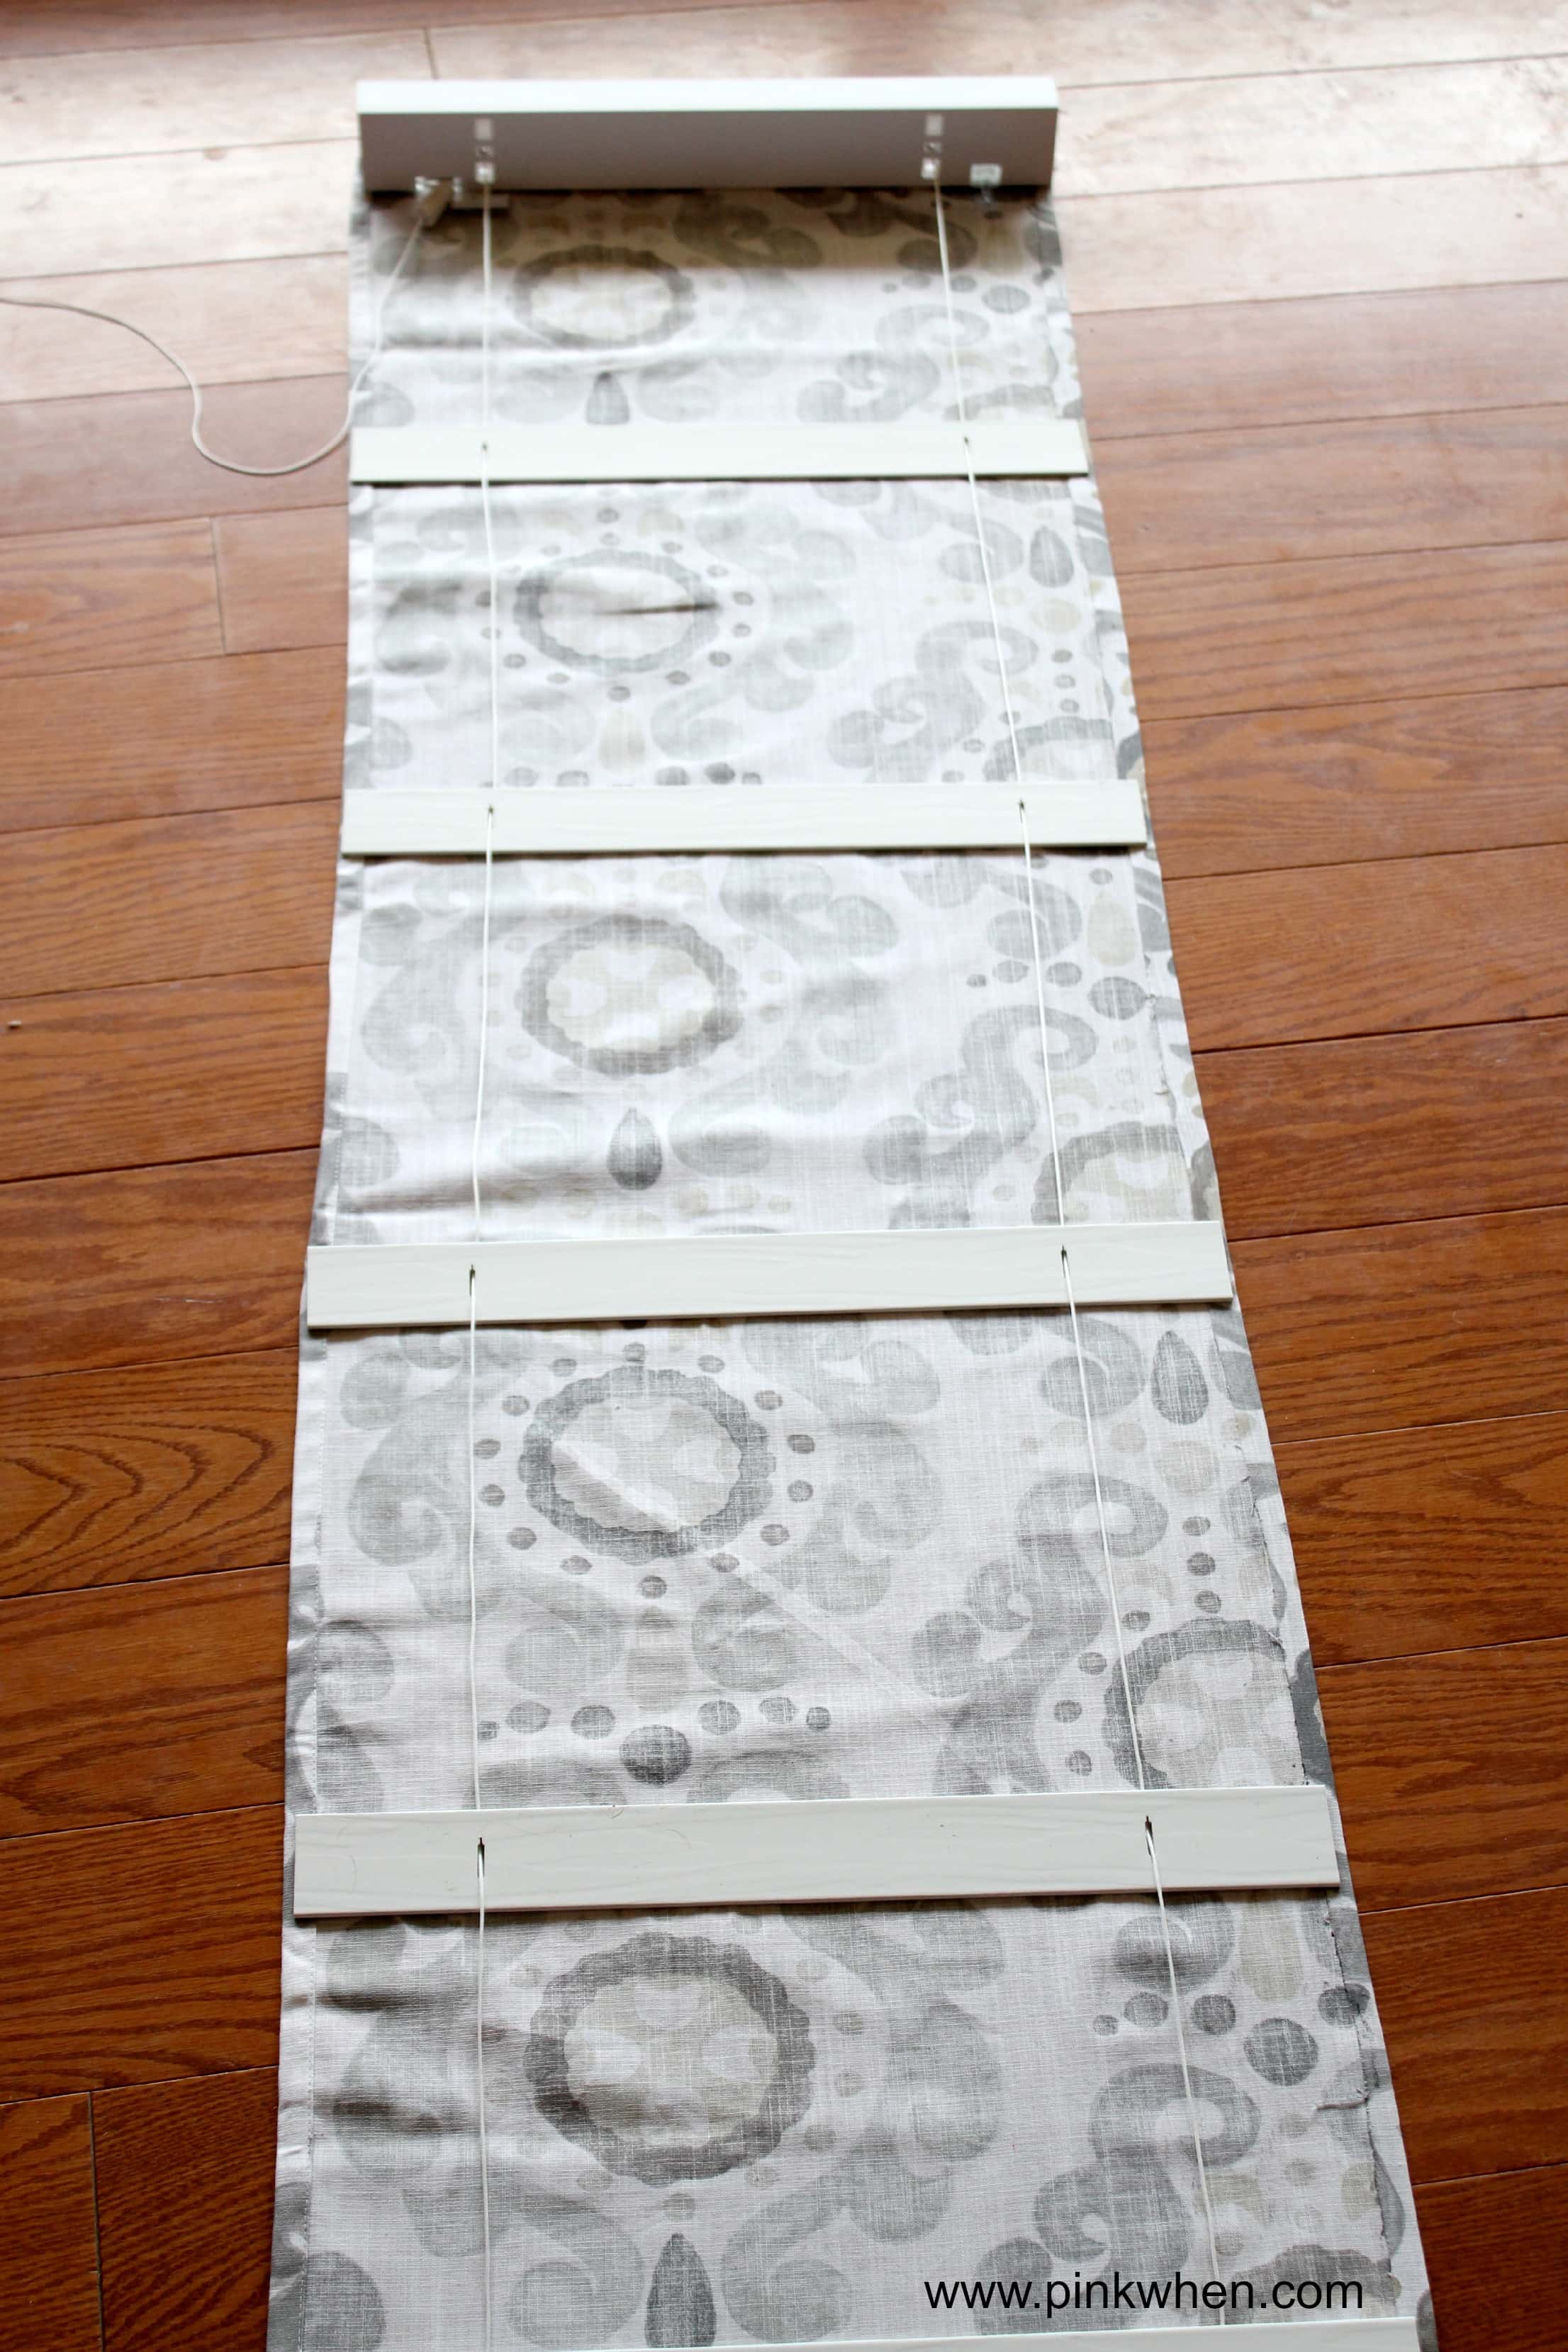

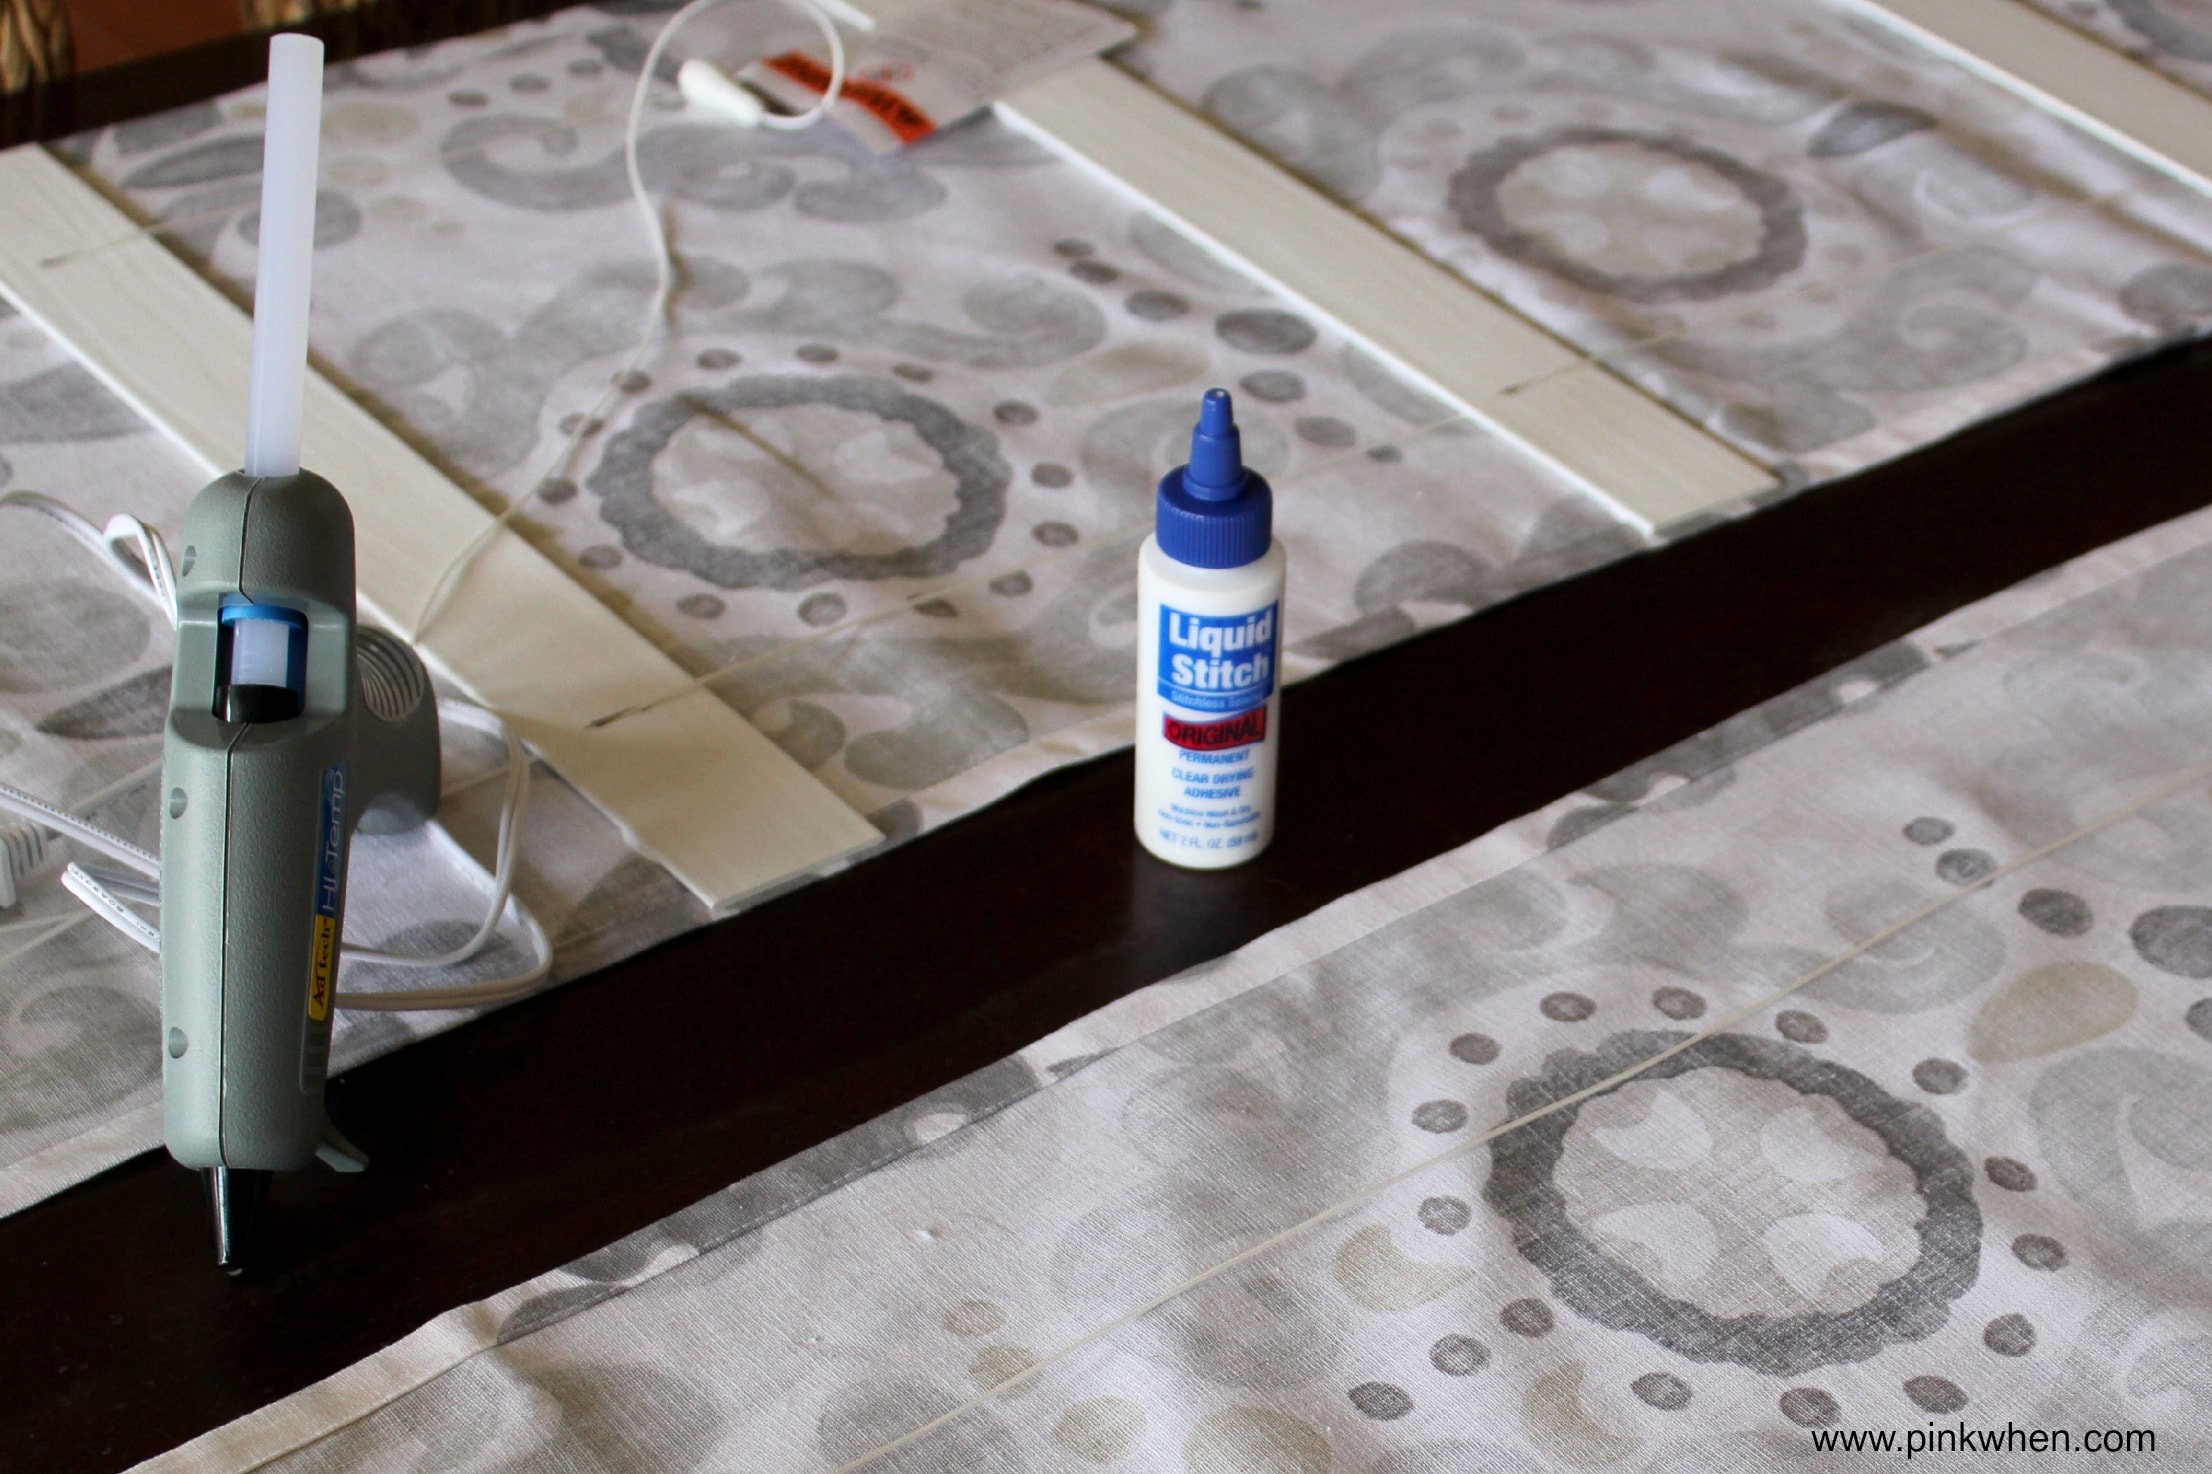
Next, take your hotglue and liquid stitch to secure the blinds and fabric together. Then allow them to dry for a few hours before hanging.

It is so easy I created a video so you could follow these step by step instructions on how to create these shades. Make sure to click below and follow the 5 minute video showing you exactly how I created these No Sew Roman Shades from Mini Blinds.