
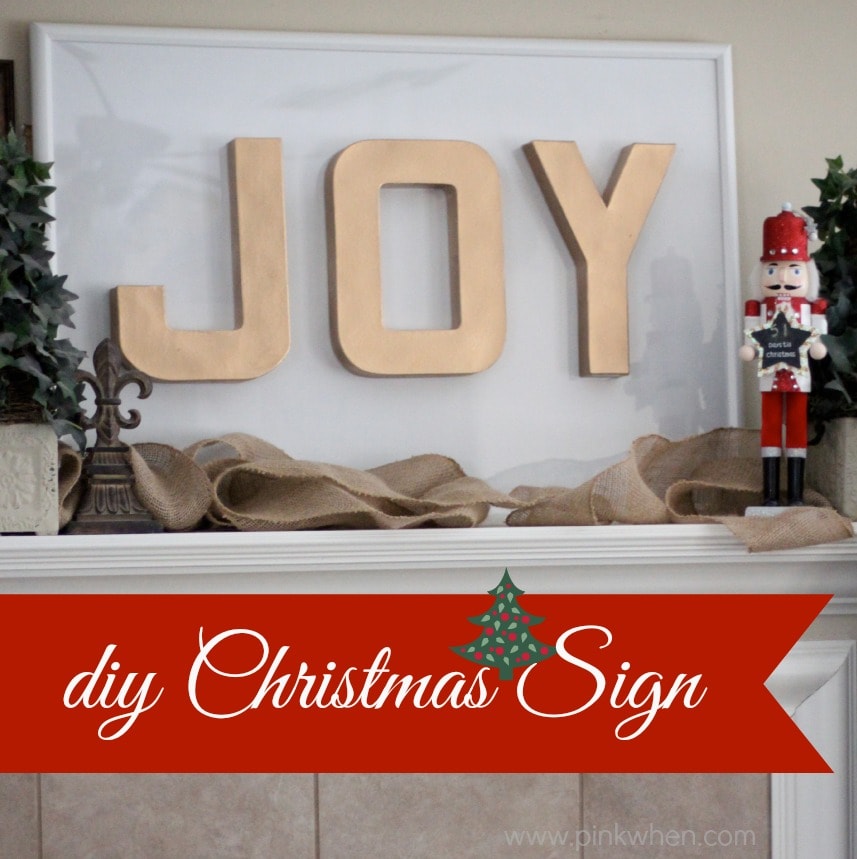
JOY Christmas Sign Tutorial


Last week I shared with you my easy shopping experience on ConsumerCrafts.com with this post on how to organize your craft before crafting it. Today I am going to share with you how I made the JOY Christmas Sign with this simple and easy tutorial. It doesn’t take long, and it’s such a pretty addition to the home.
JOY Christmas Sign
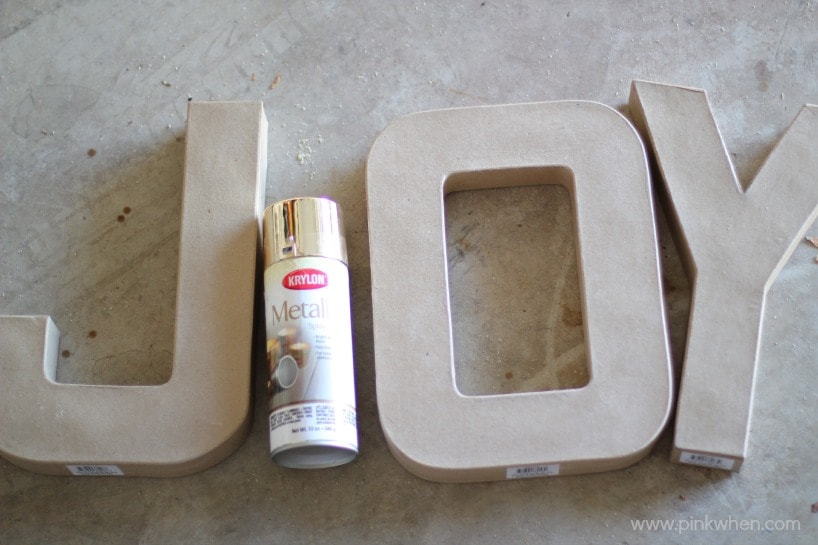
Here is a list of supplies you will need for this project:
- paper mache letters
- metallic paint in gold
- white poster frame
- glue dots
I ordered the large paper mache letters because I really wanted them to stand out from the frame.

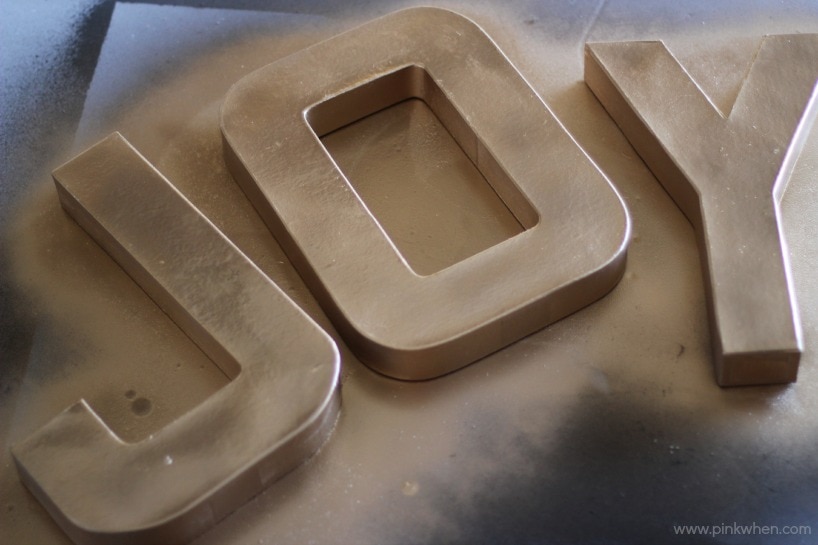
I took my letters outside to a well ventilated area I gave them a good coat of the gold paint. I love the quickness of this project!

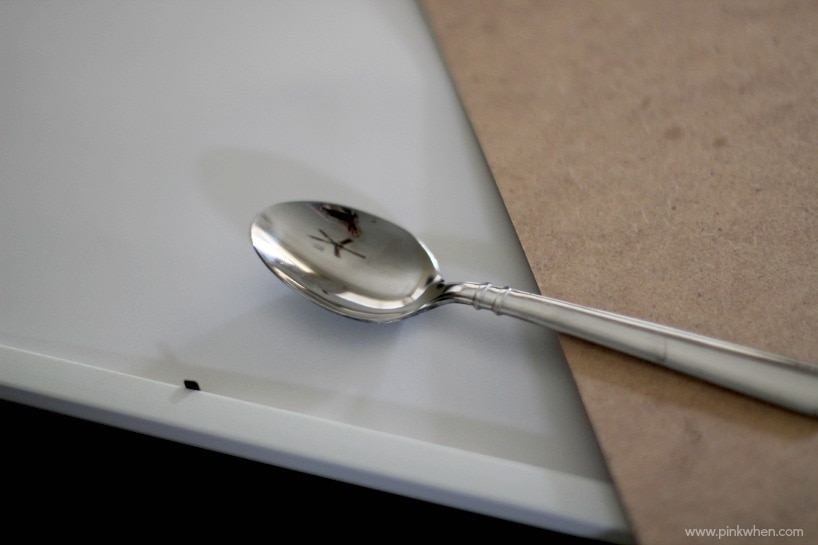
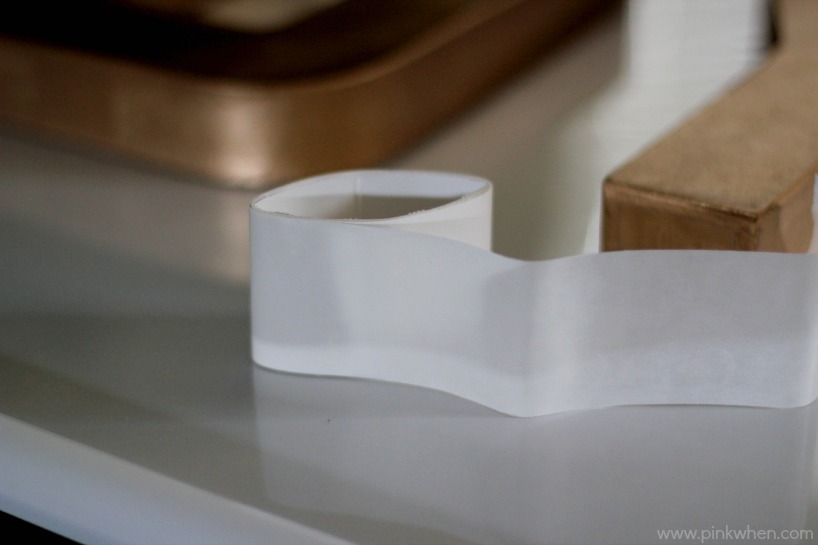
Take the poster frame and turned the paper inside out to give you a solid white background. I then took a spoon to help open the little tabs that secure the back.

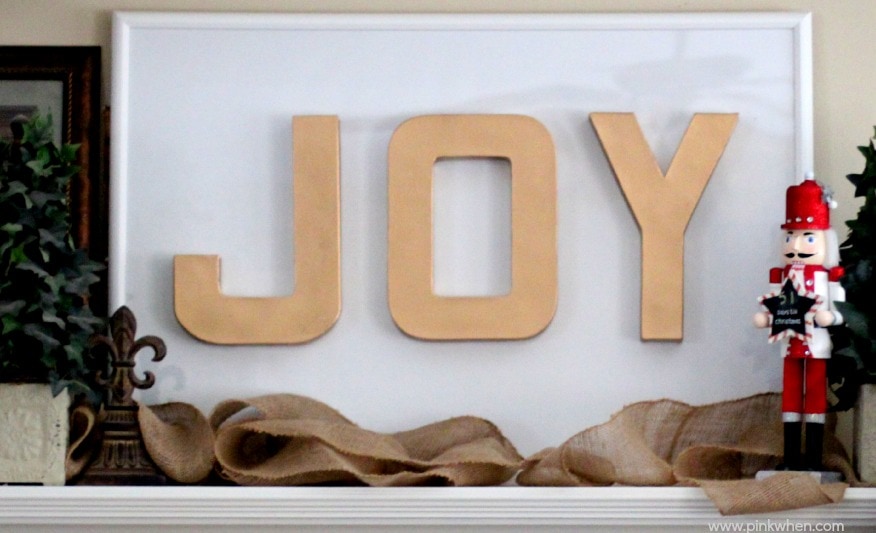
Once the letters were dry I attached them to the poster board with glue dots. You really don’t even need too many because the letters are super light.


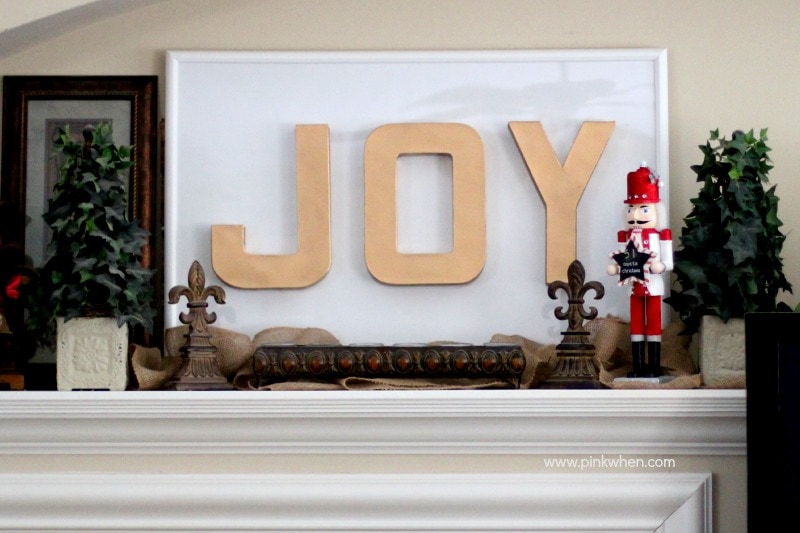
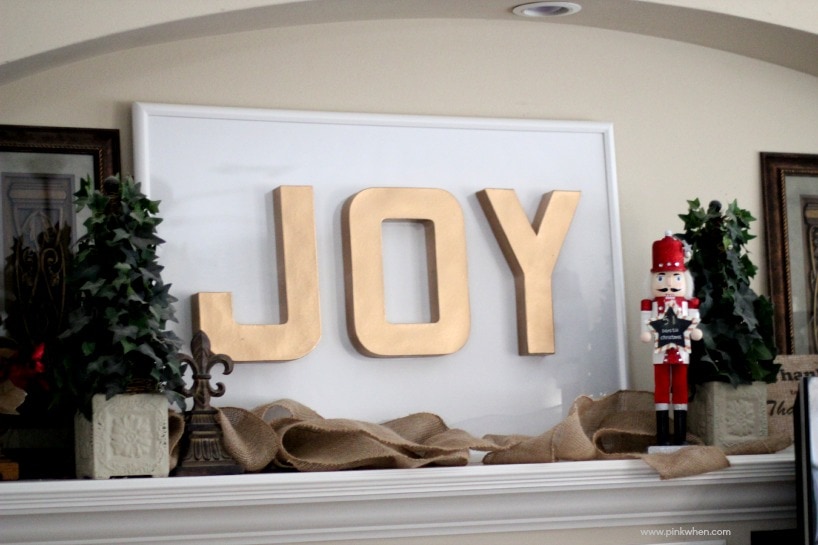
This is such a pretty piece, and I love the way it looks finished. I also love the fact that it took me less than an hour, and that includes drying time!

Don’t you love it when simple crafts turn out to look just fabulous? I know I do! Have you been thinking of making your own holiday decor? It’s probably one of my favorite things to do. (Mostly because I made it, and second because I like to save money!)

Are you looking for more crafting ideas? If so, enter below for your chance to win a new Cricut Explore! There are just so many crafting possibilities with the new Cricut!