
Twisted Braids

The name of this style says it all. That doesn’t mean these are rope braids or twists — they are literally twisted braids! And this is a simple way to change up a regular braid. I did this on Bee last summer and never posted it – maybe because I thought it was too simple — I’m not really sure! But regardless, there is nothing complex about this one – it’s pretty and easy all the same!
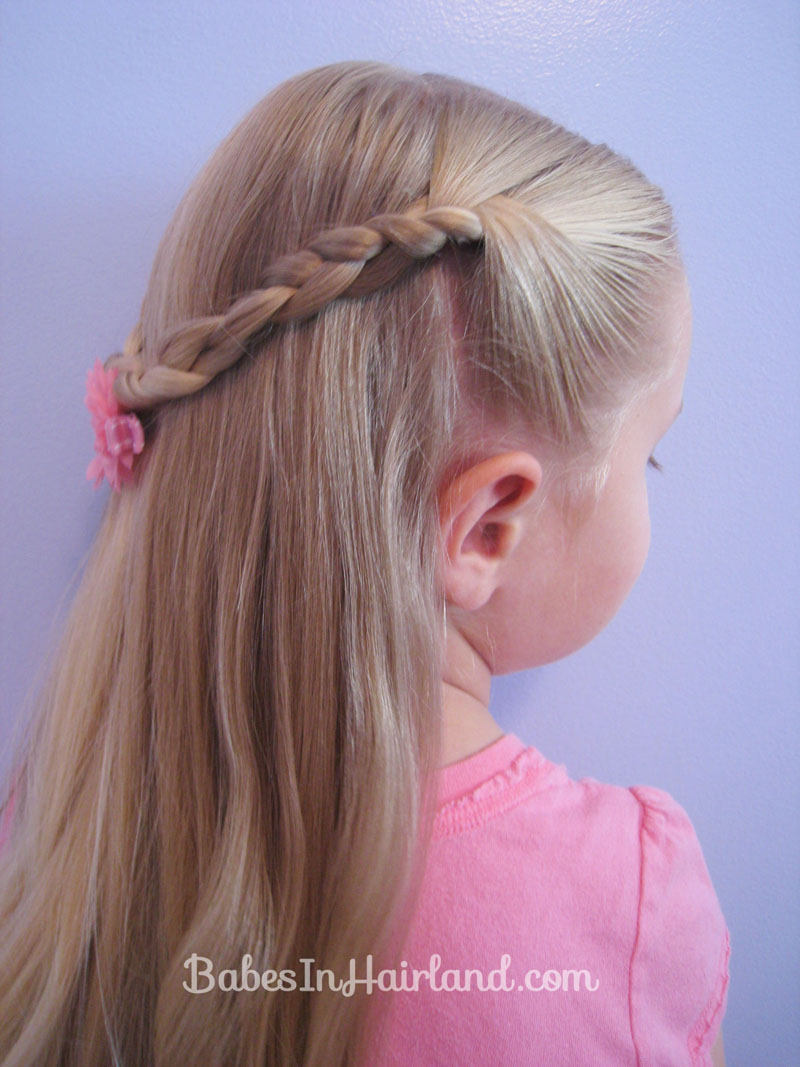
Step 1 – Part hair down the middle (or off center)
Step 2 – Part hair from ear to ear
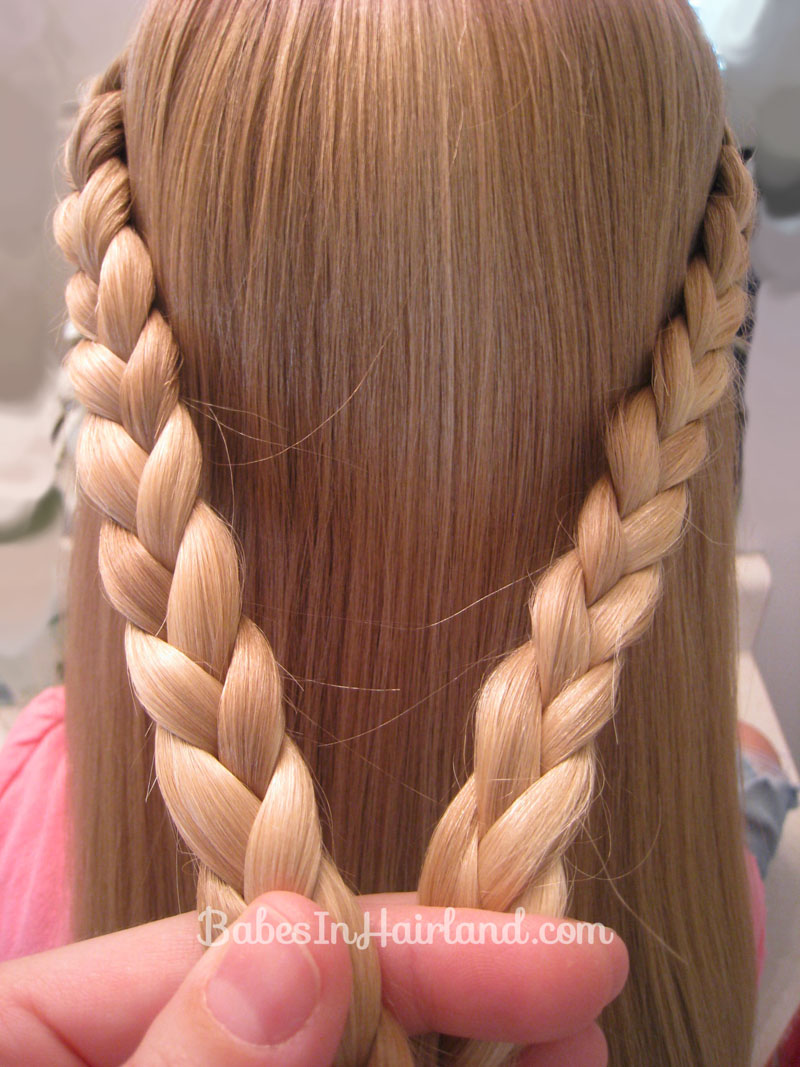
Step 3 – Plait a regular 3 strand braid on the left side & secure end temporarily


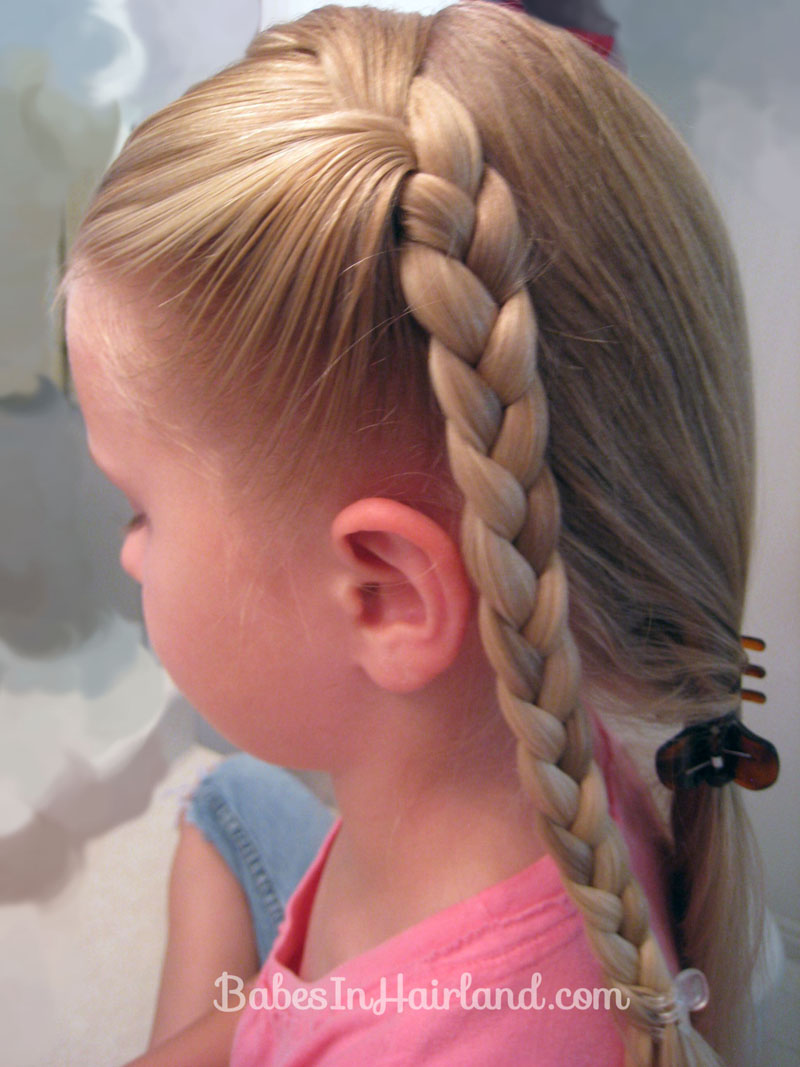
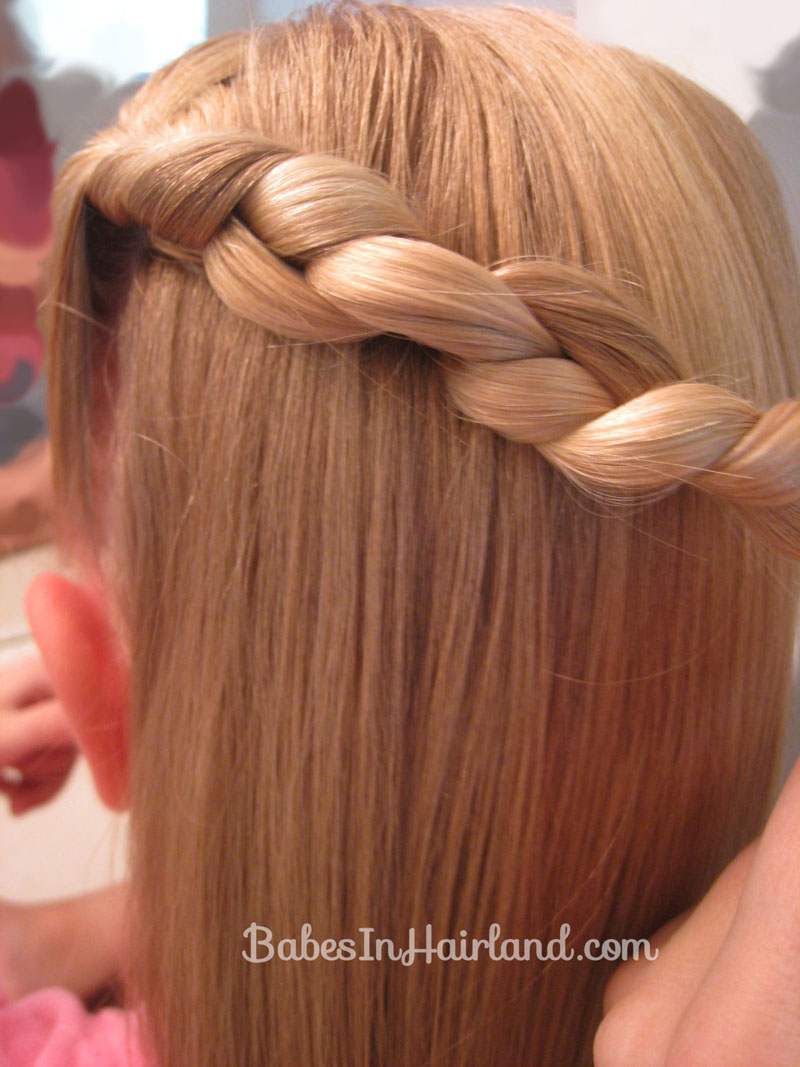
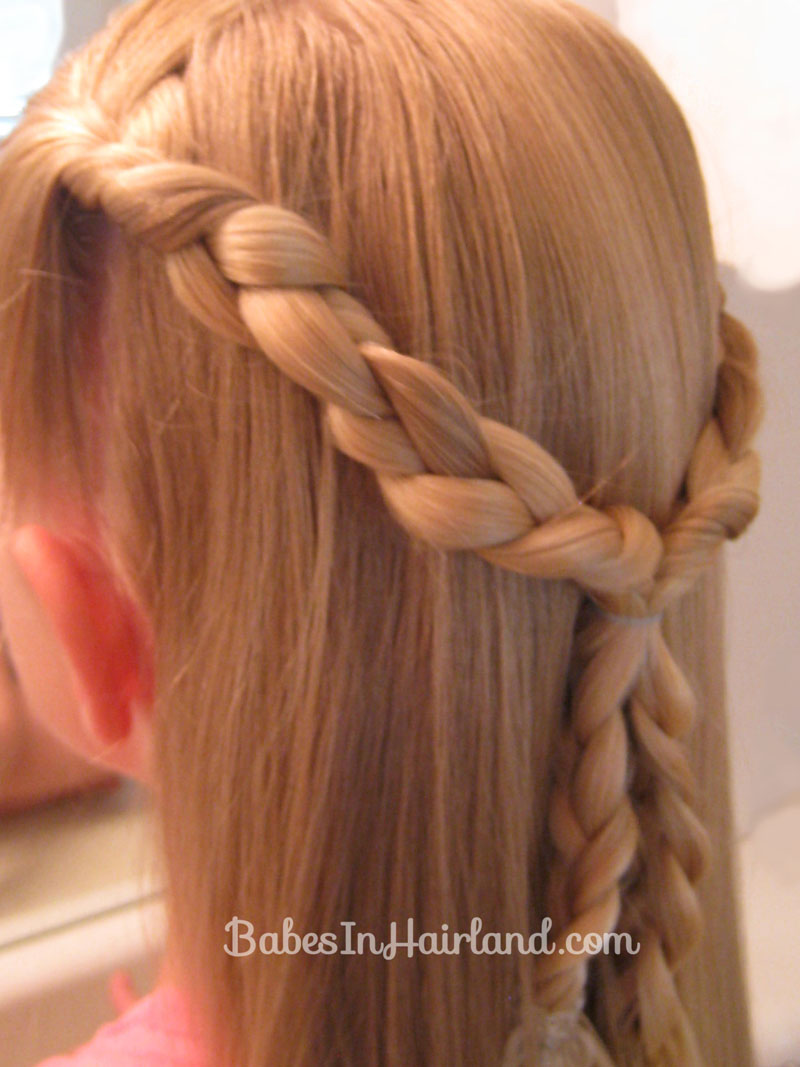
You can twist them either direction, but we turned ours inward toward the head. **Note: Once you’ve twisted the first side, you might need to clip it to the head to keep it from untwisting while working on the other side.

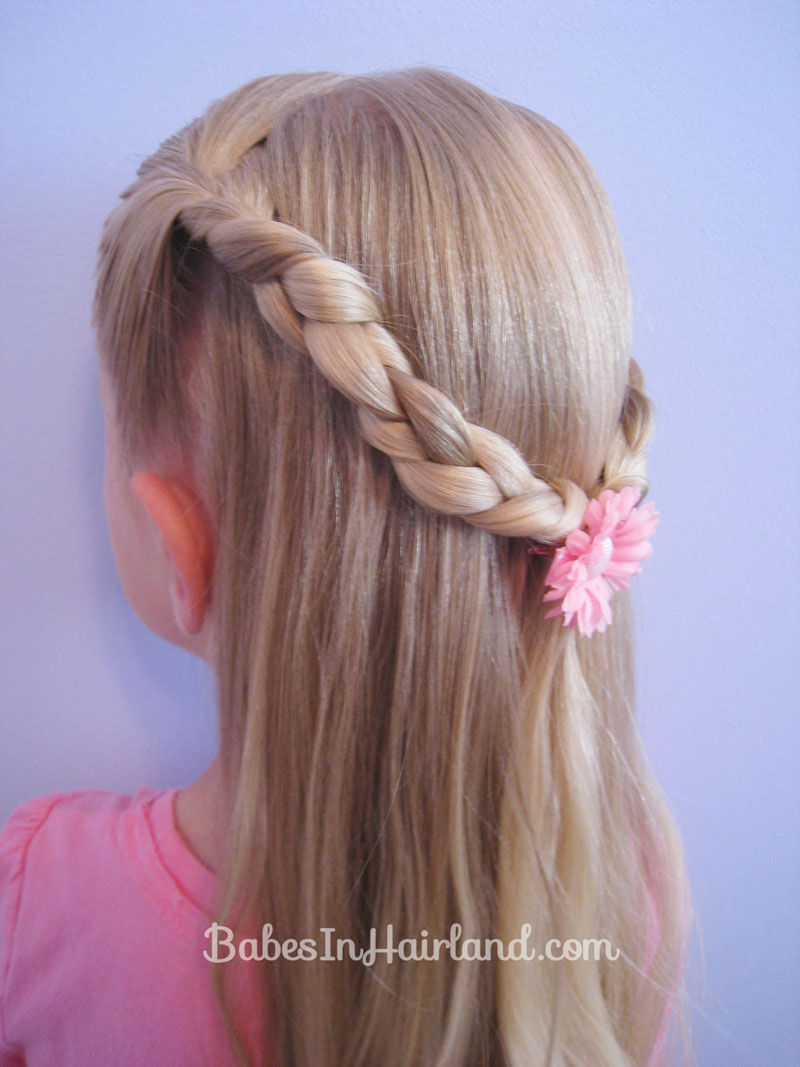
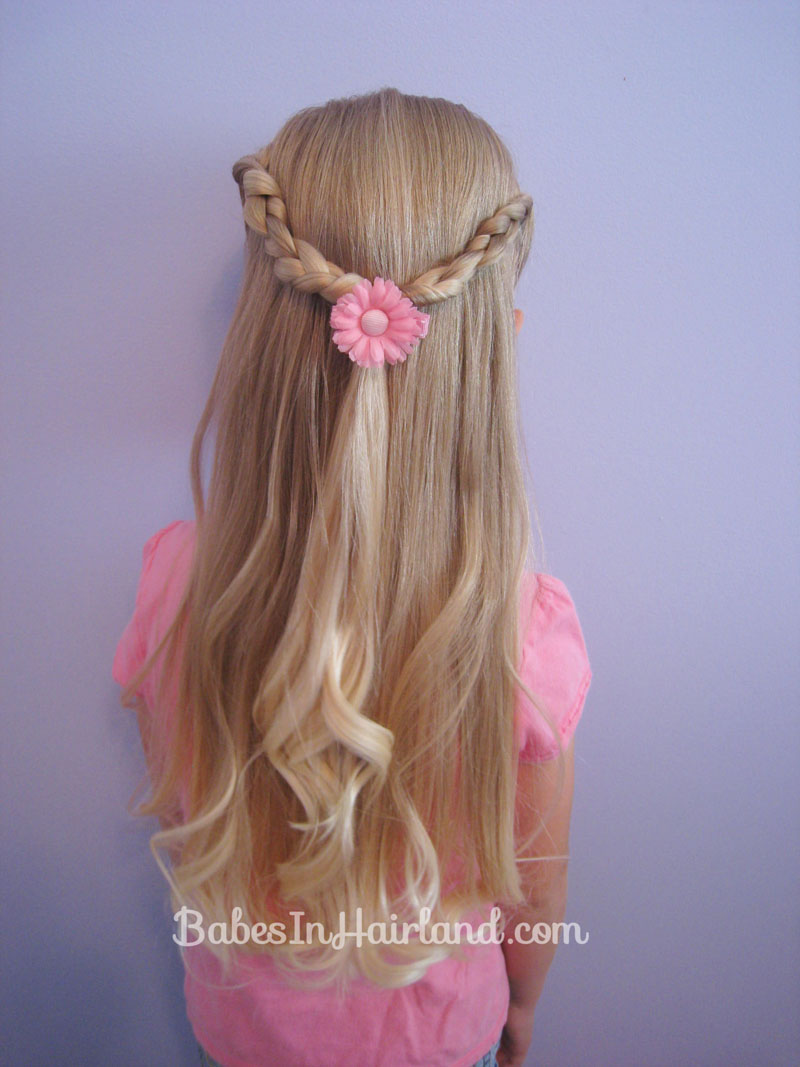
Step 6 – Join braids in the back
Once both braids are twisted as much as you want, secure them with an elastic in the middle back of the head. Unbraid any “extra” braid that is below the elastic.


At first looking at this picture I didn’t think Bee had changed much in a year, but she has lost so many of her baby teeth since this picture was taken and is losing that “little girl look” more and more each day!

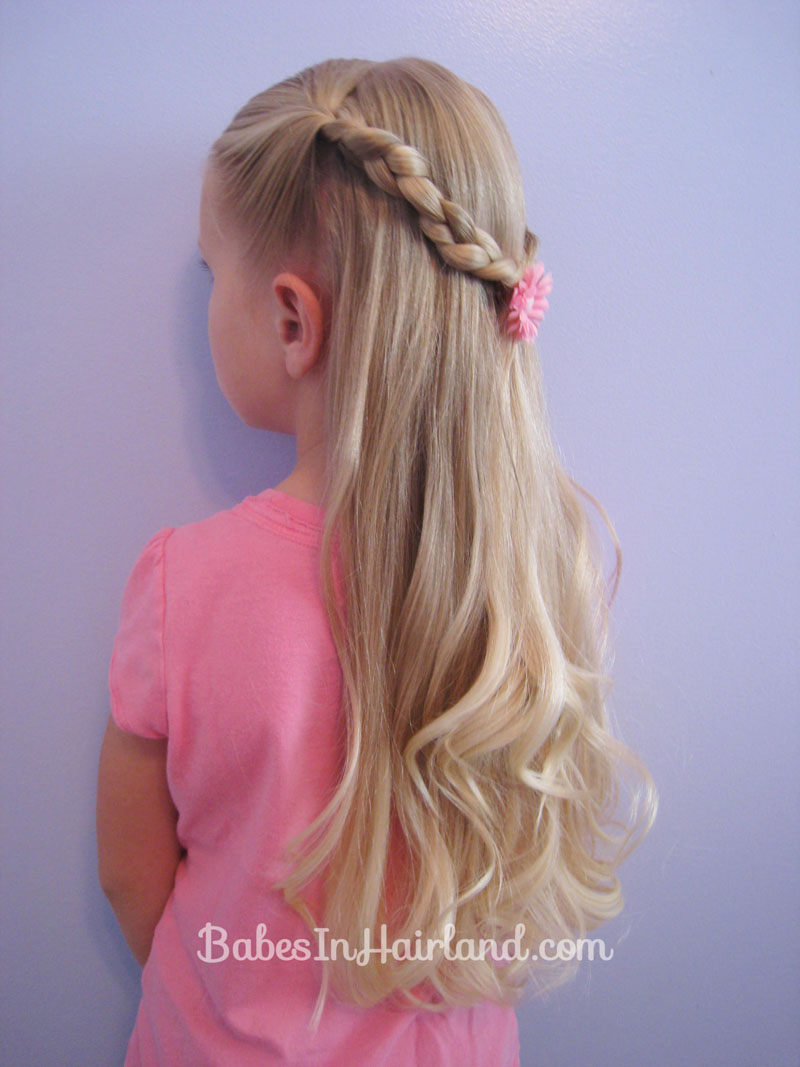
You can change the look of this by making skinnier braids and twisting them even tighter. I’ll try share some variations using these twisted braids in a later post. If you like this fun “twist” on braids, please share using our social media buttons below!
