
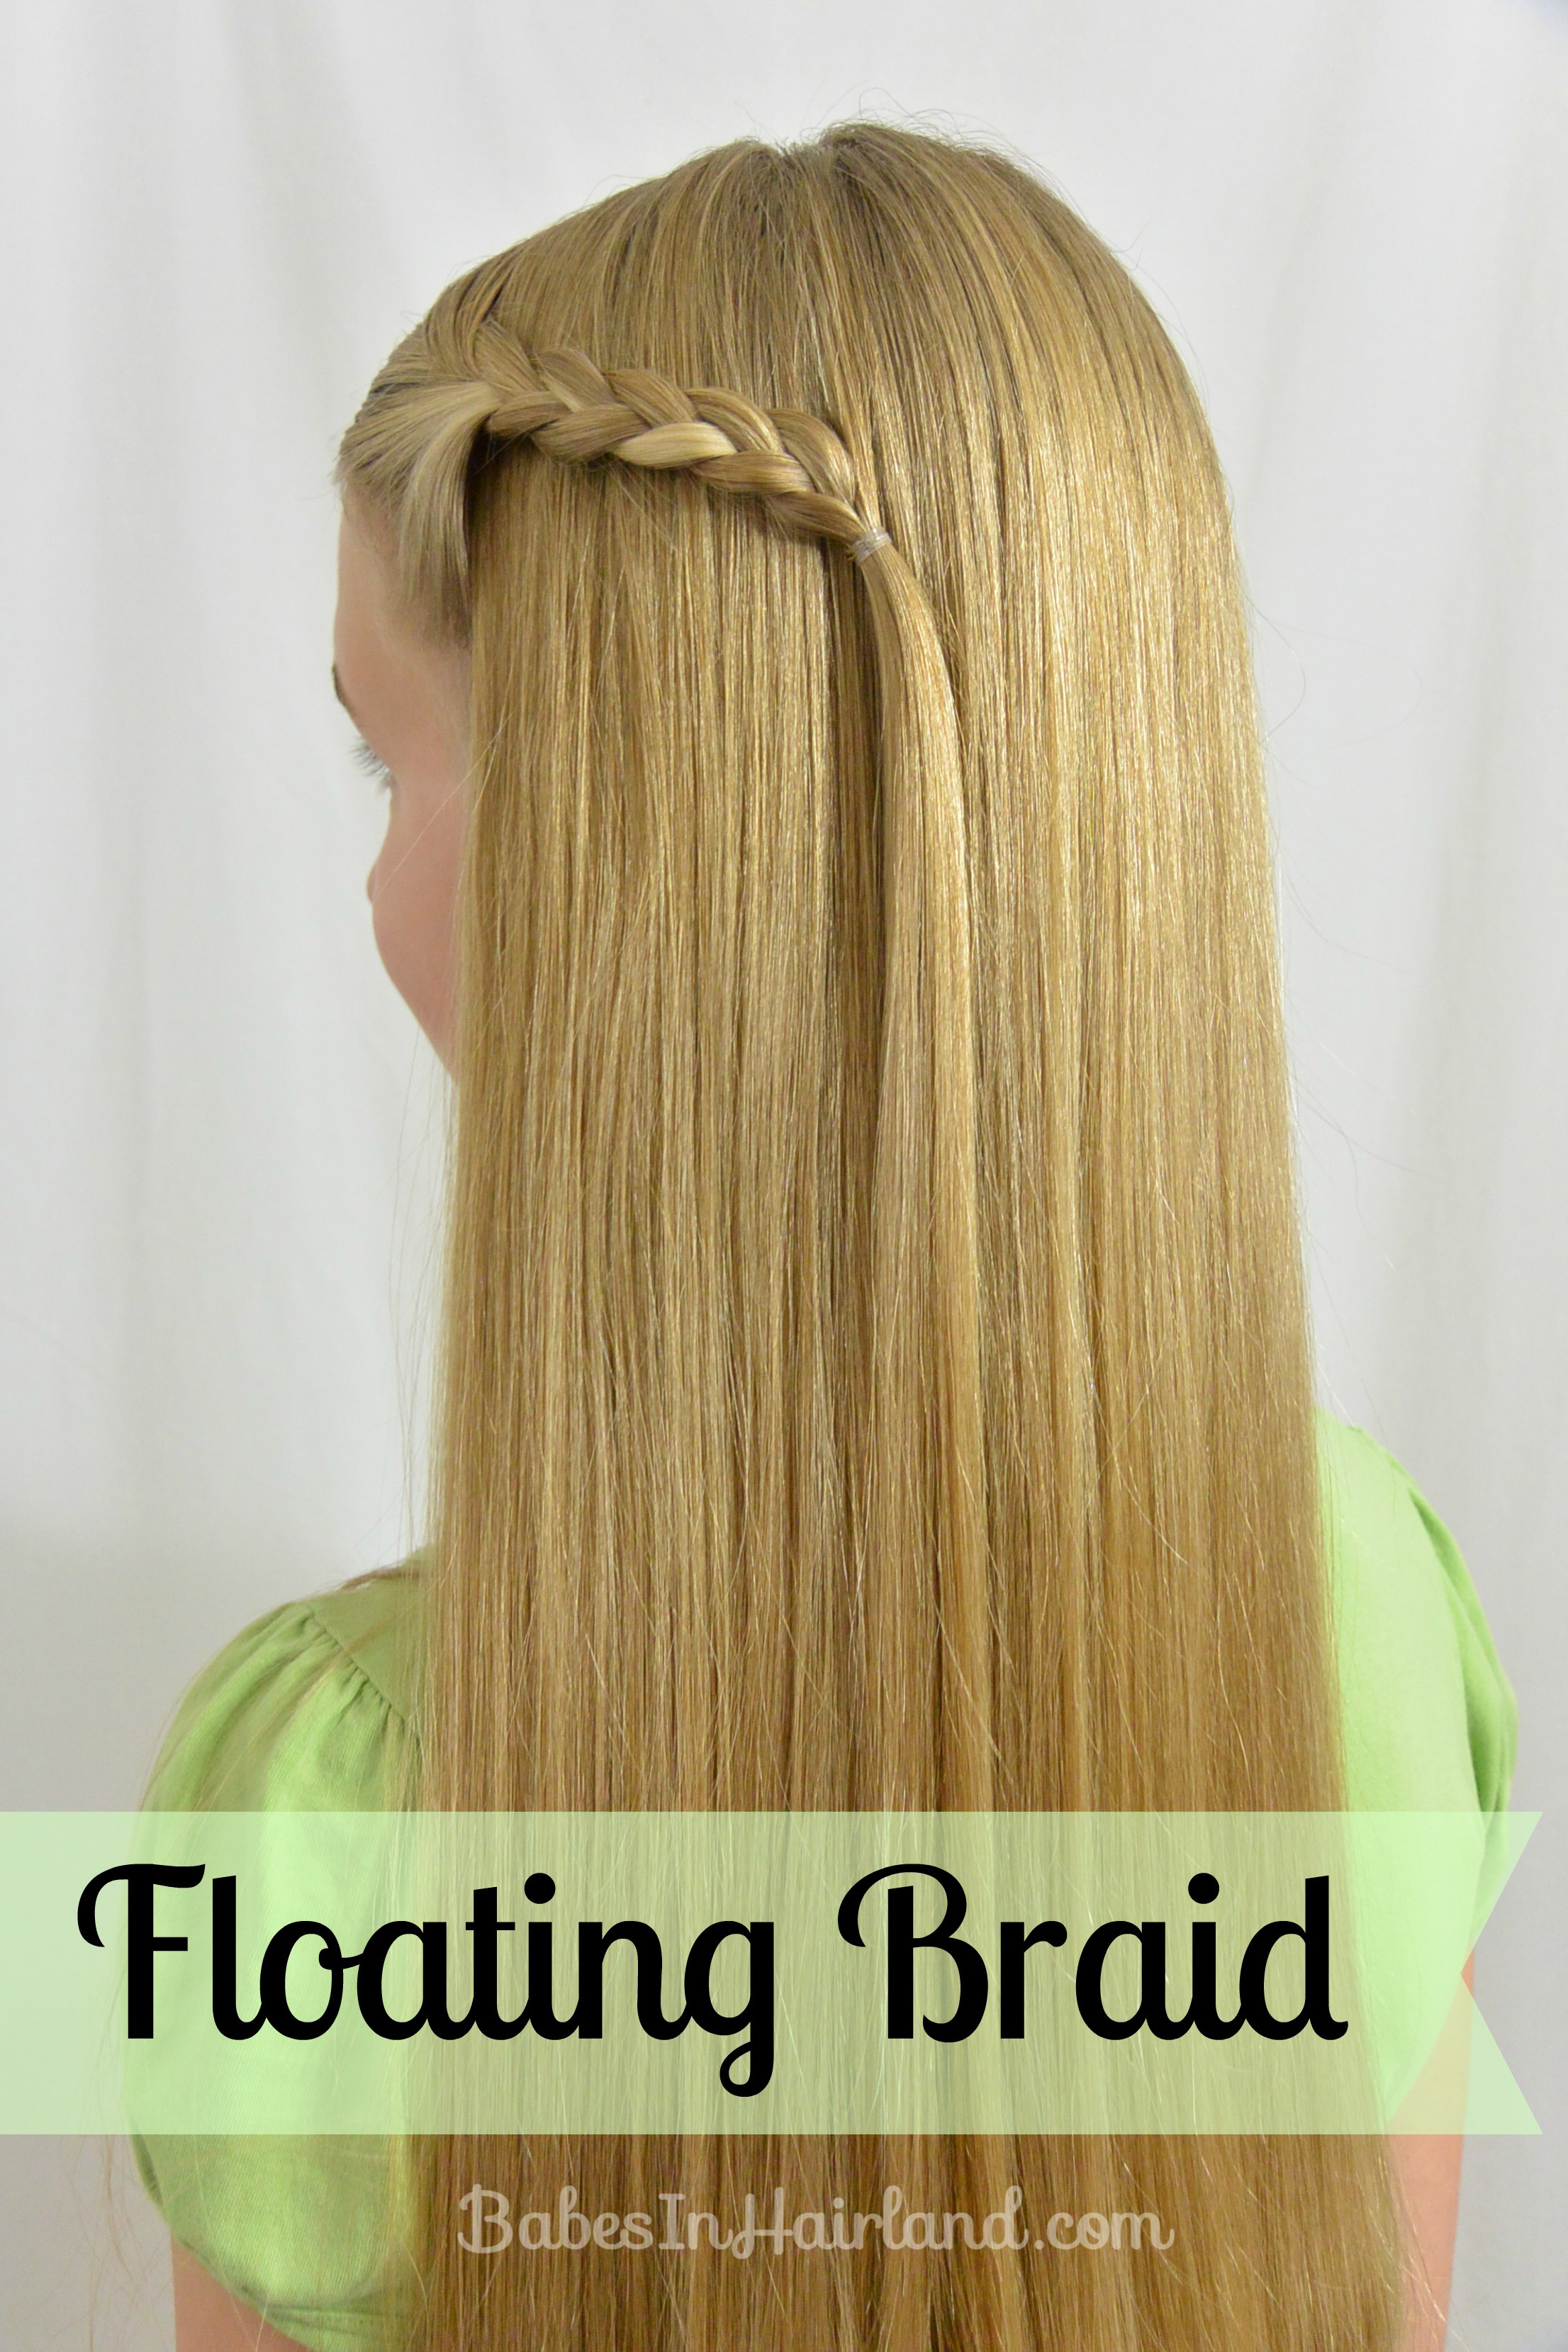
Floating Braid

These days Goose has liked her hair down a lot more but doesn’t always like it falling in her face. We’ll add a braid or a twist on the side and secure it with a bobby pins forming an X, but things still sort of start to slide as the day goes on. This was our solution. Best part is, is that it’s easy and quick.
Step 1 – Make a side part on the right side of the head
Step 2 – Section out a small amount of hair on the left side & plait a braid
Step 3 – Make the braid long enough to go past the left ear
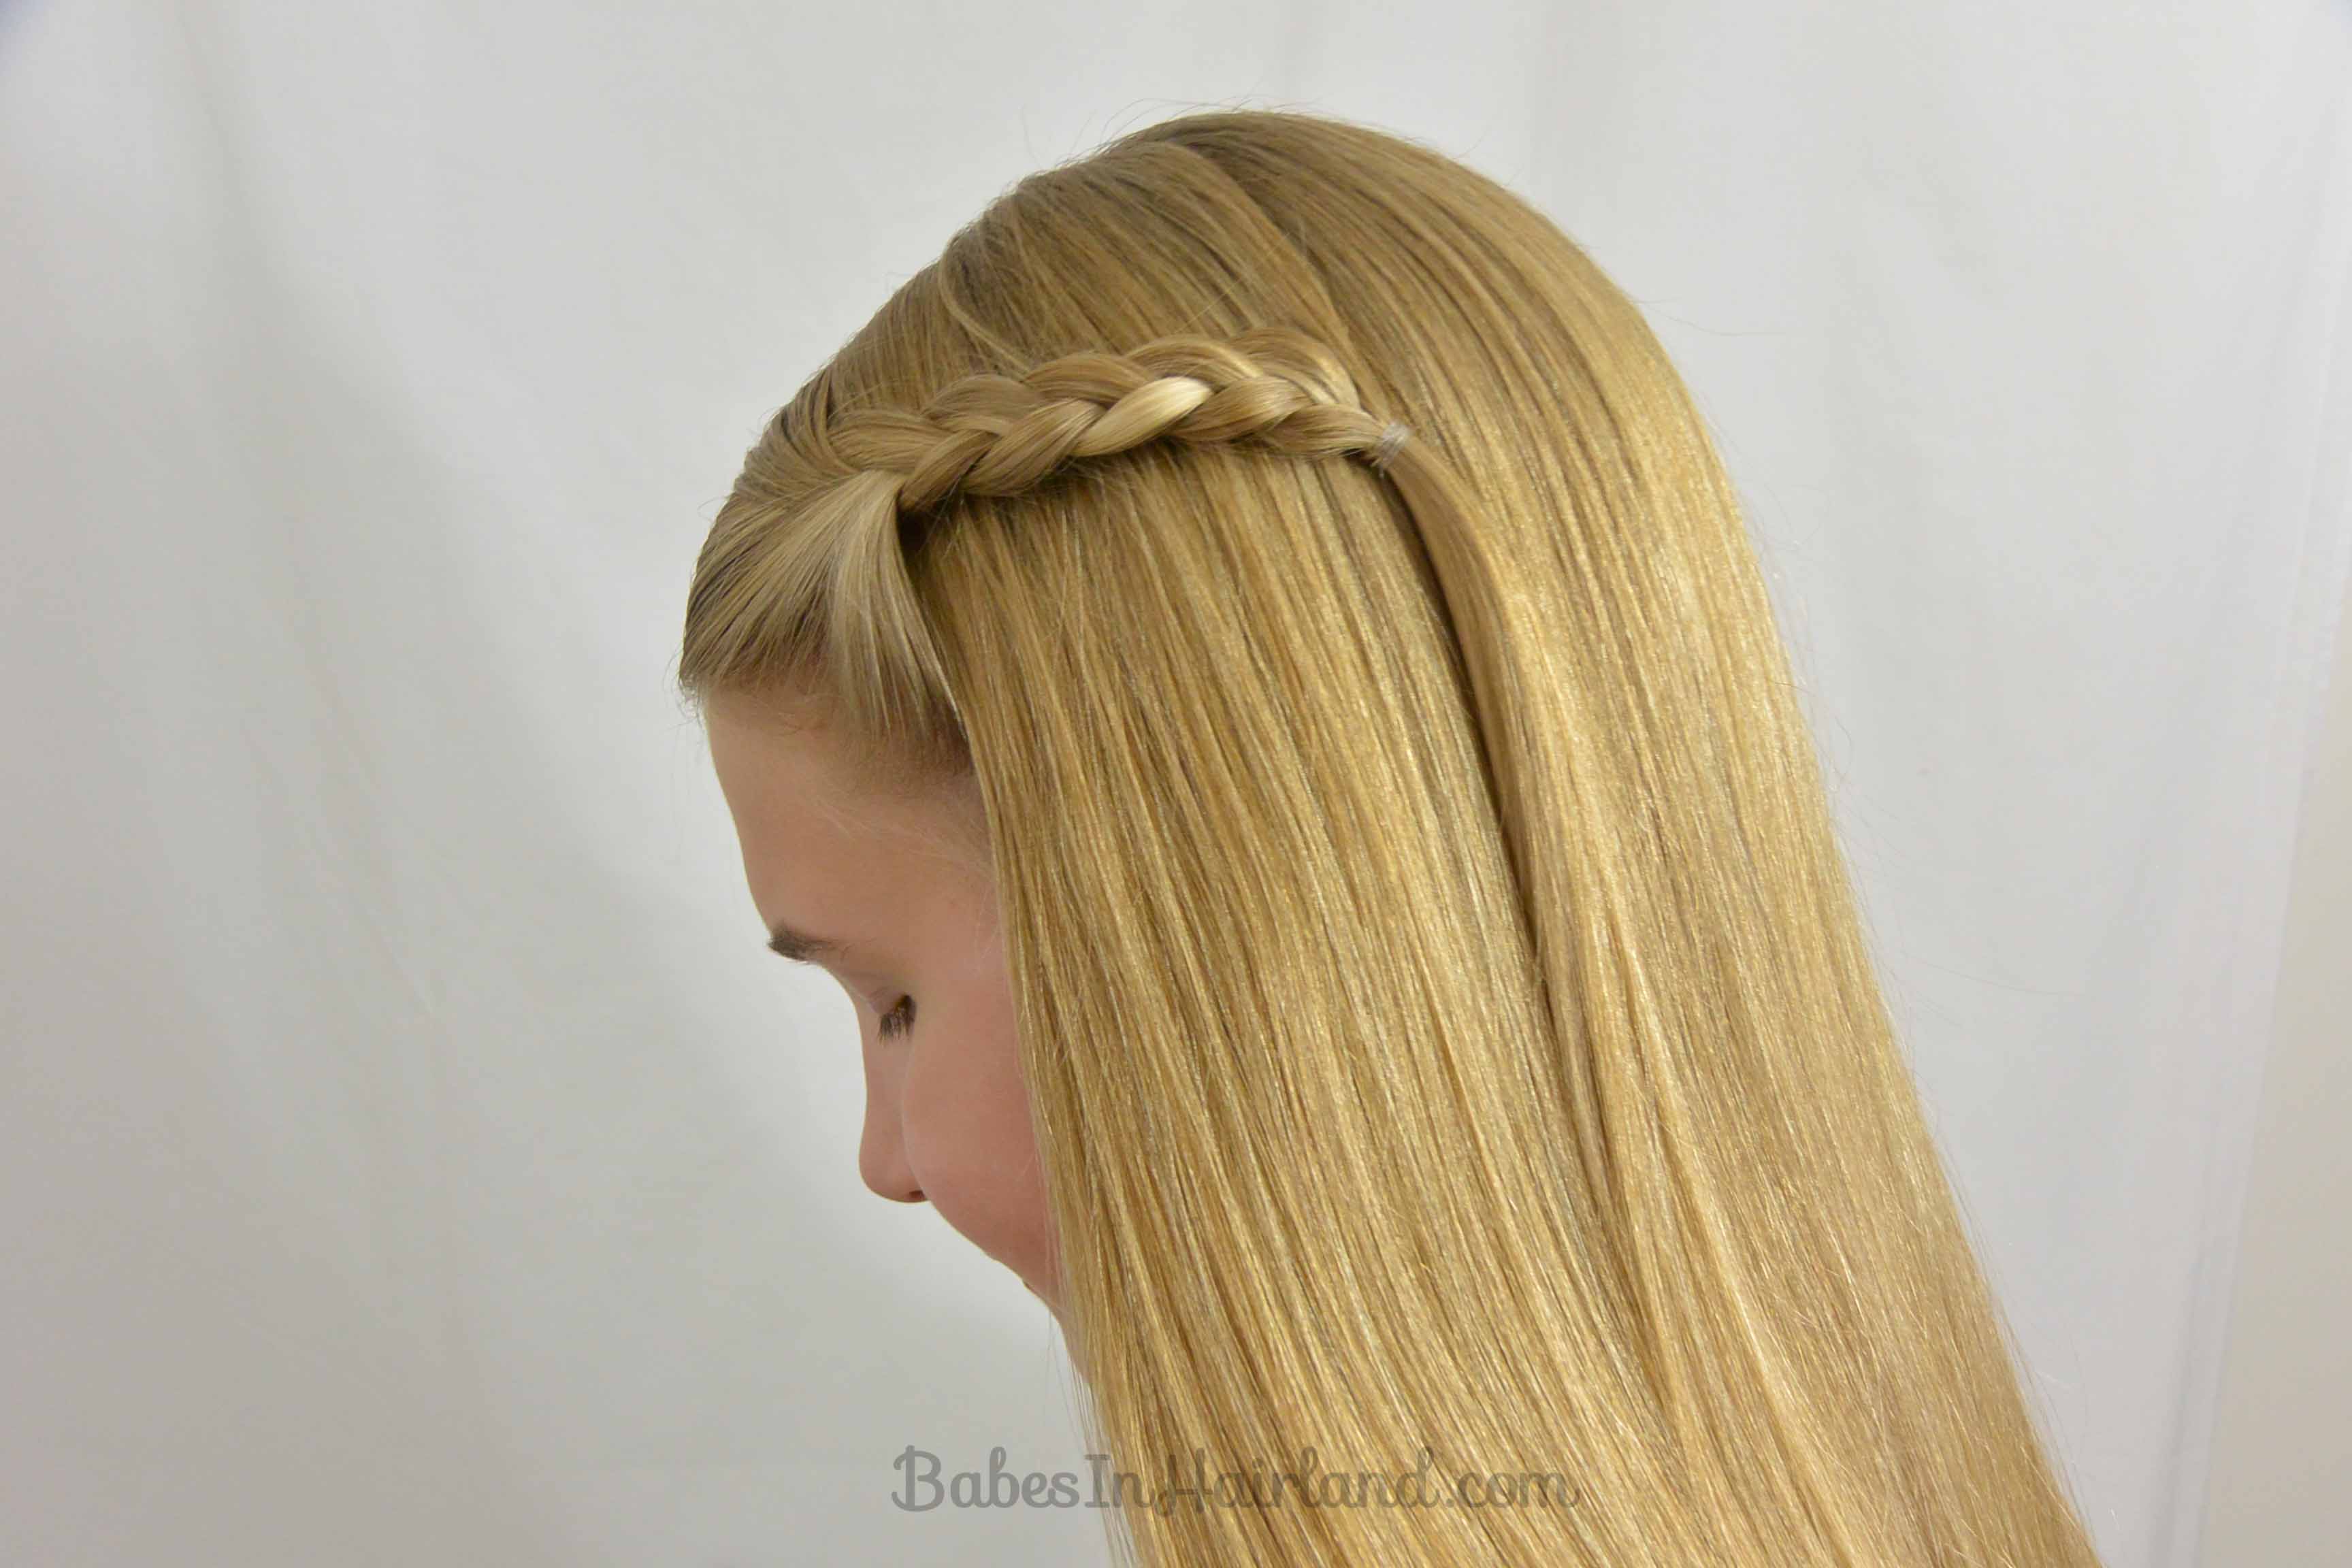
Step 4 – With a comb or your fingers, grab a tiny amount of hair from the crown
Step 5 – Add that small section of hair into the right side of the braid
It’s almost as if you are going to start doing a lace or French braid, but you will only add one section of hair to the whole braid. This is what makes it “float.”
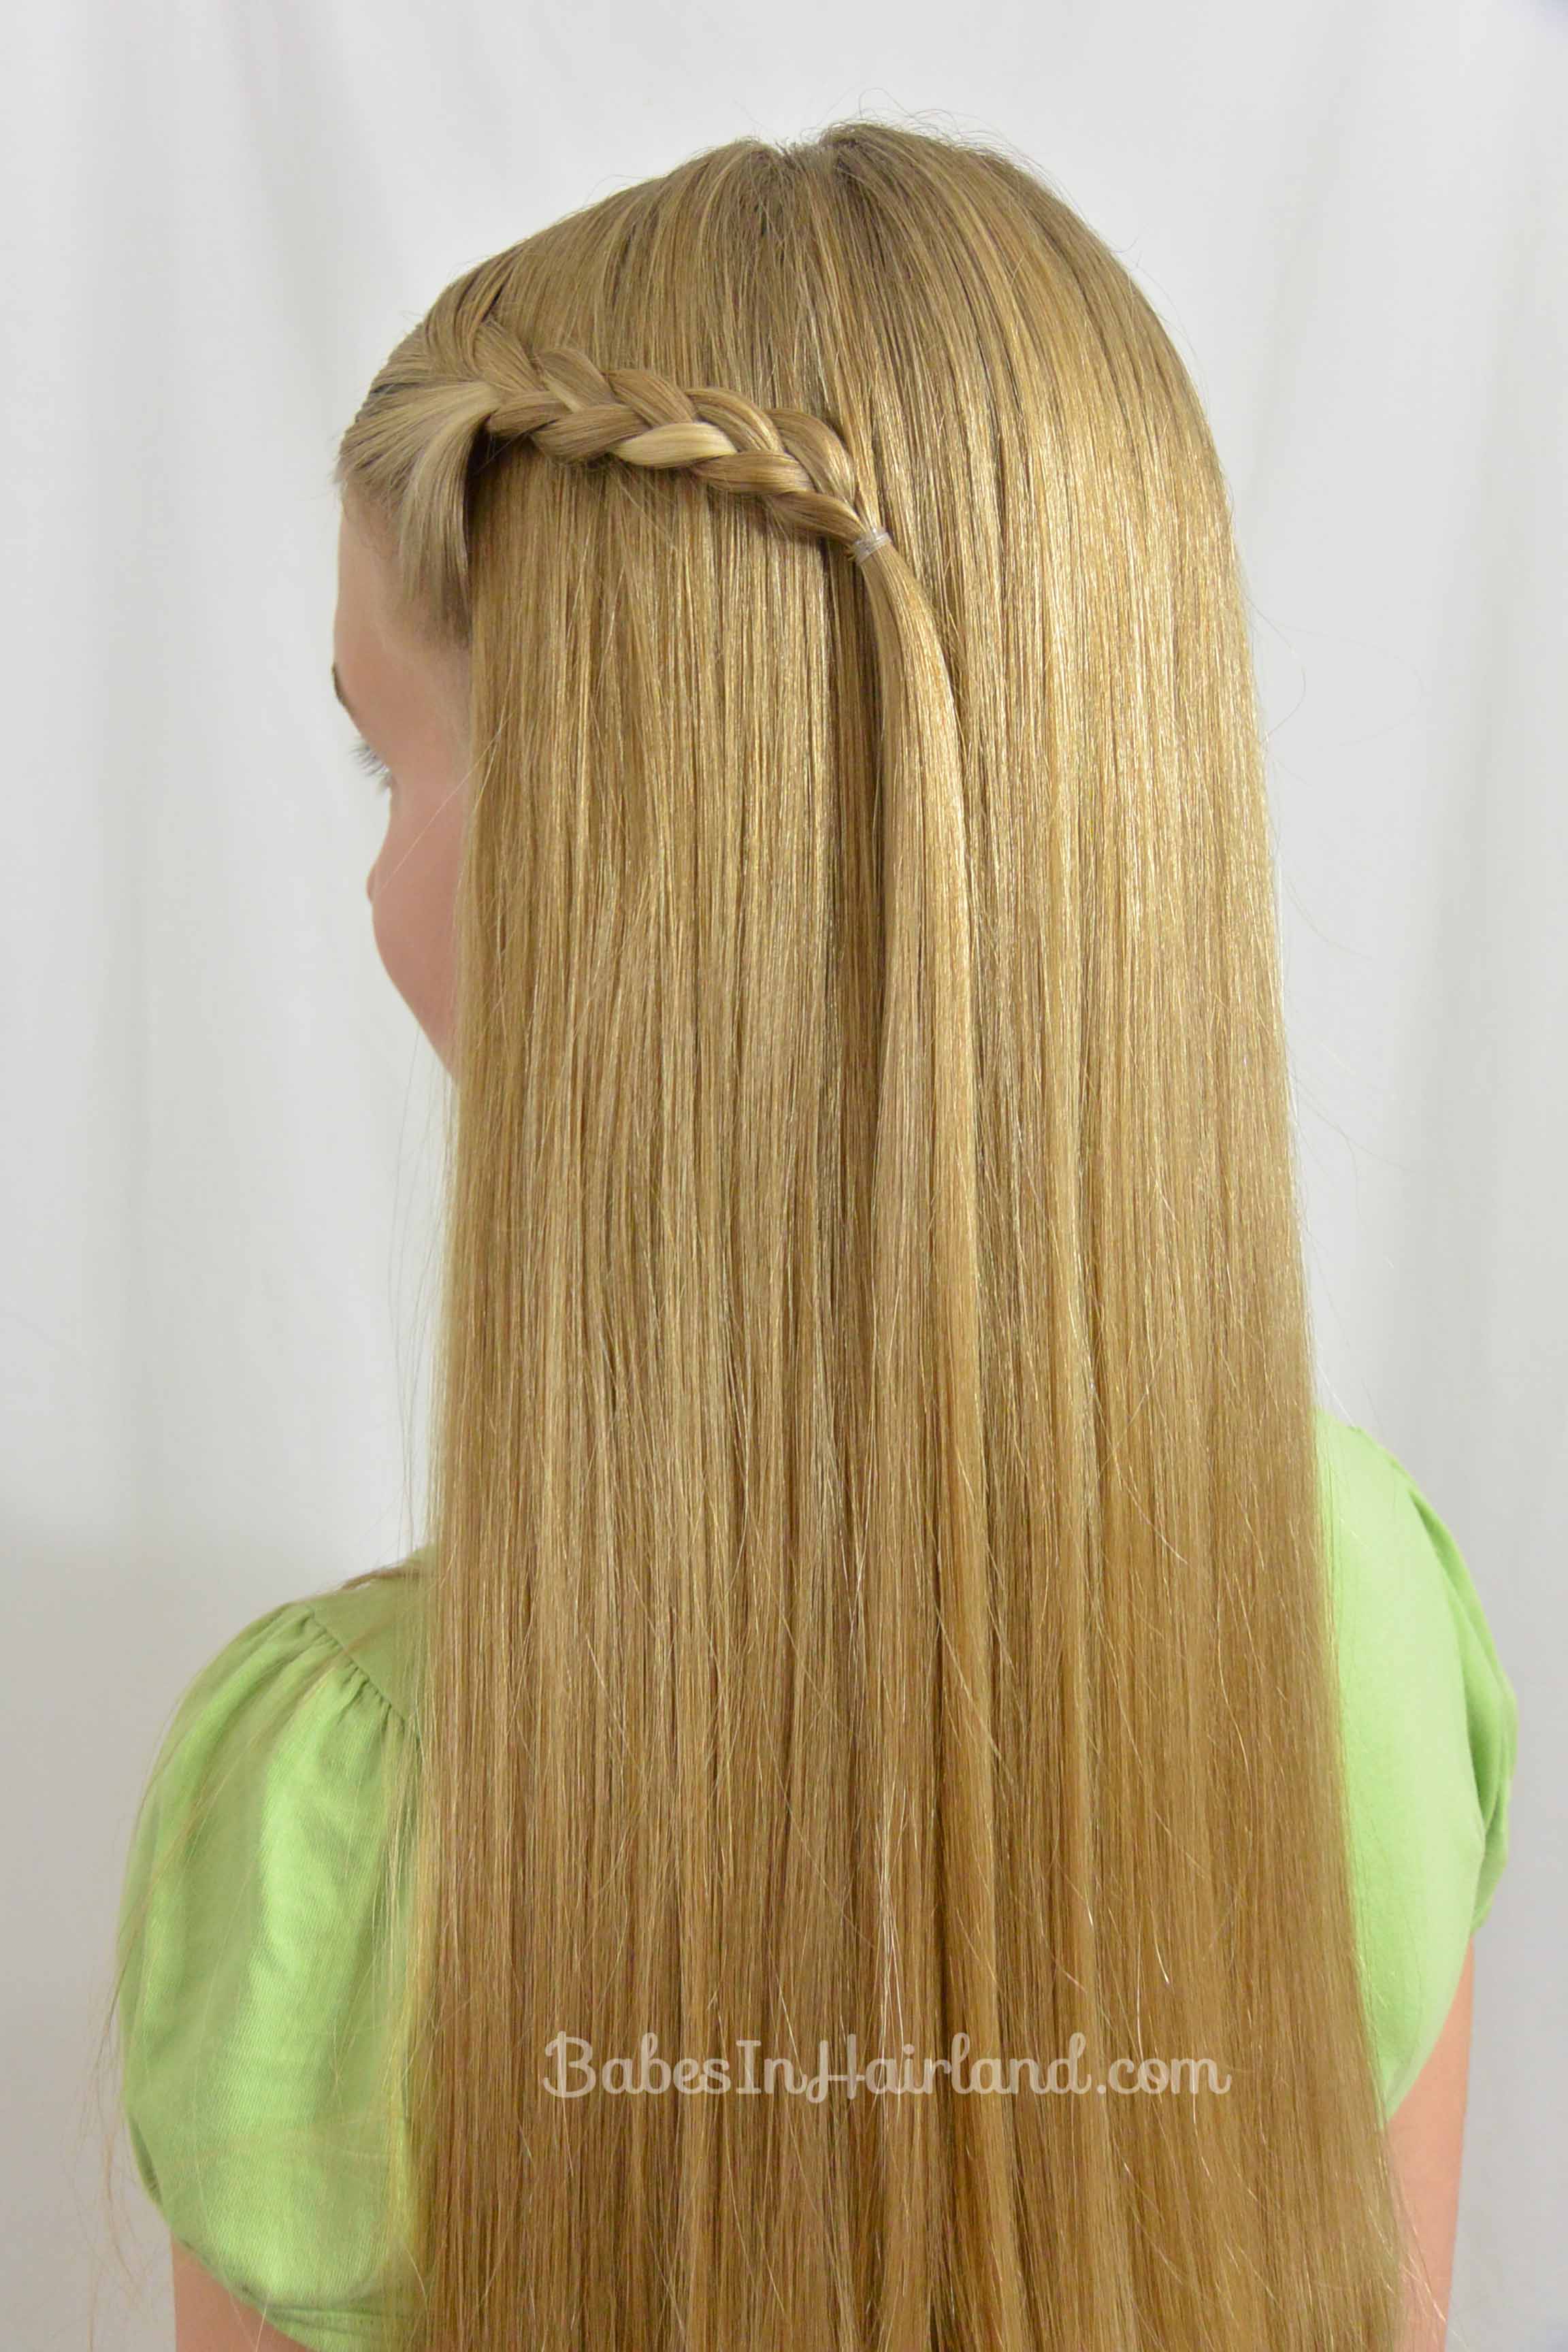
Step 6 – Plait another round of a braid and secure the end with an elastic
FINISHED!

We love doing this because it is so easy and now she doesn’t have to deal with the bobby pins slipping down her straight hair. You can totally pancake the braid too, which would give it an even prettier look. You can angle the braid as little or as much as you like too.


What do you think? Will you try this? Be sure to share this, by using the social media buttons below!