
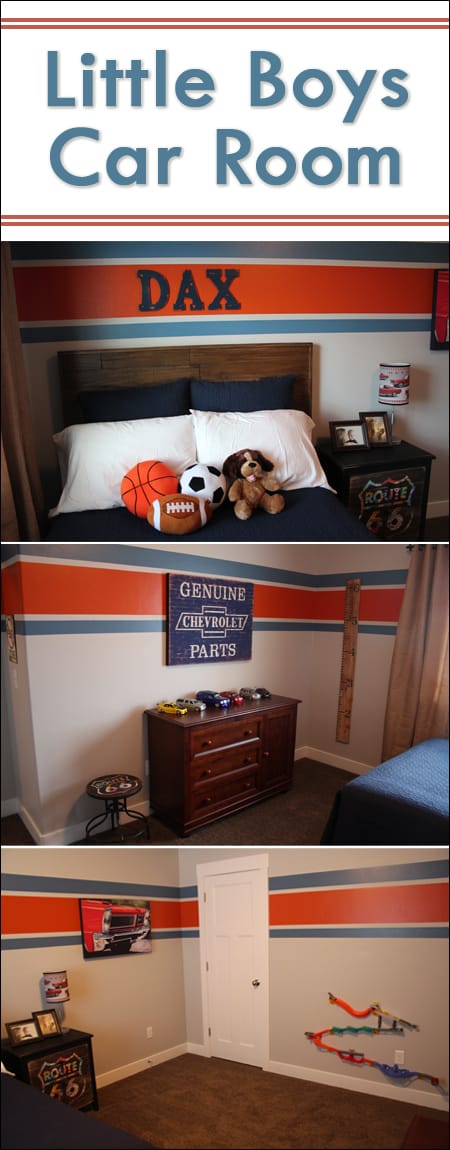
Little Boys Car Bedroom
This post brought to you by FrogTape. All opinions are 100% mine.

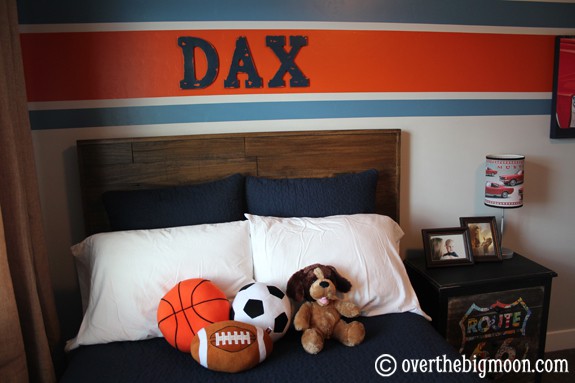
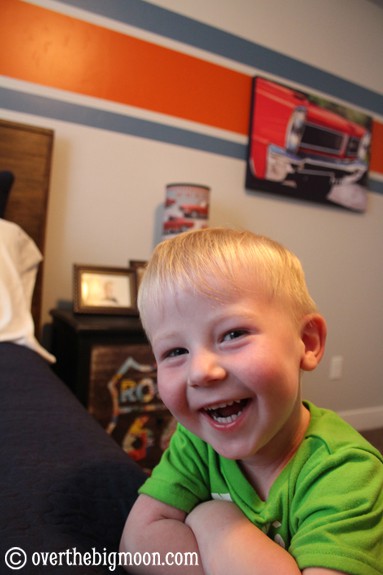
Happy Friday Friends! Today I am excited to share with you this fun Little Boys room that I was able to help design! My friend, Liz, was setting out to design her 2 1/2 year old sons room and asked if I wanted to help! They also just moved into our neighborhood a few months ago, and being that all the homes our new construction, their house is full of blank gray walls too! Her son, Dax, just switched out of his crib when they moved here, so he was due for a Big Boy room!
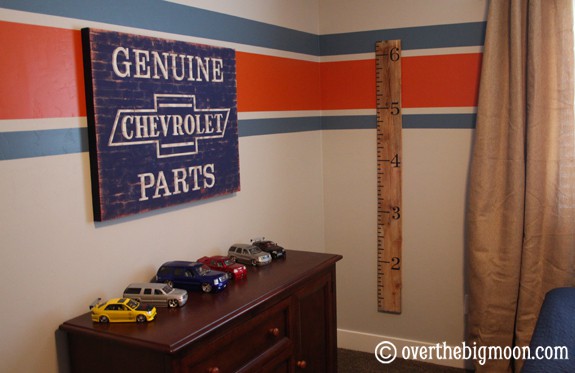
Before we began, Liz had already decided she wanted his room to have a Cars/Route 66 theme. She had found a few things she liked and thrown them on the wall, but after they were up we knew the room needed a little something more. So, we decided to paint some fun stripes on the wall!

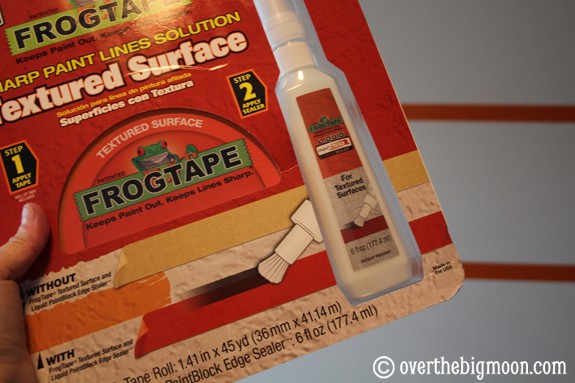
The first thing we did was go out and get ourselves some Textured Surface by FrogTape and some paint swatches! Liz’s wall doesn’t have extreme texture, but there is a little. We knew that if we were going to commit to doing stripes, we needed to do them the right way and not try to cut any corners. So, naturally, we turned to Frog Tape®!

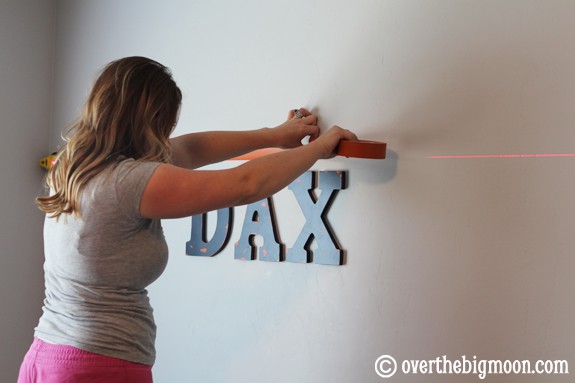
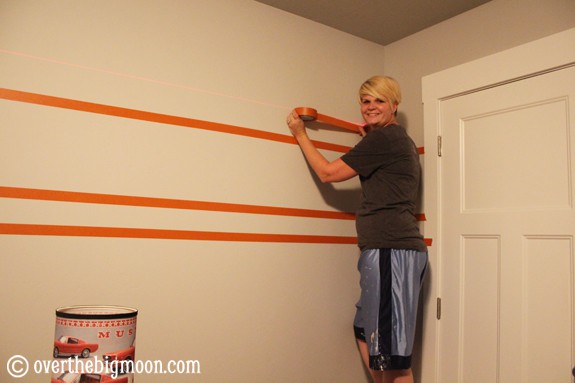
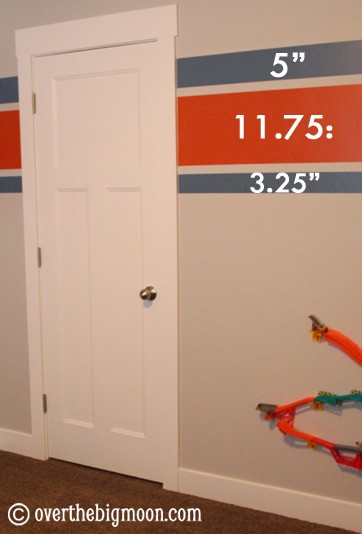
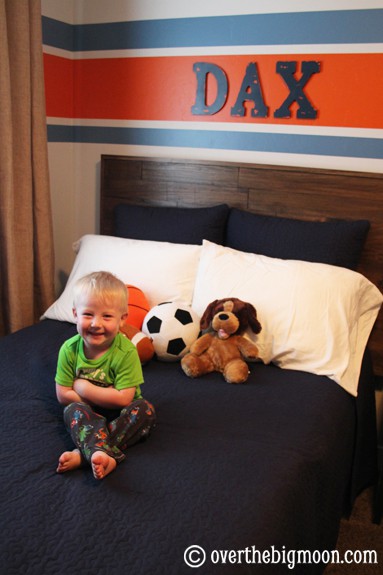
We decided to start taping off the lines, by using the letters she had already hung on the wall as our base for our thick main stripe. It ended up being 11.75″ thick. We then had the thickness of the Frog Tape® be the distance between the lines. Not only was it a good distance, but it also made it so we had to tape off 2 less lines around the whole room! Then we made the top blue line 5″ thick and the bottom blue line be 3.25″ thick. To help us tape off perfect tripes we used a Laser Level that sticks to the Wall!


To give you those super sharp lines, after you lay down your lines, grab a wet rag and quickly run over the edges of the tape. Frog Tape® Textured Surface is treated with patented PaintBlock® Technology, a super absorbent polymer that reacts with the water in the Latex paint and instantly gels to form a micr-barries that seals the edges of the tape, which helps prevent the paint bleed.
Then, because of the light texture, we used their Textured Surface Kit, and applied their Liquid PaintBlock® Edge Sealer to the edges of the tape. It goes on super easy and will not affect the finished look at all! Keep in mind that you only need to apply this to the edges you are going to paint! We were doing this at like midnight and like a dork I applied it to the very top piece of tape on 1/2 the room, before Liz caught me! So, then we had to go wipe it off! Yep, I’m smart like that!
Then we got painting! We didn’t get started til like 10:30 pm, so the pictures are a bit dark.

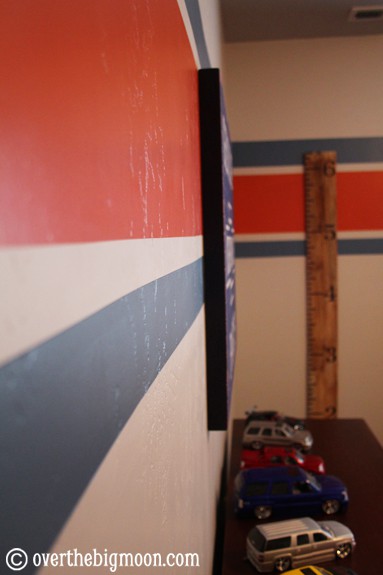
You guys will die at how crisp these lines turned out! Check this out! Crazy, right?!? They look AMAZING!


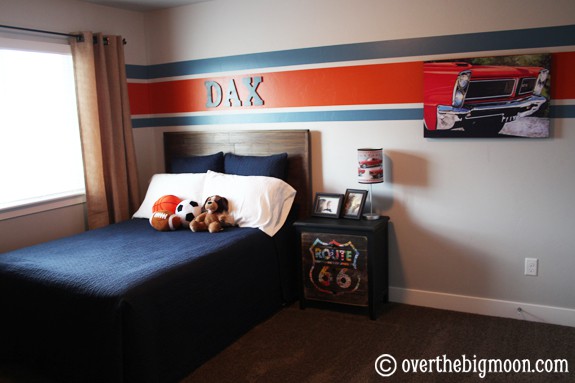
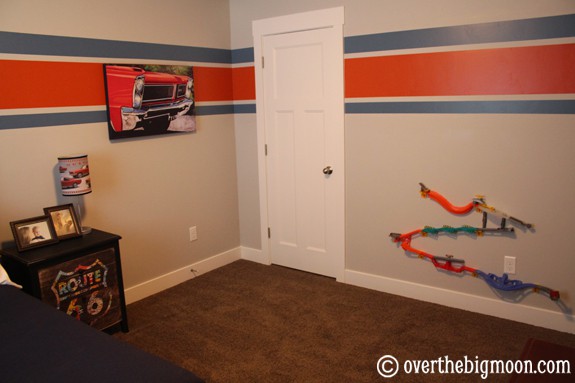
We finished the room off with some fun decorations and some cute Burlap curtains! The Route 66 Night Stand, Stool and Canvas Prints are all from Hobby Lobby!


If you are wanting to add some fun to a bedroom in your house you have got to go follow the follow the FrogTape Textured Surface board on Pinterest! It has some super fun ideas!
Do you have textured walls? What room would you paint? I’d love to hear your ideas! Have a great weekend everybody!

