
DIY Beaded Zipper Pull - Tutorial

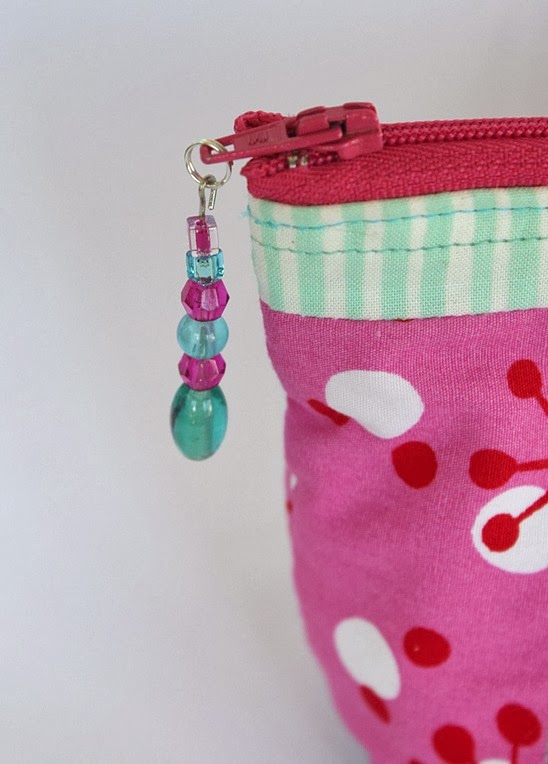
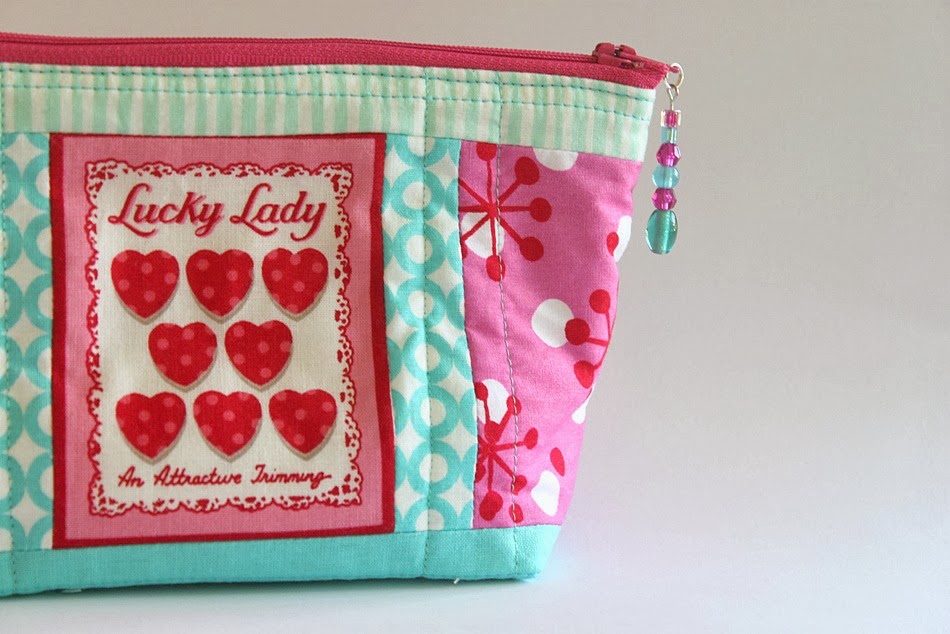
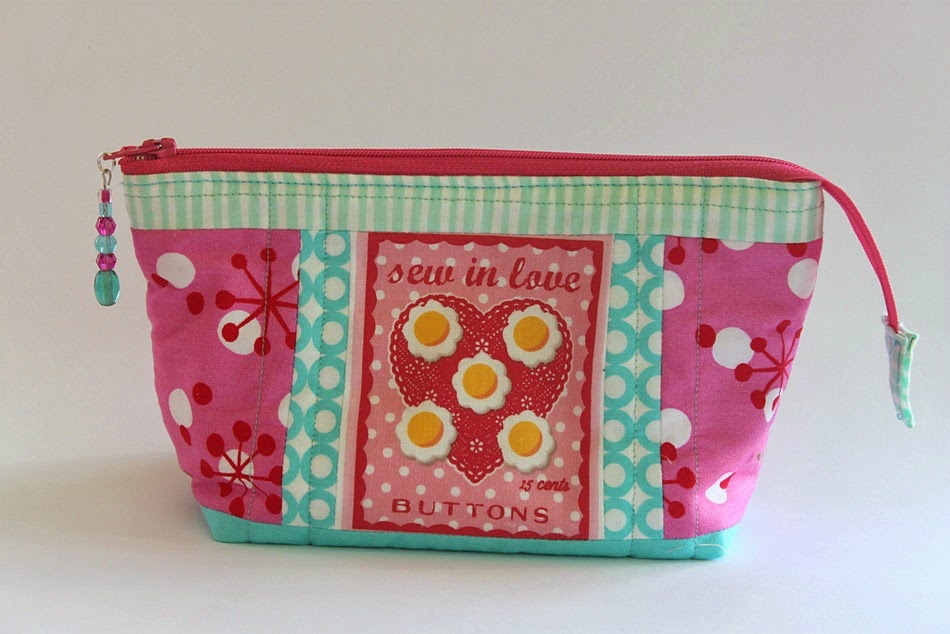
When I made my most recent pouch for the Sweet Pouch Swap, I felt like it needed something a bit extra. A bit of bling perhaps? Several years ago I used to dabble in some jewellery making and I've kept all my supplies and tools, so I made a little beaded zipper pull. I was so happy with it - it added that little extra 'something' to the project and was really quick and easy to make. I've tinkered around and come up with this tutorial so you can make some too!
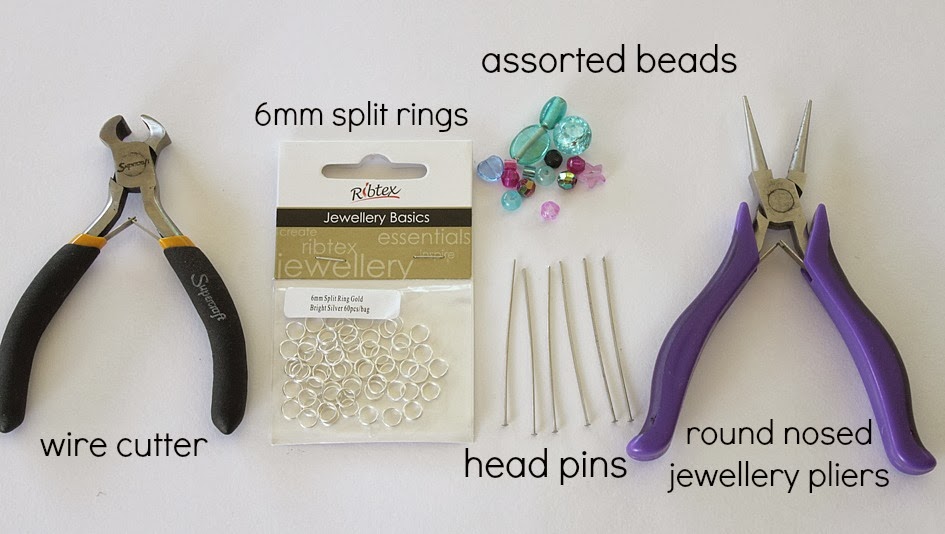
Here is what you need:

All these are readily available in the beading / jewellery making section of your local craft store. There is also a huge range available online from sites like Etsy, Craftumi and eBay.
1. Take a head pin and arrange your beads. Leave approximately 1cm (1/2") of wire at the top.


3. Use the round nose pliers to twist the top of the head pin into a loop. You may need to manipulate it a little bit to achieve the desired result.


If you make a beaded zipper pull using my tutorial, please share - I'd love to see it! Post it on my facebook page, tag me in your instagram pic or add it to my flickr group. To keep up to date with all my sewing projects and tutorials, make sure you sign up for my newsletter!

More posts from Roslyn {Sew Delicious}