
Setting Up Interactive Science Notebooks

I've had MANY requests and questions from customers and blog followers about how I set up my interactive science notebooks. Although I know this is not fancy at all, I did a quick video on my iphone and uploaded it so that all those people heading back to school can see how I set them up before they start the new school year.
Side Note: I apologize for my crazy camera holding skills. I was just talking and filming with my iphone using one hand. You may need to pop a few Dramamine's first!
Some things I forgot to discuss in my video:
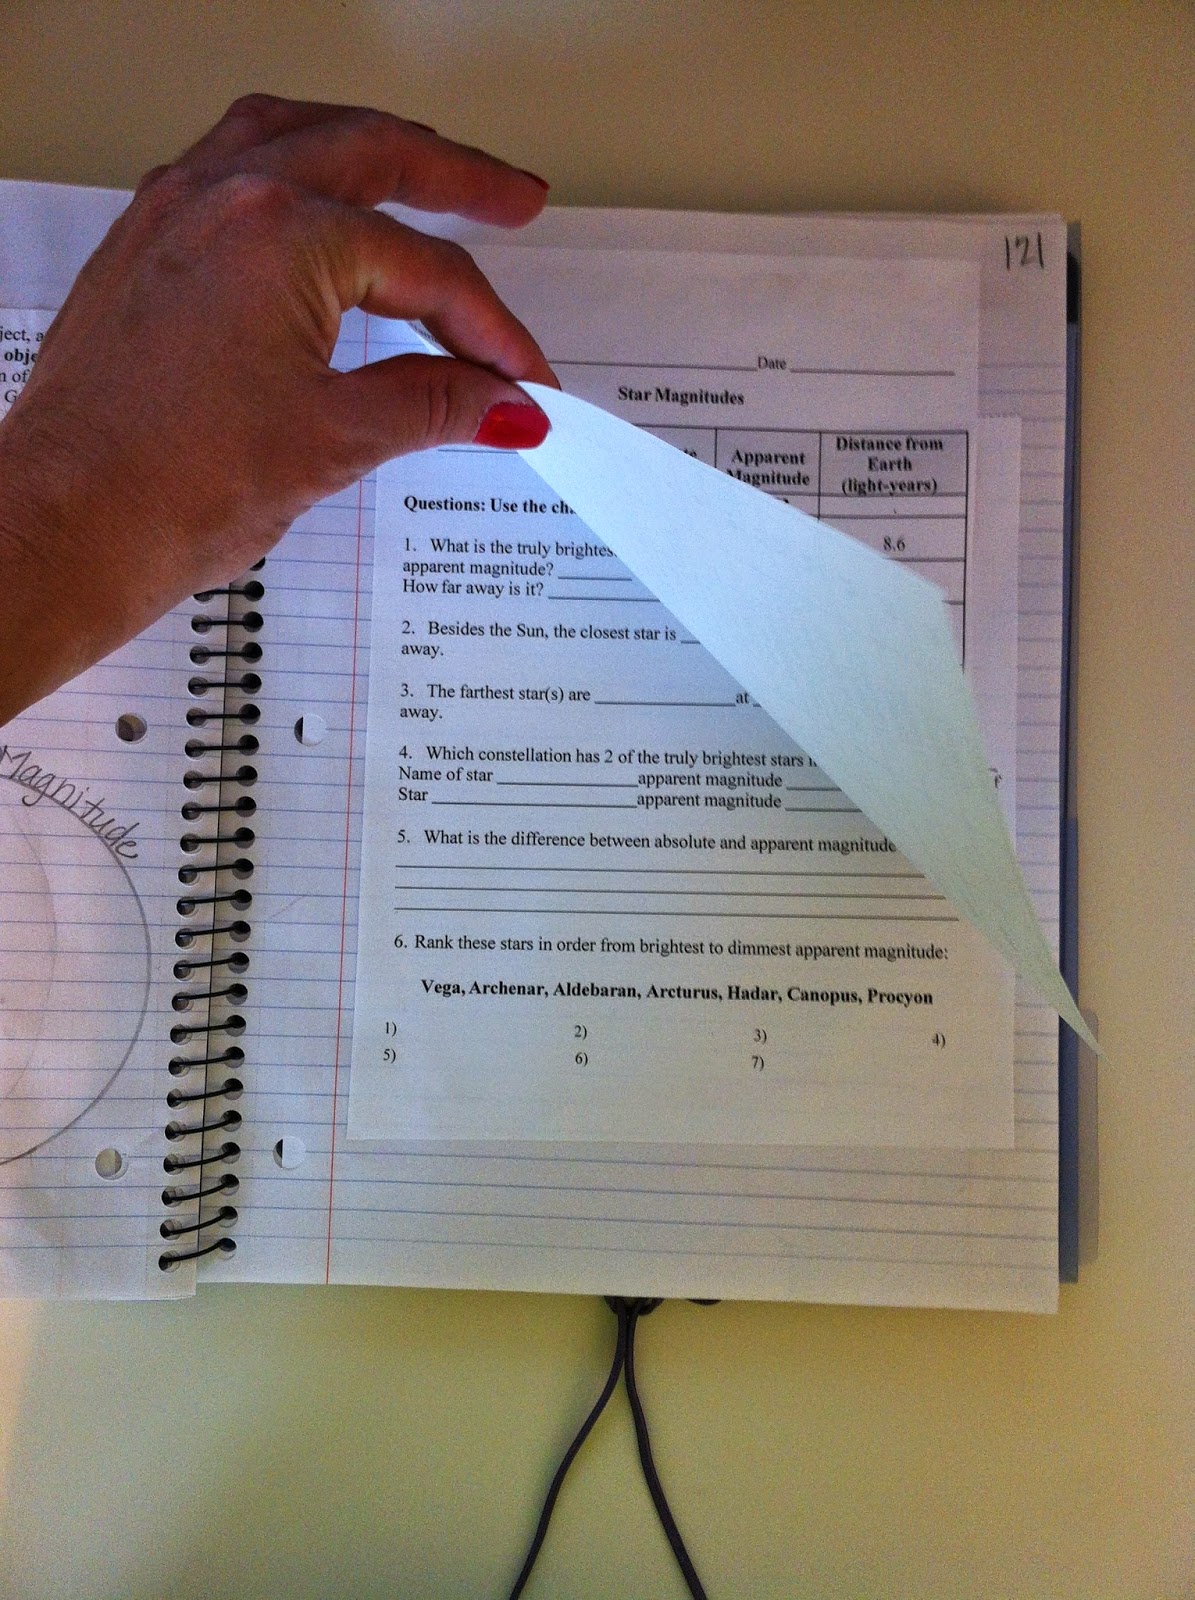
- I ALWAYS make my own ISN each school year, so that it matches what the students have exactly. I don't always take the notes that my students do, or complete the labs, booklets, handouts, foldables, etc... but I make sure that I glue them in on the correct pages. I cannot stress how important it is to make sure that all notebooks are the same (you'll see why on #4 below). I've even blown up the Table of Contents pages to a poster size so that I can laminate it and title each page, just like the students do. This not only serves to keep everyone on the same page, but it is also helpful when a student misses class - they know where to go to find out what goes where.
- Giving students a chance to reflect on their learning is really one of the key components to interactive notebooks - one that a lot of teachers leave out, simply because I think they aren't really sure how to do it. I've created 2 different products that would be great for this: Admit and Exit Tickets and Admit and Exit Tickets Too!
- Because I teach 8th grade (a tested year for the state), I have to not only teach the 8th grade content, but make sure that I review the content my students learned in both 6th and 7th grades (because a small amount of this material will show up on the test.) A very easy way to implement this reviewing of previous concepts can be done with short daily warm-ups. I am working on an entire series of daily warm-ups to cover all of the middle school content and I currently have 2 of the 4 products completed. To check out the Daily Science Starters for Middle School CLICK HERE. I created these to be glued into the ISN as flaps, so that an entire week of warm-ups could be glued onto one page of the notebook.
- How do I grade the interactive notebooks? I've tried many different things over the years, but I've found what works best for me is an ISN Quiz at the end of each grading cycle. Since everyone should have the same exact information on the exact same page, I create a short 10 question quiz that asks very detailed questions about material that I would expect to be in theri notebooks. These are typically questions that couldn't be answered without the student looking directly at the notebook they created. For example, a question might be "On page 33 of your notebook, what word is in the 6th blank that you filled in?" This just checks to make sure that the right thing is glued on page 33, they were actively and correctly filling in their notes in class as I was teaching, and they carefully read and followed directions. If they don't have the correct word as the answer, then I know they didn't do one of those 3 things correctly.
- I have a few rules that all students must follow:
- No staples in the notebook (glue only - scotch tape on occasion).
- No markers in the notebook. I encourage students to use color (as it can help them organize information and ultimately help them learn), but only with colored pencils or crayons.
- We number ALL of the pages in the top corner at the beginning of the year. Therefore, students are NEVER allowed to tear pages out of their notebooks. This will cause all of their page numbers to be messed up.
- If you run out of room on a page, continue your writing on a separate sheet of notebook paper or blank white printer paper and glue it to the bottom of the notebook page (to extend the page further). This extension can be folded up and into the notebook so that it doesn't hang out. Students many NEVER just continue onto another page in their notebooks. This will cause them to be "off" from the rest of the class.
- Before setting up our notebooks, I explain why and how we use the notebooks with a PowerPoint. To view this PowerPoint, download it HERE from GoogleDocs.
Some links to things I discussed in the video or things I use in my notebooks:
- rubberbands to hold the notebook together: File Bands or 7" Rubberbands
- ISN Table of Contents: HERE in my Teachers Pay Teachers store
- To see all of my Interactive Notebook Products, CLICK HERE.
- 6" X 9" envelope I use for storage of small pieces of paper can be found HERE.
- To check out my FAVORITE glue bottle cap (perfect for these notebooks) check out my previous blog post HERE.
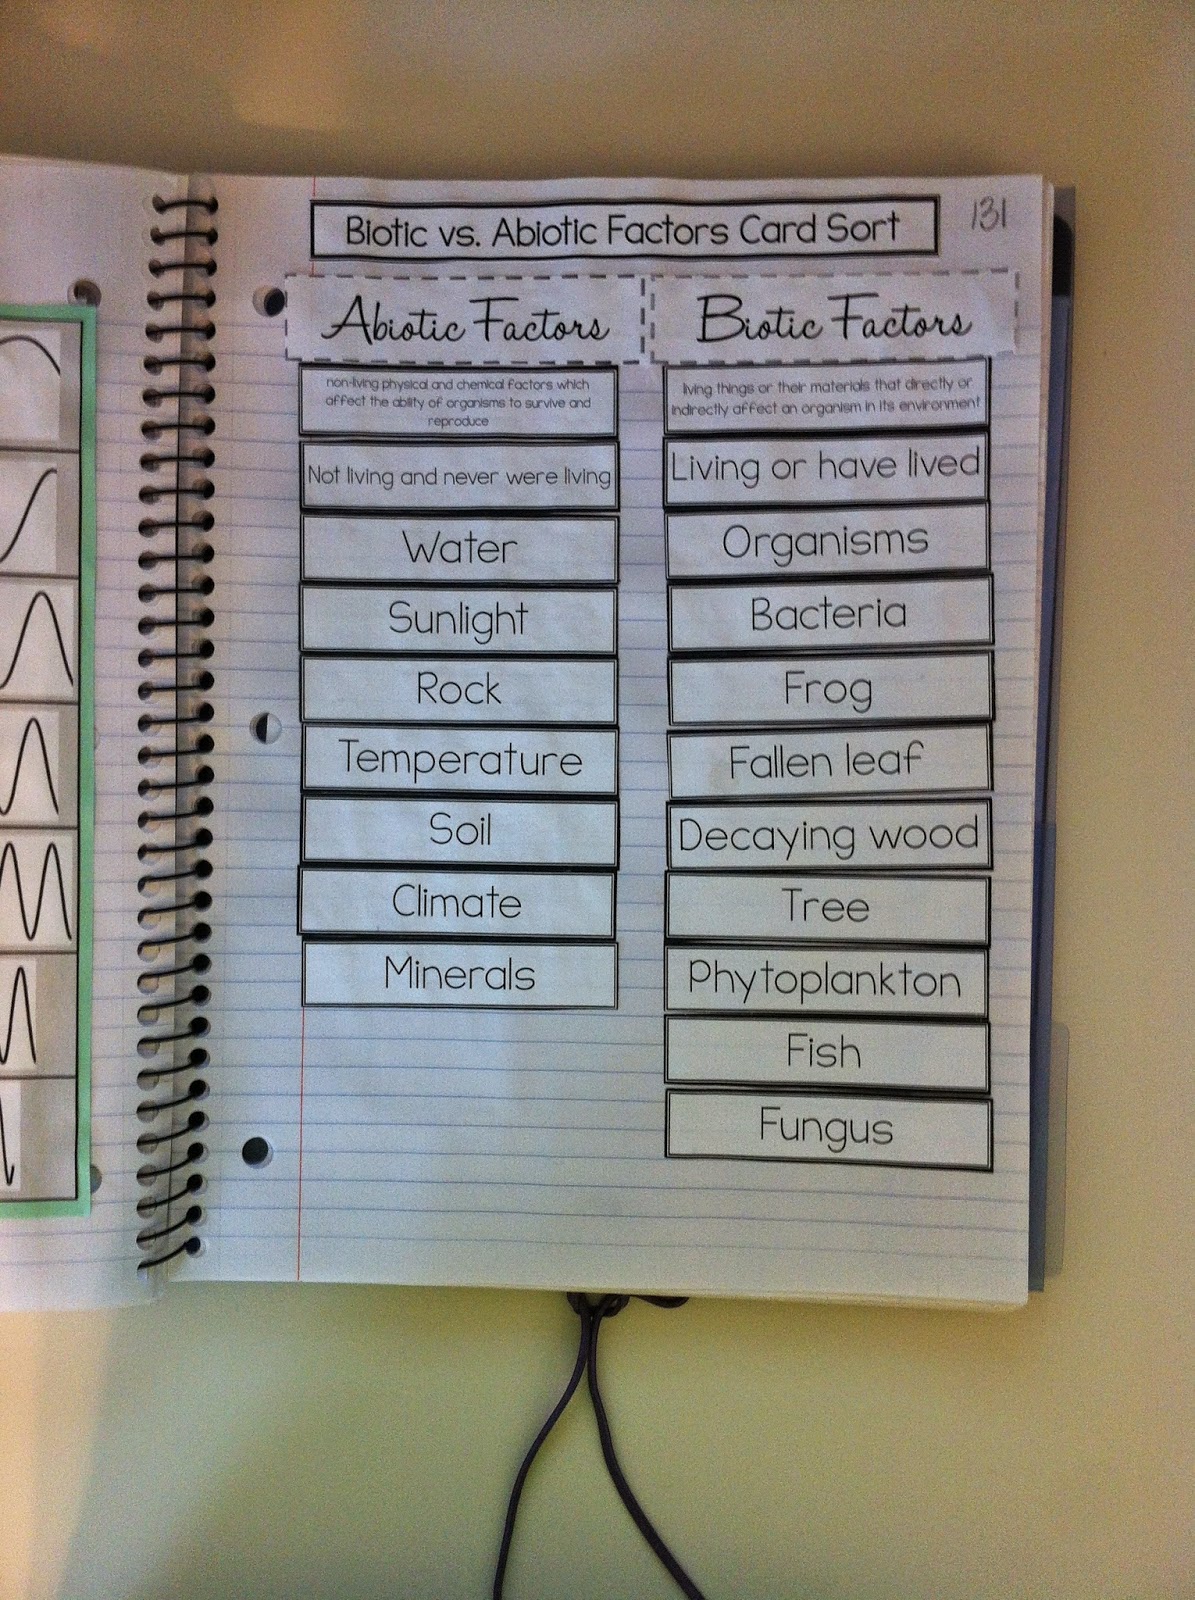
A few more examples of the types of things I put into the Notebooks:
Foldables and Mini Flip-Out books
.JPG)

.JPG)

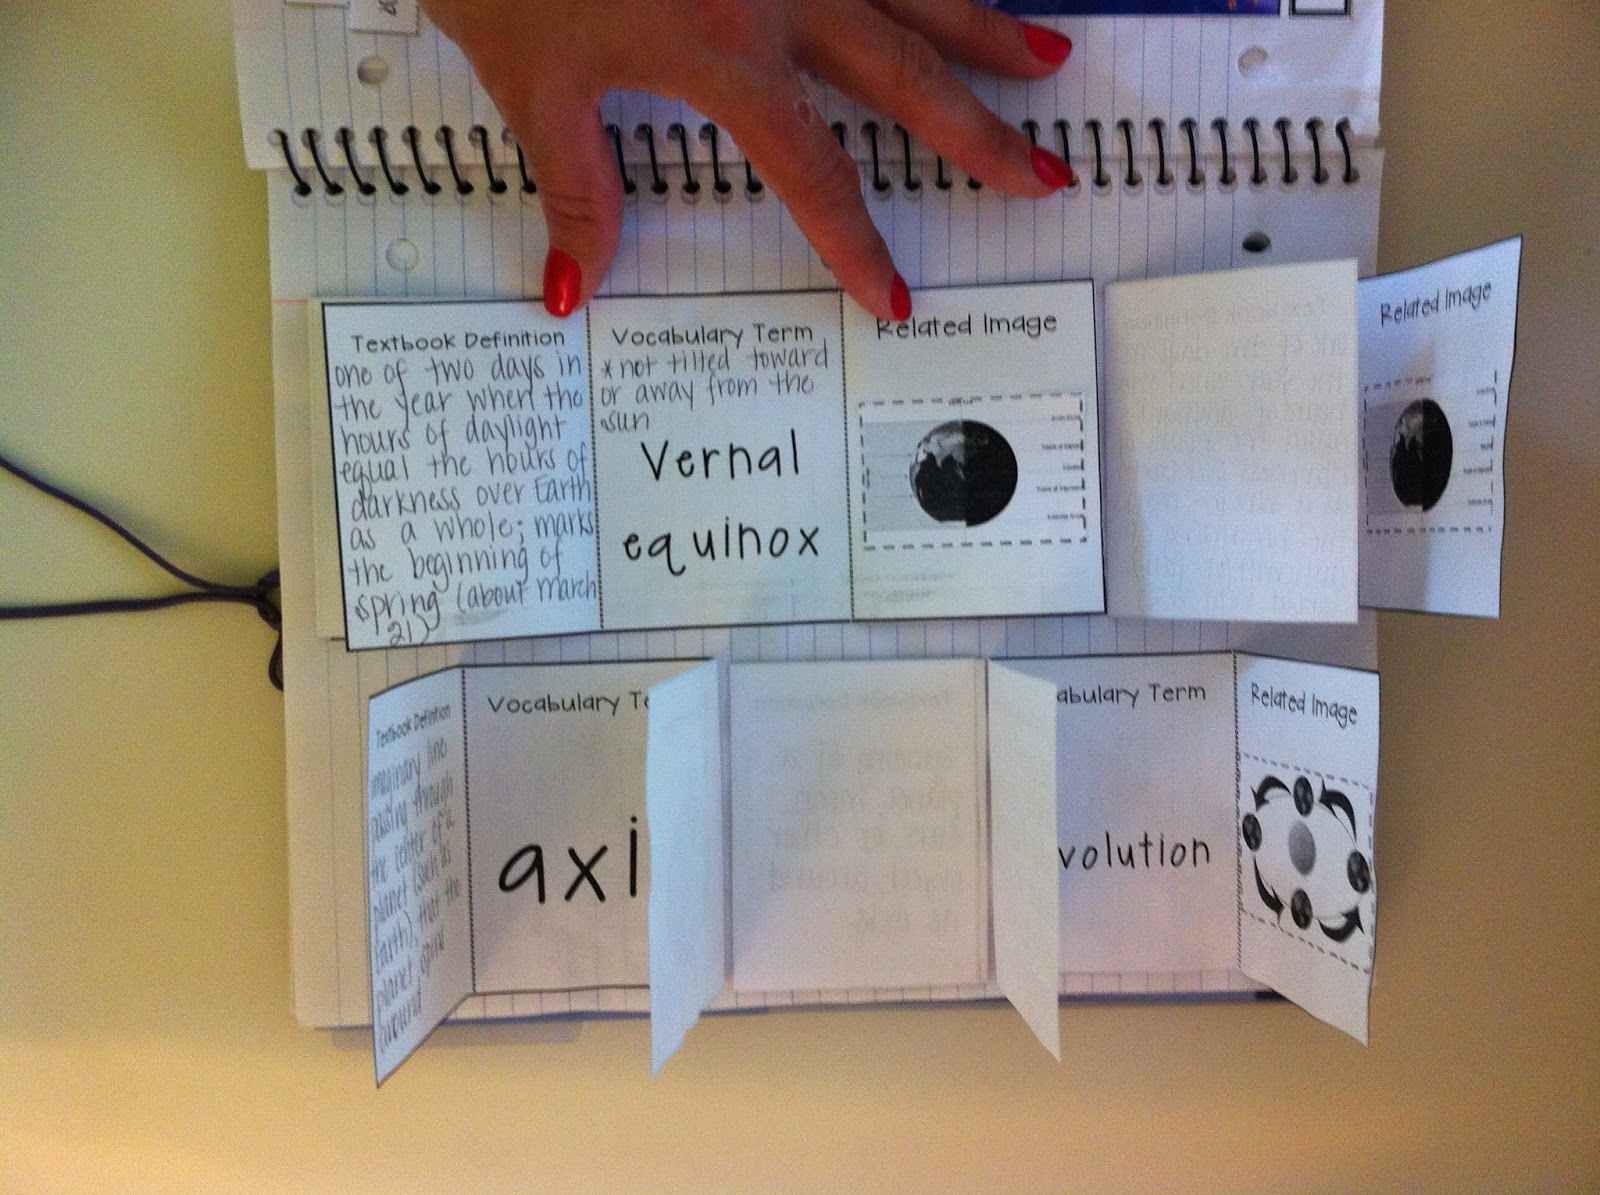
Vocabulary Cards (term in the middle, definition on left flap, image on right flap) Everything folds up nicely on one page allowing you to glue up to 8 terms on a page.
.JPG)


.jpg)


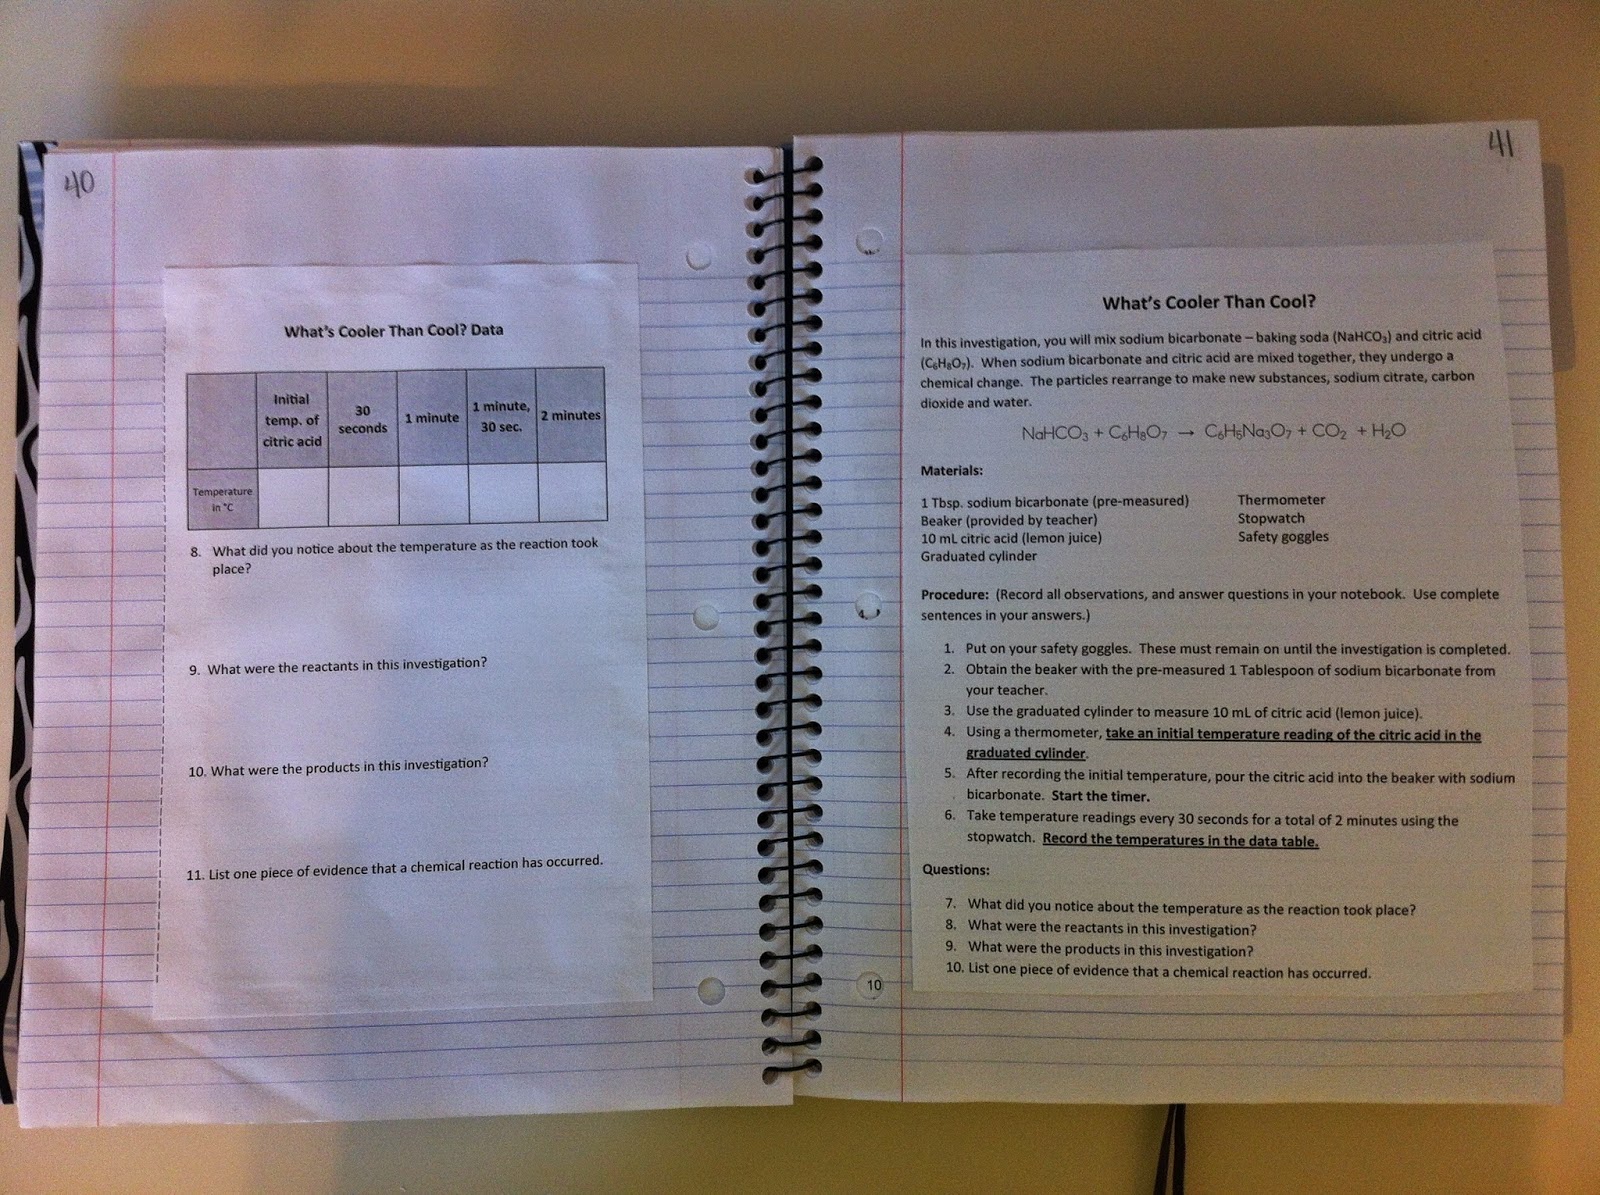
Labs Directions/Materials are glued on the right (INput) and data collected/conclusion questions are glued on the left (OUTput)


More posts from Science Teaching Junkie