Snowy Mountain Winter Tree Art

This past weekend we took a trip with my family to a Ranch up in the mountains that feeds Elk during the winter months. You can purchase a ticket for a small fee to take a horse drawn carriage ride through the field to get a close encounter with the amazing animals.

The drive up to the ranch is about a 17-mile scenic drive of snowy beautiful mountainous landscape. These kinds of drives are my absolute favorite! After our visit I knew I wanted to make some kind of snowy landscape art this week. Since my daughter has been practicing her cutting skills, it was a perfect opportunity for her to practice cutting lines also.


Materials You Will Need:
- Blue sheet Cardstock Paper (we used 12" x 12")
- Brown sheet Cardstock Paper (we used 12" x 12")
- White sheet Cardstock Paper
- Several different colors of Green Paper
- Scissors
- Gluestick
- White Paint
- Toothbrush or Q-tip (depending on your preference)
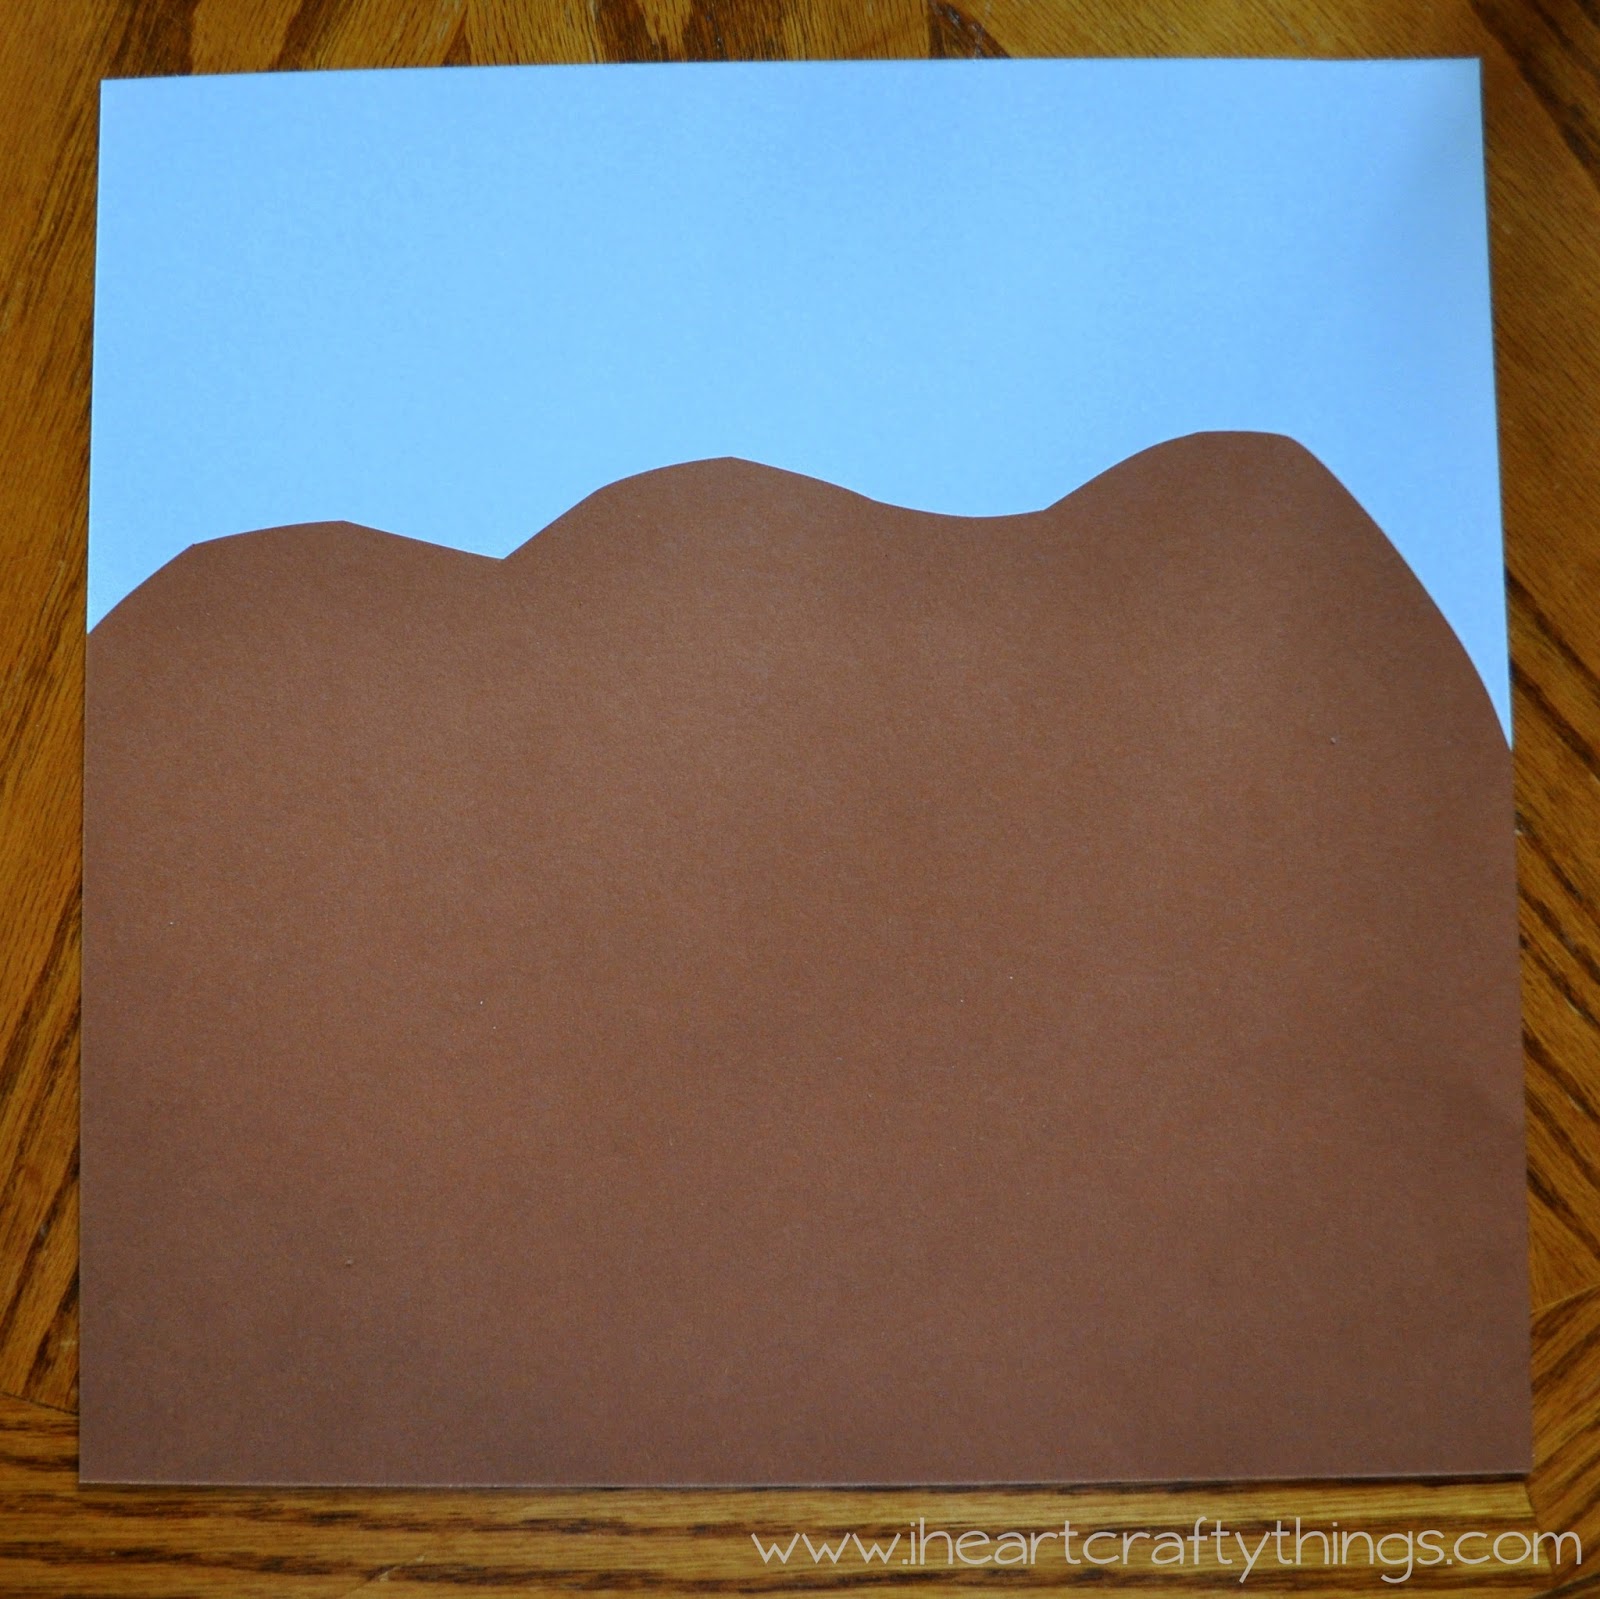
1. Cut a mountain shape out of the top of your brown cardstock paper and glue it on to your blue cardstock paper.


3. Next I cut different sized strips of green cardstock paper and drew lines up and down making triangles down the entire length of the paper. It was fabulous practice for my daughter to practice cutting along all the black lines to cut out her triangle trees. I ended up cutting out a couple of her big trees because she got burned out after cutting out two pages of trees.

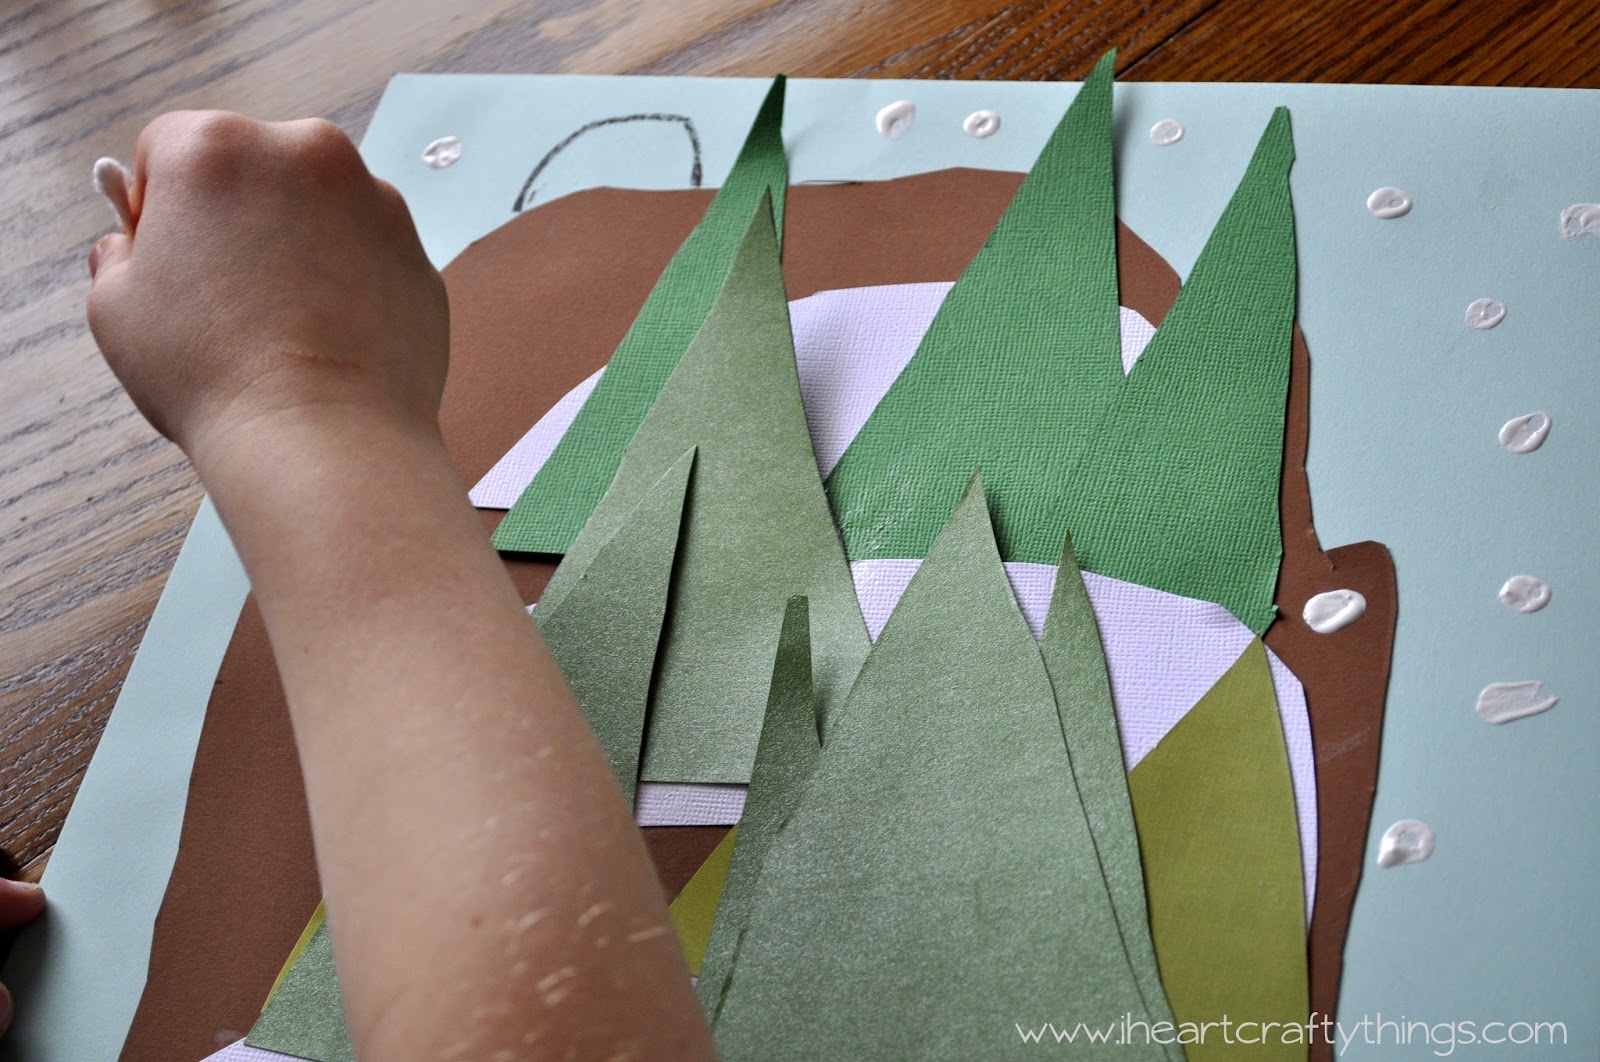
4. After you have all your trees cut out, glue them in layers all over your snow hills on your mountain. Here is my 7 year old working on his artwork below.

5. Lastly, add snow falling on your artwork. My 7 year old choose to use a Q-tip with white paint to dab falling snow all over his paper.

Below is his finished snowy mountain artwork. He said he wanted a cave on top of his mountain so he used some crayons and drew a cave at the top of his mountain. After I took pictures he decided to draw a couple caveman. :)

The other option for adding snow is with a toothbrush. I didn't get any pictures of it because it was so messy and I didn't dare get my camera near it. It is best to do it outdoors since the paint can splatter so much. Pour some white paint on a small paper plate. Dip your toothbrush in the paint and then run your finger along the bristles in a fast motion, holding it above your artwork and it will splatter white paint speckles all over your picture. Dip it back in the paint and repeat as many times as you want.

The layering of the trees and the different colors of trees really made the artwork stand out beautifully. I loved how while I assisted my 3 year old complete this project, my 7 year old completed this project on his own, unassisted. His style turned out differently, but it was still so beautiful.

More posts from