
Wine Bottle Gift Bags

During the holidays, I like to give bottles of wine or non-alcoholic sparkling cider. A fun way to make these gifts even more special is by bringing them in a lovely drawstring fabric gift bag. Fully lined, with no unfinished edges inside, they make a high quality, reusable gift.
You'll need some hostess gifts this season- have a few of these handy, and you'll always have something nice ready to go!
These are simple to make- sew a few straight seams, thread some ribbon, and you're done. Bag fits a regular 750ml bottle.
You'll need:
- Two different fabrics of choice, one for outer bag, one for lining; fat quarters work great for this project
- Two 21" lengths of coordinating 3/8" ribbon; grosgrain ribbon works well for not raveling
- Coordinating thread and basic sewing supplies, including sewing machine
Directions: Print directions All seam allowances are 1/4", unless otherwise noted
1. Cut two 6.5" X 16" rectangles from outer fabric and two of the same size from lining fabric:

2. Right sides together, stitch around sides and bottom of outer bag. Right sides together, stitch around both sides of lining. Stitch across bottom of lining, leaving a 2" section open for turning the bags right side out later:

3. Press side seams open (makes threading the ribbon through later much easier), trim corners. Turn outer bag right side out.
4. Tuck outer bag inside lining, right sides together:

5. Match the top upper edges and side seams. Pin. Stitch tops together, then turn both bags right side out through opening in lining. Slip stitch opening in lining closed. Tuck lining into outer bag. Press top edge of bag (very important in order to get accurate measurements in step 6).

Turning the bag right side out through the opening in the lining
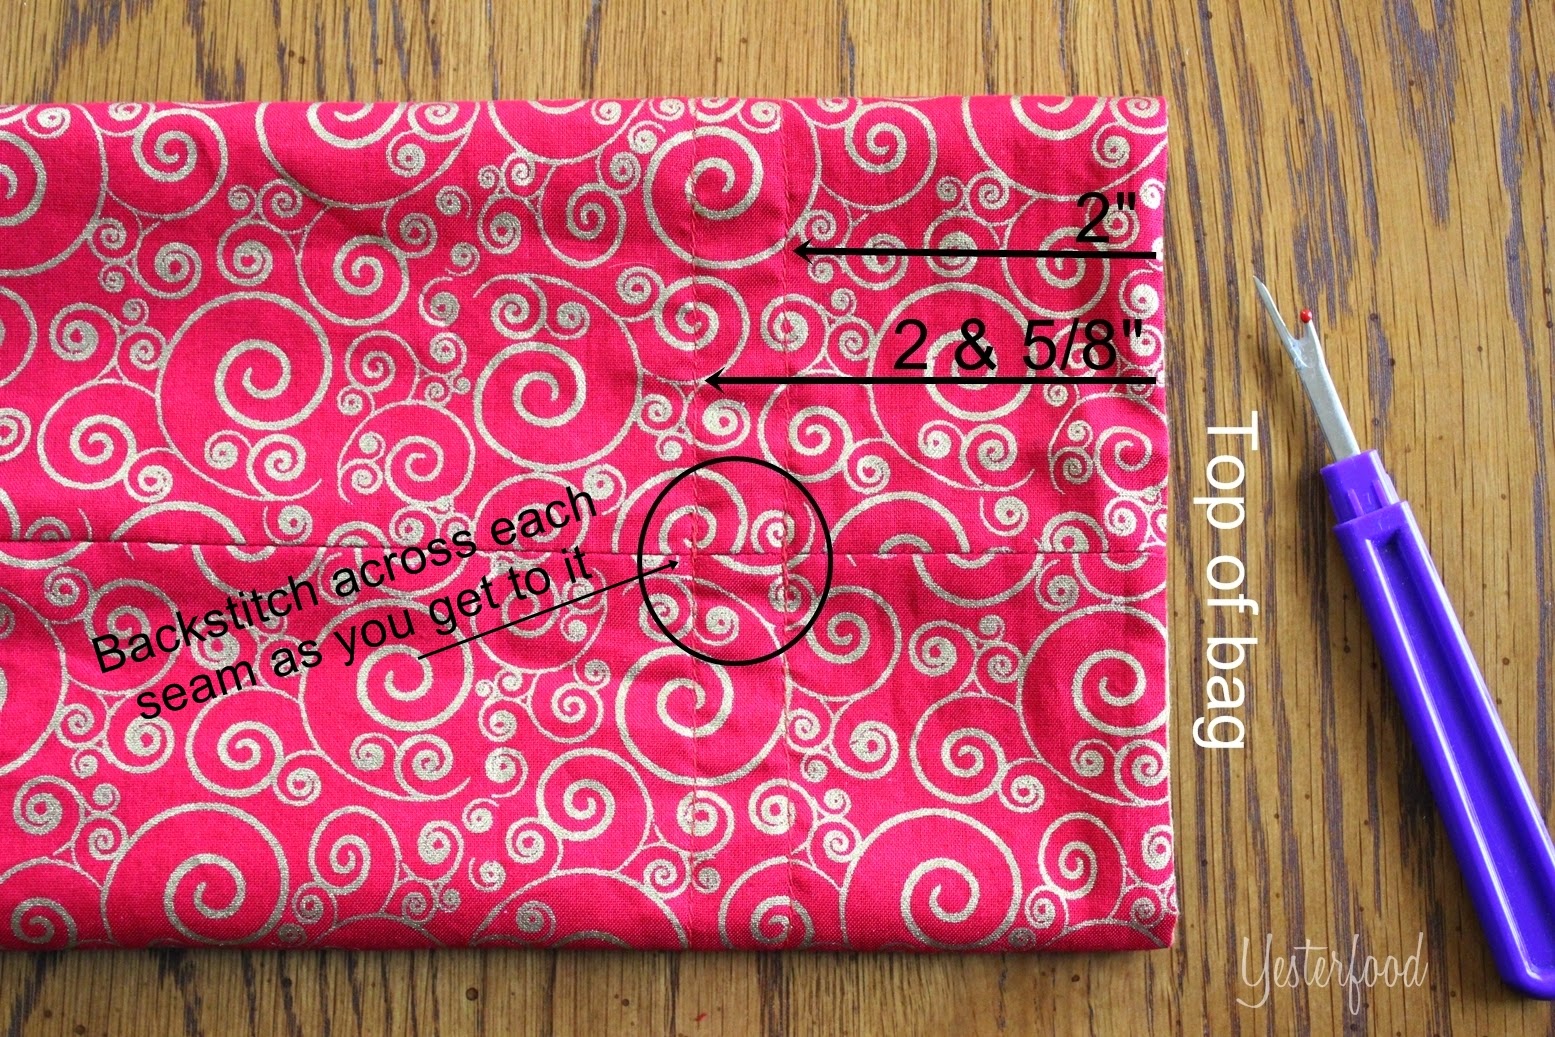
6. Mark two stitching lines, one 2" down from top of bag, and one 2 and 5/8" down from top of bag. Mark with chalk or air-soluble marker. Stitch all around bag on both sets of lines, backstitching a few stitches across each seam:
6. Mark two stitching lines, one 2" down from top of bag, and one 2 and 5/8" down from top of bag. Mark with chalk or air-soluble marker. Stitch all around bag on both sets of lines, backstitching a few stitches across each seam:

7. Using a seam ripper, open stitches at seam between rows of stitching on outer bag side only (do not open stitches on lining). Do this on both sides of bag. This is why you did the backstitching in step 6. It keeps that one little opening from unraveling any further:

8. Using a large safety pin or bodkin, thread a length of ribbon through one side of casing, bring it back out through the same side and knot the ends. Cut the ends at a 45 degree angle to prevent fraying. Repeat with second length of ribbon on other side:


On the blue and silver bag, I pulled a longer ribbon (about a yard) through one side only- it gives a little different effect of having a bow at the top, and longer ends of ribbon hanging down. I found some silver ribbon that holds its shape for pretty curls down the side.

I liked the red and gold for Christmas, and the blue and silver for New Year's.
Wine Bottle Gift Bags may have been taken to some of these fun parties, including Metamorphosis Monday. Based on Small Lined Drawstring Bag by Threading My Way.
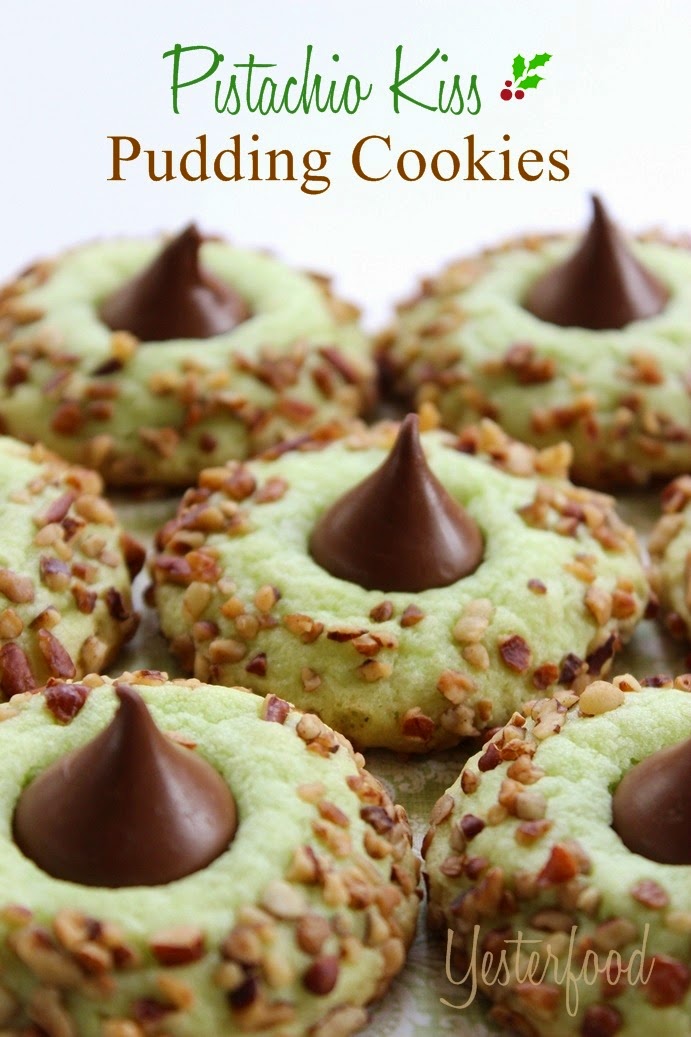
You may also enjoy Pistachio Kiss Pudding Cookies:


// var _gaq = _gaq || (); _gaq.push(('_setAccount', 'UA-40392858-1')); _gaq.push(('_trackPageview')); (function() { var ga = document.createElement('script'); ga.type = 'text/javascript'; ga.async = true; ga.src = ('https:' == document.location.protocol ? 'https://ssl' : 'http://www') '.google-analytics.com/ga.js'; var s = document.getElementsByTagName('script')(0); s.parentNode.insertBefore(ga, s); })(); //
More posts from Joy @ Yesterfood