
Painted Wood Necklace Tutorial
Written by Vivian of Vivileen and Suz and Viv.


Today I have a super simple painted wood bead necklace tutorial. This is an easy way to add a pop of color to any outfit!

Painted Wood Necklace Tutorial
Supplies:
cable chain- 34″
8 1/2″ wood beads
lobster clasp
4 jump rings
paint
paint brush
wire cutters
tape (if you want strait lines on your painted beads)


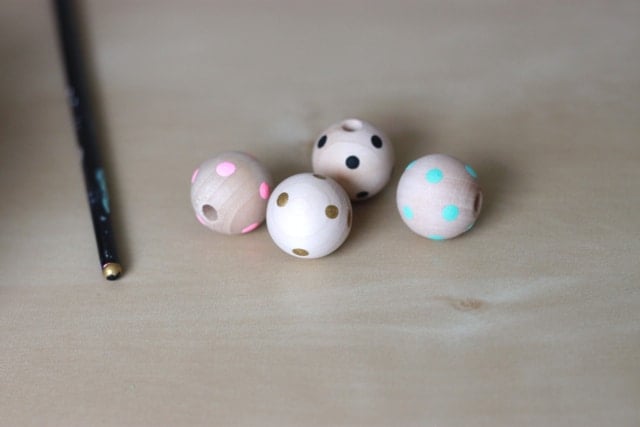
1. Paint your beads! To paint mine I used the end of a paint brush to polka-dot some of the beads. I taped off half of the rest of my beads and painted the exposed wood a solid color. Be creative! The possibilities are endless.


5. Add a jump ring to one end of the 10″ chain and string on 5 wooden beads. Then add a jump ring to the other end of the chain.

6. Line up you chains so the beads are centered on each one. Using the jump rings connect the 10″ chain to the 24″ chain on both sides. I attached my 10″ chain about 4″ up from the bottom of the 24″ chain.


fabric covered hair clips tutorial Zemanta
The post Painted Wood Necklace Tutorial appeared first on see kate sew.
More posts from kate blocher