
Tutorial Tuesday
Happy Tuesday, everyone!
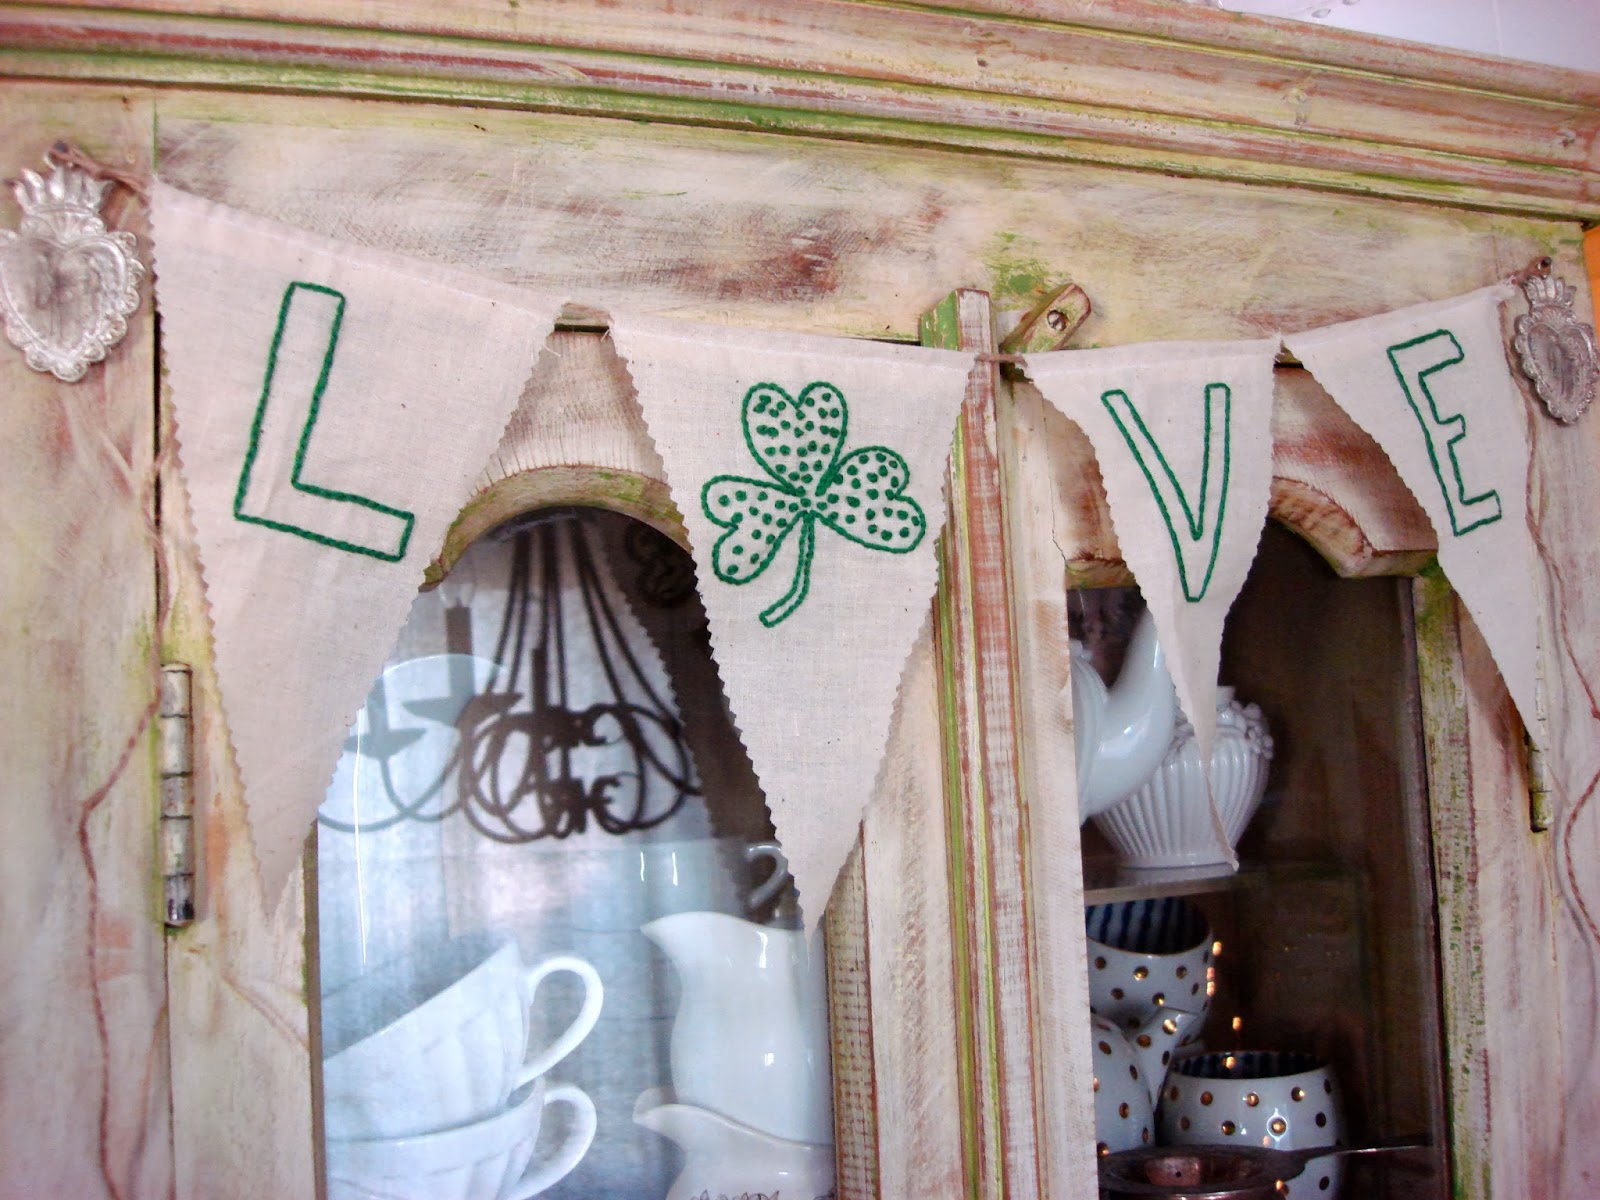
There's something I love about the shades of green and shamrocks that St. Patrick's Day brings. I'm in the middle of a move right now, so my St. Patrick's decor is trapped in a box that has been tetris-ed into the most difficult spot to reach. Instead, I made my own mini banner to add some green for the upcoming celebration and I am sharing it with you!
If you recall our tutorial from around this time last year, the shamrock pattern I used then, worked for this banner, as well. All I did was scale the image to fit the entire page in my print options, and it was instantly larger.

To make your own St. Patrick's Day banner, you will need:
-embroidery supplies (hoop, floss, scissors, needles) -30x20-inch piece of muslin or cotton (there will be leftovers) -rotary cutter and mat -60-inches of twine or string -pinking shears -sewing machine and supplies (optional) -craft glue or glue gun (optional) -Letter pattern -Shamrock pattern
Step 1: Print the letter and Shamrock patterns. For the Shamrock pattern, my printer gave me the option to scale it to fit the page, if your printer does not have that option, enlarge the pattern 190% and it should work. Transfer your pattern to the fabric, spacing them out 3-inches or more away from each other.

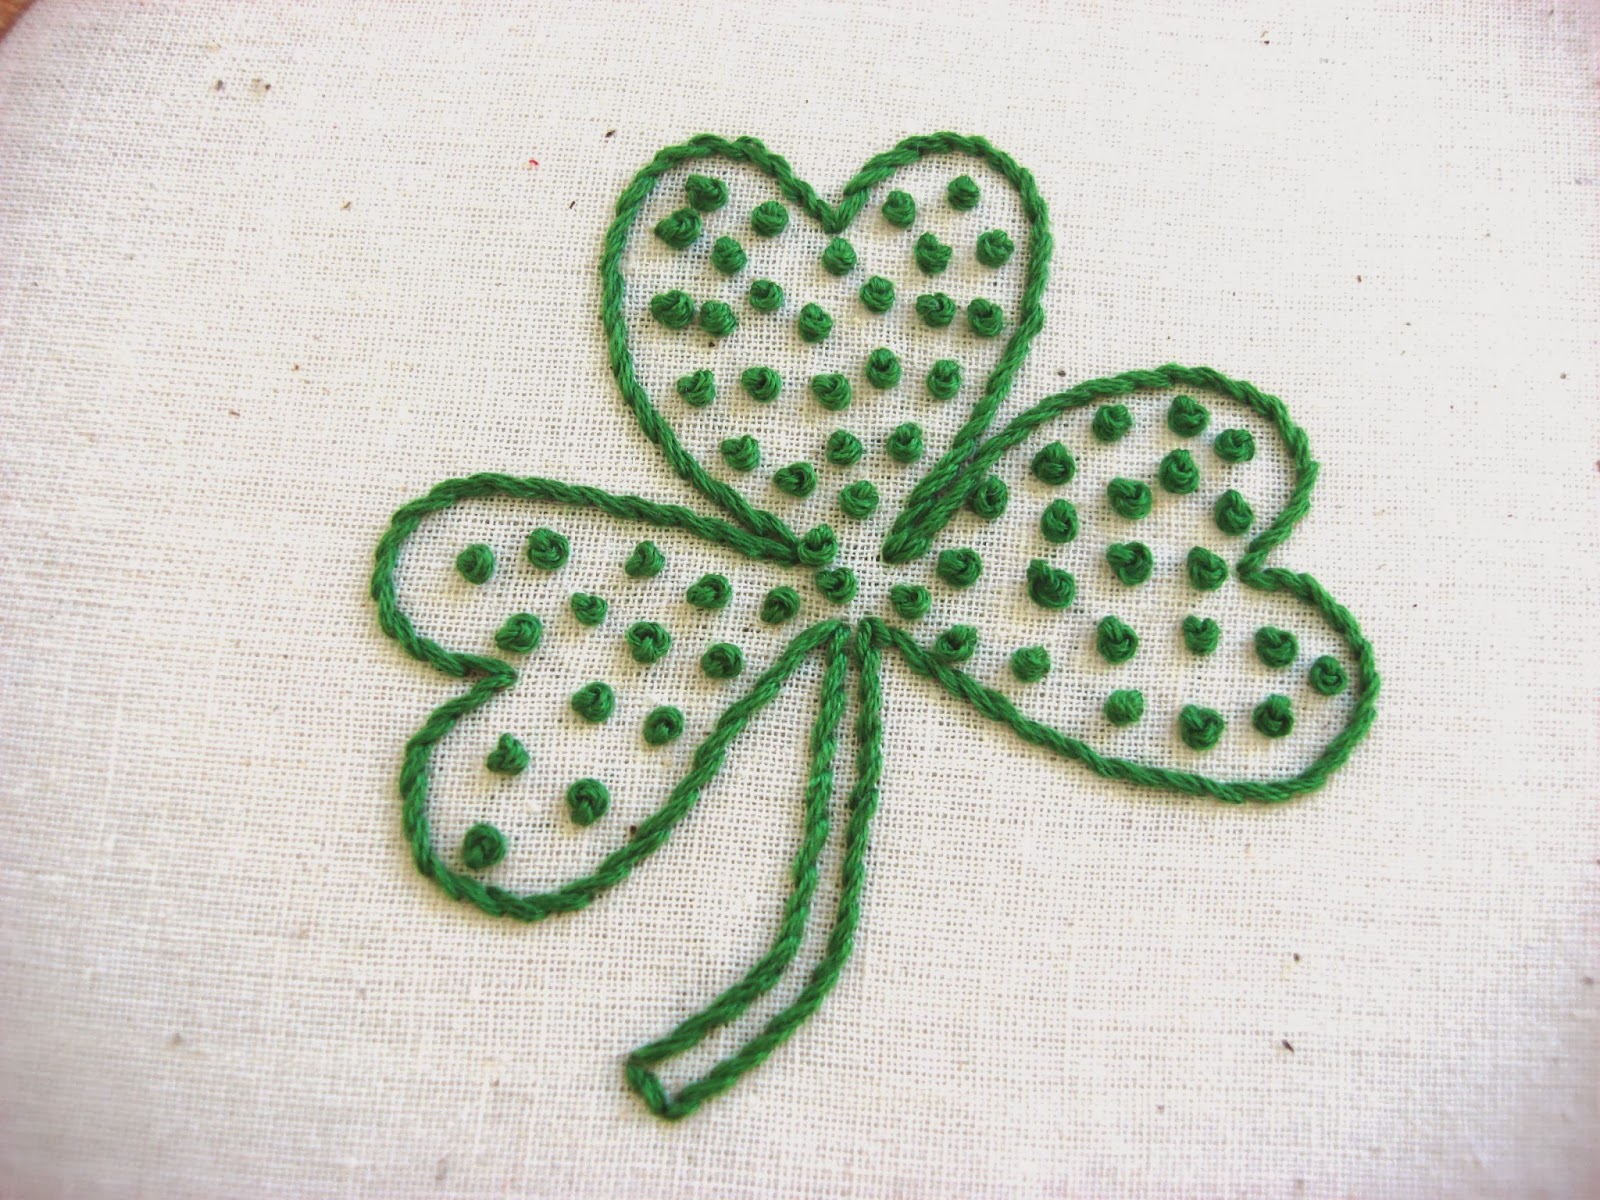
Step 2: Stitch the letters and shamrock with green embroidery floss. I used a split stitch for the letters and a stem stitch for the shamrock, but feel free to experiment with your stitches. I then filled the shamrock with scattered french knots.


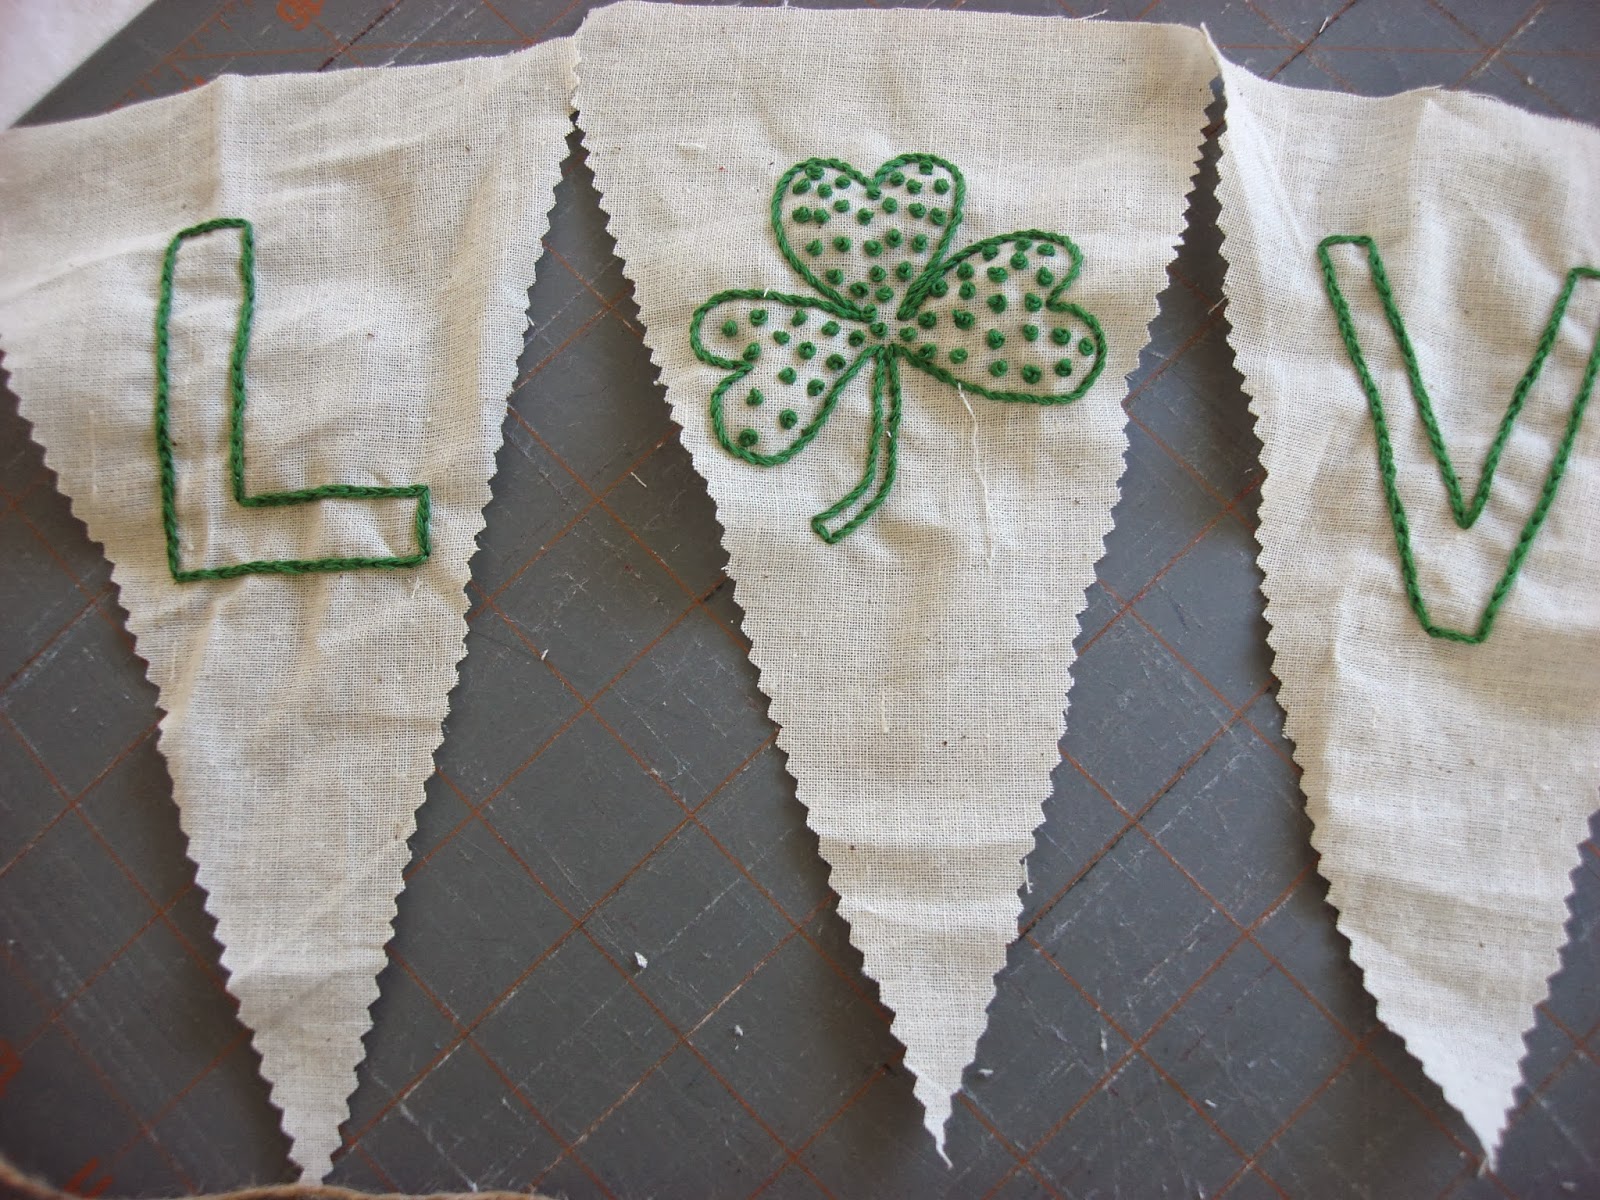
Step 3: Using a rotary cutter, trim the stitched fabric into four separate triangles so that each letter and shamrock is on it's own separate pennant. The top of the triangle should measure 5-inches and the length between the top center and bottom point is 8-inches.


Step 5: Turn all the pennants face down and place the twine or string along the top edge. Fold the fabric 1/2 an inch over the twine. Trim the top edges on the side that stick out. This is where you have the option to sew or glue the fold down. I sewed this together, but glue works just as well. Repeat for all pennants.


Hope you enjoy today's tutorial and have a chance to give it a try!
More posts from Floresita H