
IKEA Hack: DIY Closet Island

I have wanted a center island for my closet since, like, FOREVER! When I moved into my Hollywood Hills house I had a room devoted to my wardrobe and what that bad boy really needed was a center island. I had a custom closet company come by to do an estimate the most basic looking one was well over $2000. Yeah no. In hindsight it was actually good that I didn’t get something custom made because I later had to turn my closet into an office.

Now I have moved out of that house and into my own little 2-bedroom bachelorette pad. I turned the second bedroom into a closet and it’s staying that way! My handyman installed some cool custom shelving for shoes, custom racks for clothes, more shelves for bags, and custom rolling racks for more clothes. You know what the closet is still missing? A damn center island!!

I already knew that the custom route was a no-go, so I looked at my other options. Home Depot does custom work but that was pricey too. My handyman knew a guy but then you have to figure in parts and labor. So I took to the internet to find a cheaper solution. Enter this lovely blog post about an IKEA hack that will give you a closet island for around $300. Done and done.

So last night I went to IKEA and bought up my supplies. With a little Lauren-style decorating, this island would be the greatest thing my closet had ever seen. Hopefully. I do have some pretty terrible IKEA related memories and I’d being doing this ALL by myself, so …
What I Bought
- IKEA 2 x2 Expedit Shelving Cubes in High Gloss White (3)
- IKEA Silver Legs (6 packs of 2)
- IKEA Expedit Drawer Inserts in High Gloss White (2)
- IKEA Knobs 2-pack (2)
- Marble slab (50″ x 35″) *coming soon*
What I Used to Decorate
- Cute tray
- Stylish books
- Flowers
- Scented candle
- Jewelry busts
How to Do It
1.) Build the shelves. They are shockingly easy, especially for IKEA but if you are easily frustrated bribe a friend with pizza or hire someone to do it for you.
2.) Drill in the legs. This part is trickier because the shelves don’t have pre-made holes for the screws. Definitely use a power drill or a handy friend.
3.) Arrange the shelves. I took the advice of the DIY blogger and I didn’t bond the shelves together. They are all just sitting there nicely in case I ever want to use them somewhere else in the house.
4.) Add a topper. Ok so I wanted to add a topper to my island right away but when I found out the price?! Yeah no. A piece of marble (how good would that look) will cost me $1400! I decided to downgrade to granite, $850! Alright, lets downgrade to fake-ass marble … $550. So basically I am leaving the top alone until I can score a great deal. It will happen. Mark my words.
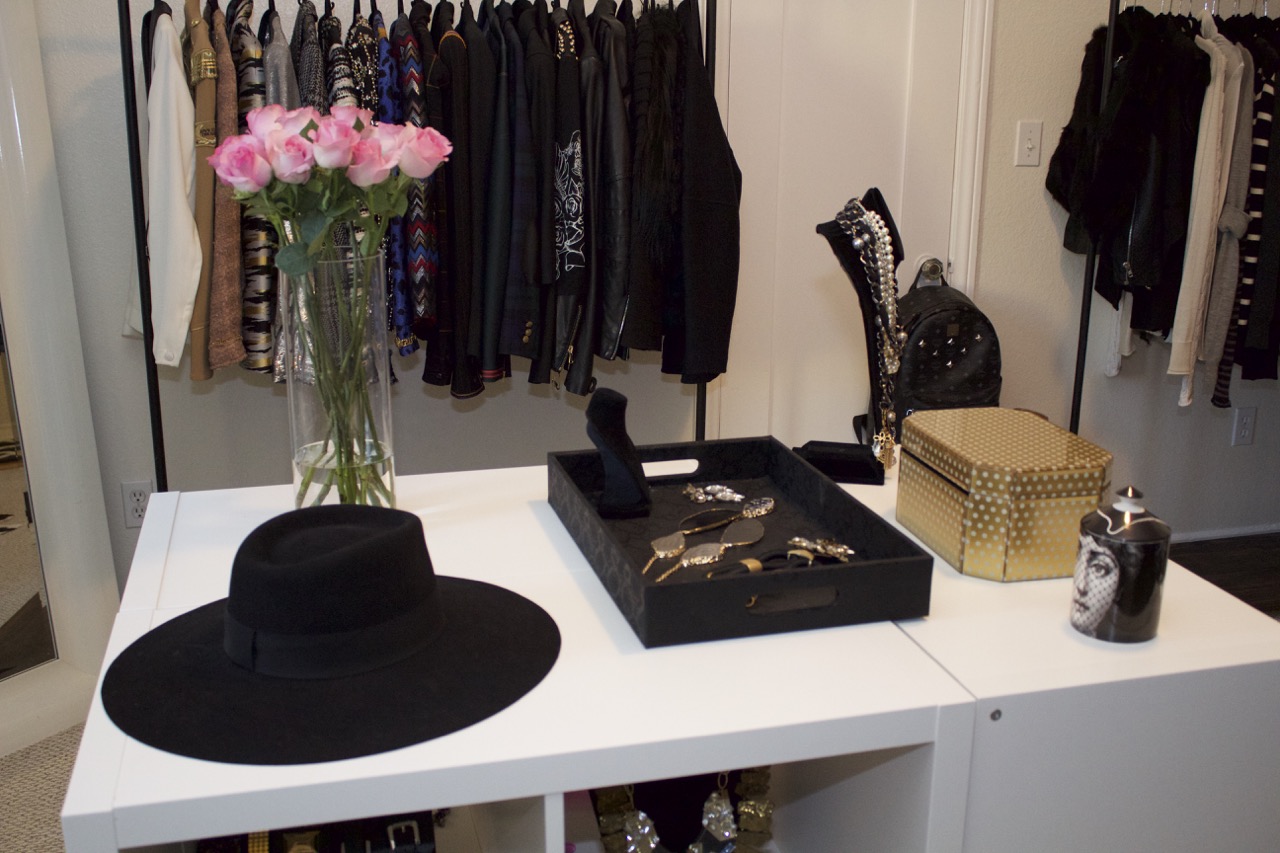
5.) Decorate. This is really what takes this from a piece of crap from IKEA to a stylish closet island. Stacked books, jewelry boxes, a tray, fresh flowers, jewelry busts, candles … all of these little things take the island to the next level.
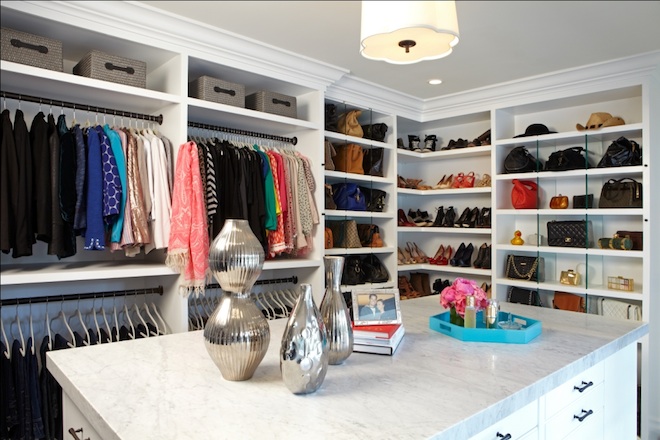
Okay maybe I shouldn’t have put the extra beautiful inspiration pics up before I posted my pics but here they are.


I am actually quite happy with how the island turned out. A good temporary fix until I have the funds to build my REAL dream closet. The next phase of the room is to get a fancy-pants chandelier and some more shelving on the walls. God I love my closet.