Chocolate Covered Peanut Butter Hearts
I’ve been thinking a lot about Valentine’s Day. More specifically, I’ve been thinking a lot about you and all of the lovely and delicious edible things you should make for your valentine this year. And by Valentine, I mean
anyone you love. Your kid, your barista, your sister, your husband, yourself – pick one… pick more than one! Then grab your chocolate and peanut butter… because we have candy to make, friends.
I feel like the first thing we should address today is the shaping of these sweet little treats.
Can I let you in on a little secret? You’re going to shape these chocolate covered peanut butter hearts entirely by hand. No cookie cutters here! I know that may sound like a lot of work… but I promise, this is a fun and easy and rewarding process.
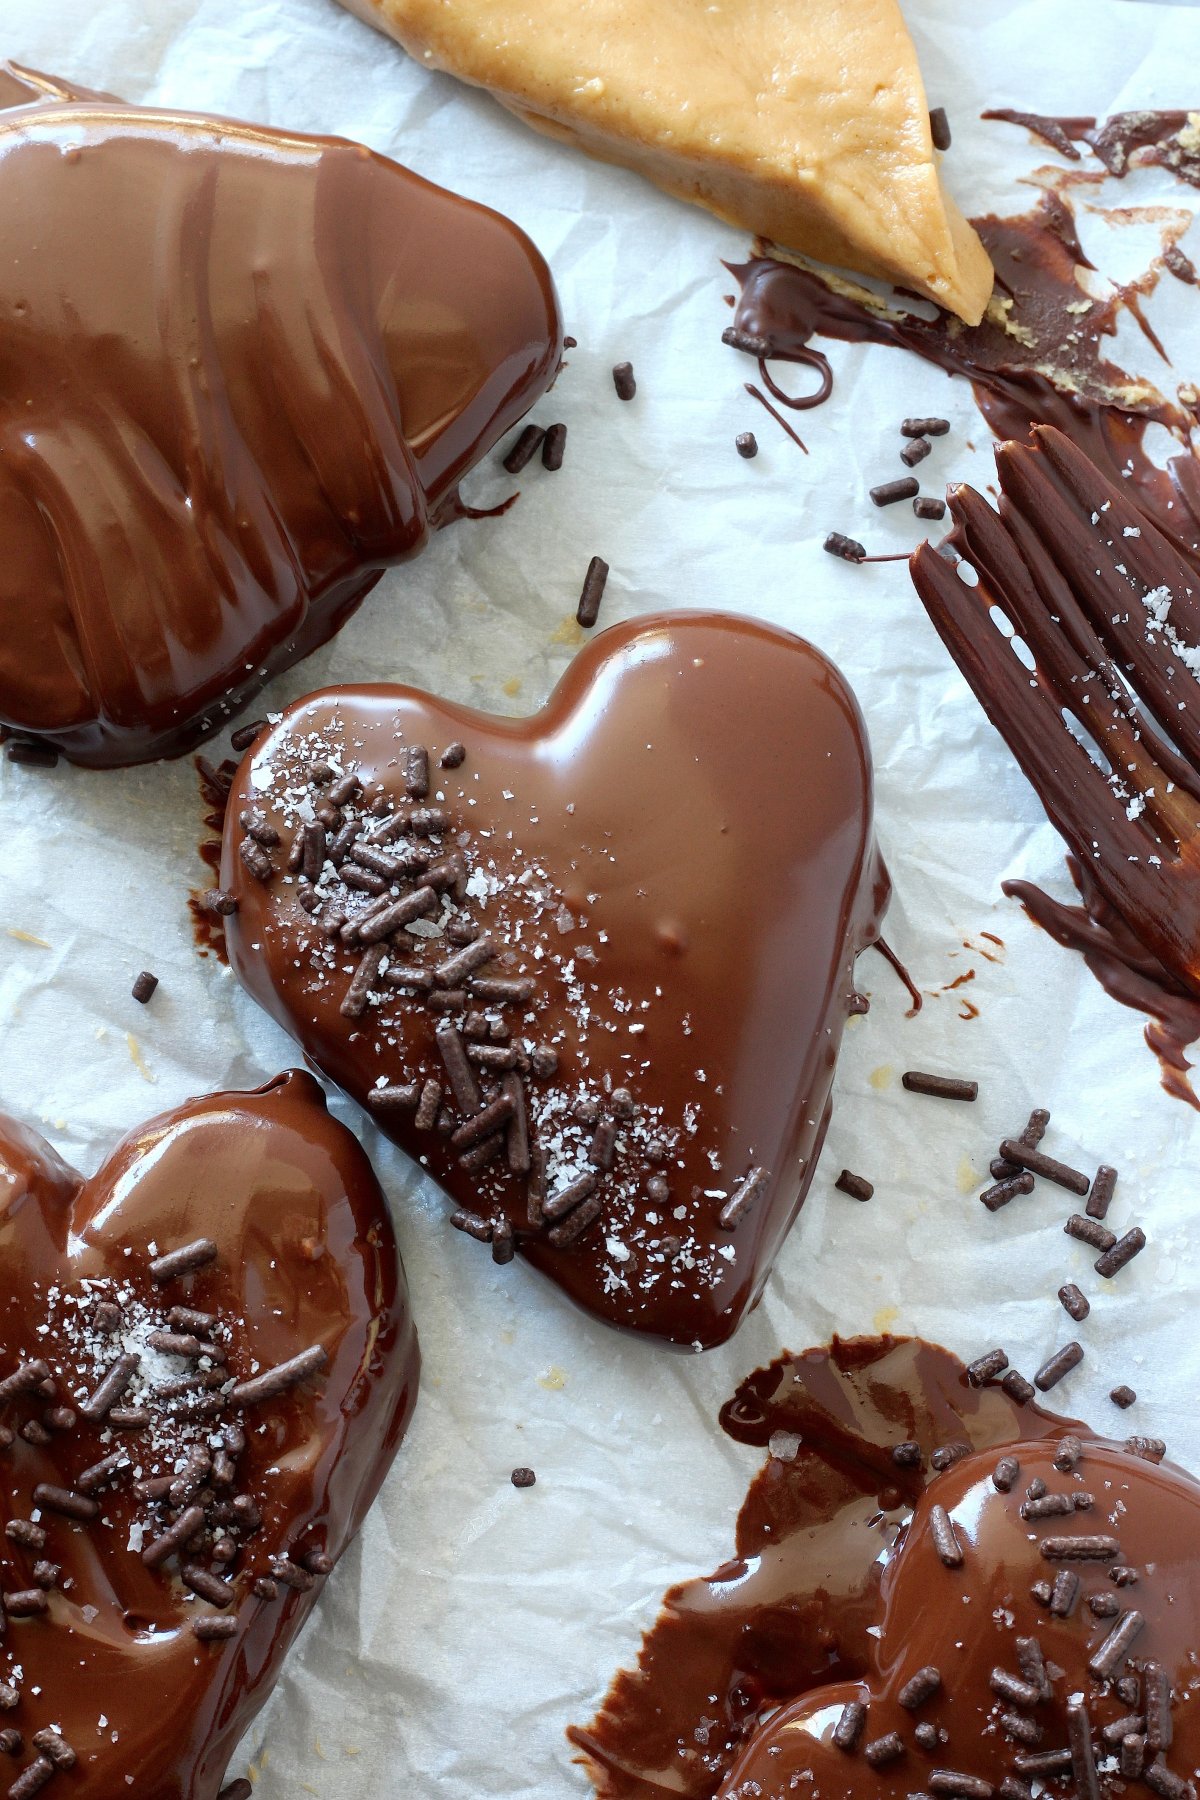
The peanut butter mixture consists of peanut butter, butter, vanilla, confectioners’ sugar, a little milk, and a pinch of salt – that’s it! The important part here is making sure you’ve reached the proper consistency
before shaping the hearts. You want your dough to be soft and easily pinched together, without being wet or sticky. I like to think of it as playdoh; it should be just a little crumbly but effortlessly obey your hands when molded into shape. If the dough feels too sticky, simply add a little more confectioners’ sugar; if the dough is too dry, a splash of milk is your friend.

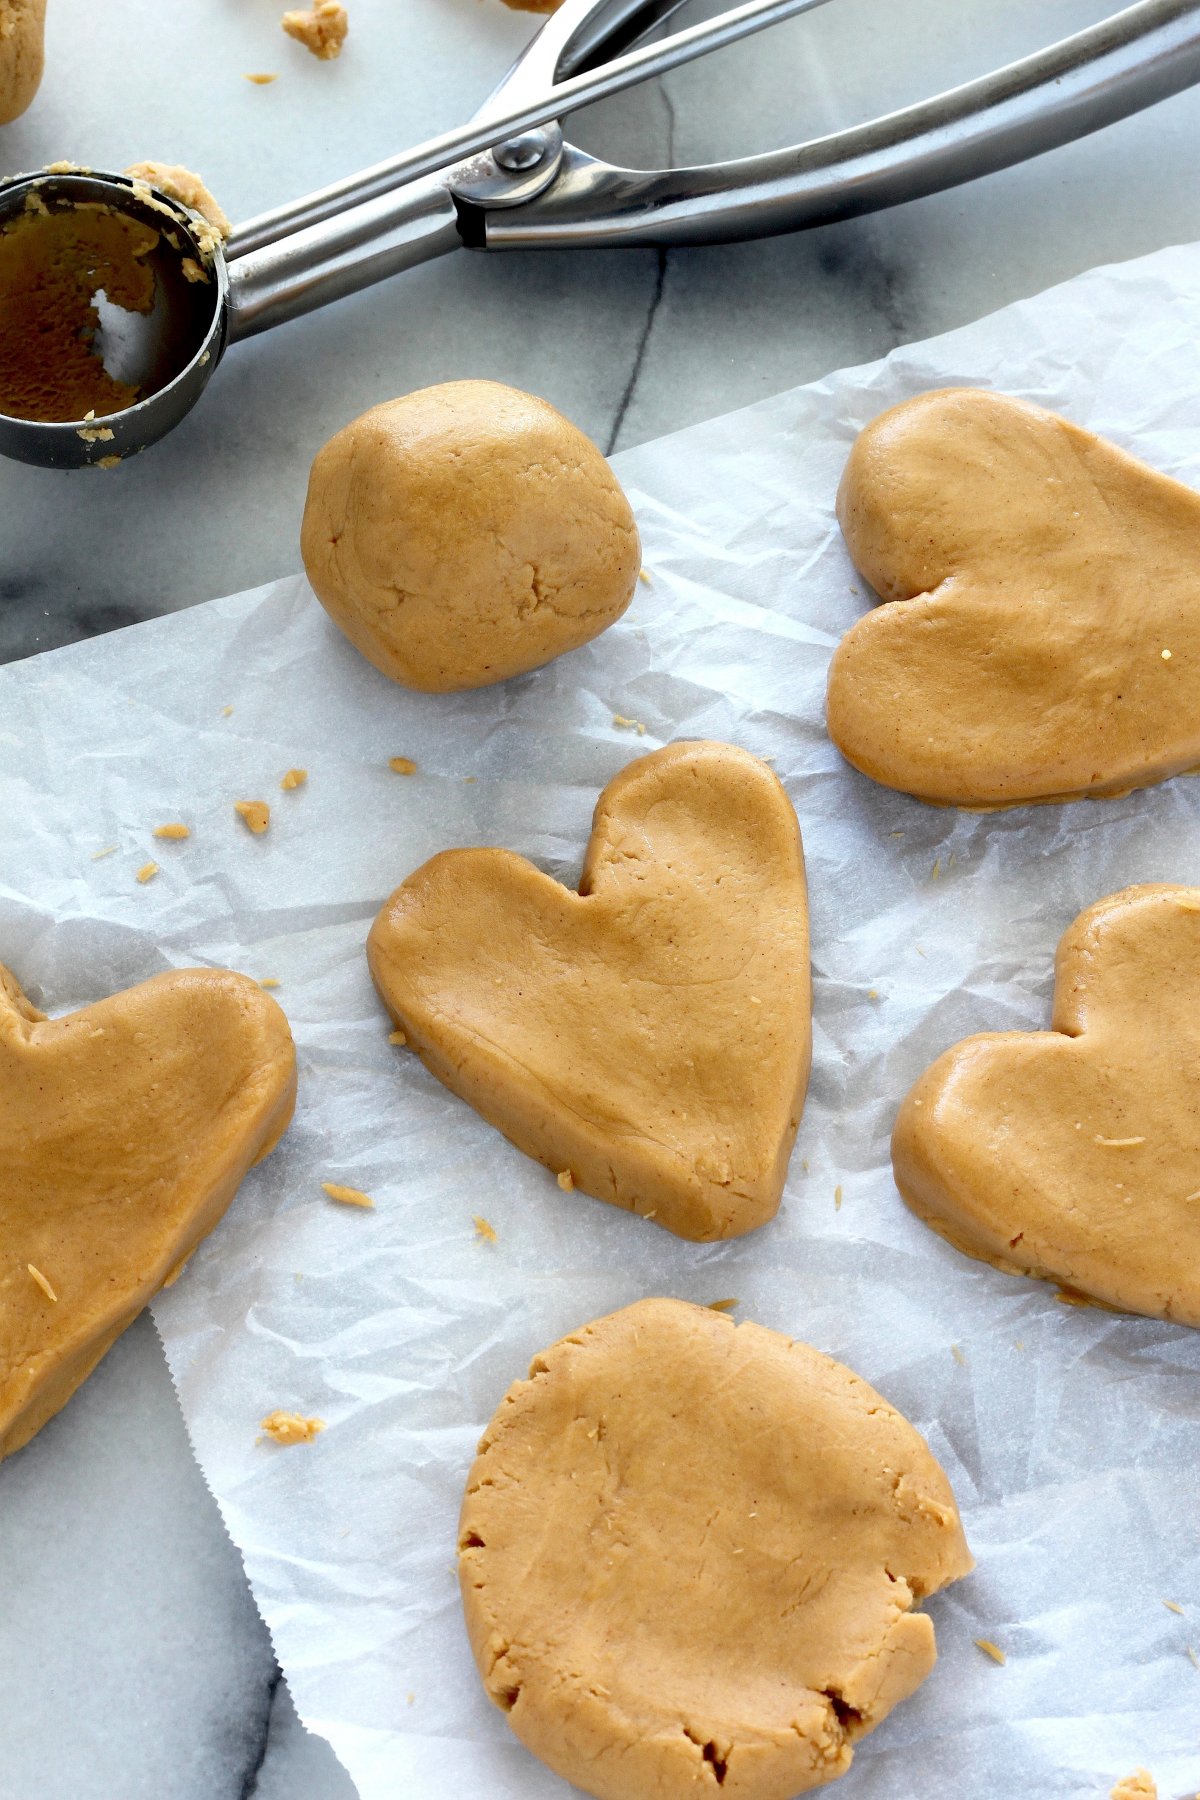
Ok. So now that we’ve covered making the peanut butter filling, let’s really focus on the shaping part. Here’s what you’re going to do: scoop out balls of the filling (I like to make mine in heaping 2 tablespoon sized balls), press it flat with the palm of your hand (not too thin!), and use the edges of your pretty little fingers to form the bottom of the oval into a point (this will be the bottom of the heart) and the top into a double rounder heart shape (this will be the top of your heart). If nothing of what I just typed made sense, then simply go with your gut, have fun, and shape the peanut butter filling into the best little hearts you can come up with.
I know they’ll be great! The most important part is just remember not to make them too thin. They should be at least 1/4 of an inch in thickness. This helps them keep their shape during the chocolate dipping process.

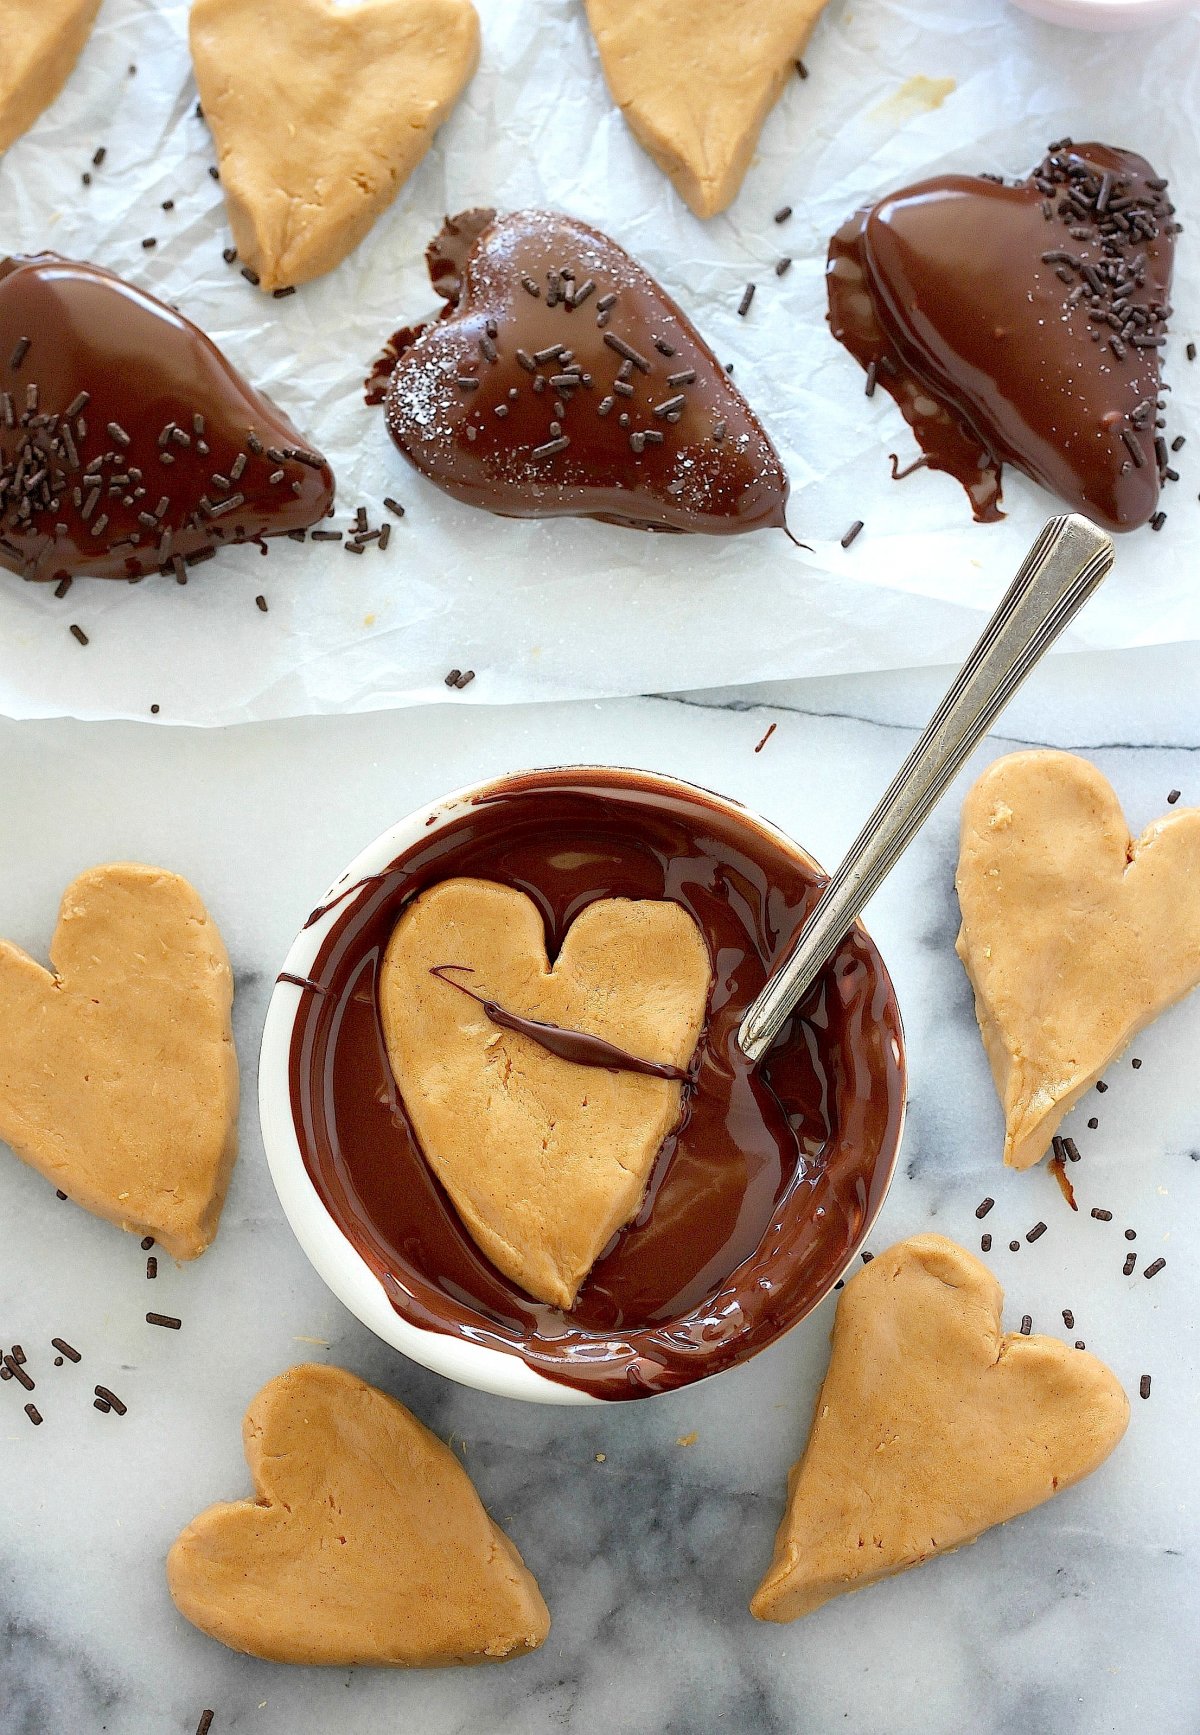
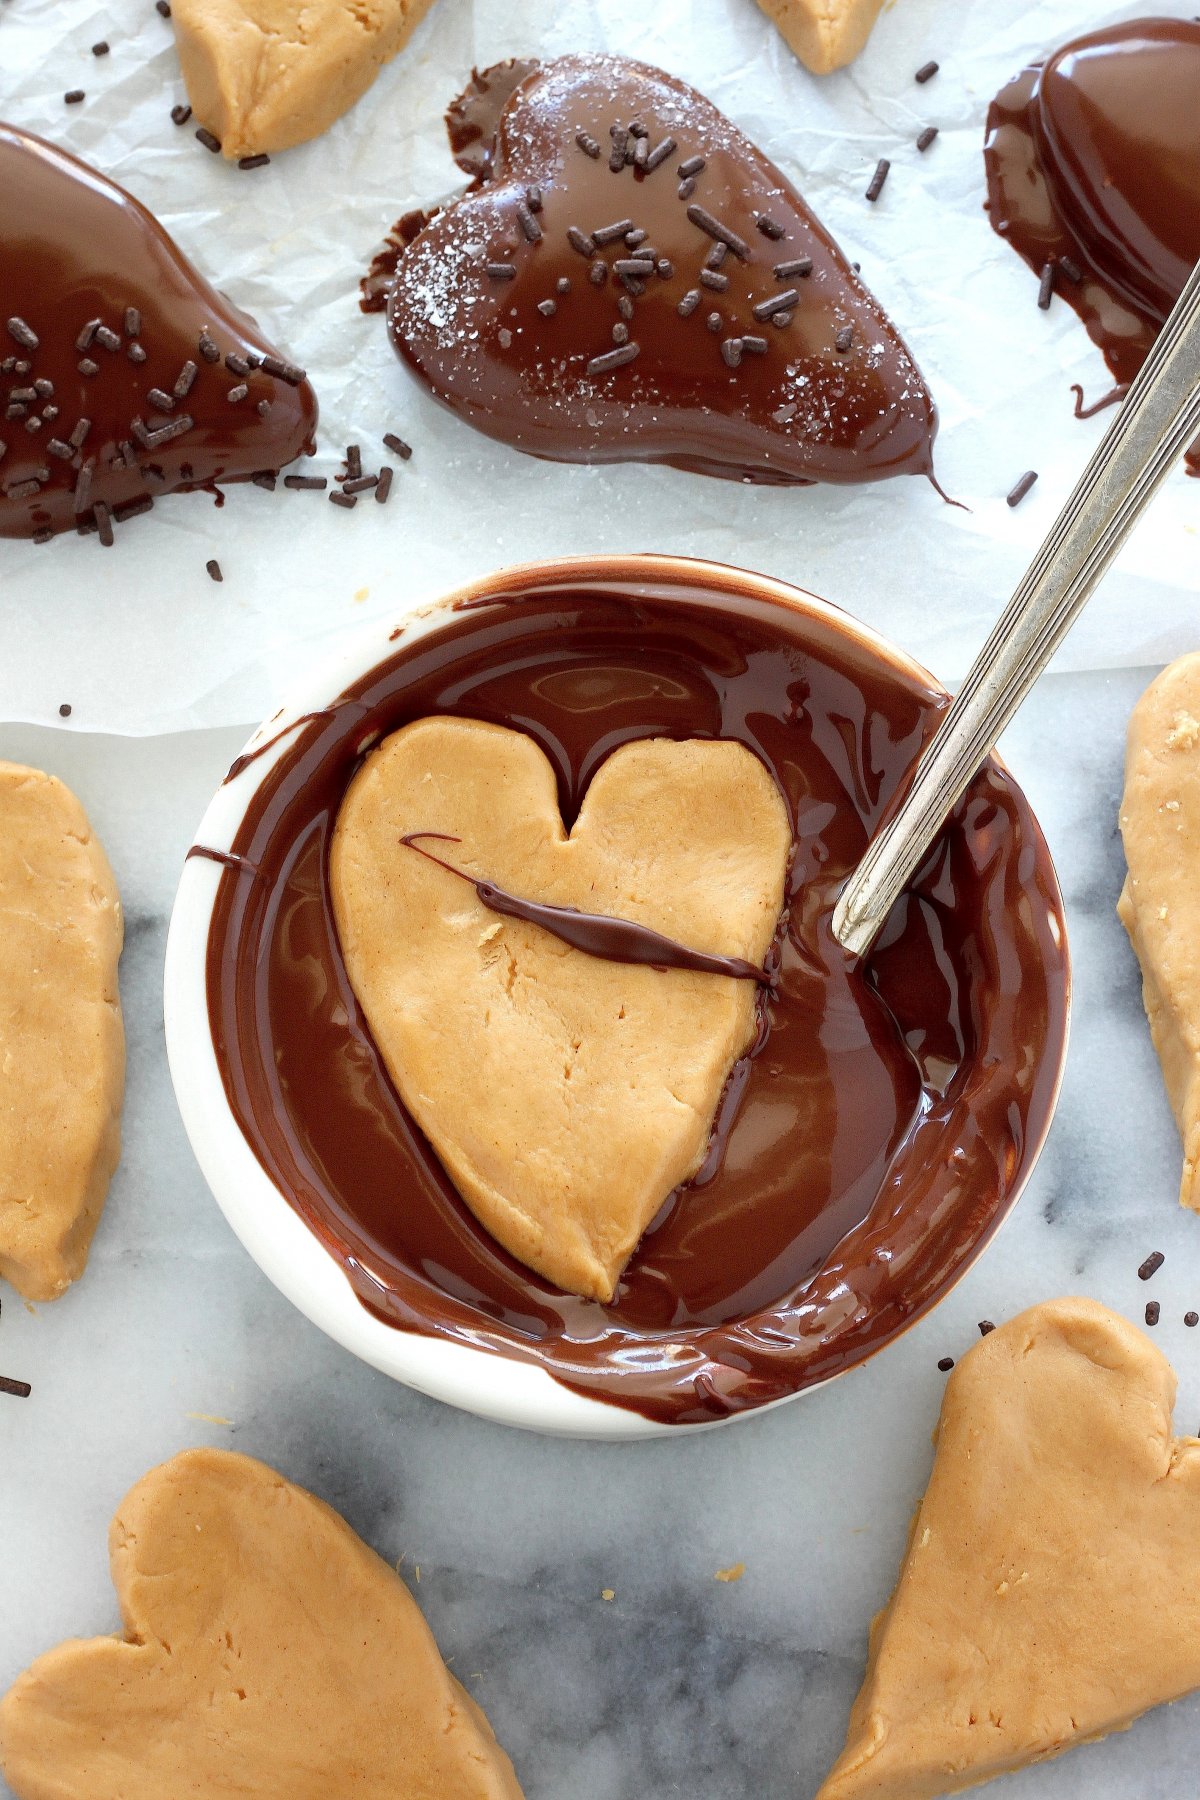
Speaking of chocolate… let’s dive into that, eh? The chocolate dipping happens once the peanut butter hearts have been shaped and frozen. Yes… FROZEN. But just for an hour and a half Freezing the peanut butter hearts is important because the dough is quite soft (remember, like playdoh) and will easily loose it’s shape if you dunk it before it’s had time to firm up.
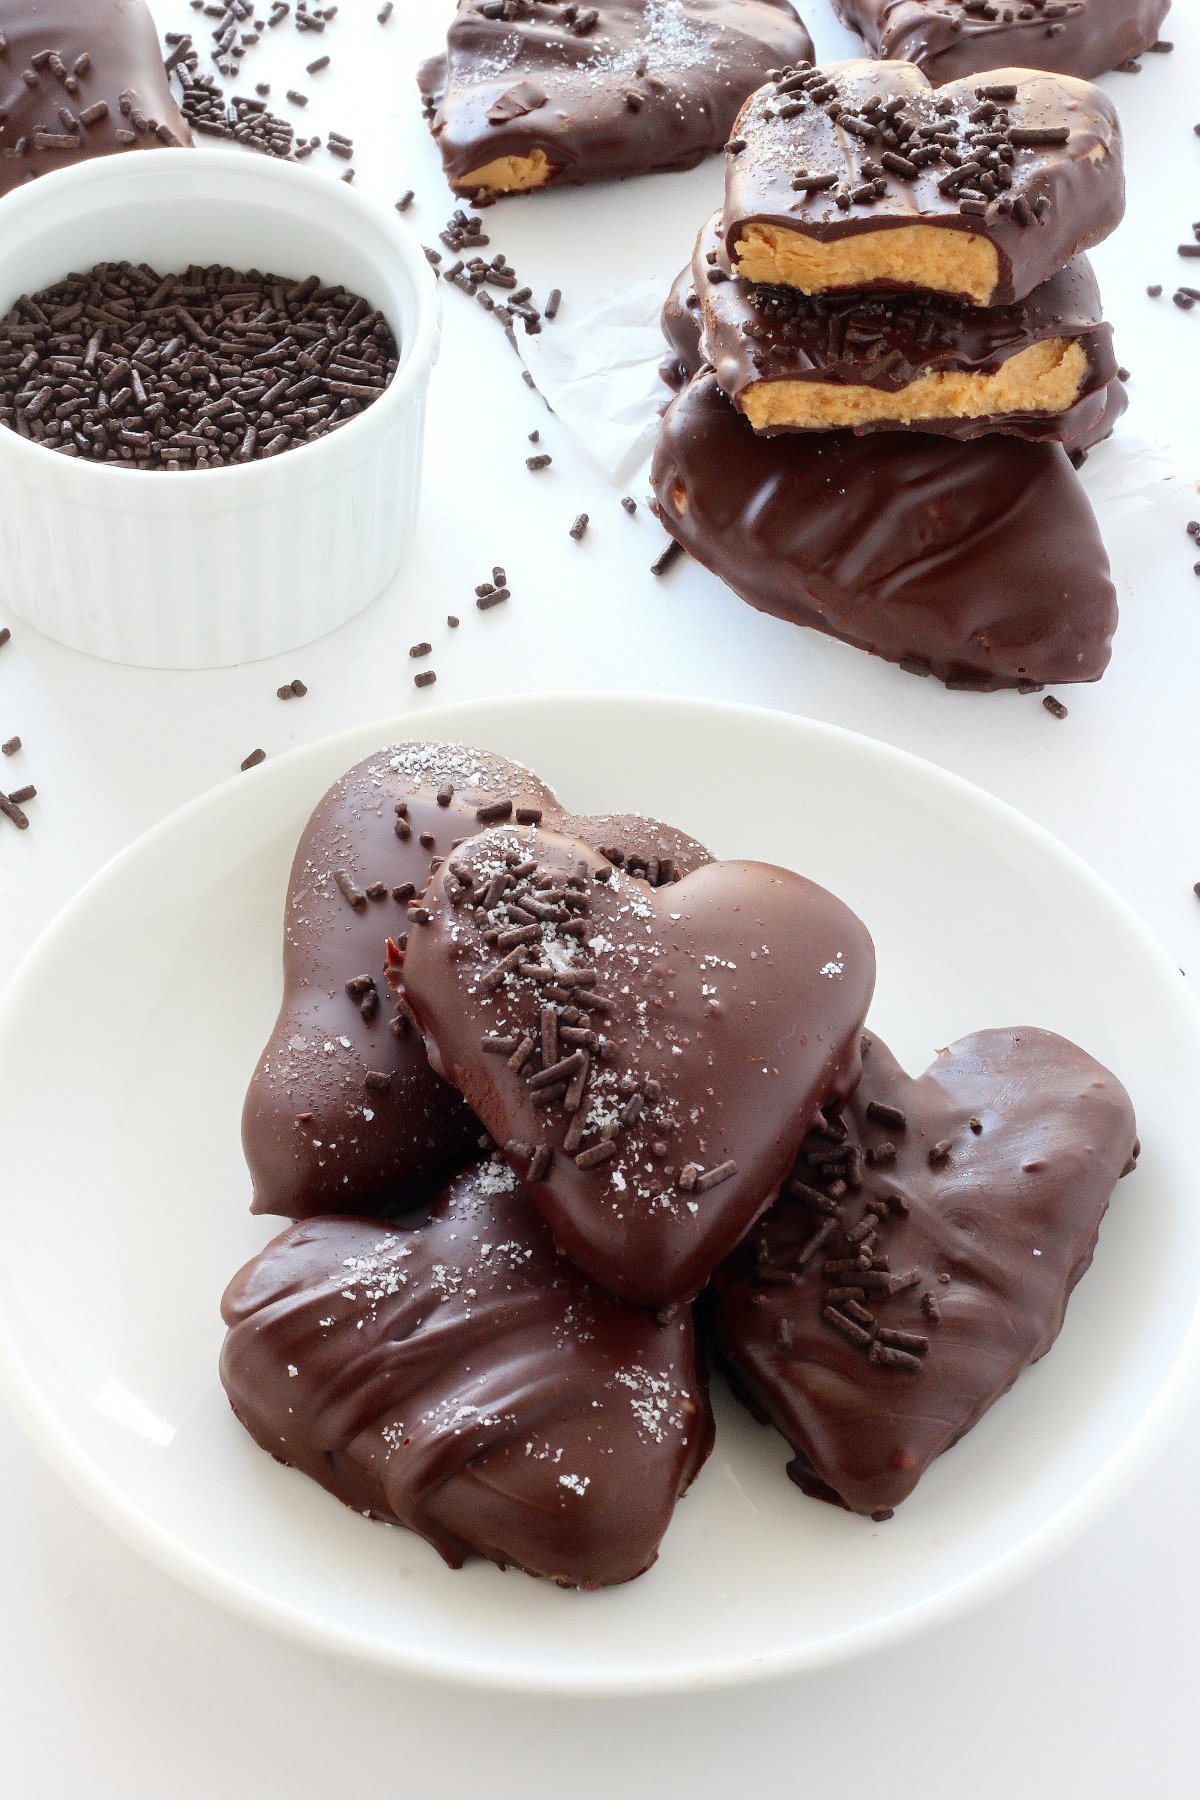
I personally prefer and highly recommend using semi-sweet or dark chocolate for this recipe. The peanut butter filling is already very sweet, so using a darker chocolate with a lower sugar content helps keep this recipe from becoming cloyingly sweet.
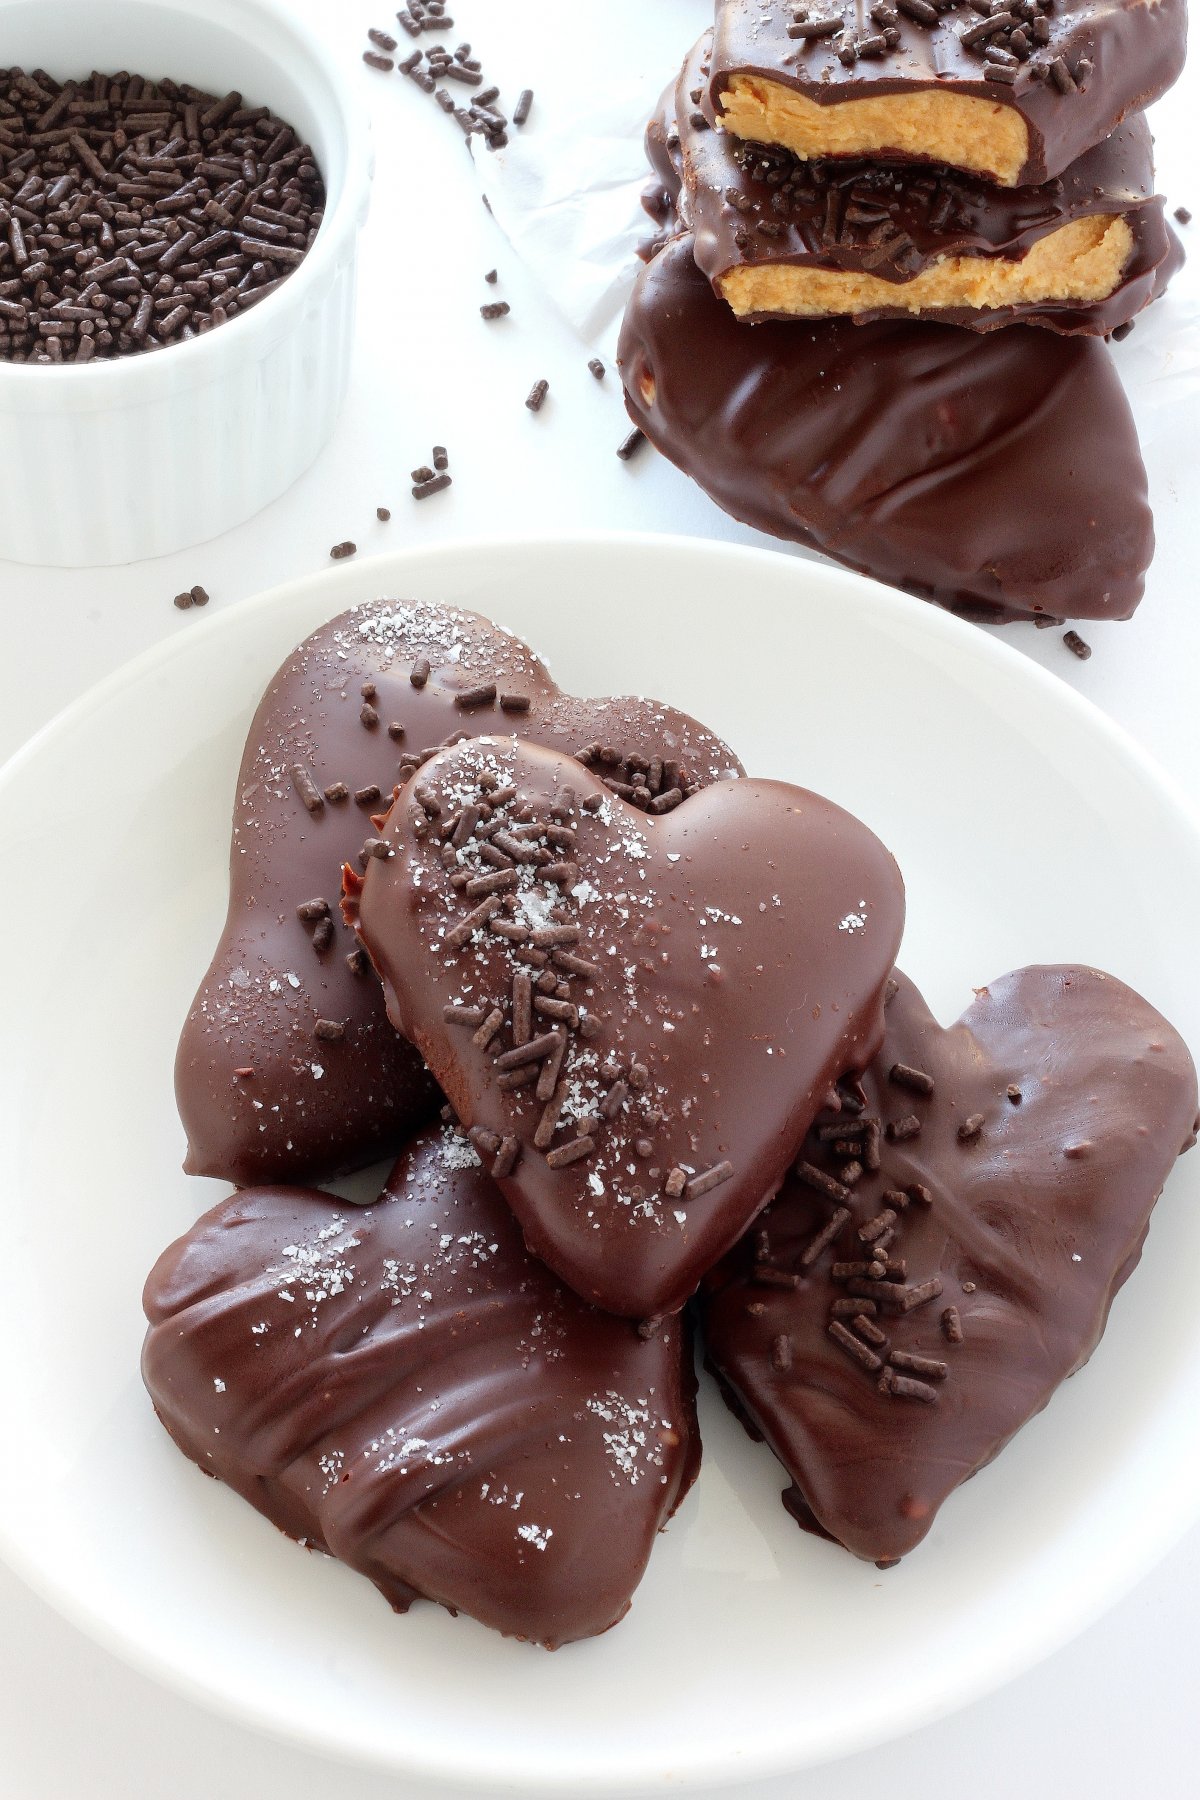
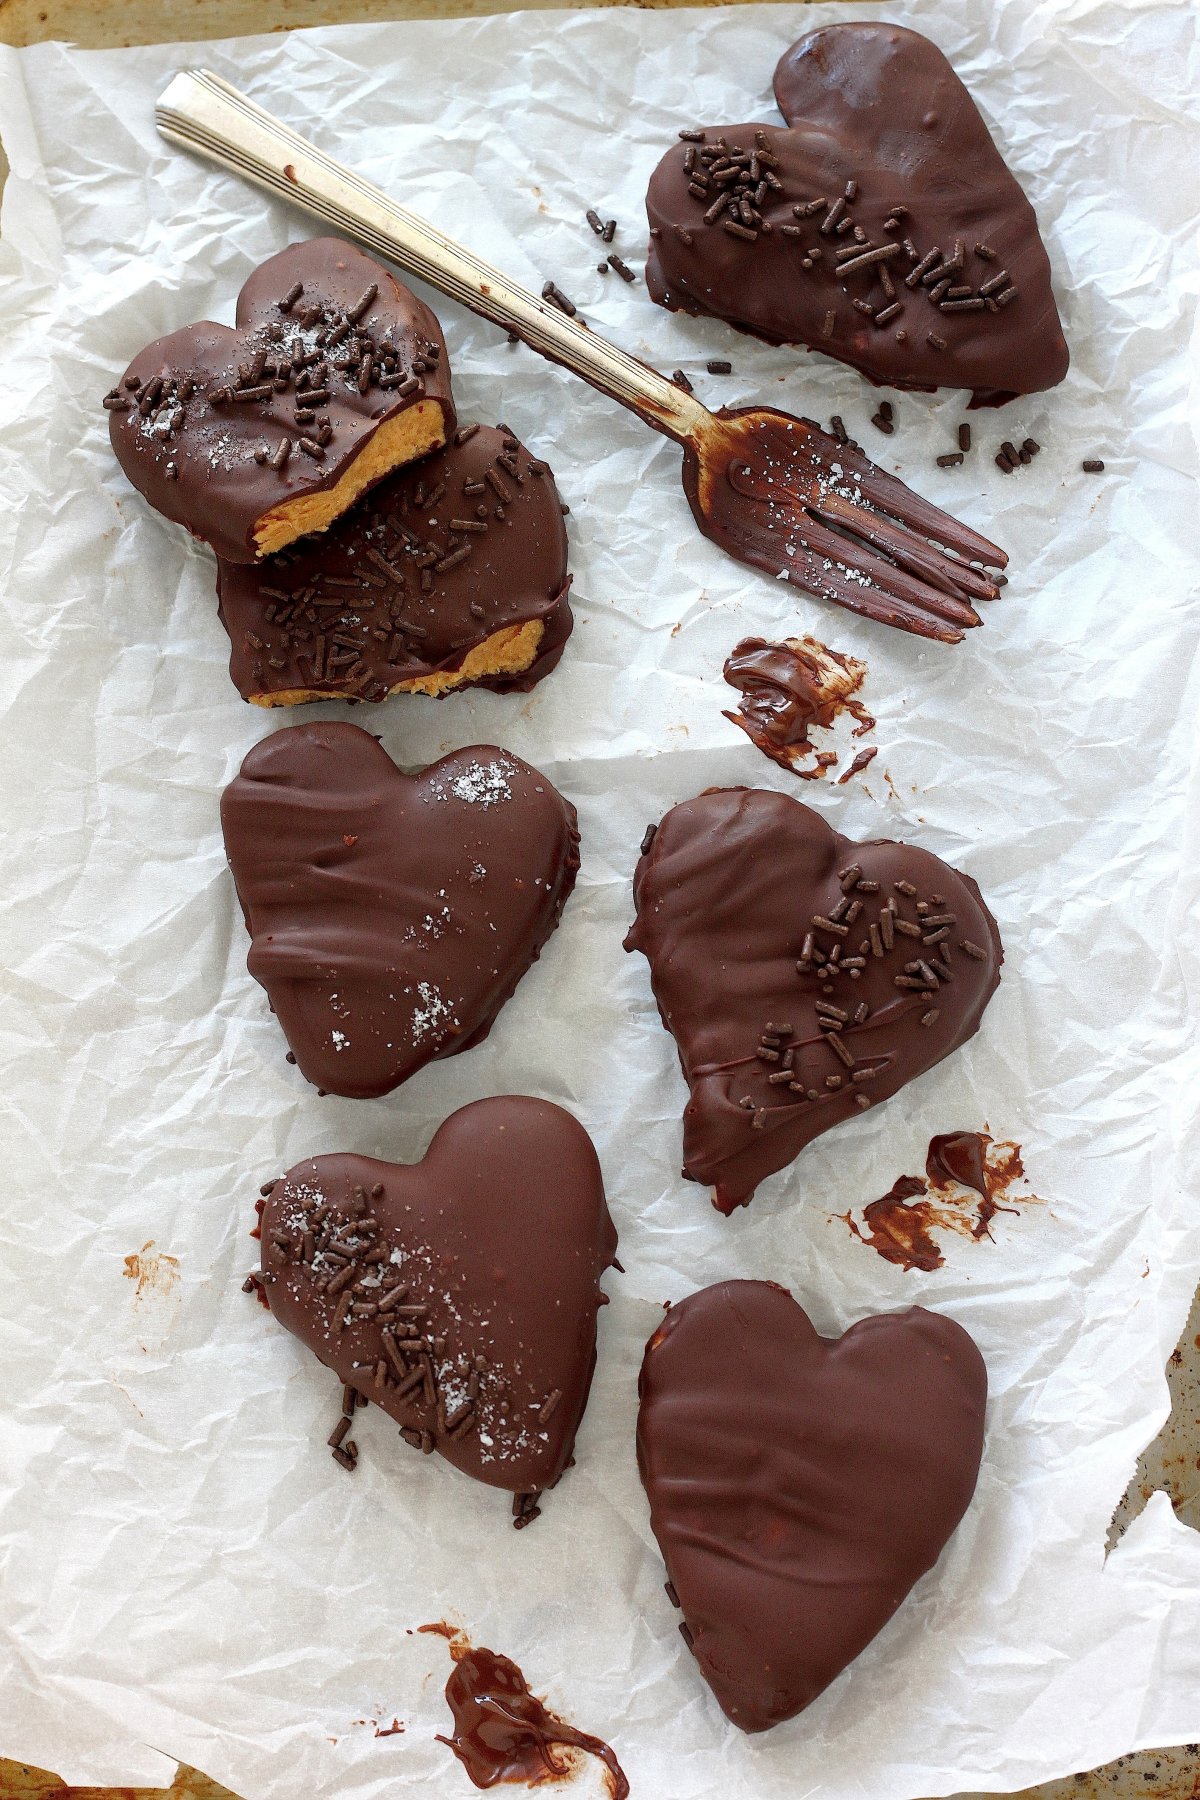
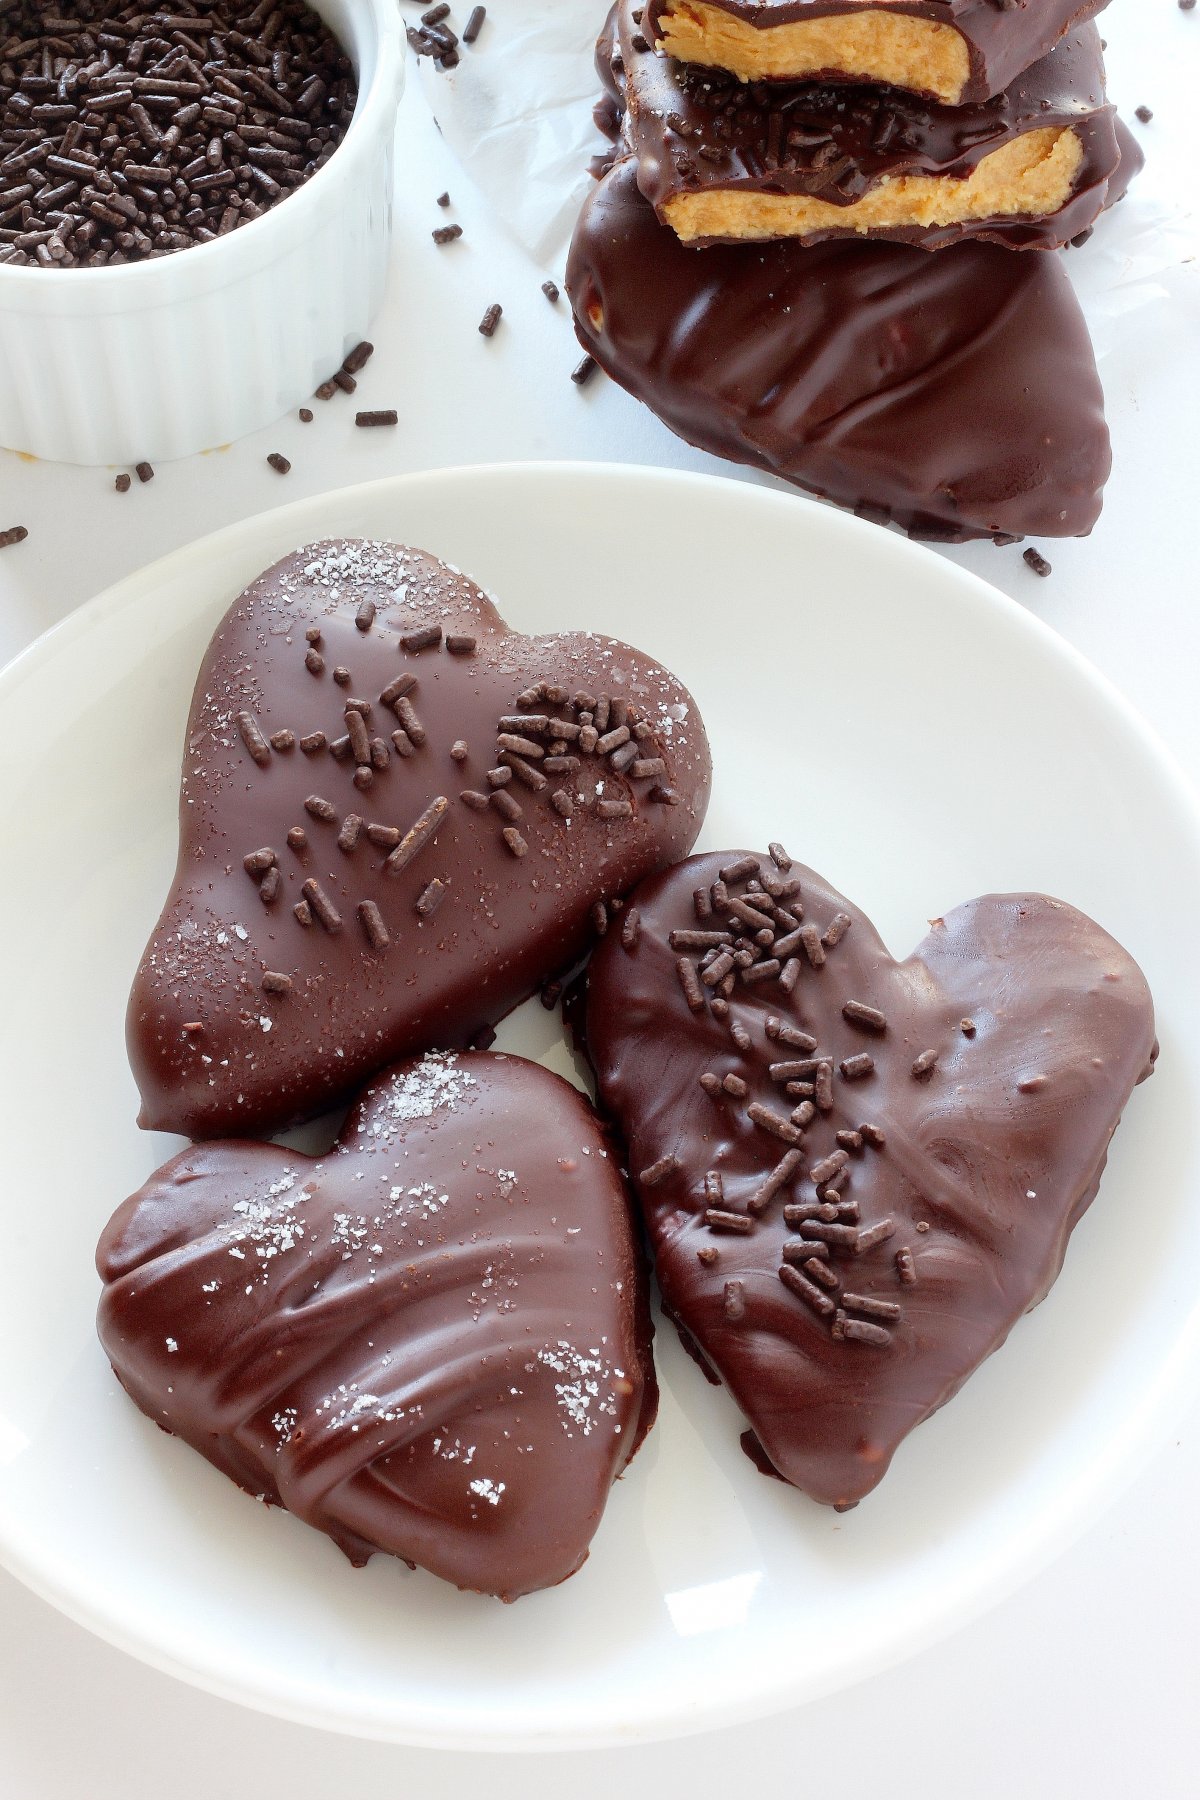
Decorate your glossy chocolate hearts with a pinch of flaky sea salt (my favorite) or crunchy chocolate sprinkles (classic) – or make a few of both. Allow the chocolate to set completely before digging in or serving to friends and loved ones. You can quicken this process up by popping the pan of chocolate covered peanut butter hearts in the freezer for 15 minutes.
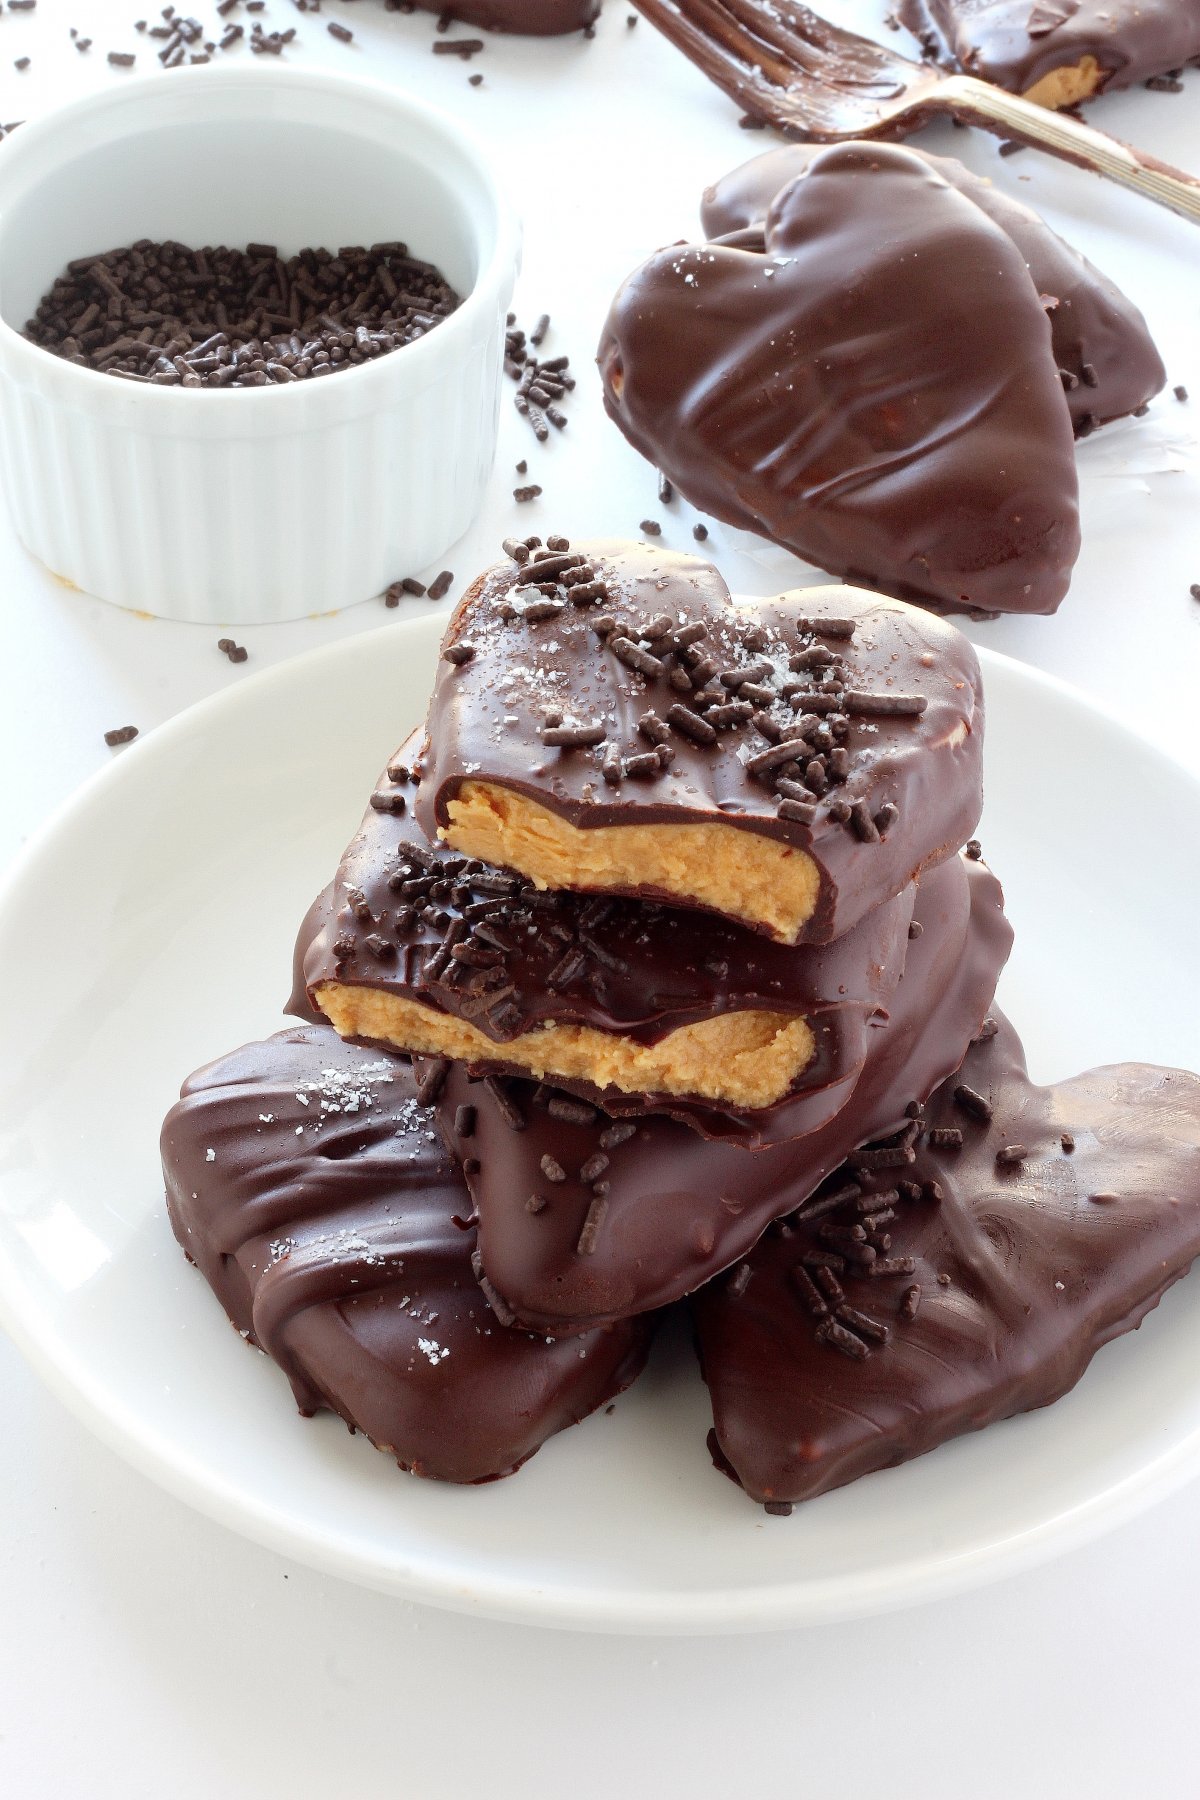
Can’t you just imagine biting into one of these pretties? Cracking that snappy chocolate shell and sinking your teeth into that creamy peanut butter filling?
On that note… I’ve got to go. There’s one chocolate covered peanut butter heart left (taste testing was intense), and well, I think you know how it’s going down.
I adapted this recipe from my Salted Chocolate Covered Peanut Butter Eggs recipe which can be found here. To make this recipe simply follow that link, make the recipe as directed BUT shape the peanut butter into hearts instead of eggs If you have any questions please feel free to ask away! xoxo


