
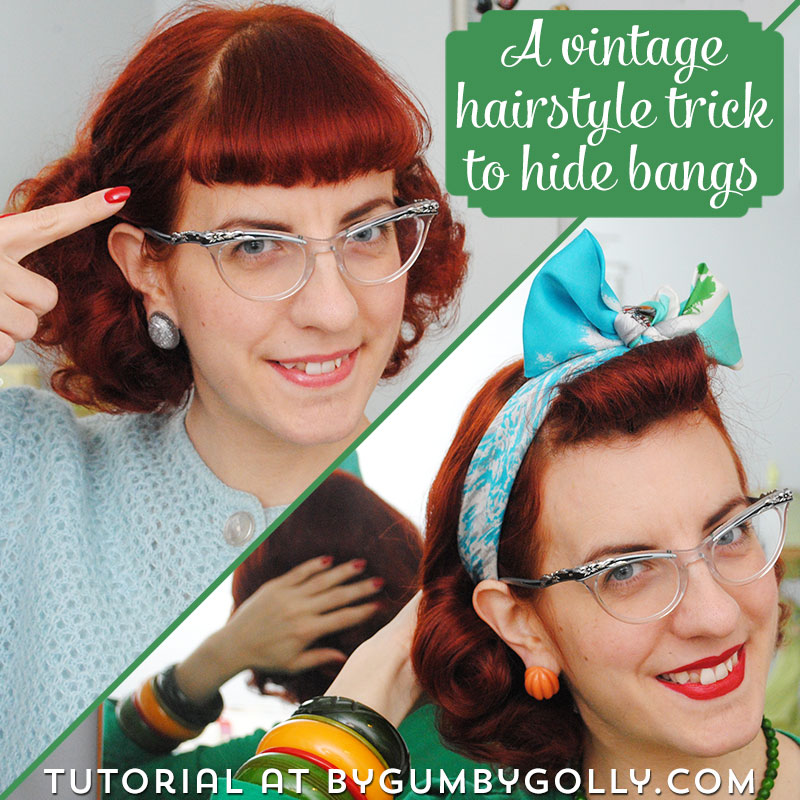
Vintage hairstyle trick to hide bangs
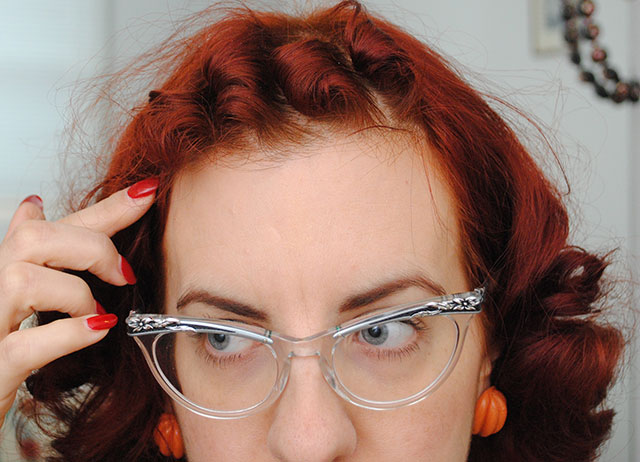
A little over a week ago, when I was at the salon getting my color touched up, I decided to have my stylist cut bangs. By the next day I was already regretting it! They’re cute but don’t feel “me” and even styling around them for a few days was making me angsty. But it’s okay, because I’ve been there before and know how to grow them out. (Why do I never learn. Whyyy.)
So my stupid move is your hair tutorial gain, and I’m going to show you one good way I hide growing out bangs with a small front roll. Kind of a mini bumper bang style, if you will. It took me until I grew them out four years ago to finally come up with some cute ways to wear my hair that didn’t make me want to smack the bangs off my face as they grew out.
My tutorial doesn’t really reinvent the wheel or anything—there’s lots of bumper bangs and roll tutorials out there, plus Lisa Freemont Street has a great video on

Have bangs you want to hide or just want to try a new hairstyle even if you love your bangs? Then let’s get started.
Supplies
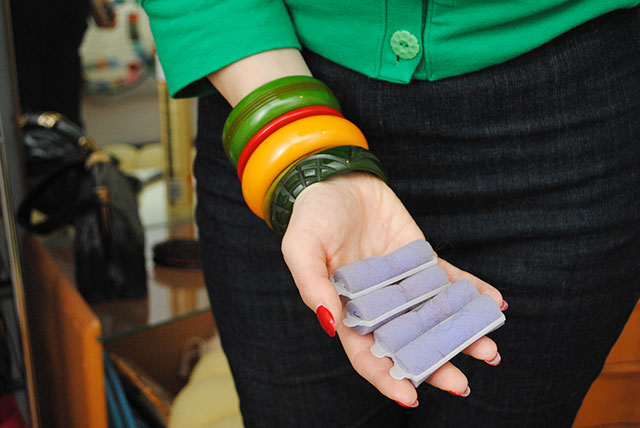
- 3 or 4 mini foam/sponge rollers. When your bangs are quite short, you really can’t do pin curls, especially for the smallest hairs at either side of your face. So tiny foam rollers are the way to go. You can crank those puppies down to the base of your head and it’ll work for all but the dinkiest of bangs. And by mini rollers I really do mean mini—in a multi-size package, the smallest or second-to-smallest size. (You can find ones sold by size, just showing you that pack for scale.)
- A small hair rat or the foam from a medium-sized foam roller (without the plastic bits). I’ll go into why a larger rat doesn’t really work for this further on down.
- Setting lotion or a styling product. You’re only using this on your bangs, so if you don’t regularly set your hair and thus don’t have a preferred setting lotion, feel free to use a bit of your favorite styling pomade, gel, mousse, etc. We’re not talking a lot of hair here, so pretty much anything goes.
- Bobby pins/kirby grips, comb, hairspray.
- Optional: a scarf that’s long enough to tie in a bow at the top of your head. Not required, but it does help, especially if your hair is fine, ornery, or otherwise likes to have little bits stick out no matter what you do. Bows hide a lot of hair sins.
You can decide how you want the rest of your hair to be styled. This hair trick works nicely with a basic wet set (like the everyday roller set I usually use), a scarf back roll, or pretty much however you’d like to style it that would look cute with a front roll (braids, victory rolls, ponytail, etc). Come to the table with however you’d like to wear the rest of your hair, and then we’ll work on those bangs you’re trying to hide.
How to do it
Part One
We’re actually going to use the rollers to help hide your bangs out of the way for this style. If your bangs are below eyebrow length, using mini rollers isn’t necessary, so you can skip Part One. Just back comb/tease them and move on to Part Two.
But if your bangs are above your eyebrows, you’ll never get all those short little hairs to hide under the roll unless you curl them up and out of the way, and that’s where the rollers come in. The trick to this style for short bangs is first rolling your bangs with small little rollers when your hair is damp. These wee guys:

If you’ve never done this, you might think I’m crazy. I didn’t think I could possibly roll my short little bangs with even the smallest of rollers the first time I tried it, but you can. I’ve even done it with my bangs a good bit shorter than they are now.

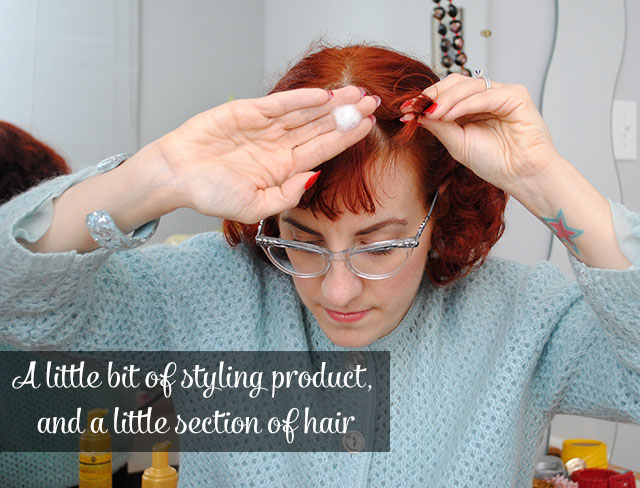
Wet your bangs so they’re a little damp. Take a small section of hair at one side or the other, and add a bit of your styling product of choice. I used Motions foam setting lotion below, but like I said, you can pretty much use anything here. You just want a tad of product to help get your hair to take the curl. Especially important if your bangs are particularly short.

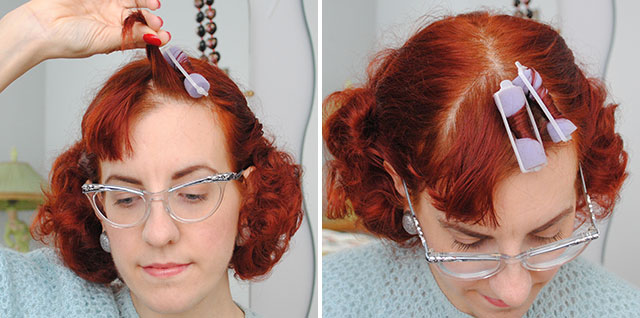
Take one of your mini rollers and roll that small section of hair tightly around it. (Since this isn’t to actually ‘style’ your bangs, the direction you roll doesn’t matter.)

You don’t even need to go for accuracy here, so if the ends are a little kinked, it doesn’t matter. You just want to hide those teeny hairs. Don’t make your scalp hurt, but you do want the rollers quite tight, especially if you plan to sleep on them, or they’ll fall out. So make sure the roller is all the way to the base of your head.


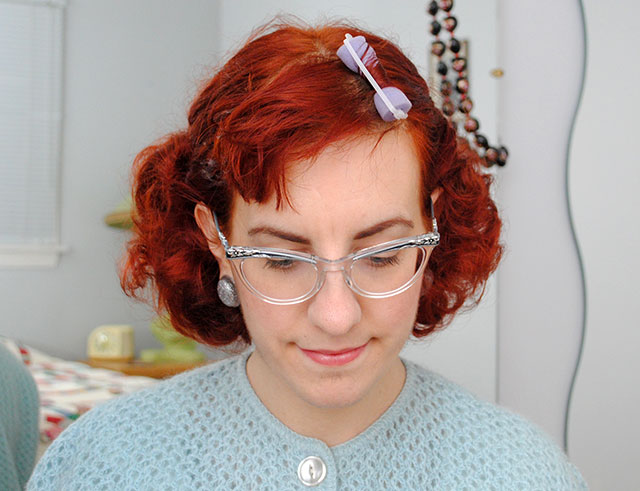
I find I need four rollers to get those itty bitty hairs at each side. You can see what I mean before I put the last roller in below. Depending on how your bangs are cut (especially if they’re shaped more like a U and not straight across), those can be some really short hairs!

Once you have them all in, you’re done for now. If any of them don’t seem tight enough, unclip the bar and just give them another twirl and close them back up. If your bangs dried while putting in the rollers, spritz them with water from a spray bottle or just dab some water on them with your fingertips.

You need your bangs entirely dry before you continue, so go to sleep, or carry on with the rest of your day if you’re doing this with a wet or hot roller set.
I rolled my bangs the night after a wet set (so I brushed it out that morning), with plans to let the curl in the rest of my hair relax a bit the next day.

Part Two
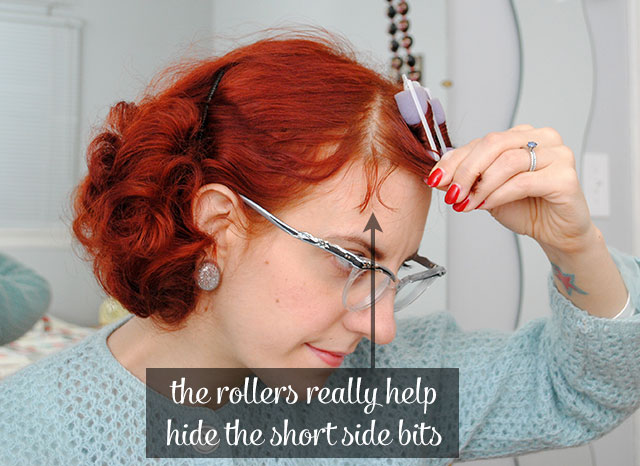
When your bangs are thoroughly dry (in my case the next day), it’s time to take out the rollers. I didn’t brush the rest of my hair or anything yet, for reference. You can see below that I noticed I’d missed a couple of small bits of my bangs, but it won’t matter as they’ll just get caught up in the roll I’m going to do.

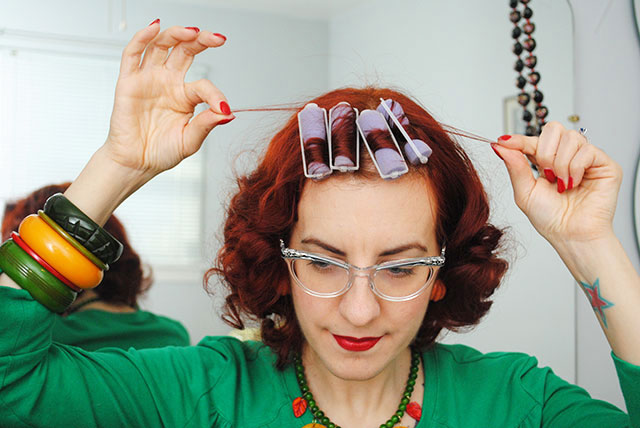
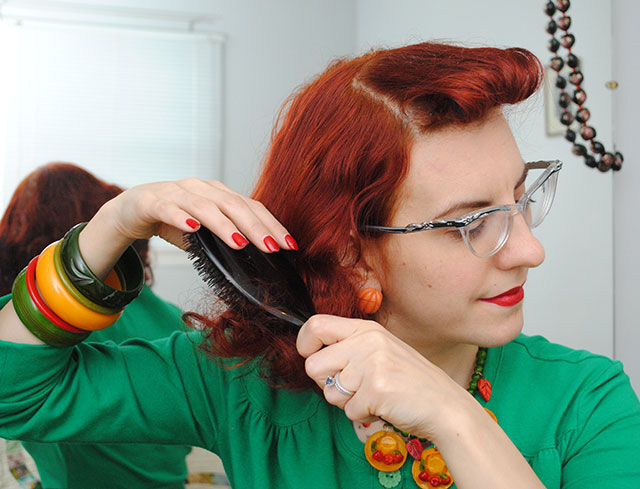
So let’s take out the rollers. But don’t brush out the little curls! Because we’re actually just using the rollers to pretend this hair doesn’t really exist, we don’t want to brush them or fluff them up or anything.
(Although when they start getting a bit longer, if you brush them into a little curl fluff they make for an adorable look. I call it 1959 Barbie doll bangs and it’s great with a ponytail. Word of warning: that is not a rain-friendly hairstyle. But this tutorial is.)

Leave them as tight little curls. As it is, they’ll loosen up as you finagle around with the rest of your hair in the next steps. If they didn’t form that tight of a curl, feel free to give them a shot of hairspray at this point.

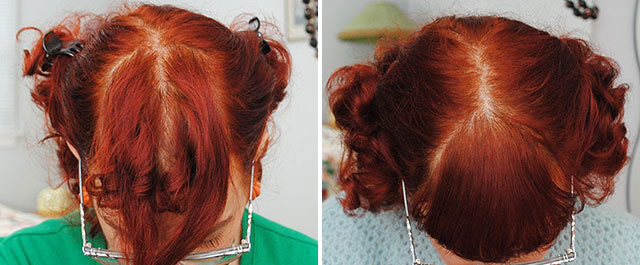
Now it’s time to section off the rest of your hair that you’ll be rolling forwards over the rat/roller and your now-tiny-curled bangs. Use a comb to section off a rectangle of hair, from either side of your bangs back to an inch or so further behind from where they start, and back up the other side. Clip back the rest of your hair to get it of the way in the meantime.
Below is a comparison to show you about how much hair you’re incorporating into the roll, versus how deep your bangs are.

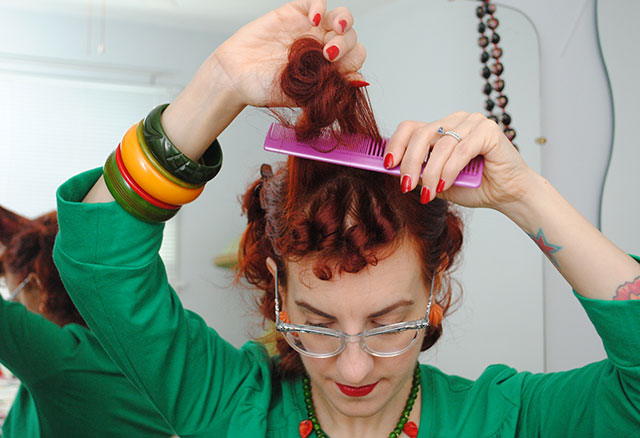
Give this section a good back combing/tease from the front towards your scalp, and at each side (the sides are maybe less important if you have thick hair, but I find it really important for my fine hair or things get droopy).

Time to roll! For this style, I don’t use a large hair rat like you’ll see in most bumper bangs tutorials. When you have short bangs that are cut shaped like a triangle (coming to a point at the center back like mine), you’ve lost a lot of the hair volume at the front of your head, so there’s not as much hair to spread around a hair rat.
If you have really thick hair this may not be an issue, but for me it is. Also, even if I take an outer layer off, I find those forms to be more full than I usually like, so this is a bit more of a subtle way to do a front roll. (As if wearing a vintage roll of any kind can be subtle compared to most modern hairstyles, but I think you get what I mean! )
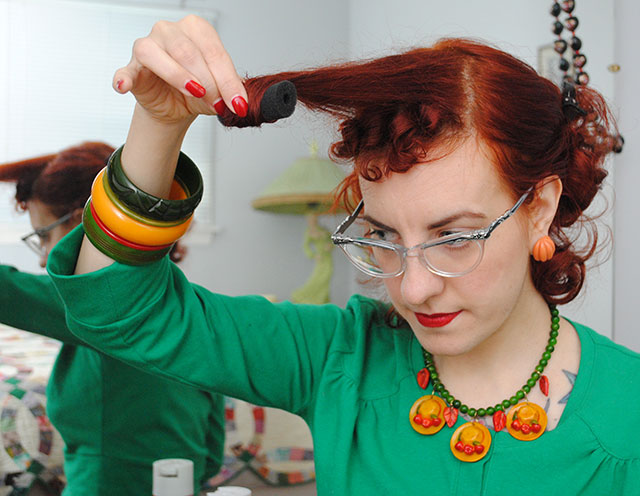
So for this trick, what I like to use is a medium-sized foam roller, and I just pull it off the plastic bit and use the foam as a small rat.

Take your form (foam roller insert or rat), and with your hair and hands at about a 45° angle from your head, and keeping the hair pretty taut, begin rolling it around the form.

At the beginning, spread the hair out slightly on the form. This is especially important if you have a form that doesn’t match your hair (like when I use the next size up roller, since mine happen to be orange, ha ha).
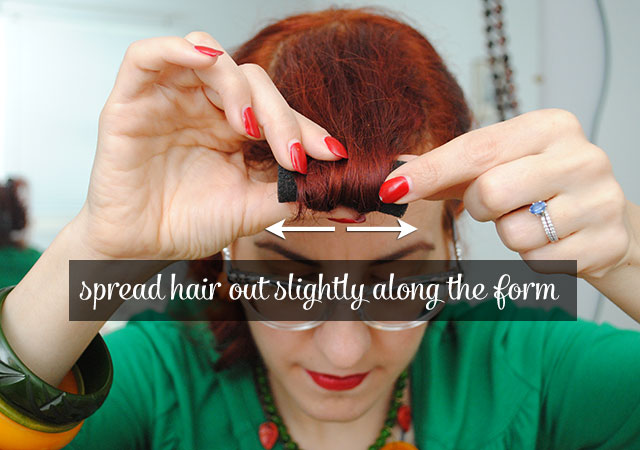


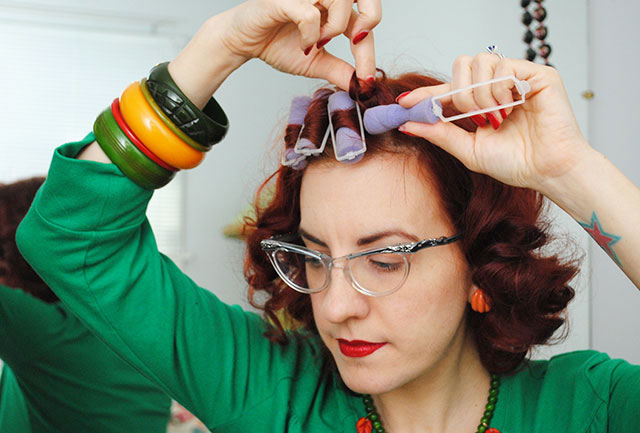
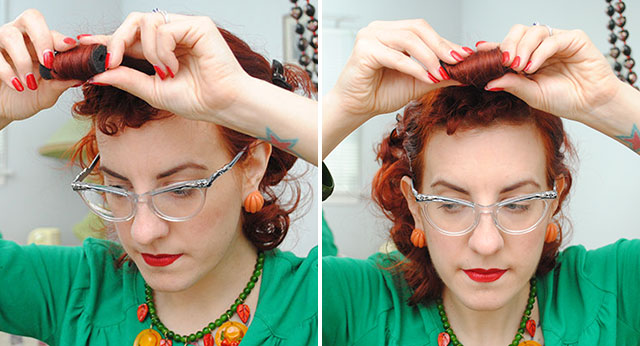
When you’re at the point where you get near the tiny little curled bangs, use your fingers to tuck the curled hair under the form.
While doing this, keep rolling the form until it gets to the base of your head and the curls are covered. It might take you a try or two, but trust me, it’ll work. It’s one part poking the bangs up under the roll, and one part continuing to pull the roll towards your forehead.
This is the part of the tutorial where you’re totally going to think to yourself “there’s no way this will work” and then suddenly boom, it’ll have worked!

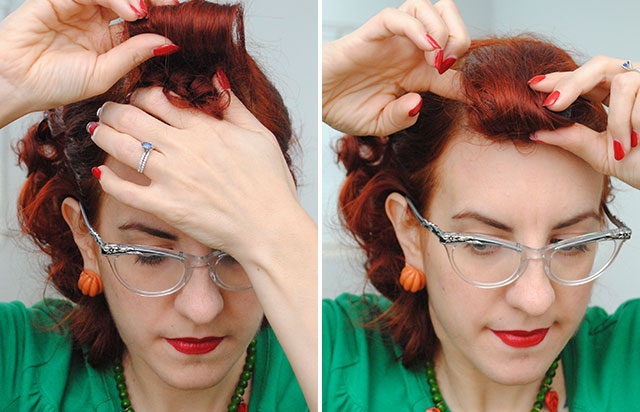
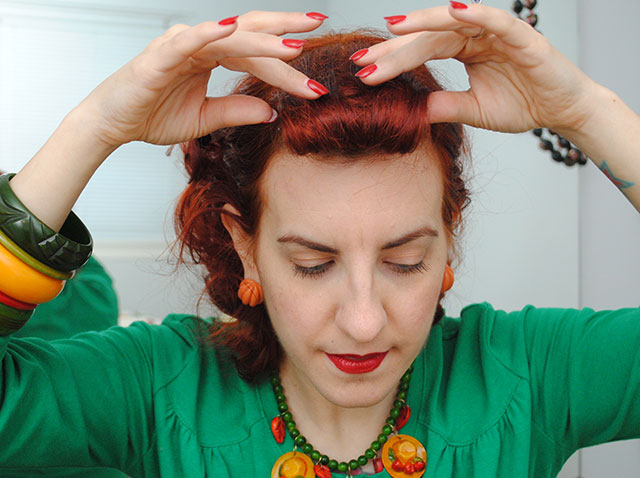
When the roll gets to the base of your head, pull it forwards towards your forehead a slight bit. If necessary, tuck any curls or baby hairs that went rogue back up under the roll.

Now you’re going to pin this all in place. If you’re using a foam roller as your form, you can’t pin into the foam (well technically you can if you can pry off the rubbery bits from the end of your bobby pins, but that’s kind of a pain). It’s okay though. Stick a bobby pin in the side of the roll, just under the roller, right at your scalp. It’ll anchor the rolled hair with the curled up bangs, and keep things in place. Do the same on both sides of the roll.
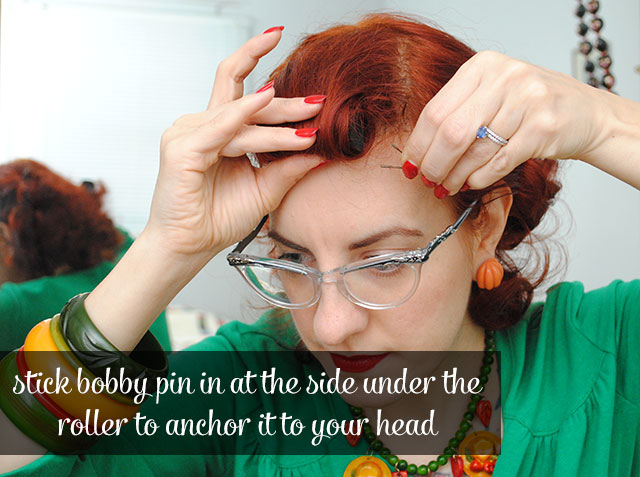

I’ll often then add one from the front just for good measure. Careful with this one so that the ends of the pin don’t accidentally angle up and stick out the top behind the roll. If you do this, push down slightly on the roll from the top so that it stays close to your head.
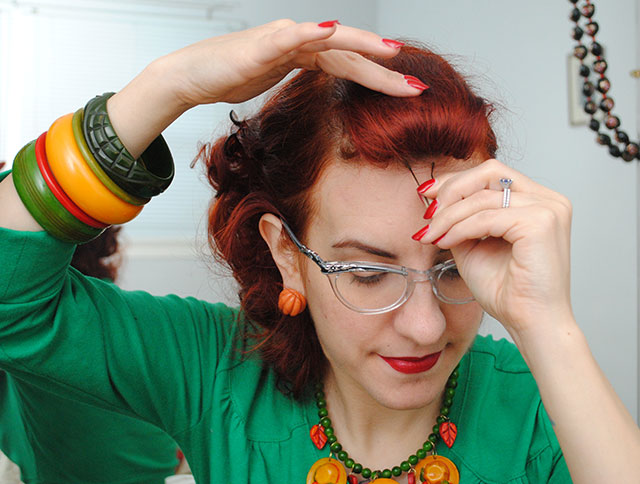

If you’re using a small rat instead of a foam roller, you can pin right into it, so the pinning part will be easier for you. If things are being ornery, stick a couple more pins in as you need.
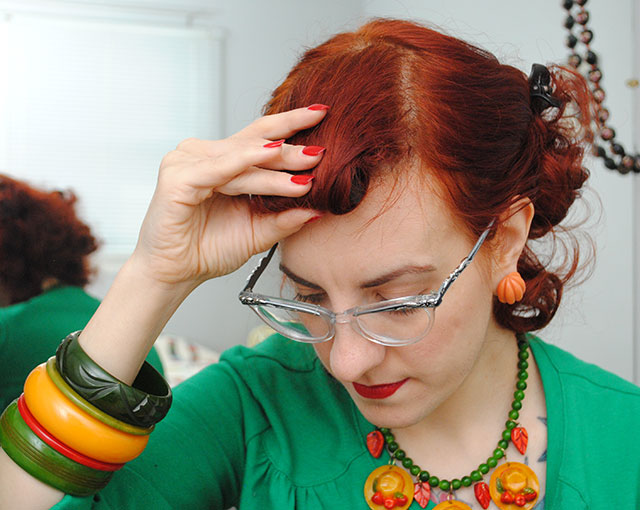
Once it’s all pinned, spread the hair out along the roll, making sure it’s completely covered, and spread it out a bit beyond the edge of the form.
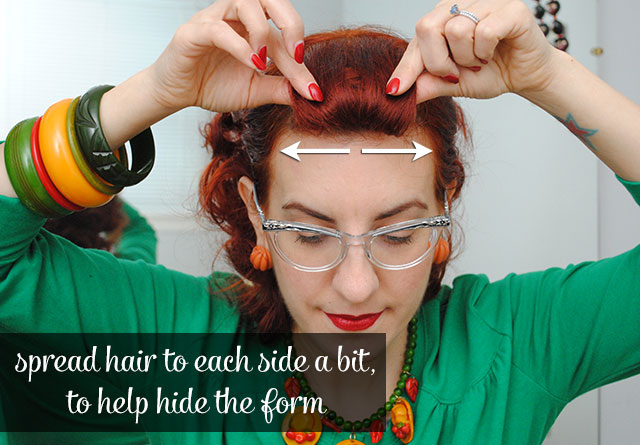

If one side of the roll appears a little narrower than the other side, just stick your fingers in the edge and carefully spread it open a bit more.
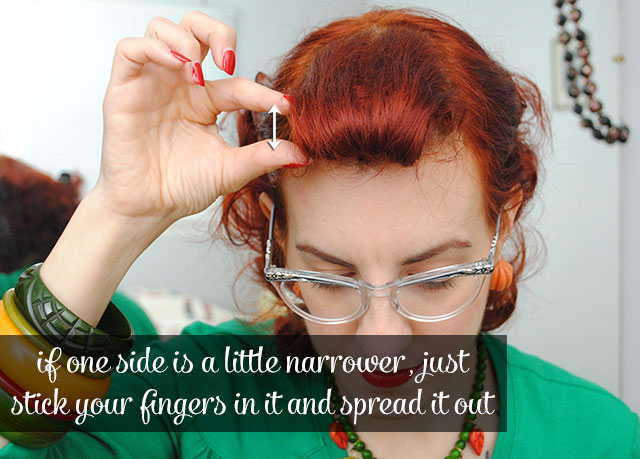
Give it all a really good hairspray!
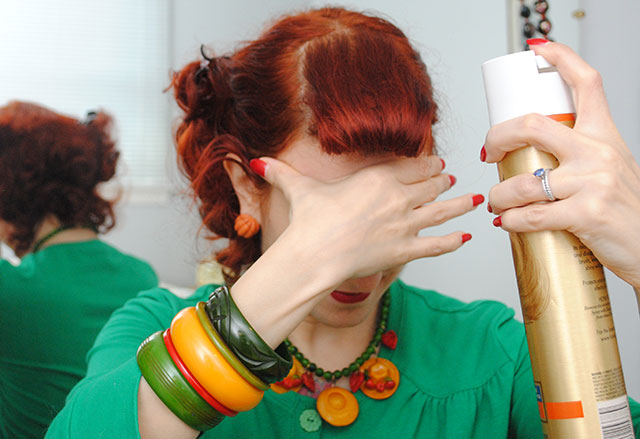


The scarf is optional, but it’s a nice touch, especially if you have a hard time hiding the sides of the form inside the roll or anything else. I find pinning the scarf with a bobby pin on either side of the bow facing back to front helps keep the scarf snug up against the roll if it’s slippery silk or chiffon. Then just cleverly tuck into the scarf any errant hairs that decided not to play along.
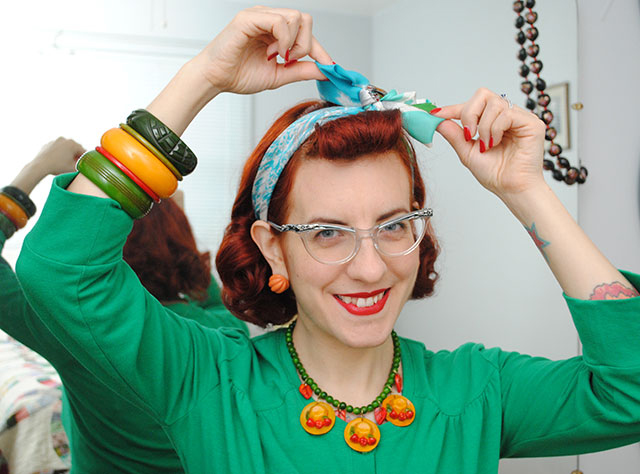


Now go and pat yourself on the back that you can wear a cute retro hairstyle and not have to curse your bangs. Win, win!