
Final make of 2013: BHL Anna
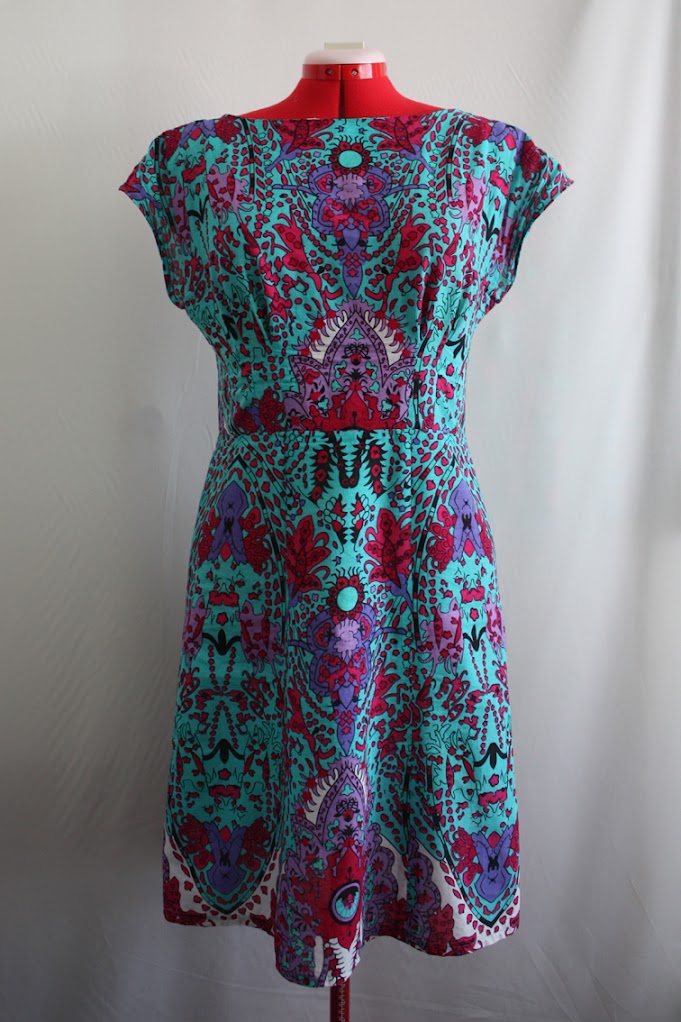
I think I might possibly be the last person ever to have a go at the Anna dress but finally, here is my version, and my last make of 2013:

I intended to wear this dress on New Year’s Day…and I did, hemming it in the afternoon on New Years Eve
Natch!
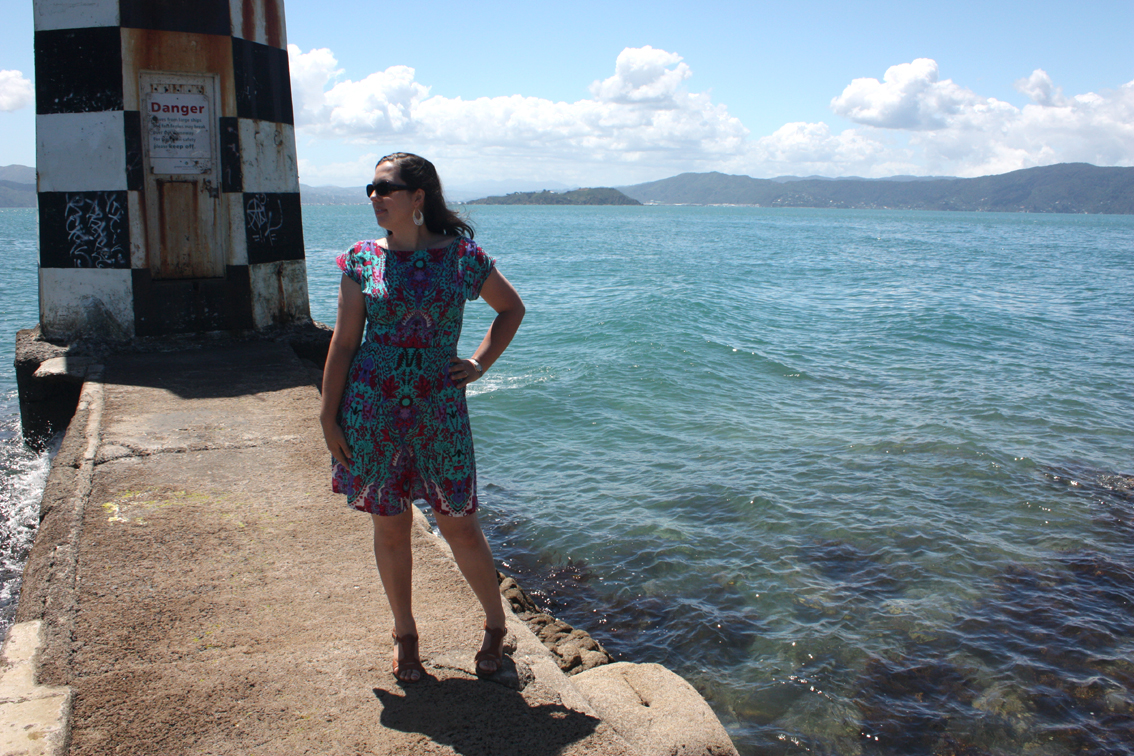
I hosted the in-laws for family lunch on New Years Day but not everything went as expected and my mind was elsewhere so of course I completely forgot to get any photos on the day! Luckily Nerdy Husband loves taking photos so on a beautifully sunny Wellington day we went out for lunch followed by a drive around the bays and found a fun spot for some pics.

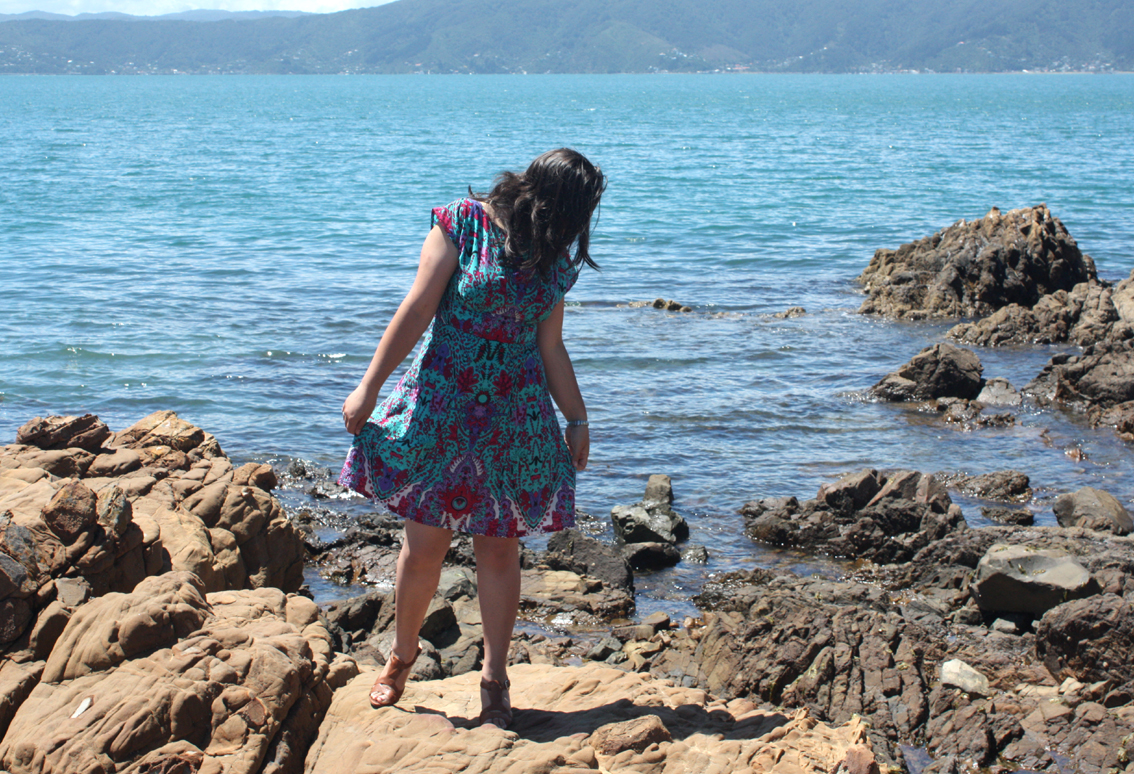
It was a bit bright, I’ll admit, and I forgot my polarising filter but I am coming here again for photos, I mean, look at that view!

Looking towards the Hutt Valley/Petone and Matiu/Soames Island

Looking towards the CBD
I really love my Anna dress. It took me a long time to cut out since I laid the whole pattern out in-the-flat to make the best of the fabric and avoid any accidental pattern placement, but that extra effort was worth it.
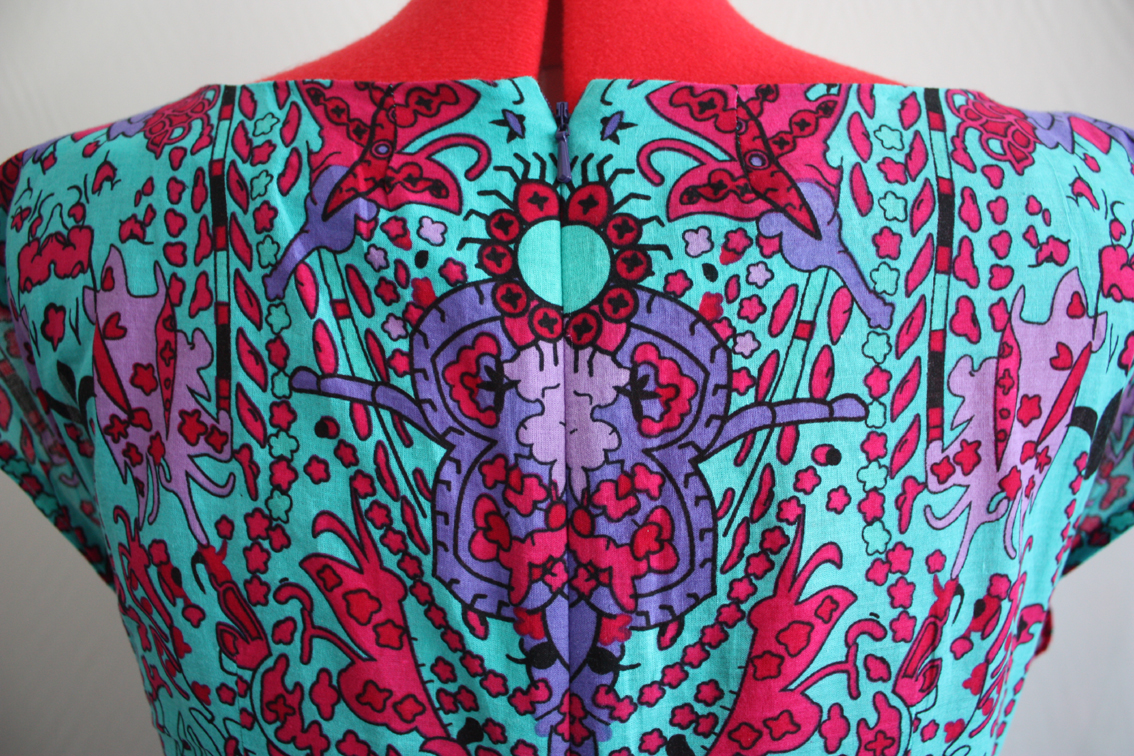
I am especially pleased with my zipper and pattern matching!

I fused a strip of interfacing down each side before inserting my zipper which made things go really smoothly and because this cotton is so thin it also helped to reinforce the seam.


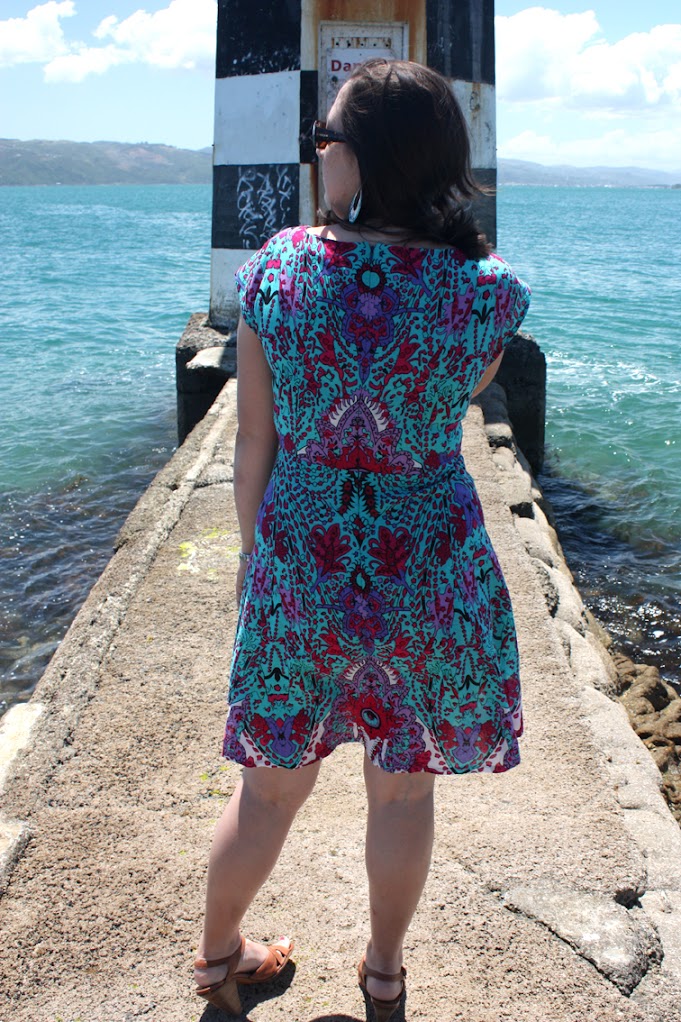
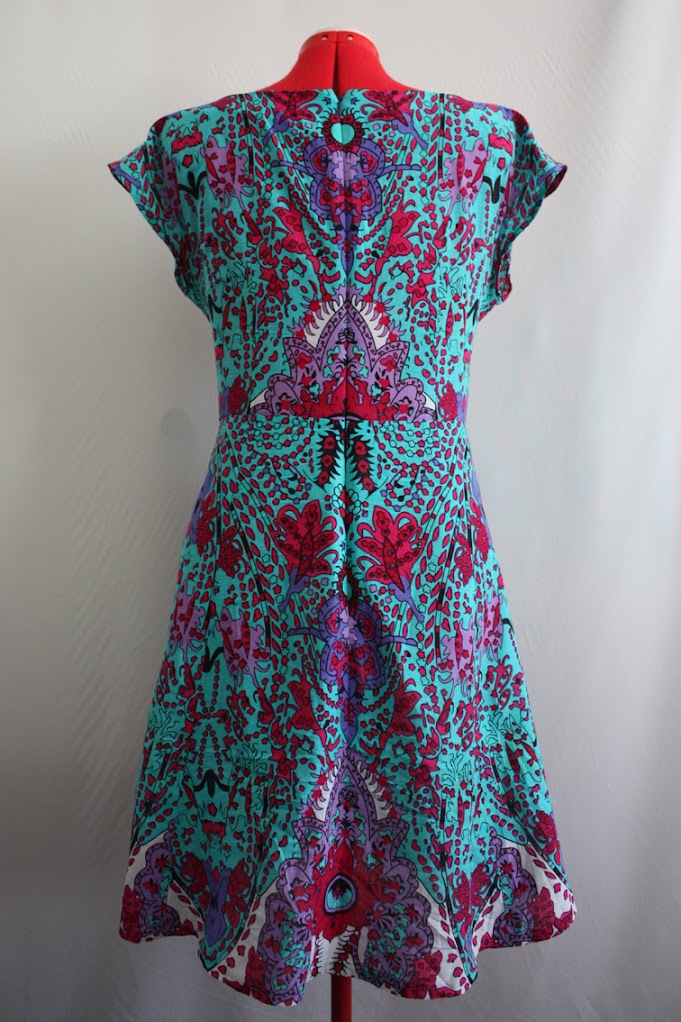
The pattern is great and I feel amazing in my dress, a simple shape that I think is very flattering.
I would like to comment on some parts in the instructions that I found a bit strange.
They are very friendly, in a “Yay, let’s make a dress, this is going to be so easy” kind of way, which is sweet. They are encouraging for beginners, the diagrams are very clear and they don’t rush through any steps.
However, I don’t agree with finishing the arm holes before stitching the side seams:

You will find it easy to hem the sleeve in the flat, but when you sew your side seams you will end up with the seam showing under your arm and any seam finish you use too (see last diagram above).
I finished my sleeves last, after stitching the side seams, it wasn’t tricky at all and if I can do it then so can you.
The construction order also includes steps to construct all the bodice pieces together, followed by attaching all the skirt pieces together and then attaching bodice to skirt.

On a very fitted dress this can add strength to the waist seam (kind of like a waist stay) but because I don’t think this dress needs that I chose to do it differently, for two reasons:
Firstly, there are a lot of seams in the skirt of this dress. Seams that need to line up with the bodice front pleats, and back darts and you also want the side seams to line up too right? If you sew all those skirt pieces together into one long connected piece and then try to attach them to the long connected bodice pieces you have more chance of miss-aligning those points. You only need to be out by 1 or 2 millimetres at each seam/pleat/dart and that discrepancy gets multiplied as you go along.
Secondly, this method leaves no chance for you to adjust your fit at the side seams after you’ve attached the bodice to the skirt. This is my most common final fit tweak.
My construction order went like this: Sew front skirt pieces together, then attach them to the front bodice. Next sew back skirt pieces together and attach them to the back bodice, insert zipper. Now sew your shoulder and side seams and give them a final tweak to fit.

I also left off attaching my neck facings until last after reading on so many other blogs about the back neck gaping. Mine did too, see above.
I was able to try on and add some darts to each side of the zipper before attaching my facings. My darts are about 5cm out on each side of the zipper, 1.5cm wide and 4cm long.
Then I folded my facing out over the zipper and stitched it down using my regular zipper foot to save any hand stitching at the end. I also under-stitched as much of the facing as I could get to instead of top-stitching, I think this is neater and suits the neckline.
To keep the facing from flipping out I used a medium width zig-zag stitch on 0 stitch length and stitched-in-ditch at shoulder seam and strategically in a couple of other places to keep it from flipping out. Good luck finding any of my machine tacks in the busy print.
The instructions aren’t necessarily all bad, as I said earlier, I think beginners will love the easy tone that will inspire confidence and the more experienced can deviate as they chose. Overall the dress sews up quickly and effortlessly and I hope my construction notes help anyone else thinking of jumping on the BHL Anna sewing wagon


OMG that zipper!
OK, I admit it’s about 99% there but because the print wavered all over the show it could have been so much worse. I chalk that up as a win for me!
(Also, the zipper goes all the way up, I just didn’t notice that when I took this photo, oops)


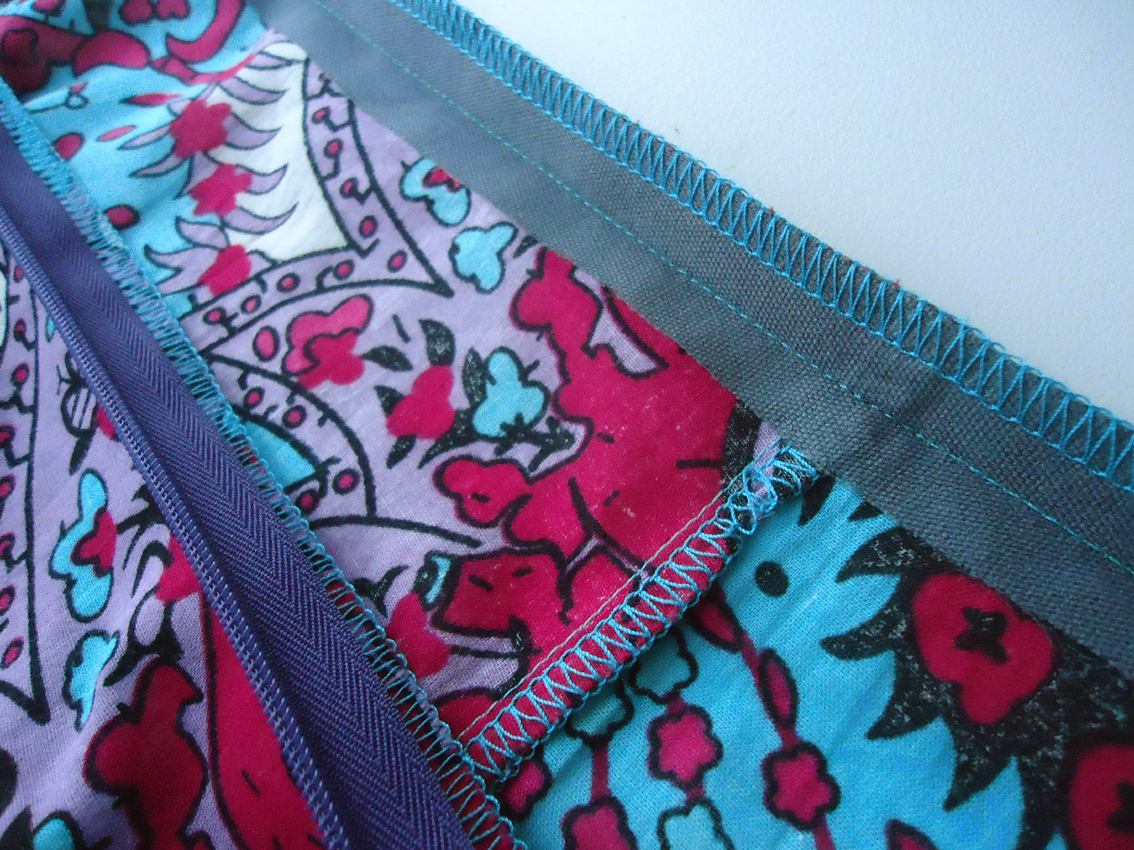
Inside out – all raw edges overlocked.
THE DEETS:
Pattern - By Hand London Anna Dress, variation 3, straight size 12
Fabric – 100% cotton (lawn?) from Arthur Toye, Wellington
Other notions – Invisible zipper, a smidge of fusible interfacing
