
The Amadeus Coat
How to turn a two piece costume into a coat....
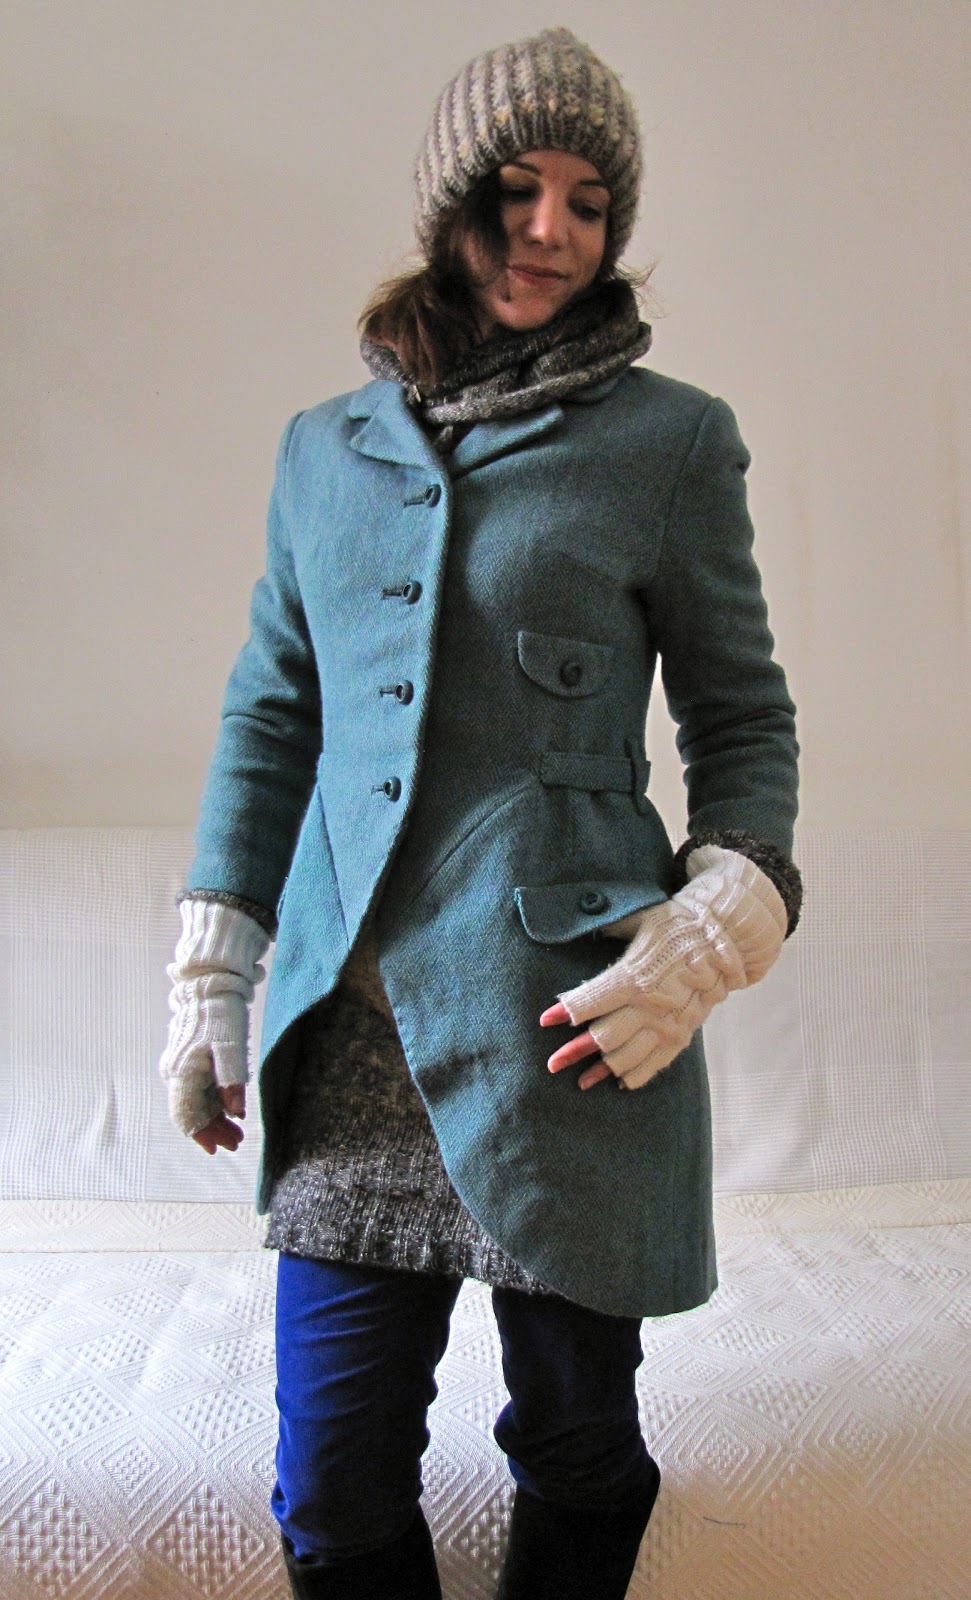
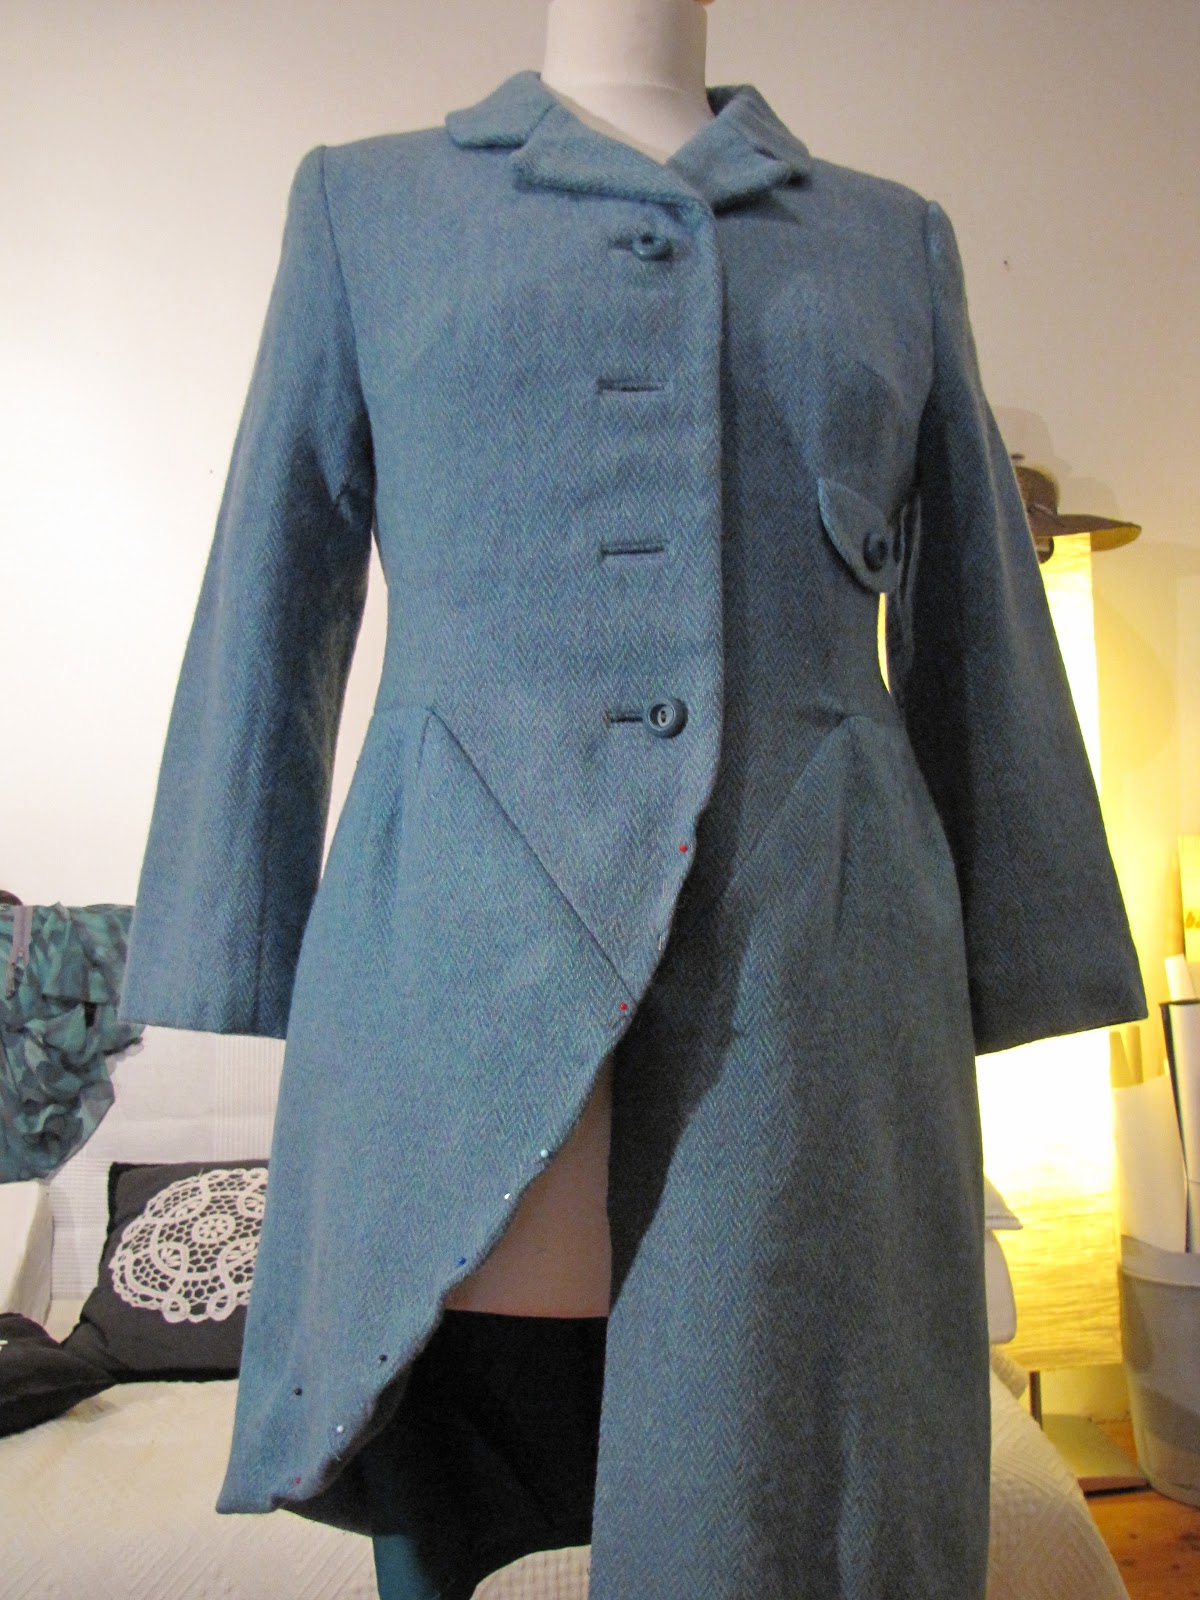
Here is my newest Re-fashion! I have actually finished it a few weeks ago and am proud to say that I am wearing it almost daily, so this one definitely goes into the book of successes! :-)

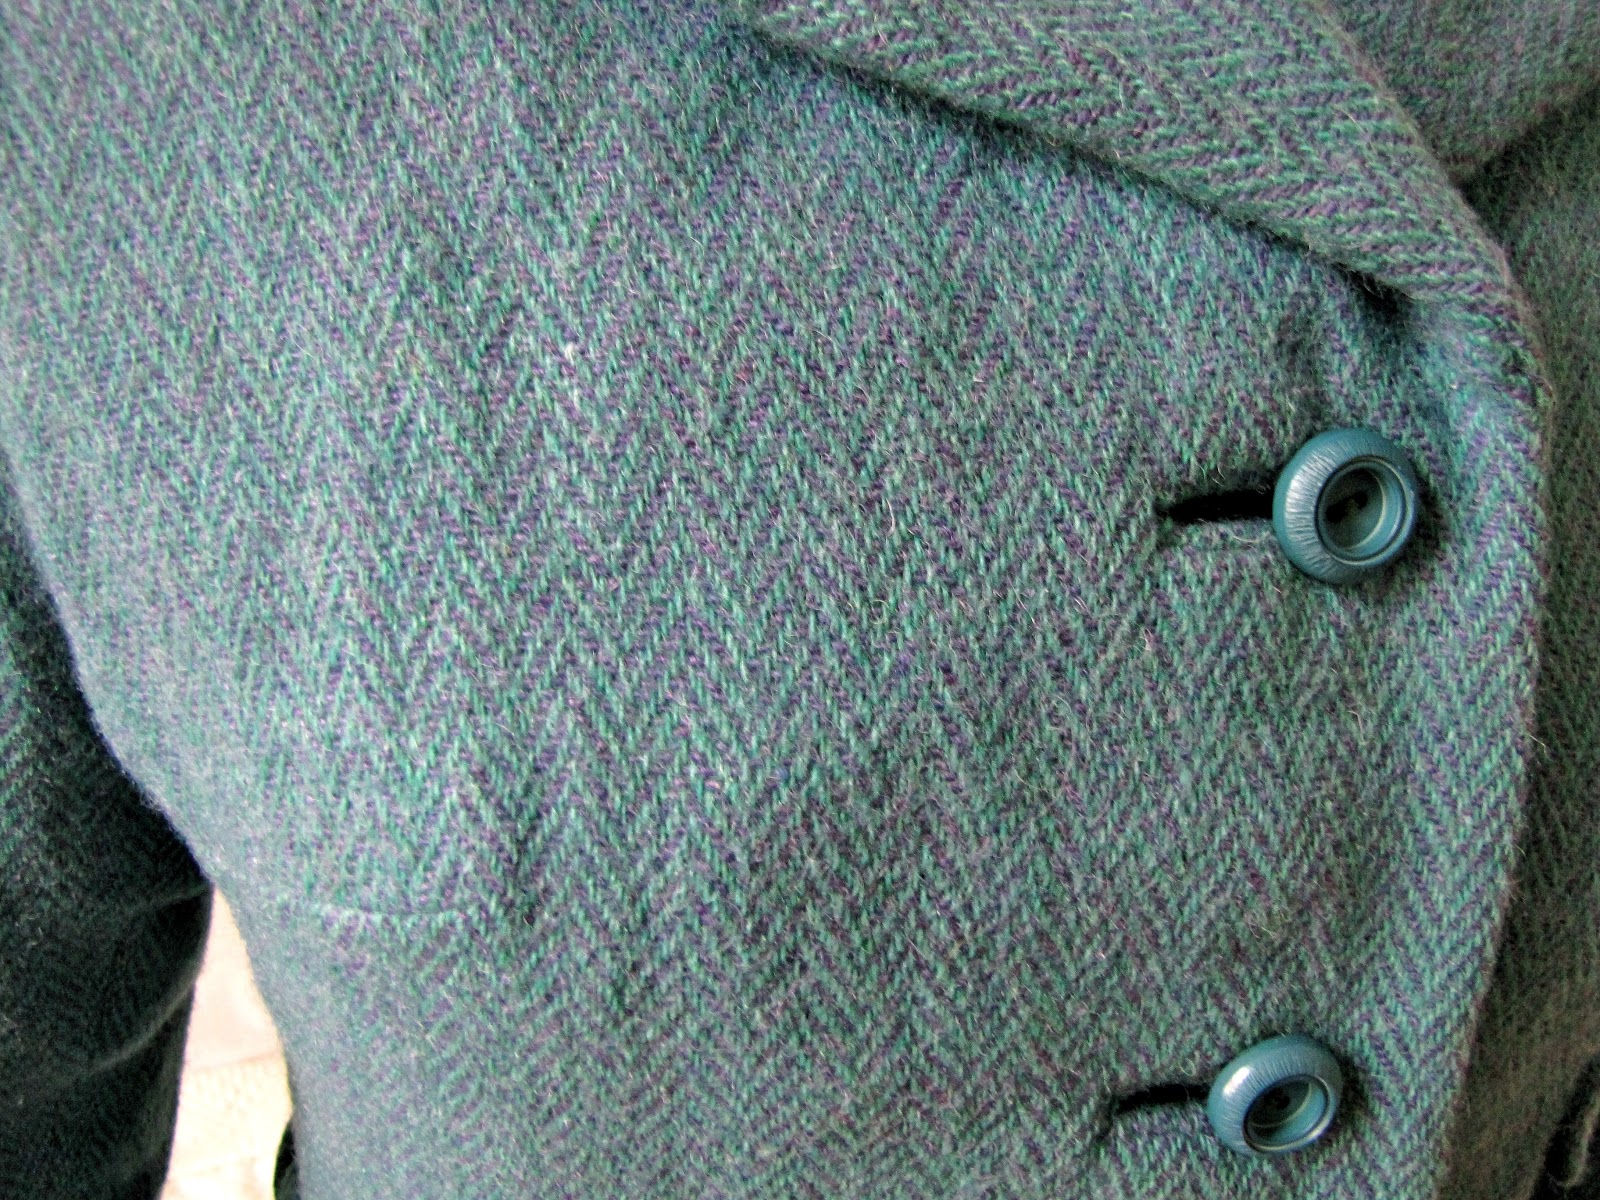
It started out as a wool costume, which I had bought at the flee market for a ridiculous amount of 5 Euros... It's a fabulous herringbone pattern wool in turquoise and purple! Swoon!


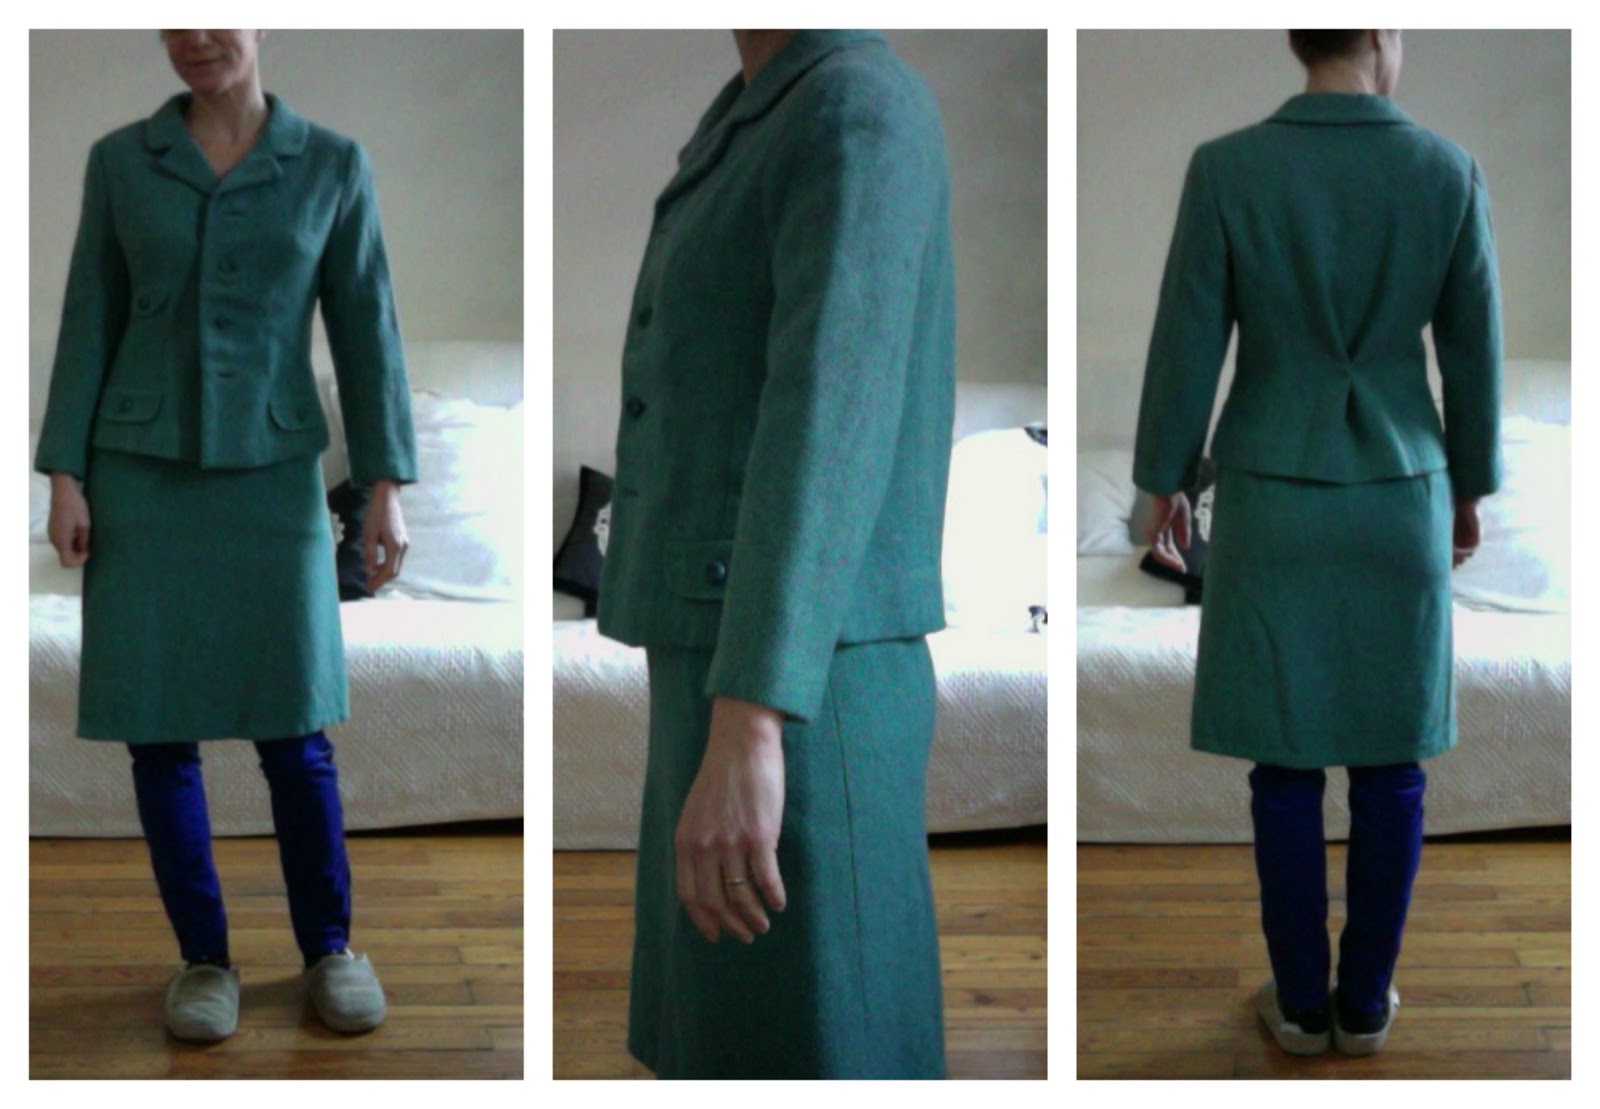
It was too big for me, and in general I just would have never worn it this way, so please forgive me for cutting into it...

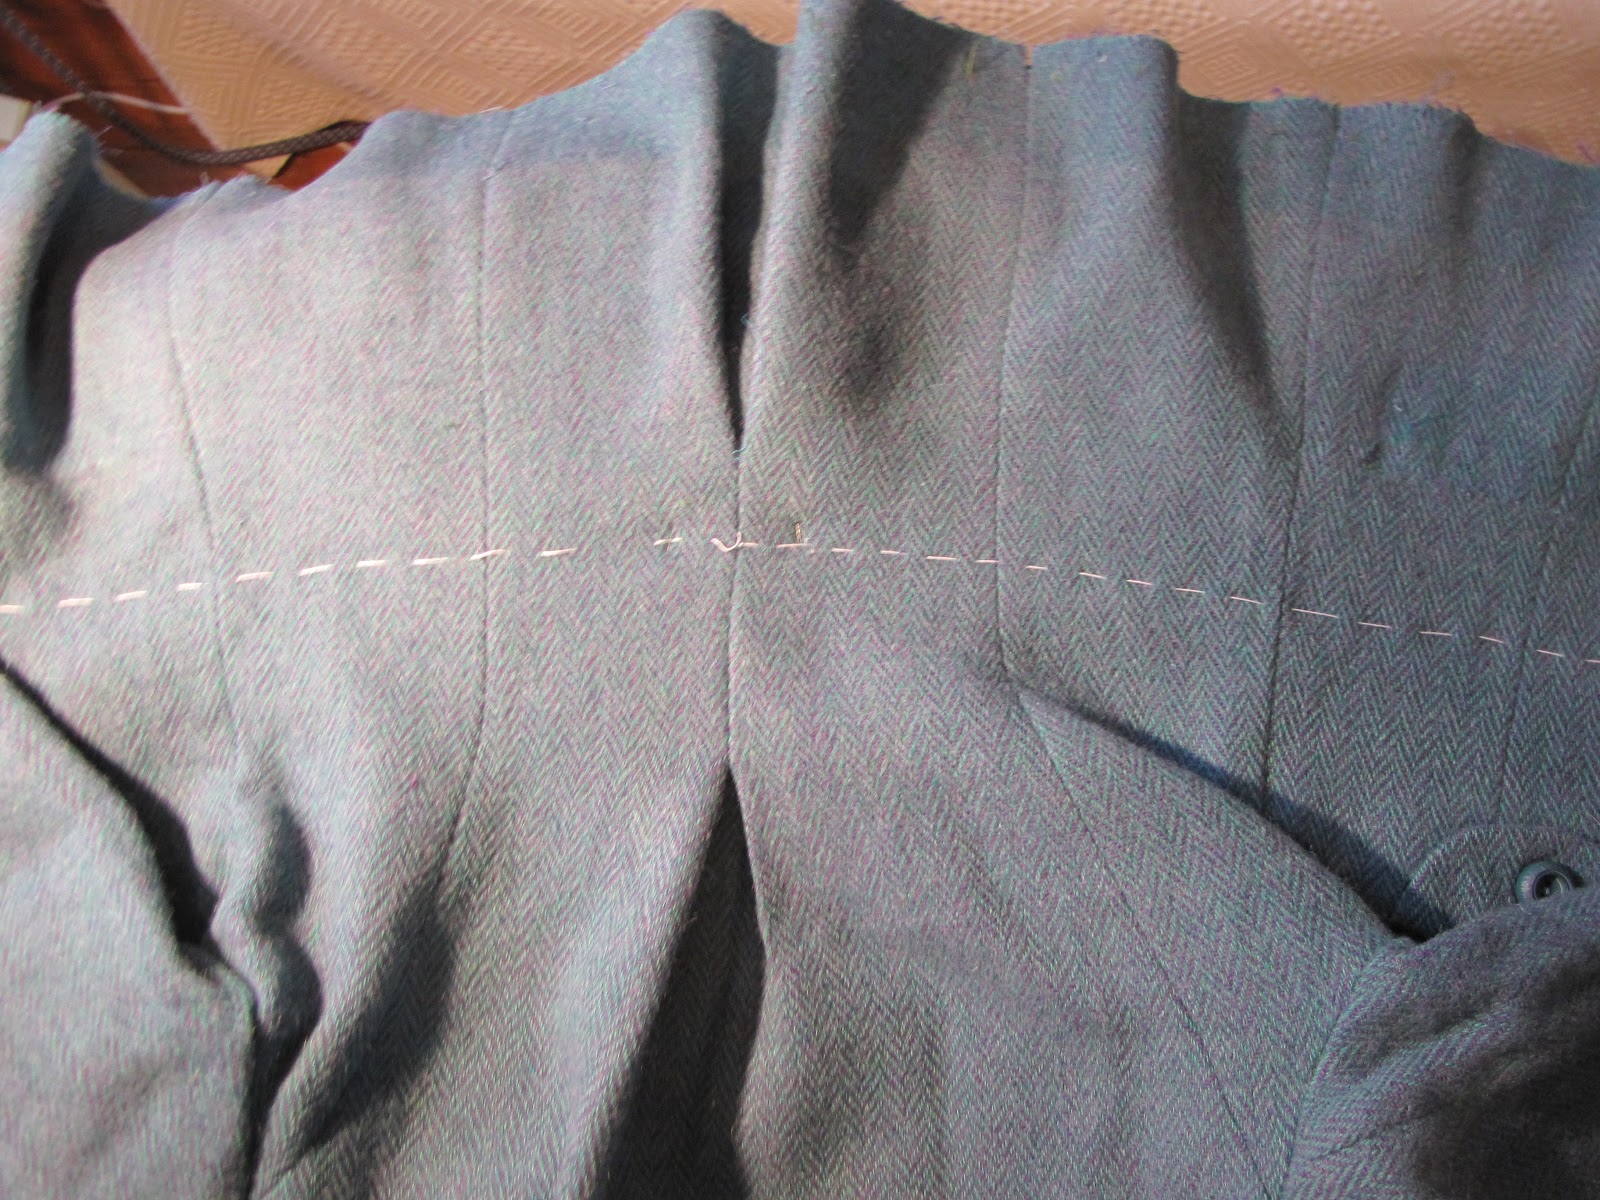
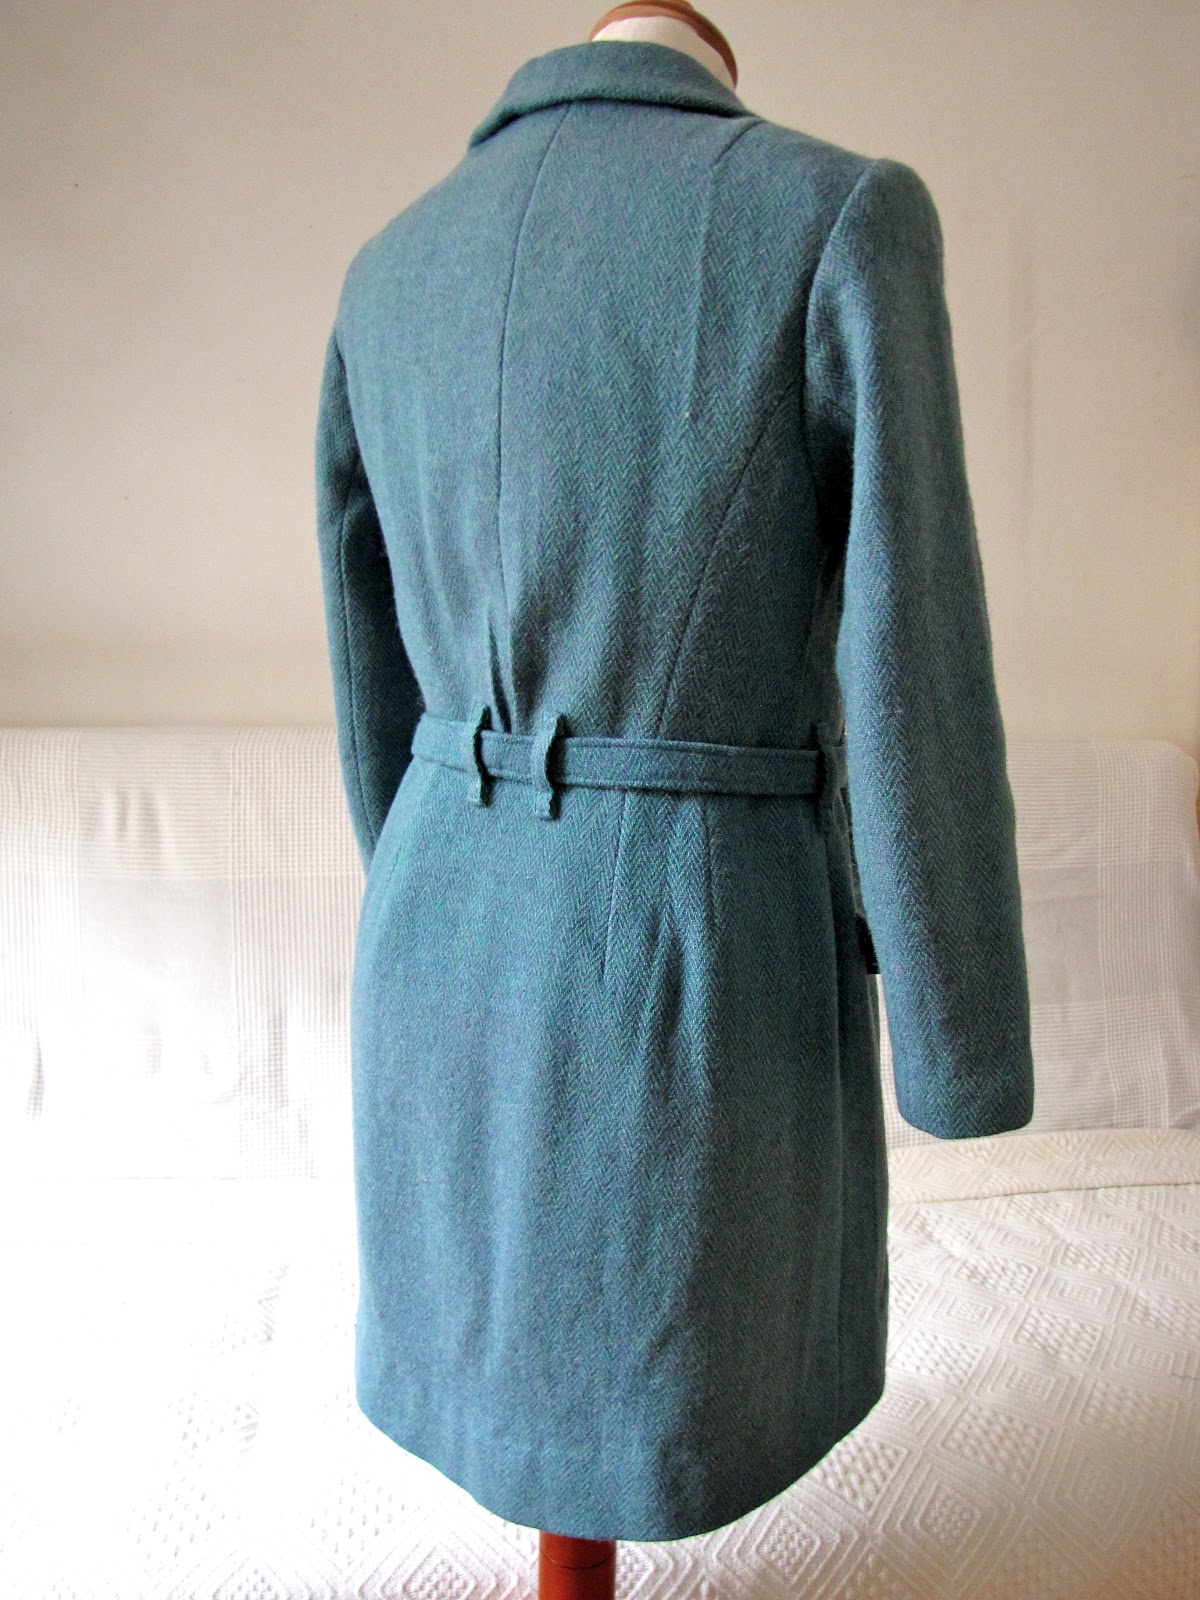
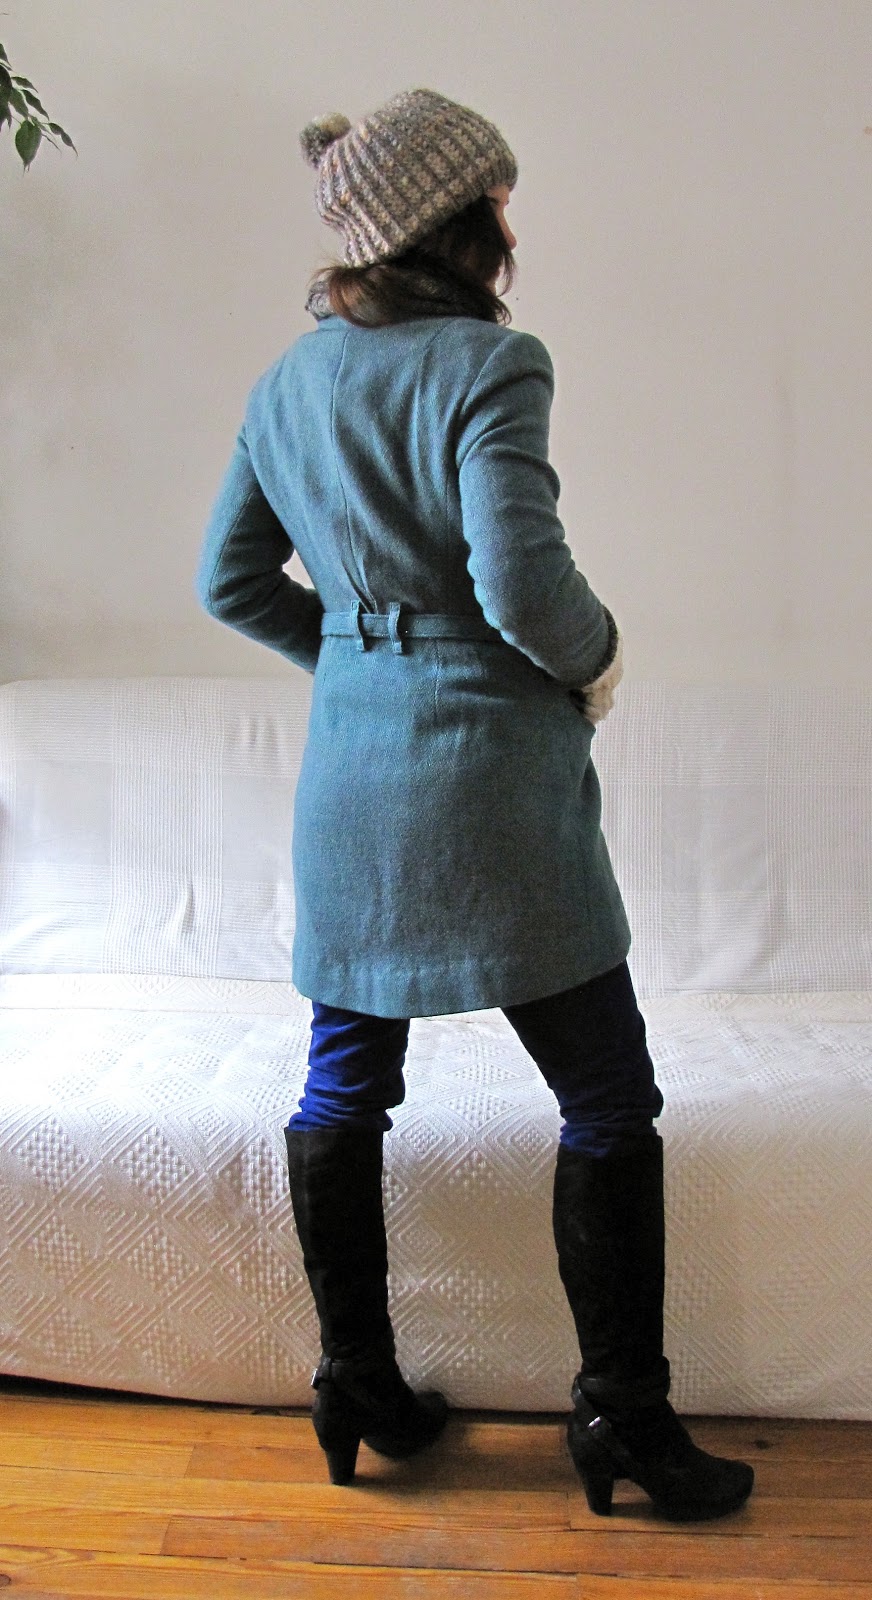
As you see, the jacket was quite boxy. I decided to leave in the width at the shoulders, since I wanted it to be a coat under which I could wear big sweaters, but I wanted to give it more shape at the waist - well, I somehow needed to bring the two pieces together into one. In the photo on the right above I had already put in a center back pleat...
This ensemble was not store-bought, but somebody had hand-made it. Working on it, opening old seams (which were sewn with many different shades of green thread!) and looking into the "innards" of it prompted many thoughts about who this person might have been... A professional seamstress? A home-sewer like me? I felt hesitant undoing all her/his work, but at the same time, nobody could have possibly appreciated the effort that had already been put into it more than me. And I left a lot of the original work intact, collar, buttonholes, pocket flaps... I think he or she would have forgiven me, and in the end even be proud that this garment is still being worn now - who knows how many years later. Even if in slightly different shape now :-)
This ensemble was not store-bought, but somebody had hand-made it. Working on it, opening old seams (which were sewn with many different shades of green thread!) and looking into the "innards" of it prompted many thoughts about who this person might have been... A professional seamstress? A home-sewer like me? I felt hesitant undoing all her/his work, but at the same time, nobody could have possibly appreciated the effort that had already been put into it more than me. And I left a lot of the original work intact, collar, buttonholes, pocket flaps... I think he or she would have forgiven me, and in the end even be proud that this garment is still being worn now - who knows how many years later. Even if in slightly different shape now :-)

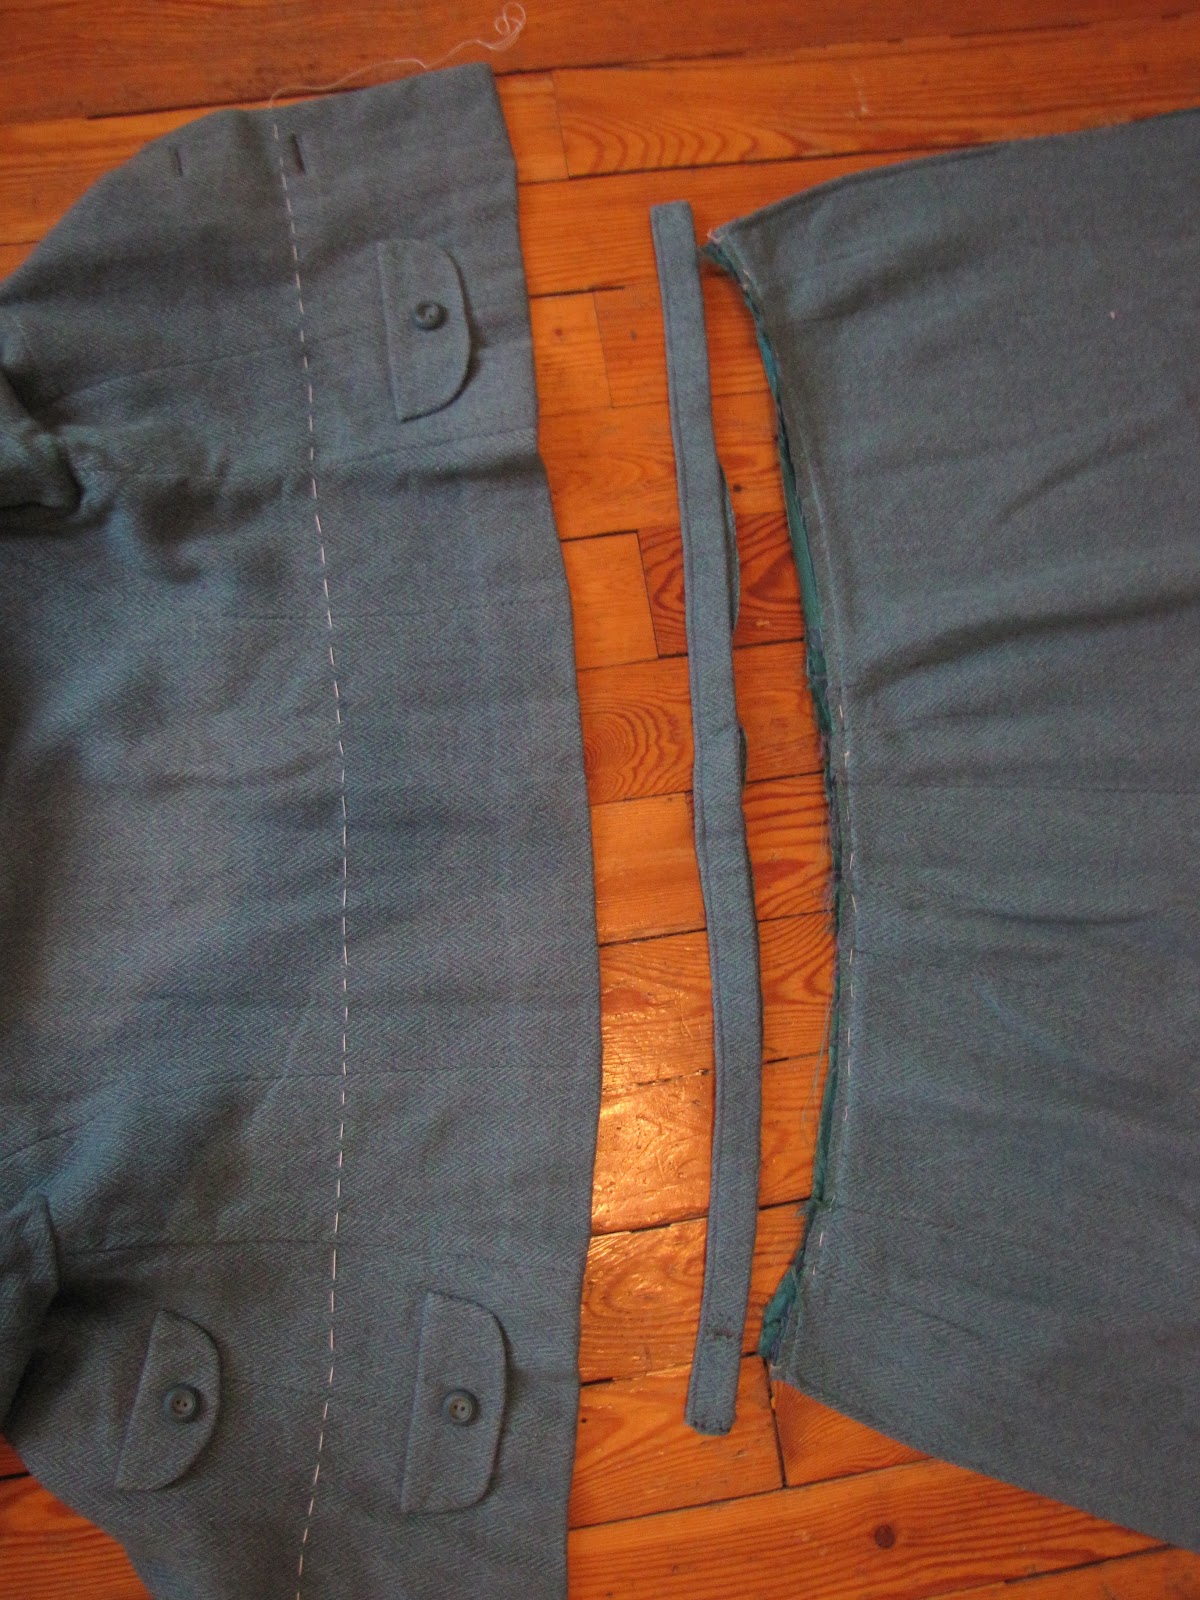
First I determined where the waist will have to be and how I was doing with the width of the skirt. So I opened the side seam where the zipper was built in originally.
I marked the waist line on the jacket and took off the waistband on the skirt:


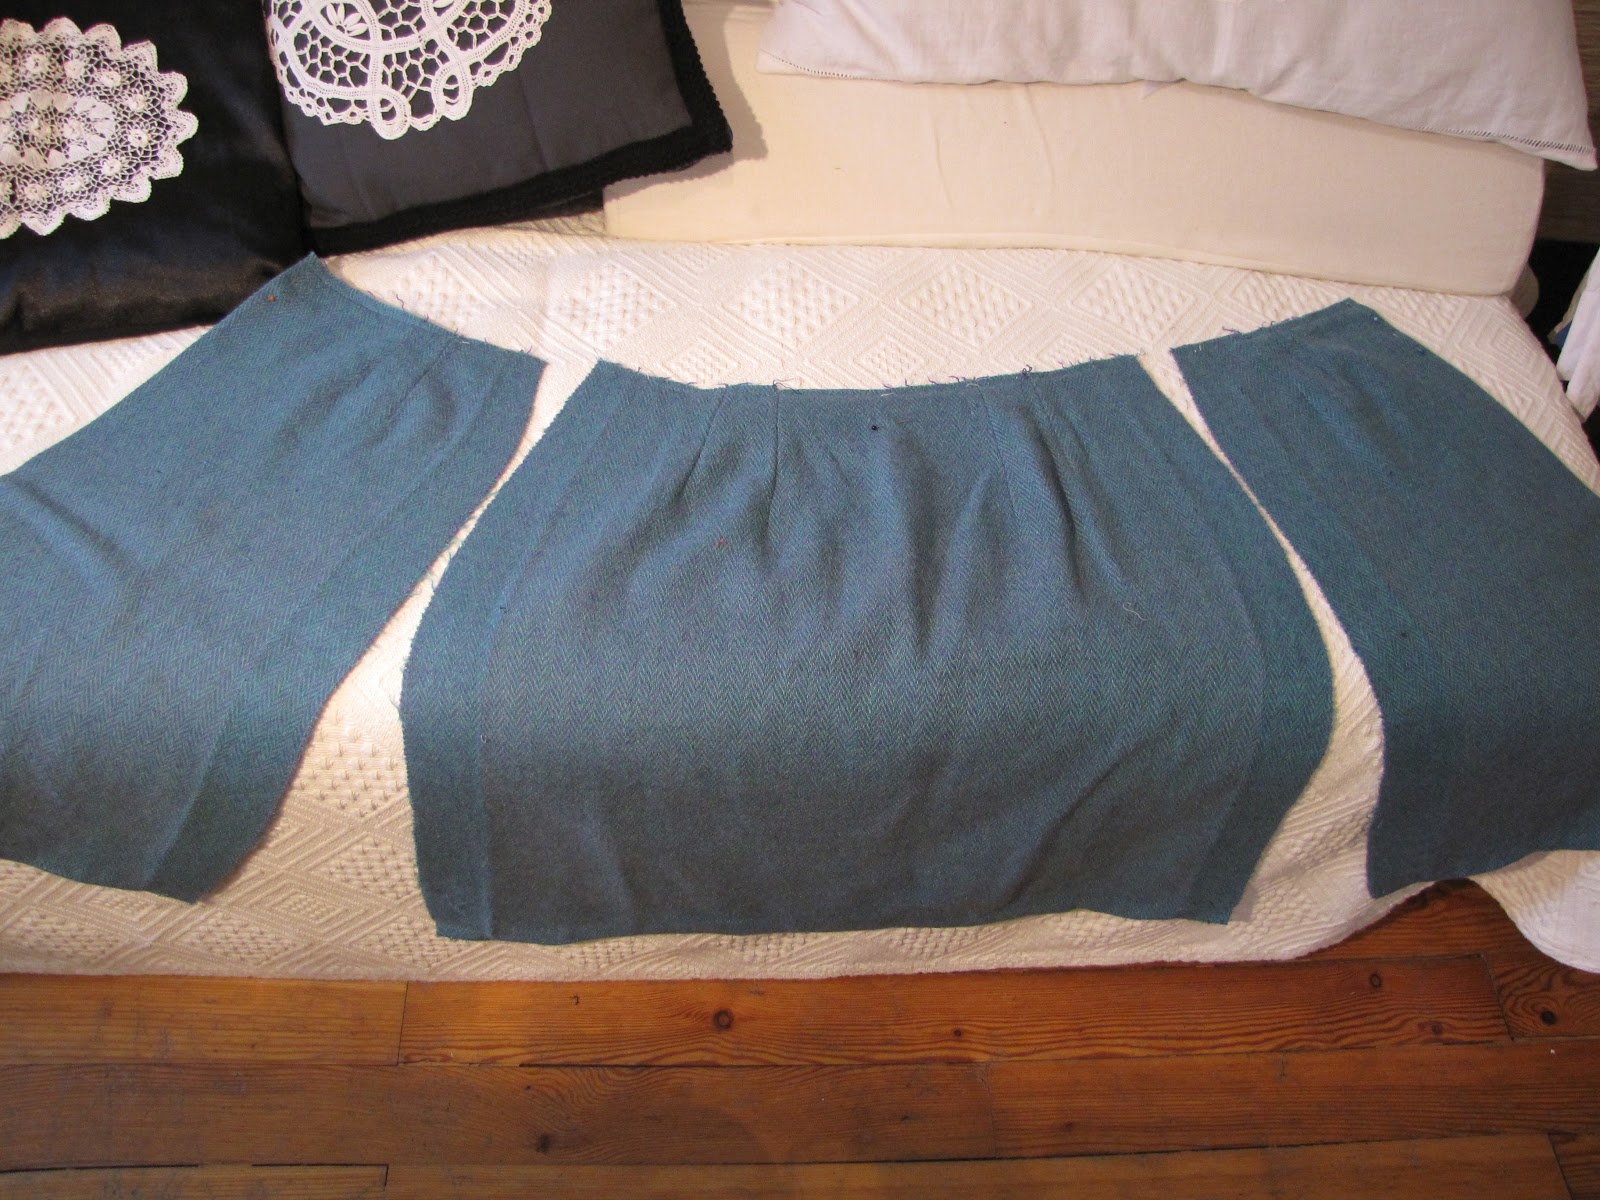
I first wanted to cheat and just use the original side seam as new center front seam, but that would have been a bad idea, as the shape over the curves in the back are always different than in front. I also found a bit more fabric in the seams when taking it apart, which was highly welcome. So I cut the front skirt piece in half and sewed everything back together...

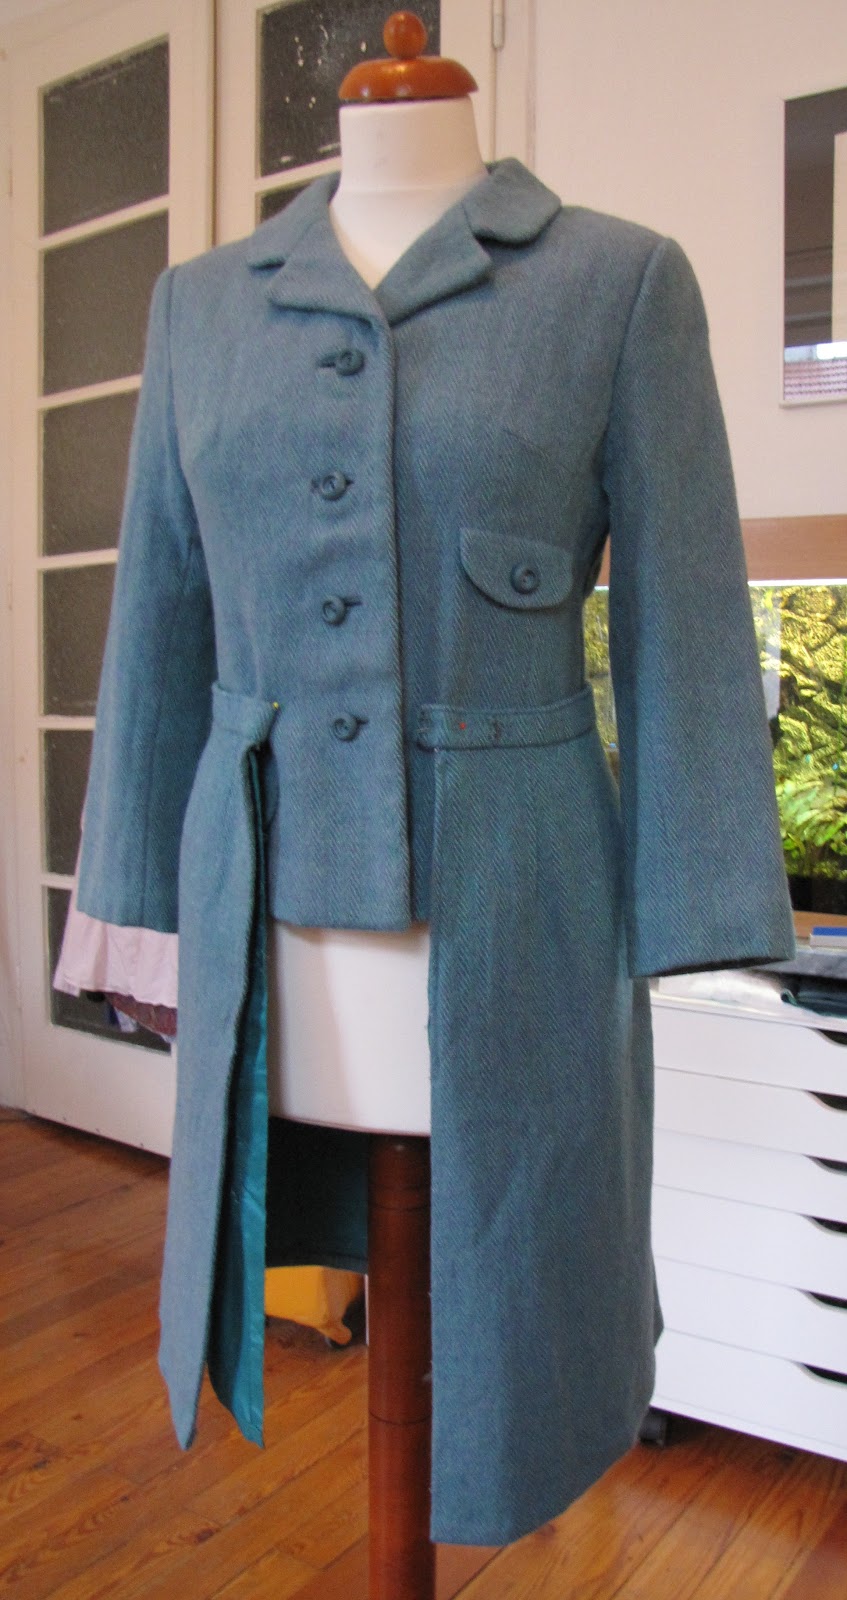
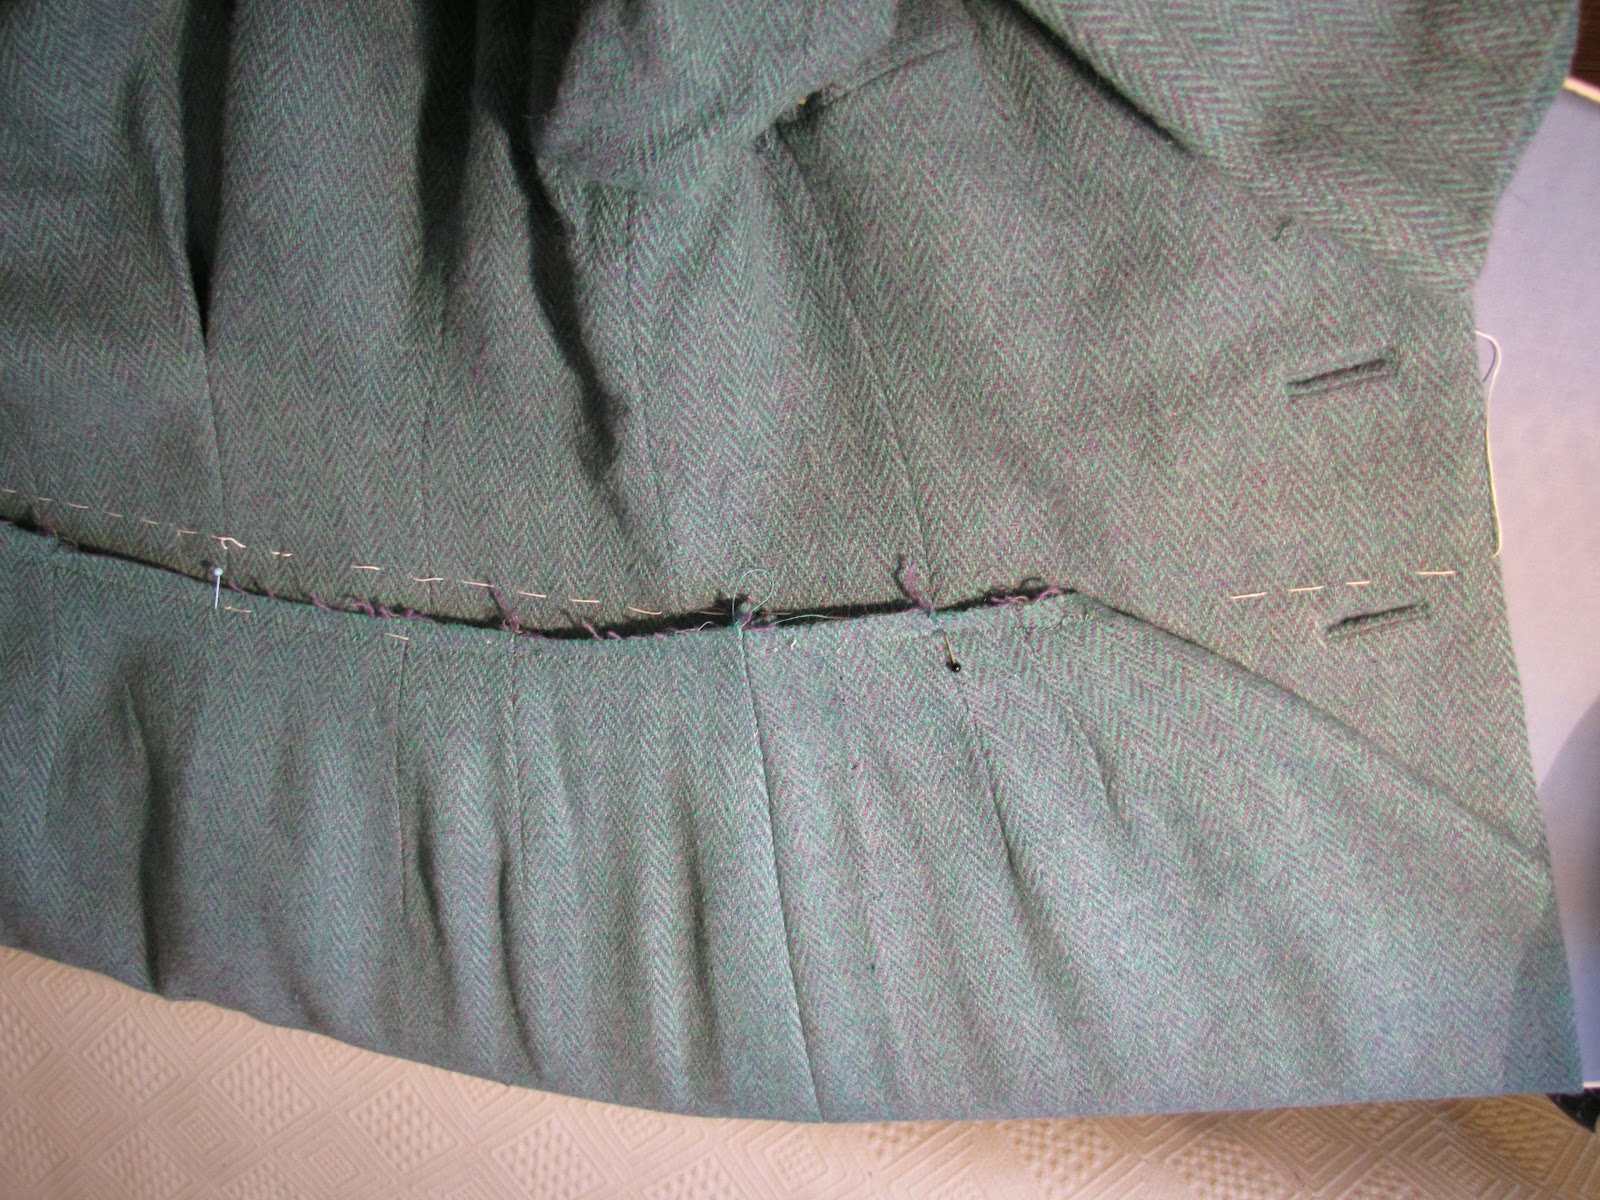
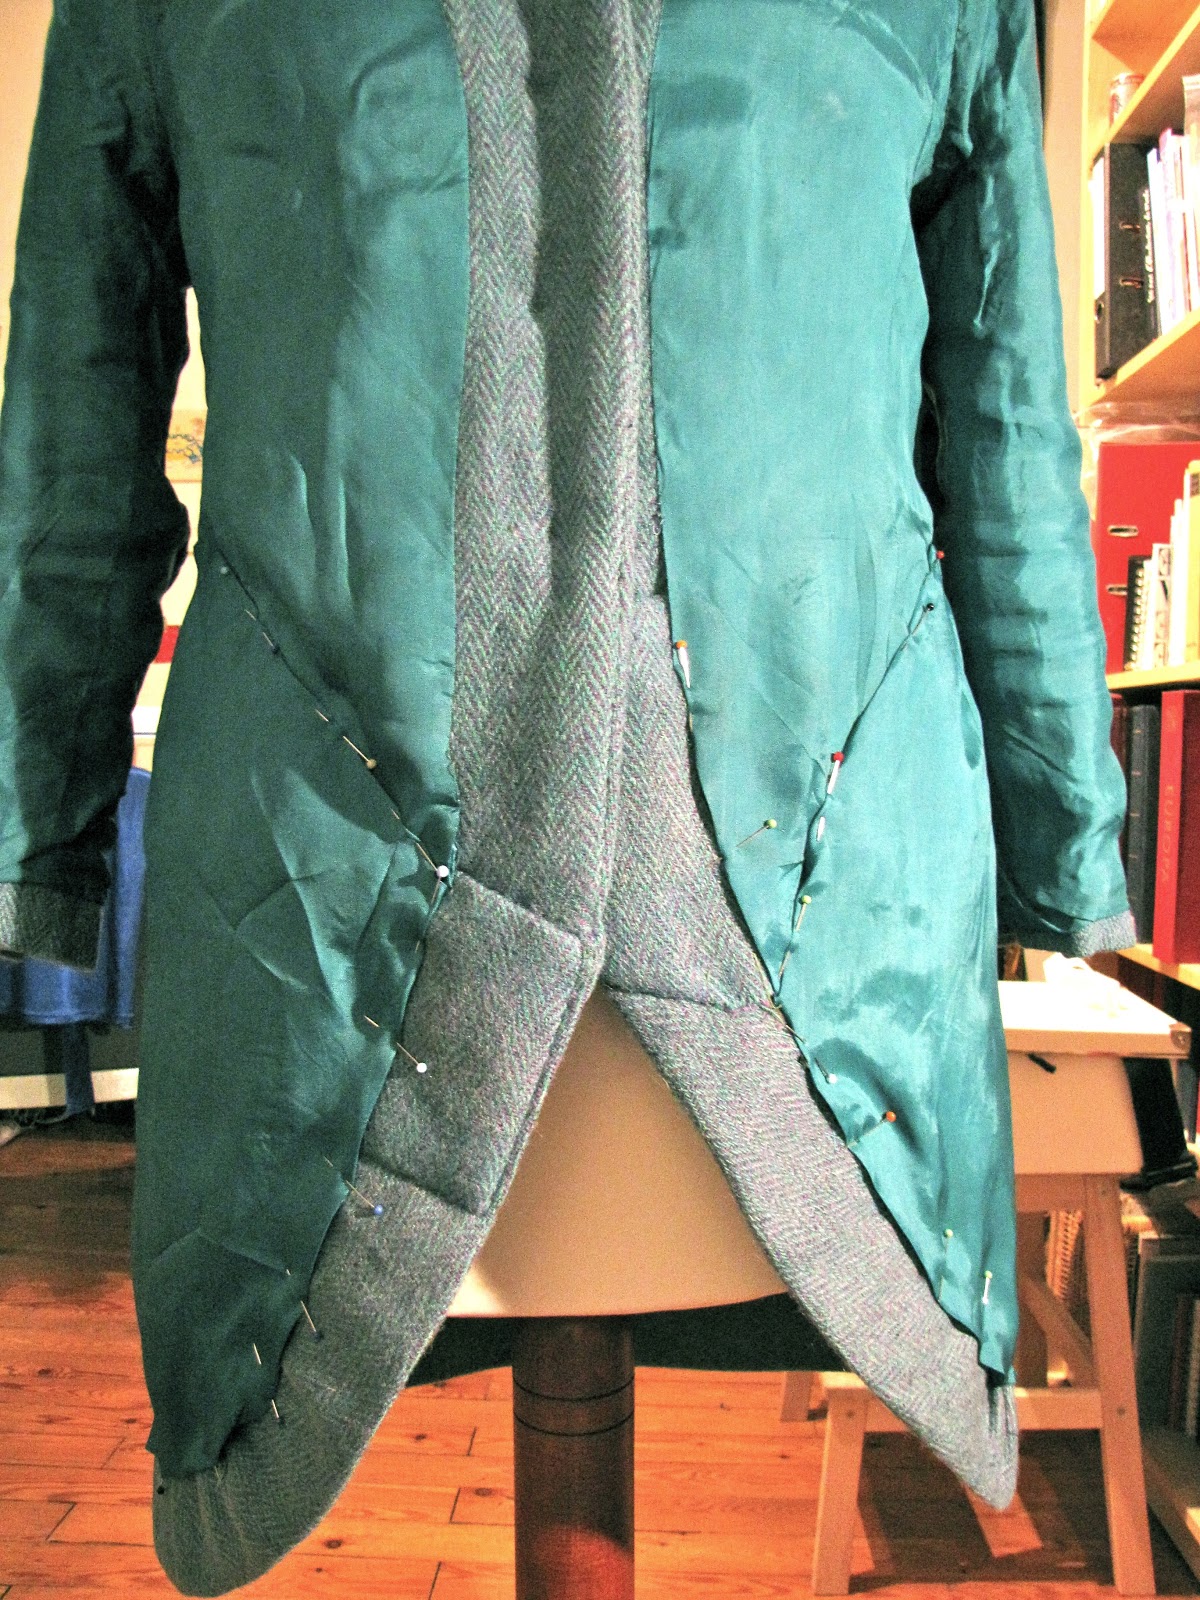
There wasn't enough width in the skirt to just add it to the waistline on the coat, which is how those diagonal front style-lines came to life:

Before sewing it together I had to adjust the curve at the top of the skirt a bit. I still had not cut off the bottom of the jacket, just to be sure I wasn't cutting anything off that was still needed...

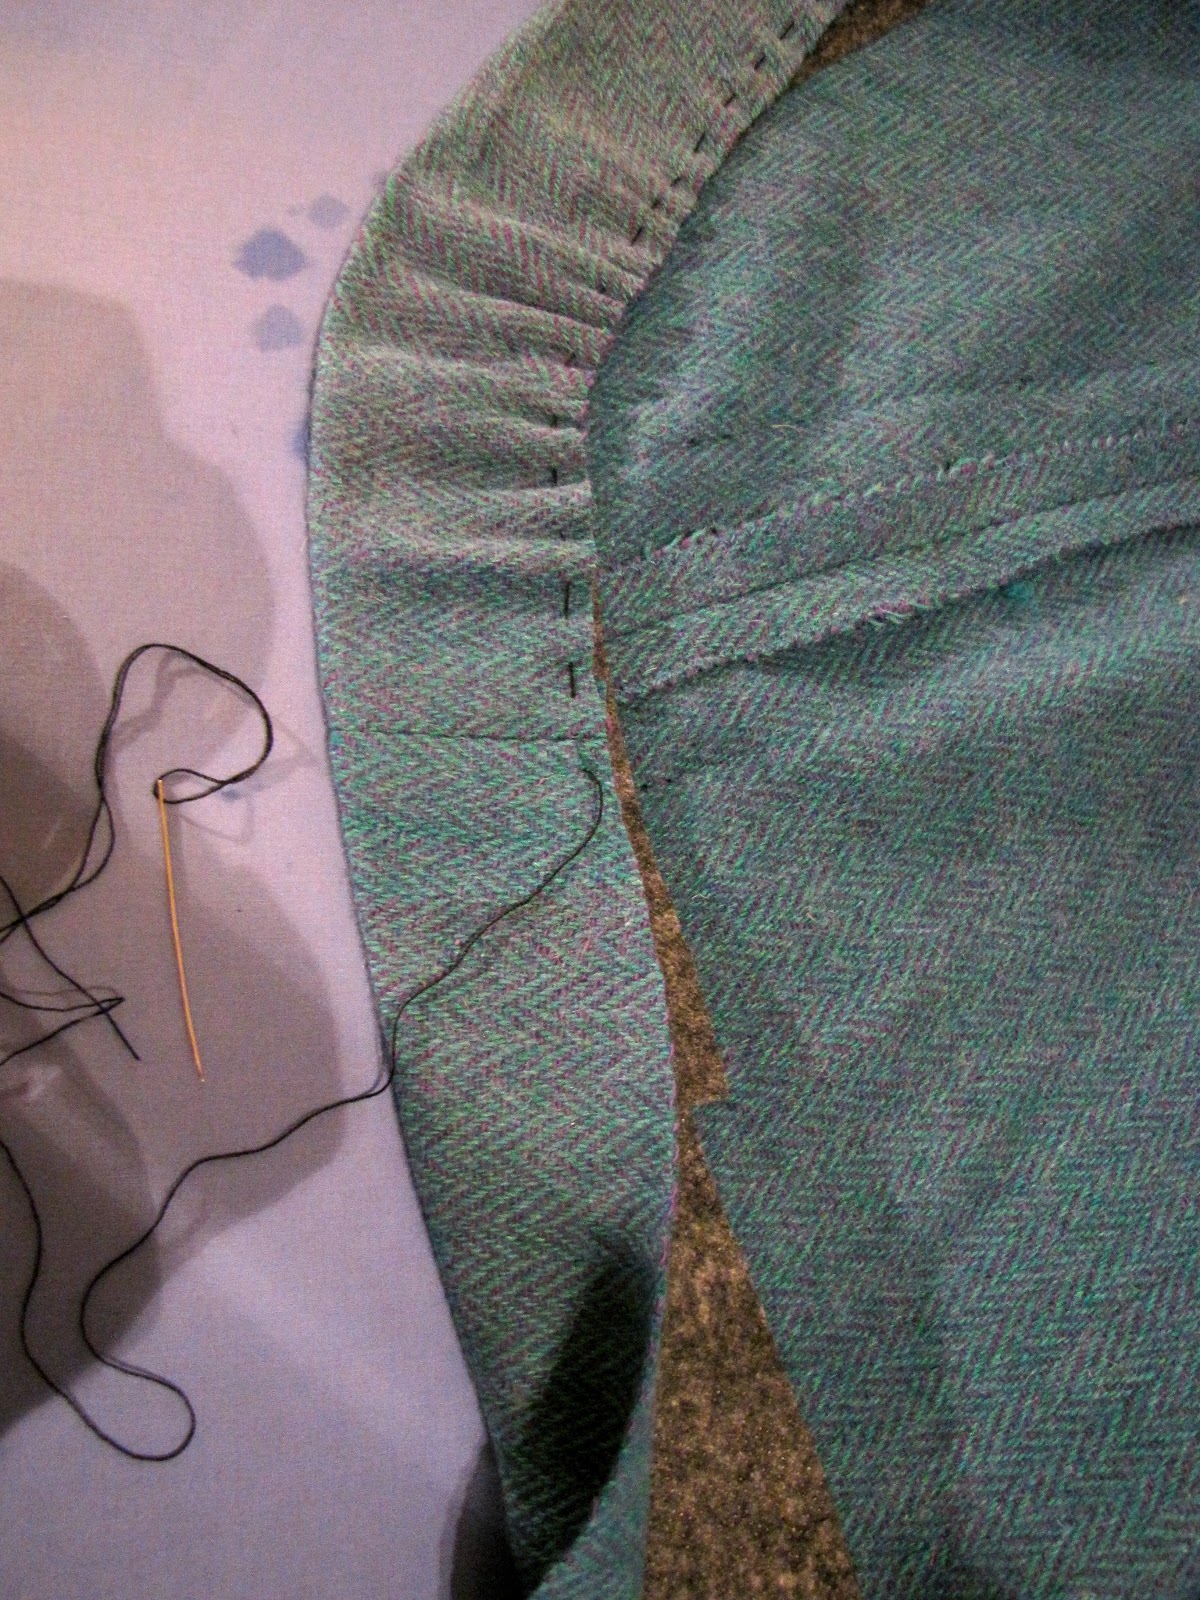
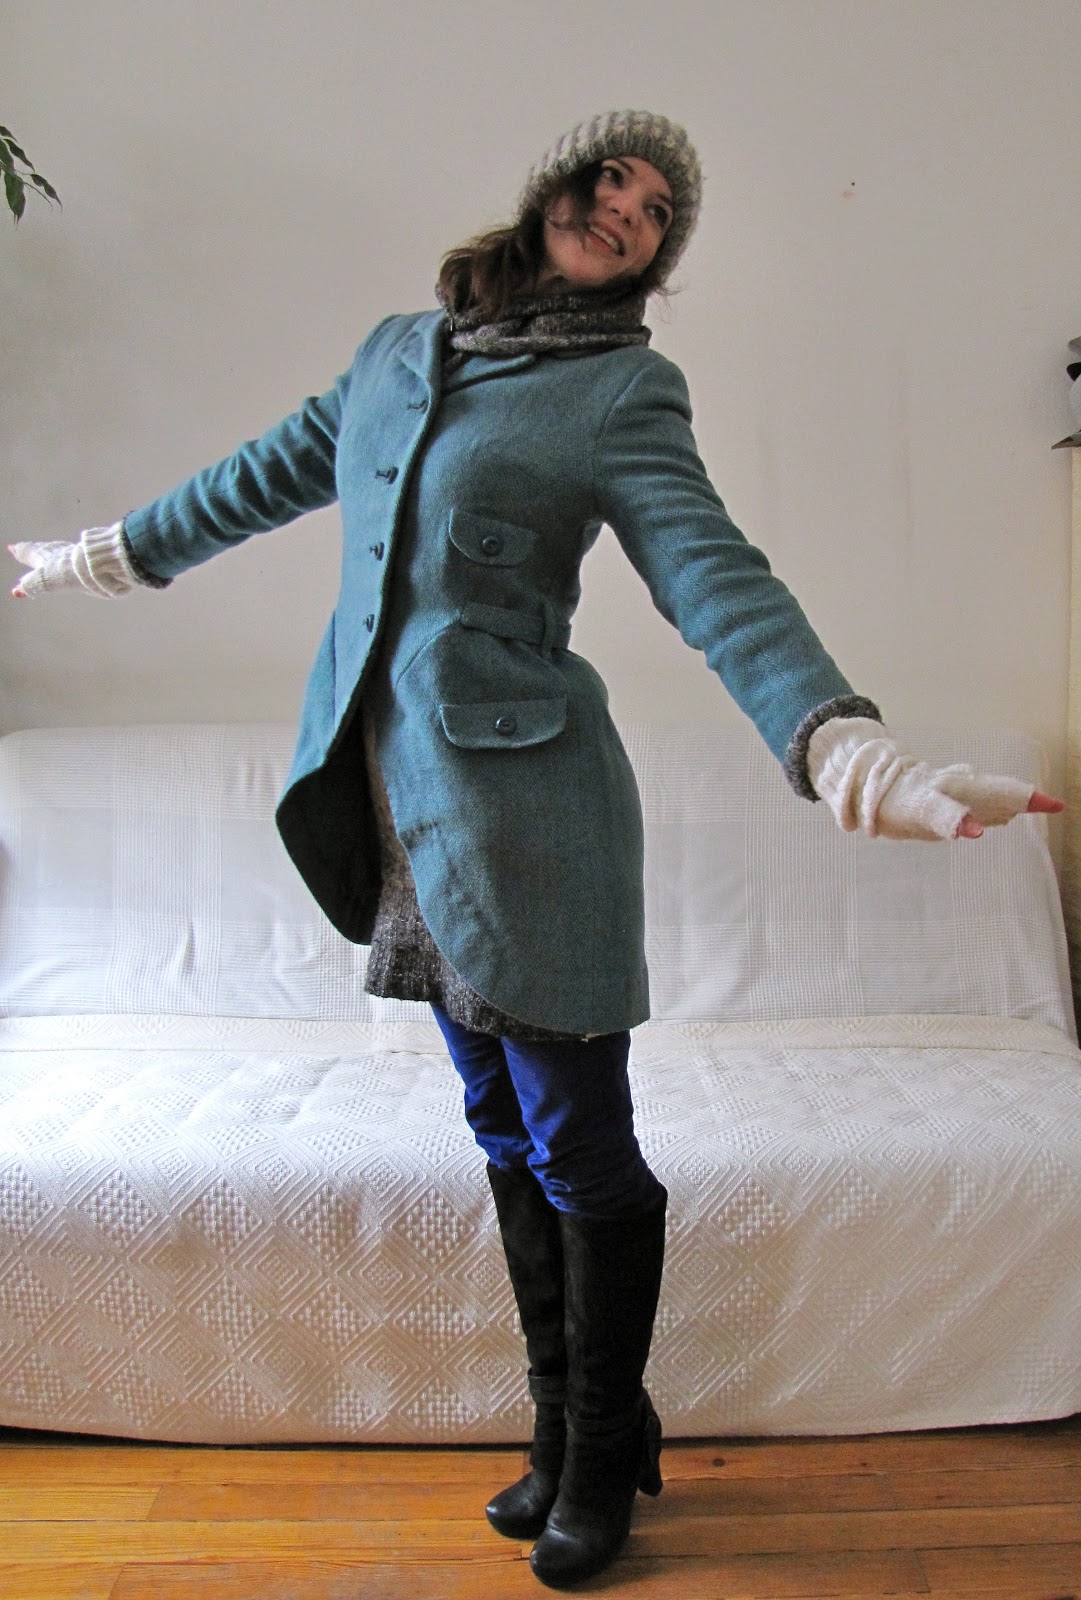
The diagonal seams were mainly sewn by hand, after that I finally cut off the extra material from the bottom of the jacket. Then I created the curve down the front of the bottom coat and made a round hem with as much round-hemming-knowledge as I could come up with :-)

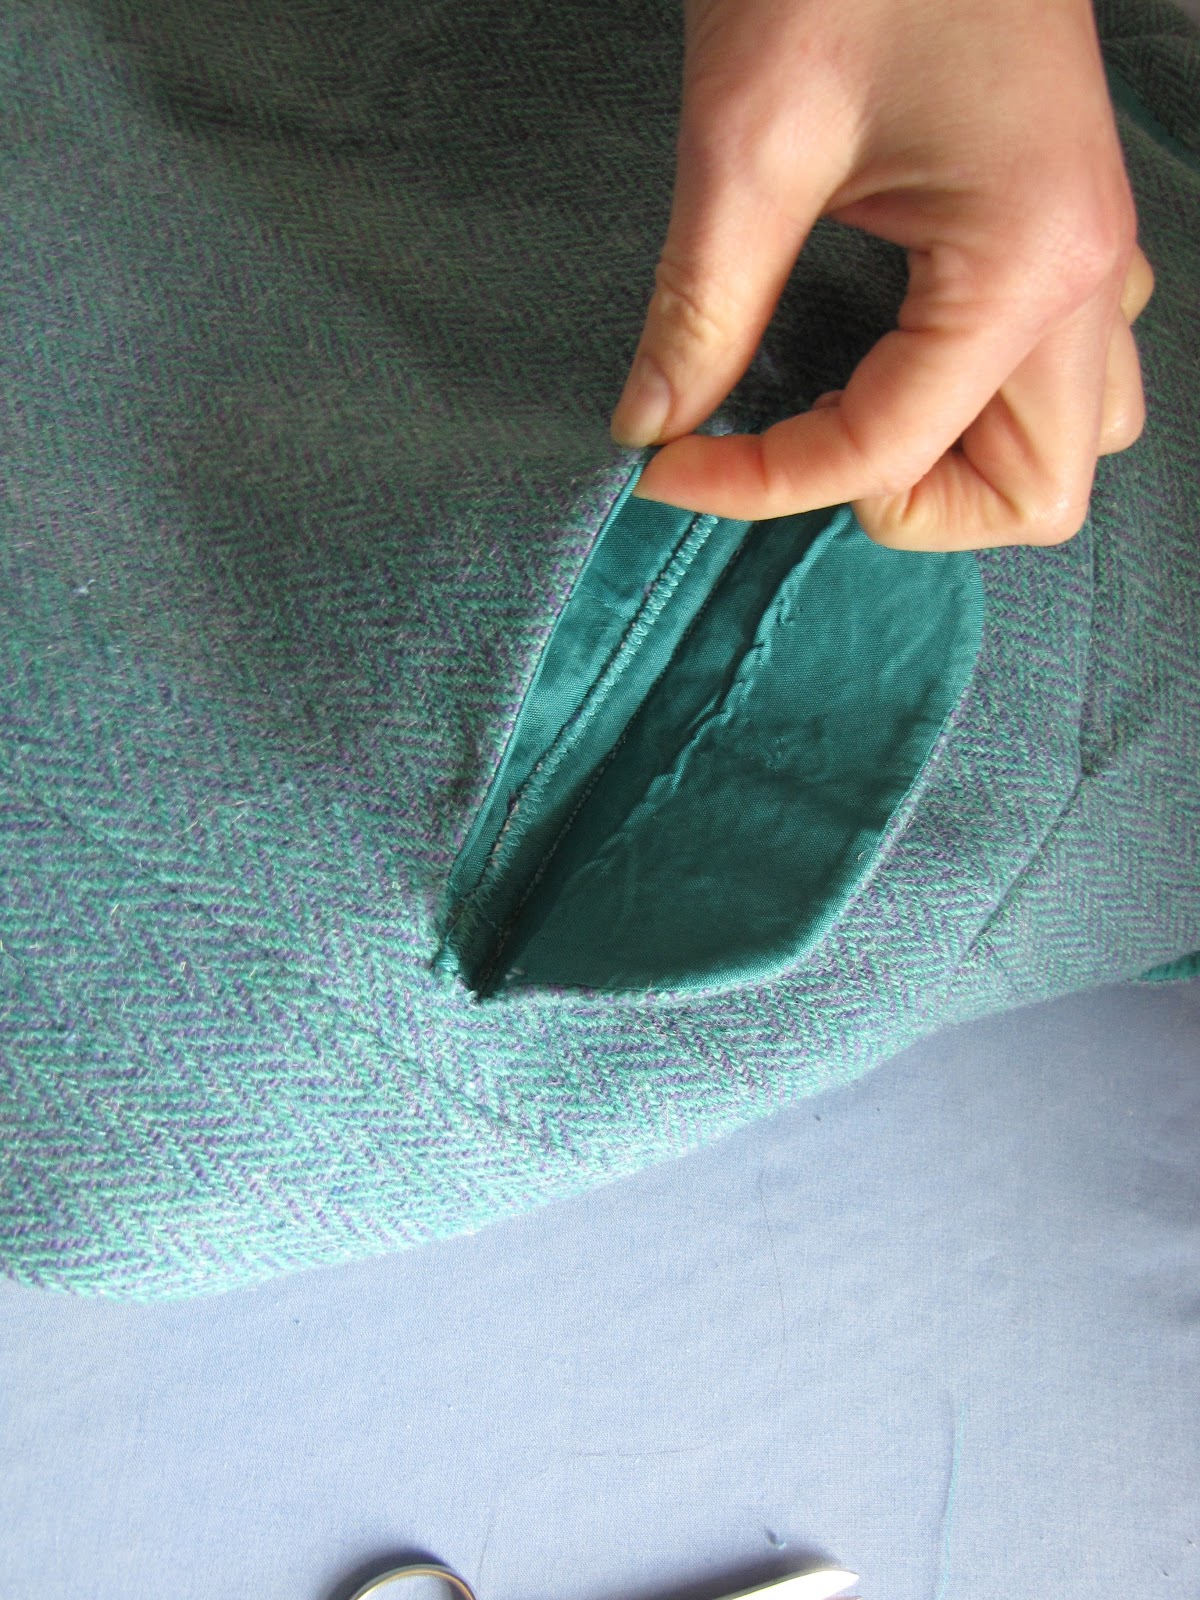
Next tricky part was adding real pockets. The ones on the jacket were fakes, but of course I kept the nice flaps. I used some of the left-over lining material to make the pockets and had to trick around a bit with adding the flap, but it is definitely a decent result:

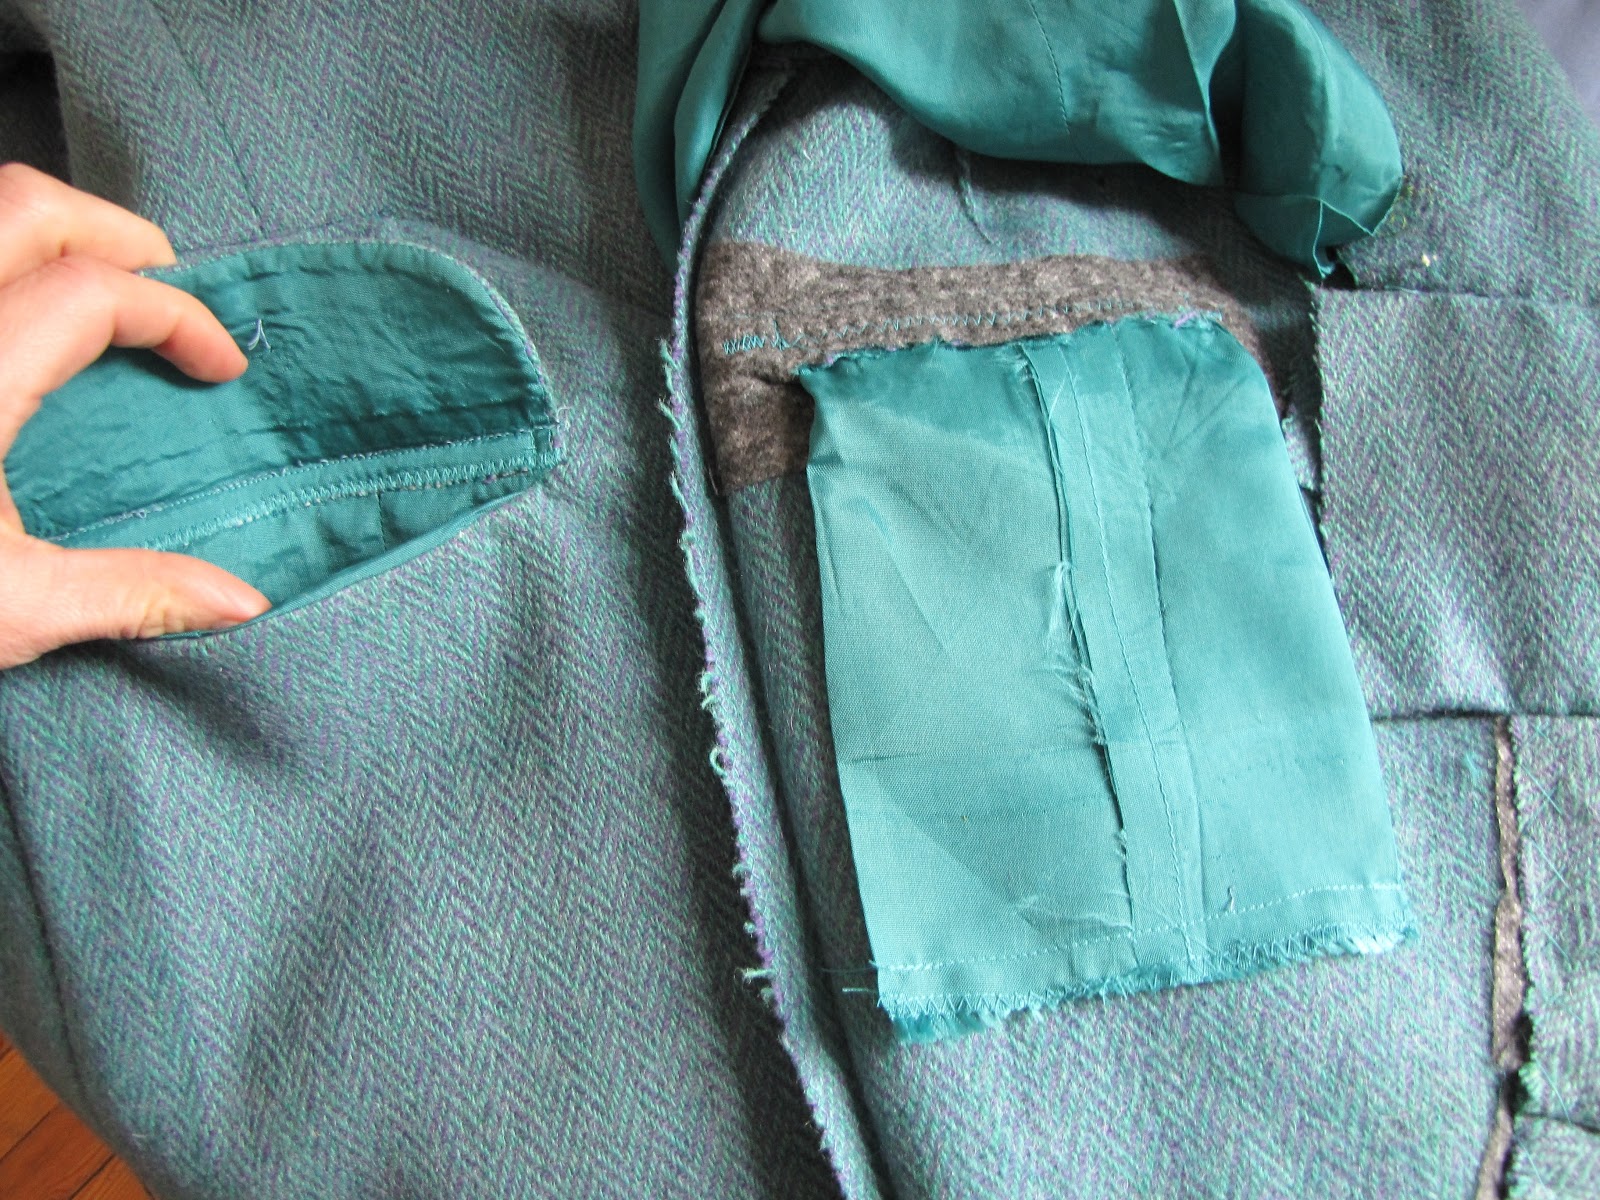
In the photo below, you see the pocket from the inside on the right, and from the outside on the left.


Then the only thing to do was to piece together the lining. In the photo below, you also see a bit of piecing-together I had to do at the hem of the shell fabric... Since it's on the inside, it isn't really noticeable.

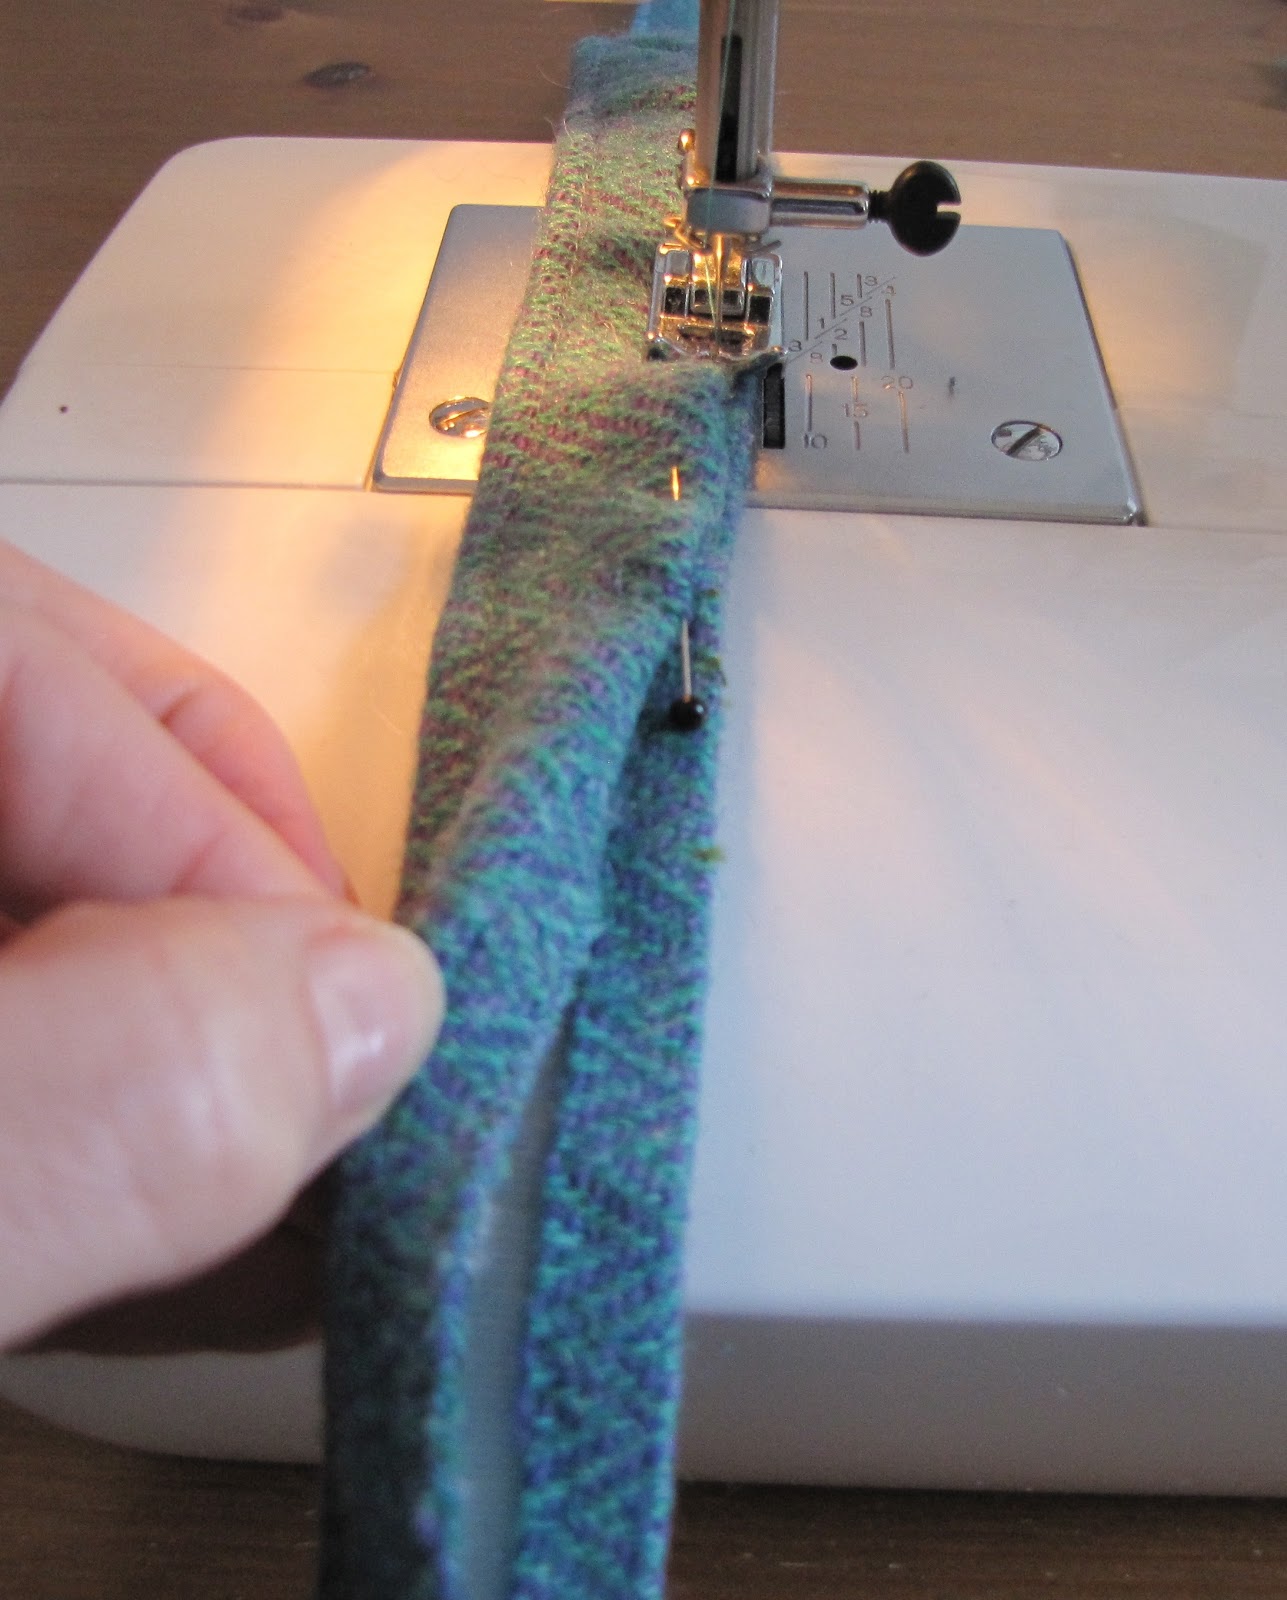
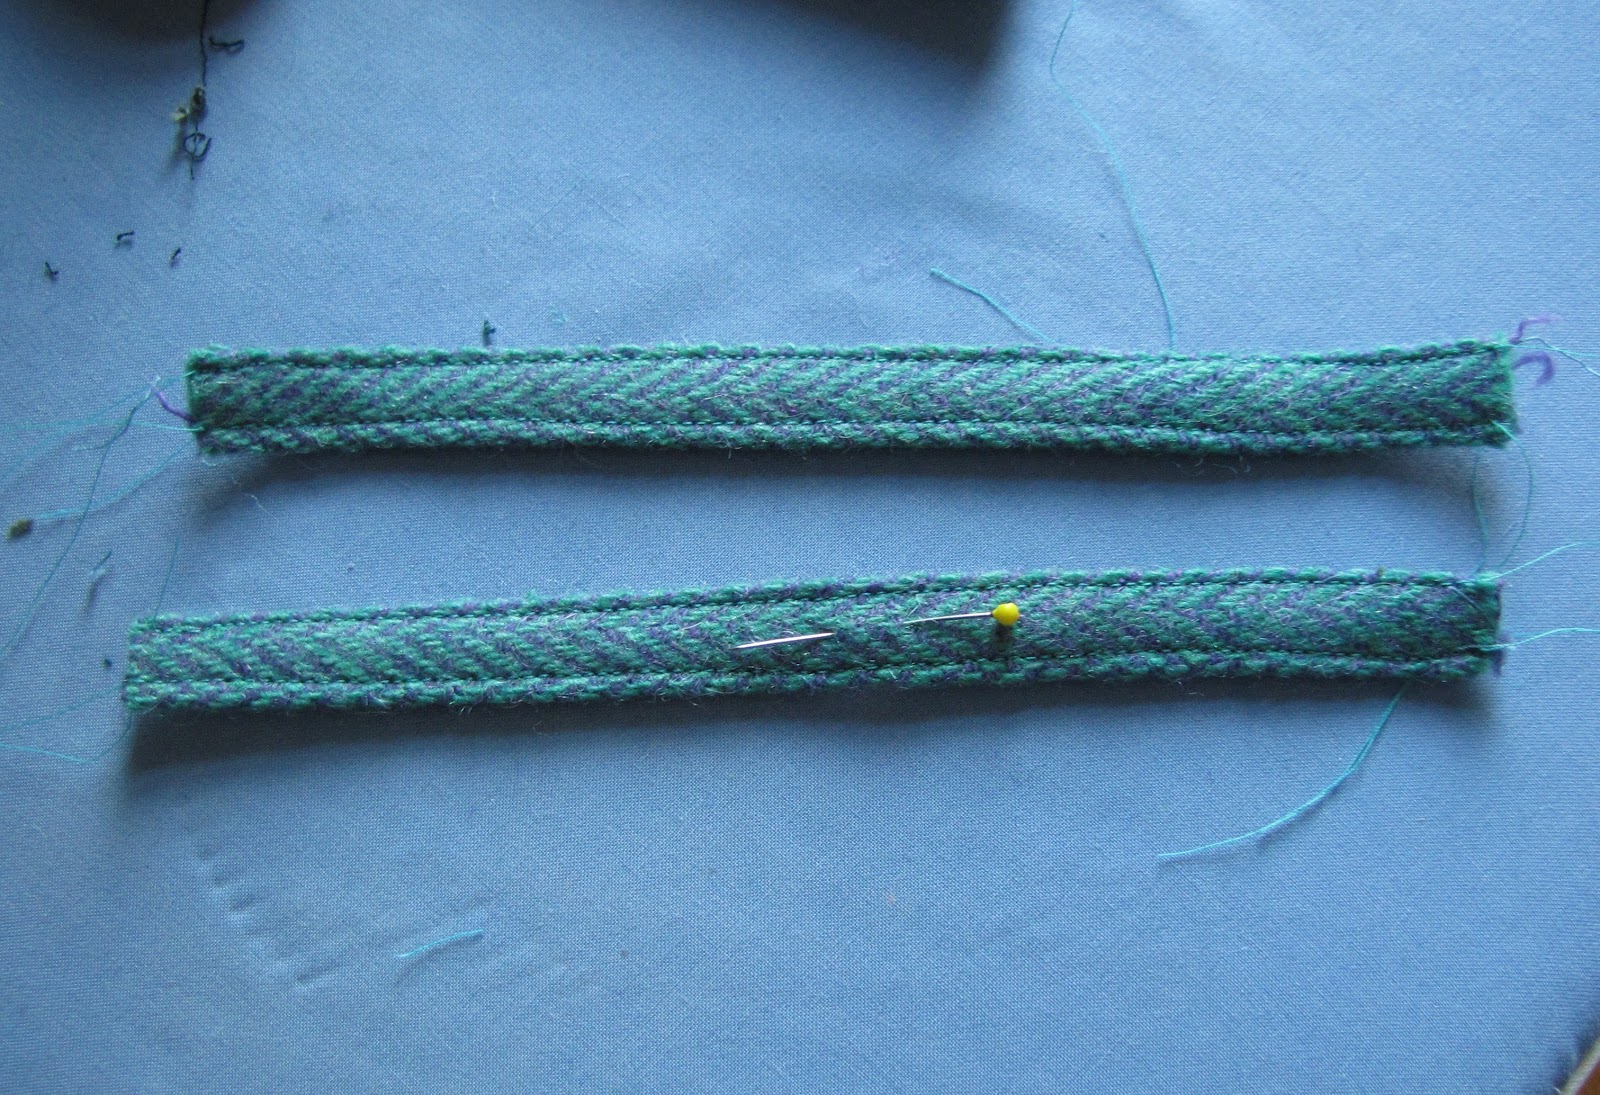
I thought about how to make a functionable belt, but a buckle would have ended up right over a button, and the waist-band was a bit too short as it was. So I decided to just sew it to the coat, right where the diagonal style-lines are, to round off the look.

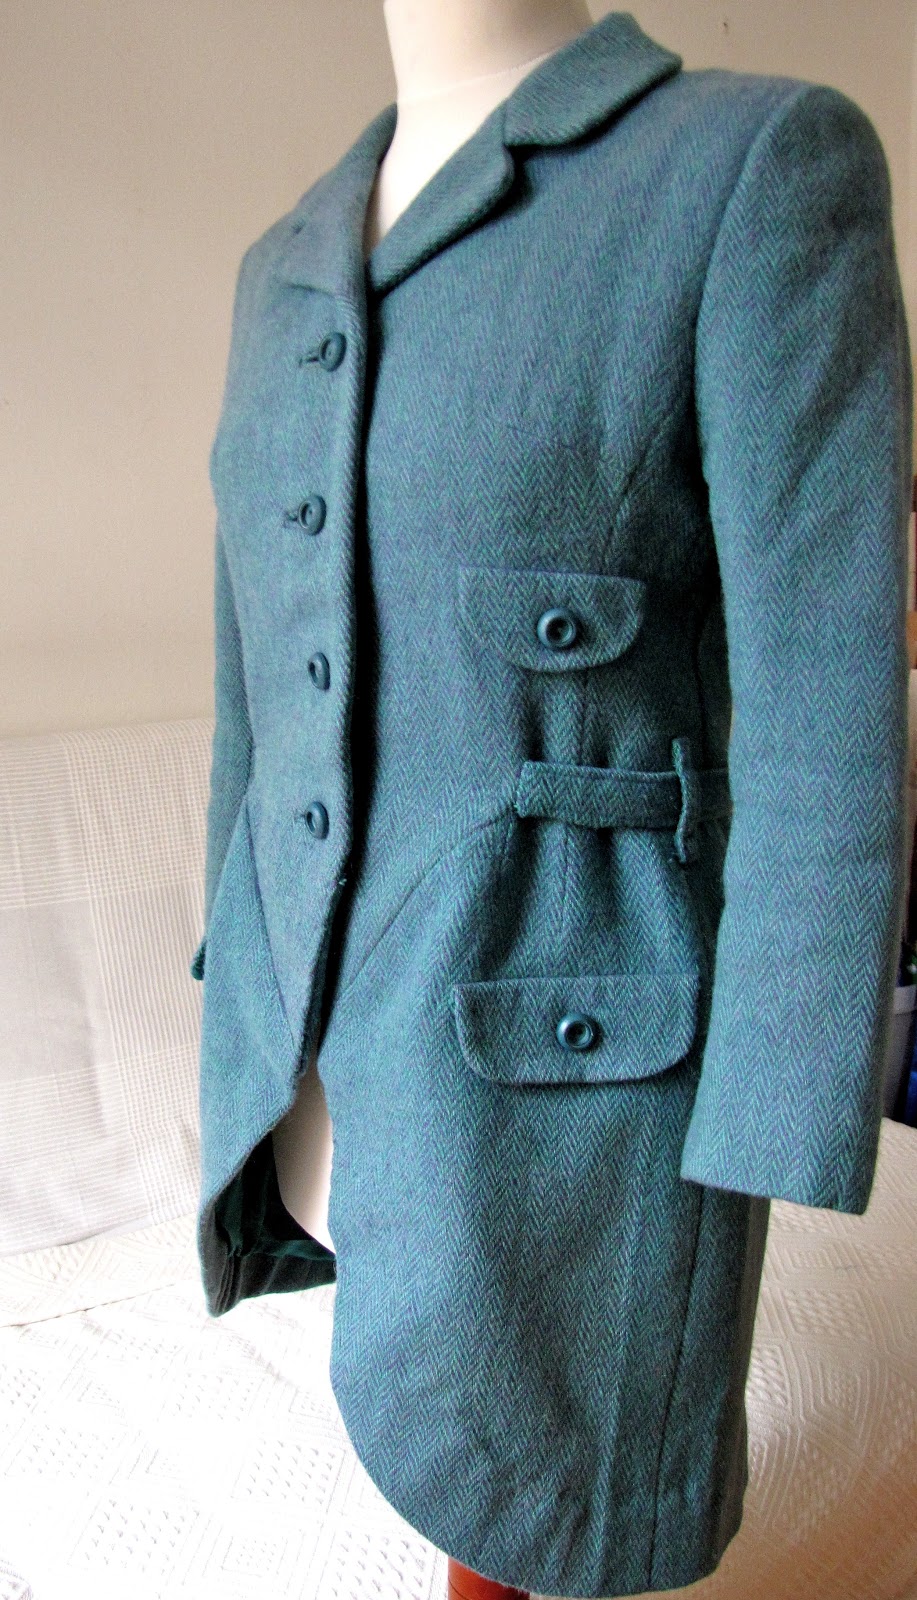
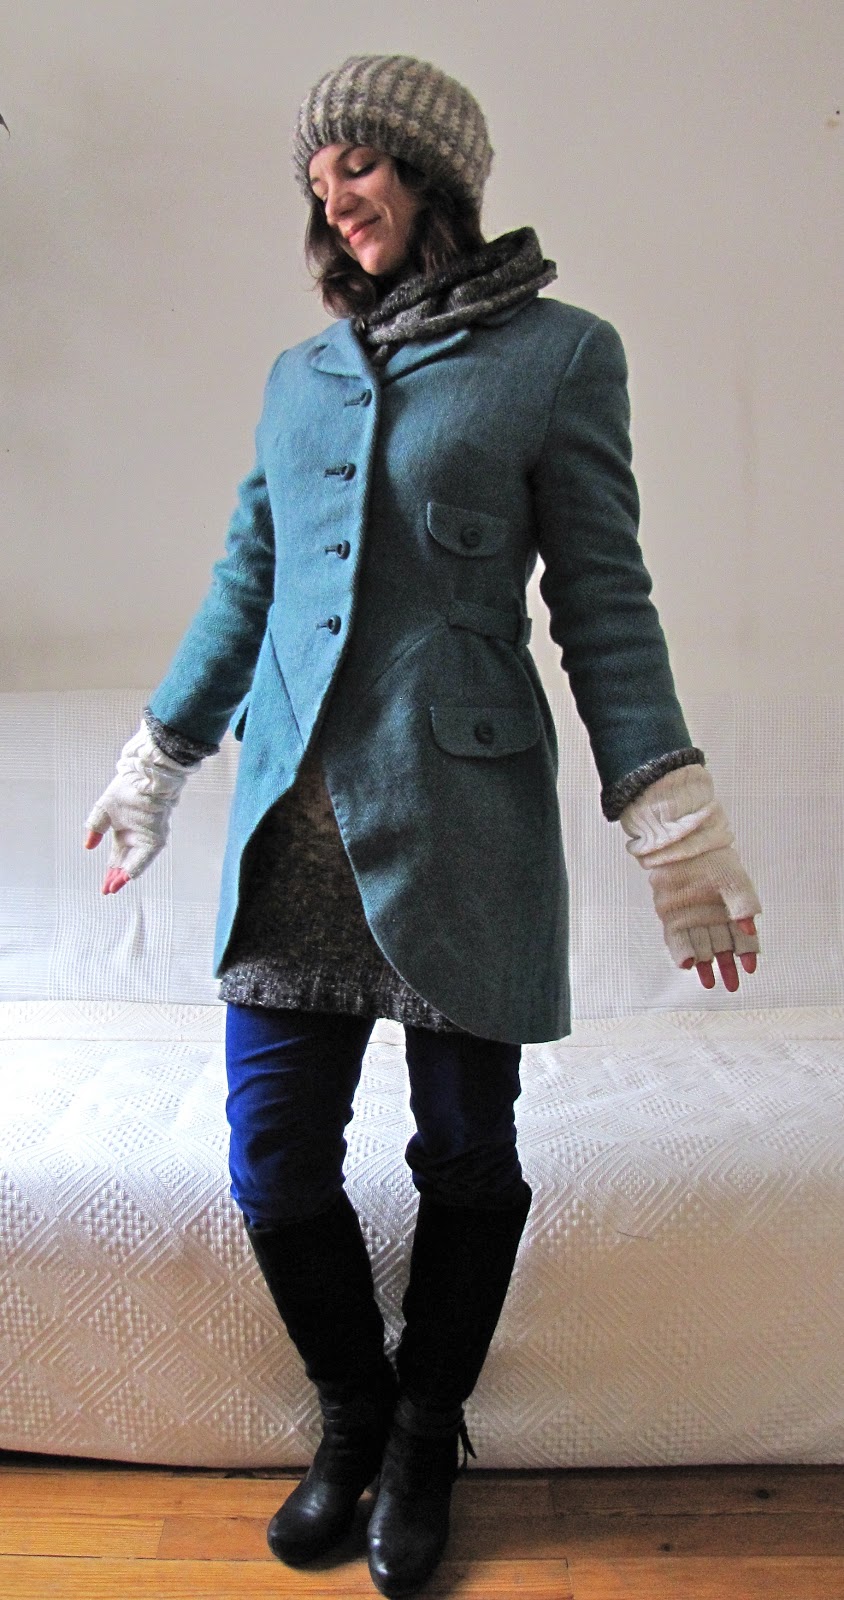
I really think it's a handsome coat. My husband gave it the name Amadeus coat, because of its shape, and it stuck...


Best, Katja