
TRACK PANTS // TUTORIAL


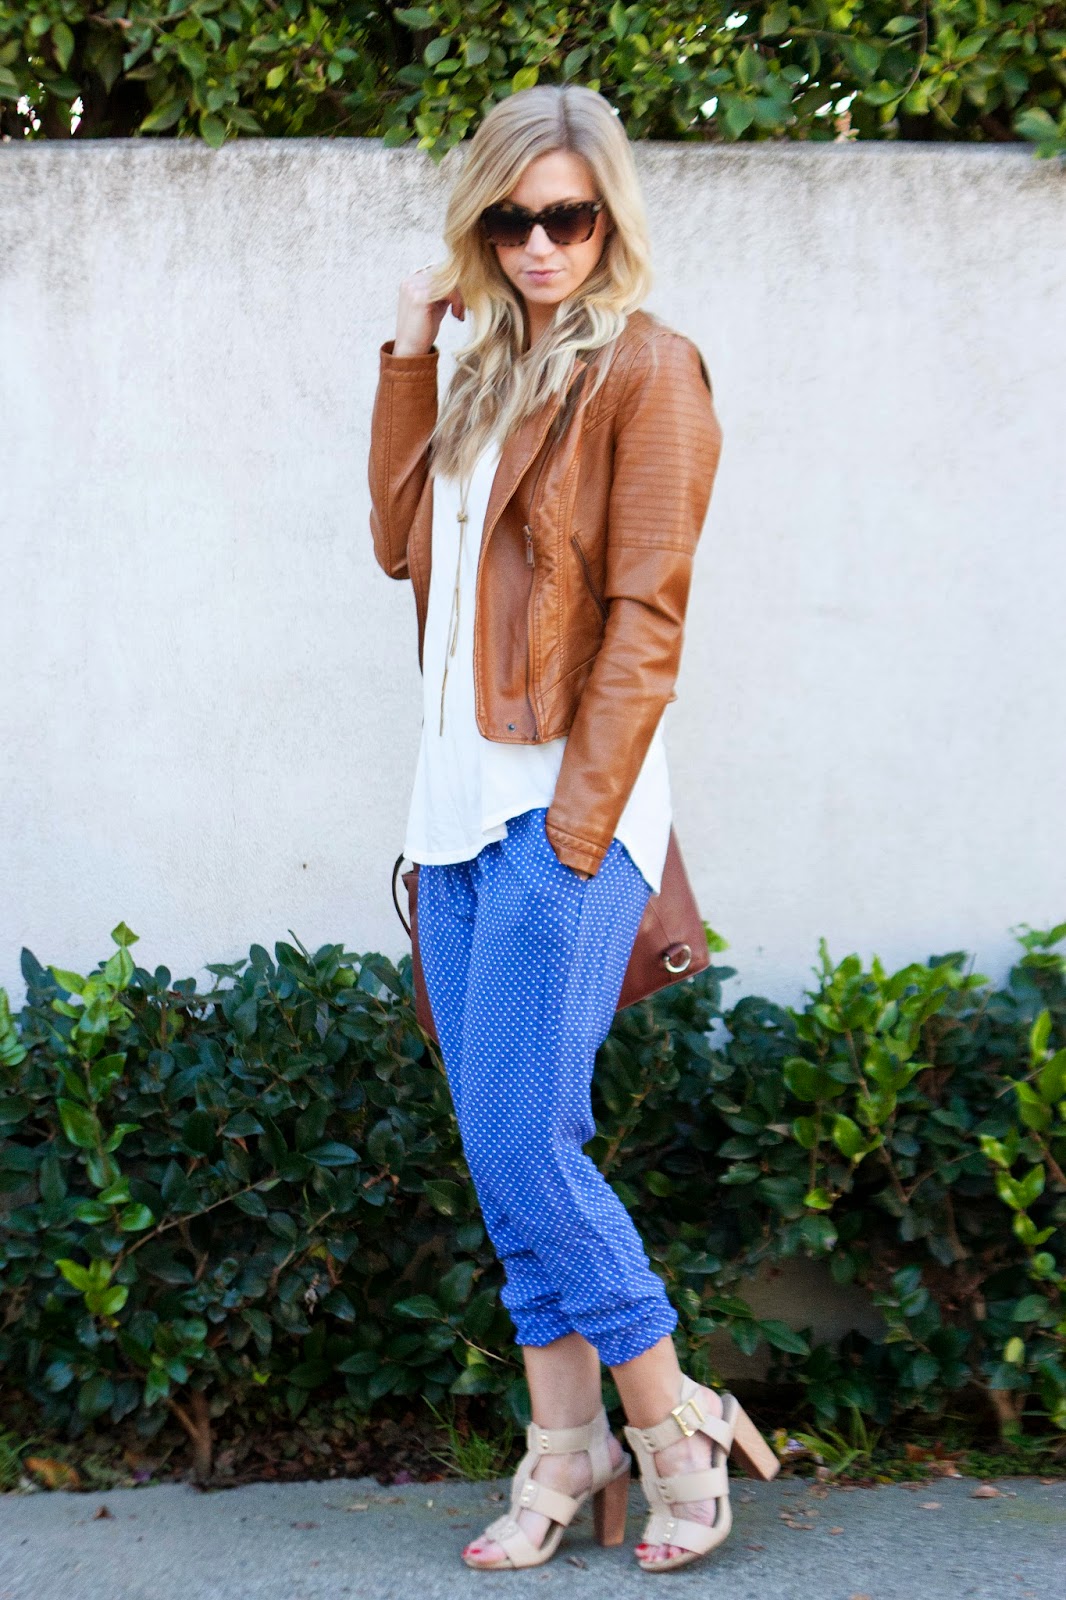
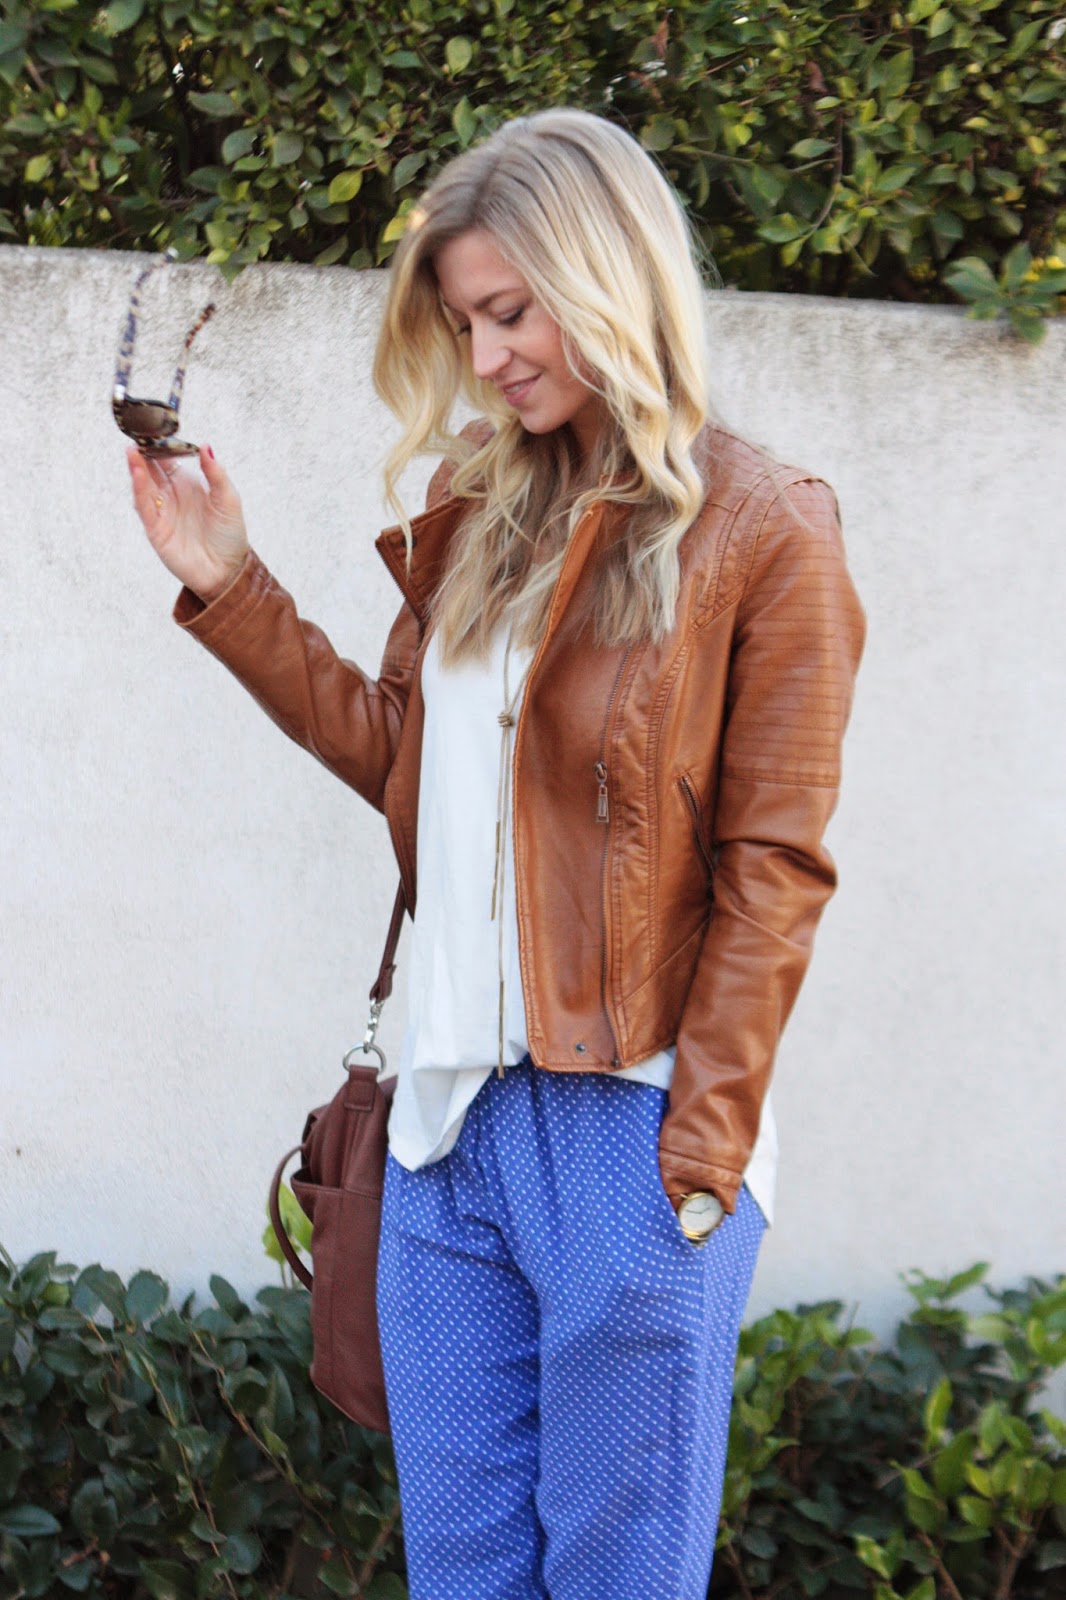
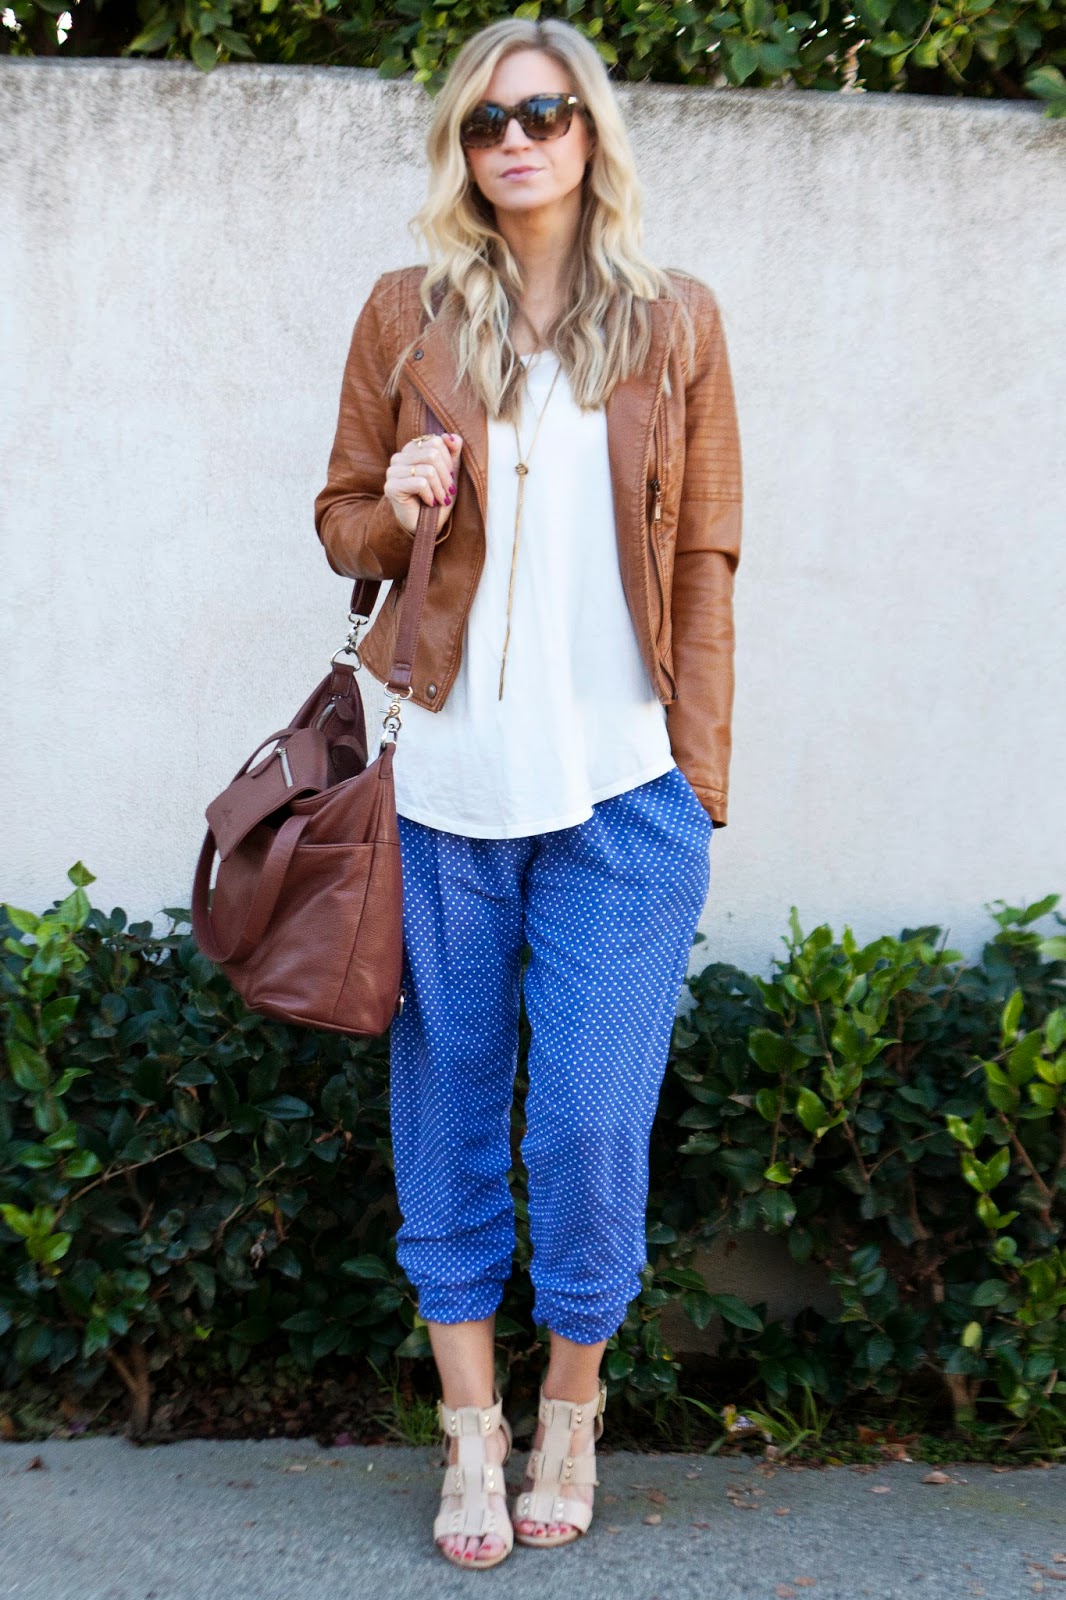
JACKET: NORDSTROM (SOLD OUT, SIMILAR HERE AND HERE) | TOP: NORDSTROM | PANTS: ME (TUTORIAL BELOW) | SHOES: LULU*S C/O | BAG: LILY JADE C/O
I'm back! I've had an amazing break for the past few weeks. It was so needed! Just spending time with my boys and husband relaxing and playing was so good for my soul. Some of the days on our break we were all in PJ's till 4pm and spent the day playing new games we got for Christmas. But as relaxing as those weeks were, I'm ready to get back into the groove of my normal routine. I've also been cooking up lots of new ideas and project for this year and I can't wait to show you what I have in store.
Today I'm showing you how to make your own pair of track pants. If you haven't had a chance to try out the track pant trend, I highly recommend it. Holy cow, these things are so comfortable. And you can dress them up with heels so you can look dressy enough, but feel like you are wearing pajamas.
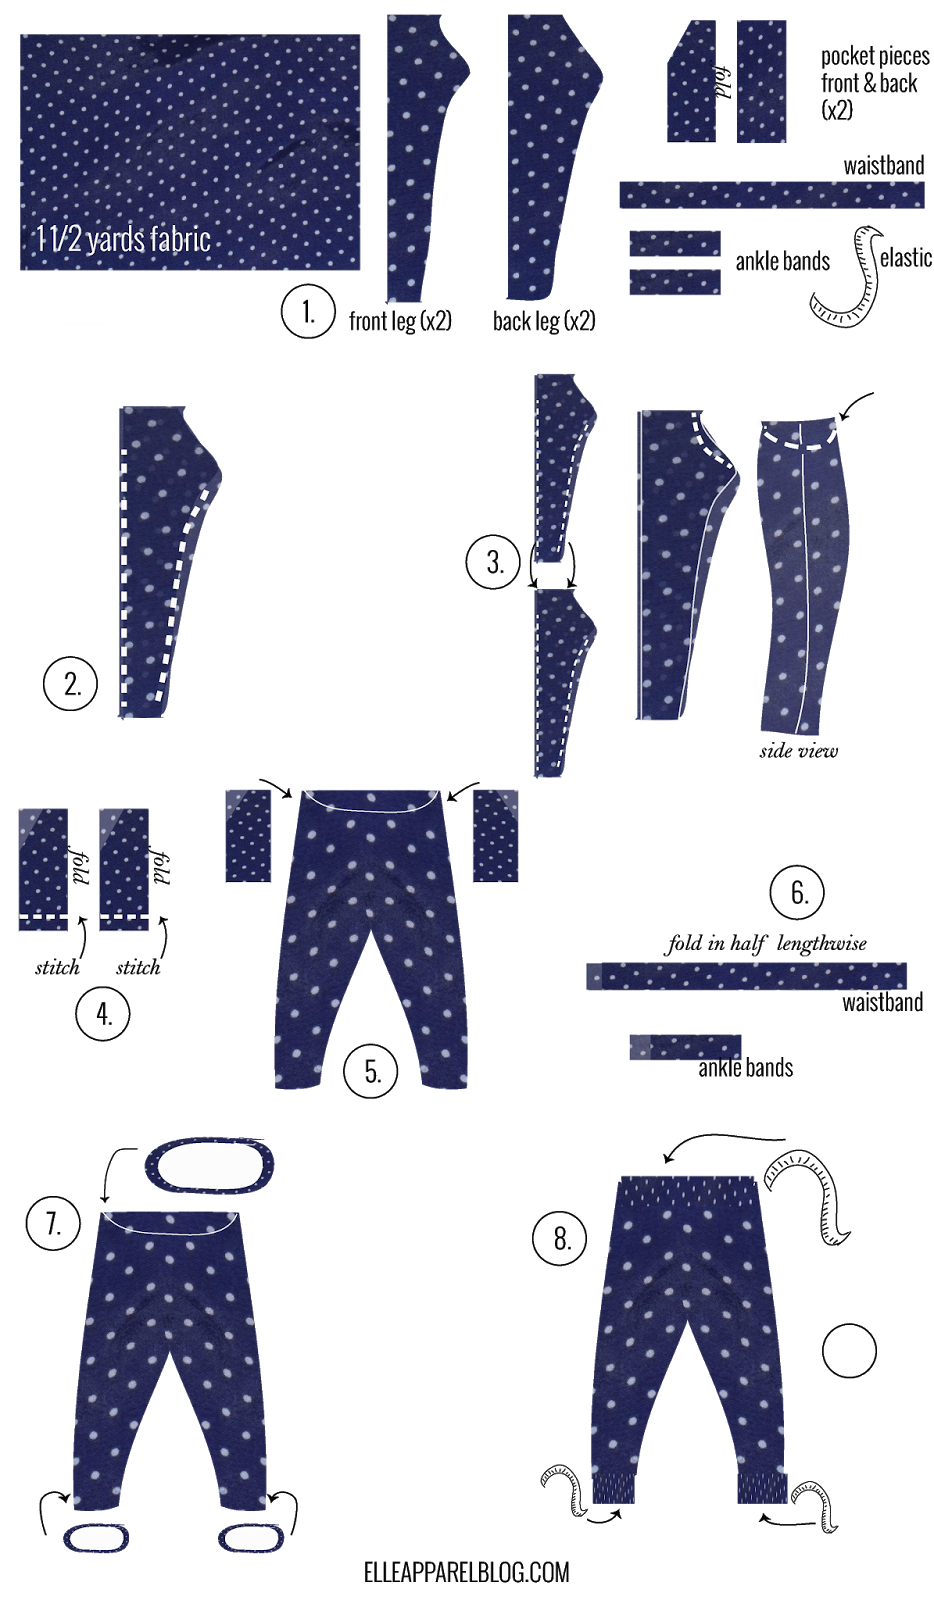
Creating the tutorial for these pants was especially fun because I used my new Sprout by HP to create the images. Usually I draw out images, and try to make the "fabric" on my drawing look similar to the fabric that I used in the project, but it doesn't always turn out how I would like. With the Sprout, I was able to capture an image of the actual fabric with the overhead camera, and manipulate it to create my tutorial. It has opened up so many new ideas and ways to create my tutorials, and I'm excited to use it for future tutorials as well.


Check out the full tutorial for them below, after the jump:
Materials:
Step 2: With your pieces rt sides together, match up your front and back left leg patterns and stitch up the two long sides with a 1/2" s.a. as shown. Start sewing about 10" down on the side so that you can insert your pocket later. Do the same with your right leg pieces.
Step 3: With your left leg pieces stitch, but still inside out, open your right leg piece and slide your left leg piece down into the leg as shown in the picture. Make sure that if the front leg section is on top of the open leg, the front leg section being of the opposite leg is also on top. Stitch around the crotch with 1/2" s.a section making sure all 4 layers of fabric are being stitched.
Step 4: Press your pockets in half and stitch across the bottom of each pocket with 1/4" s.a. as shown.
Step 5: Stitch your pockets into each side of your pant legs, with the diagonal side attaching to the front of the pants.
Step 6: Press the waistband and ankle bands in half lengthwise. Match up the rt sides of each end and stitch up with 1/4" s.a. so that it creates a circle.
Step 7: Stitch the waistband all around the top of the waist, but leave a 2" opening to insert the elastic. Do the same with each ankle band.
Step 8: Attach a safety pin to the end of your waistband elastic and insert it into the opening slit in your waistband. Push the elastic all the way through, making sure to hold onto the other end. Pull the end with the safety pin through the opening and stitch the 2 sides of elastic together. Stitch up the rest of the hole once the elastic is flat and fitted inside nicely. Do the same for each ankle strap.
This post was created in partnership with HP
Materials:
- 1 1/2 yards of a lightweight fabric with a nice drape
- pattern paper (optional, but recommended)
- 1 1/2" wide elastic (enough to fit around your waist and each ankle
- matching thread
Step 2: With your pieces rt sides together, match up your front and back left leg patterns and stitch up the two long sides with a 1/2" s.a. as shown. Start sewing about 10" down on the side so that you can insert your pocket later. Do the same with your right leg pieces.
Step 3: With your left leg pieces stitch, but still inside out, open your right leg piece and slide your left leg piece down into the leg as shown in the picture. Make sure that if the front leg section is on top of the open leg, the front leg section being of the opposite leg is also on top. Stitch around the crotch with 1/2" s.a section making sure all 4 layers of fabric are being stitched.
Step 4: Press your pockets in half and stitch across the bottom of each pocket with 1/4" s.a. as shown.
Step 5: Stitch your pockets into each side of your pant legs, with the diagonal side attaching to the front of the pants.
Step 6: Press the waistband and ankle bands in half lengthwise. Match up the rt sides of each end and stitch up with 1/4" s.a. so that it creates a circle.
Step 7: Stitch the waistband all around the top of the waist, but leave a 2" opening to insert the elastic. Do the same with each ankle band.
Step 8: Attach a safety pin to the end of your waistband elastic and insert it into the opening slit in your waistband. Push the elastic all the way through, making sure to hold onto the other end. Pull the end with the safety pin through the opening and stitch the 2 sides of elastic together. Stitch up the rest of the hole once the elastic is flat and fitted inside nicely. Do the same for each ankle strap.
This post was created in partnership with HP
More posts from Leanne Barlow