Gilded Feather Polymer Clay Ornaments

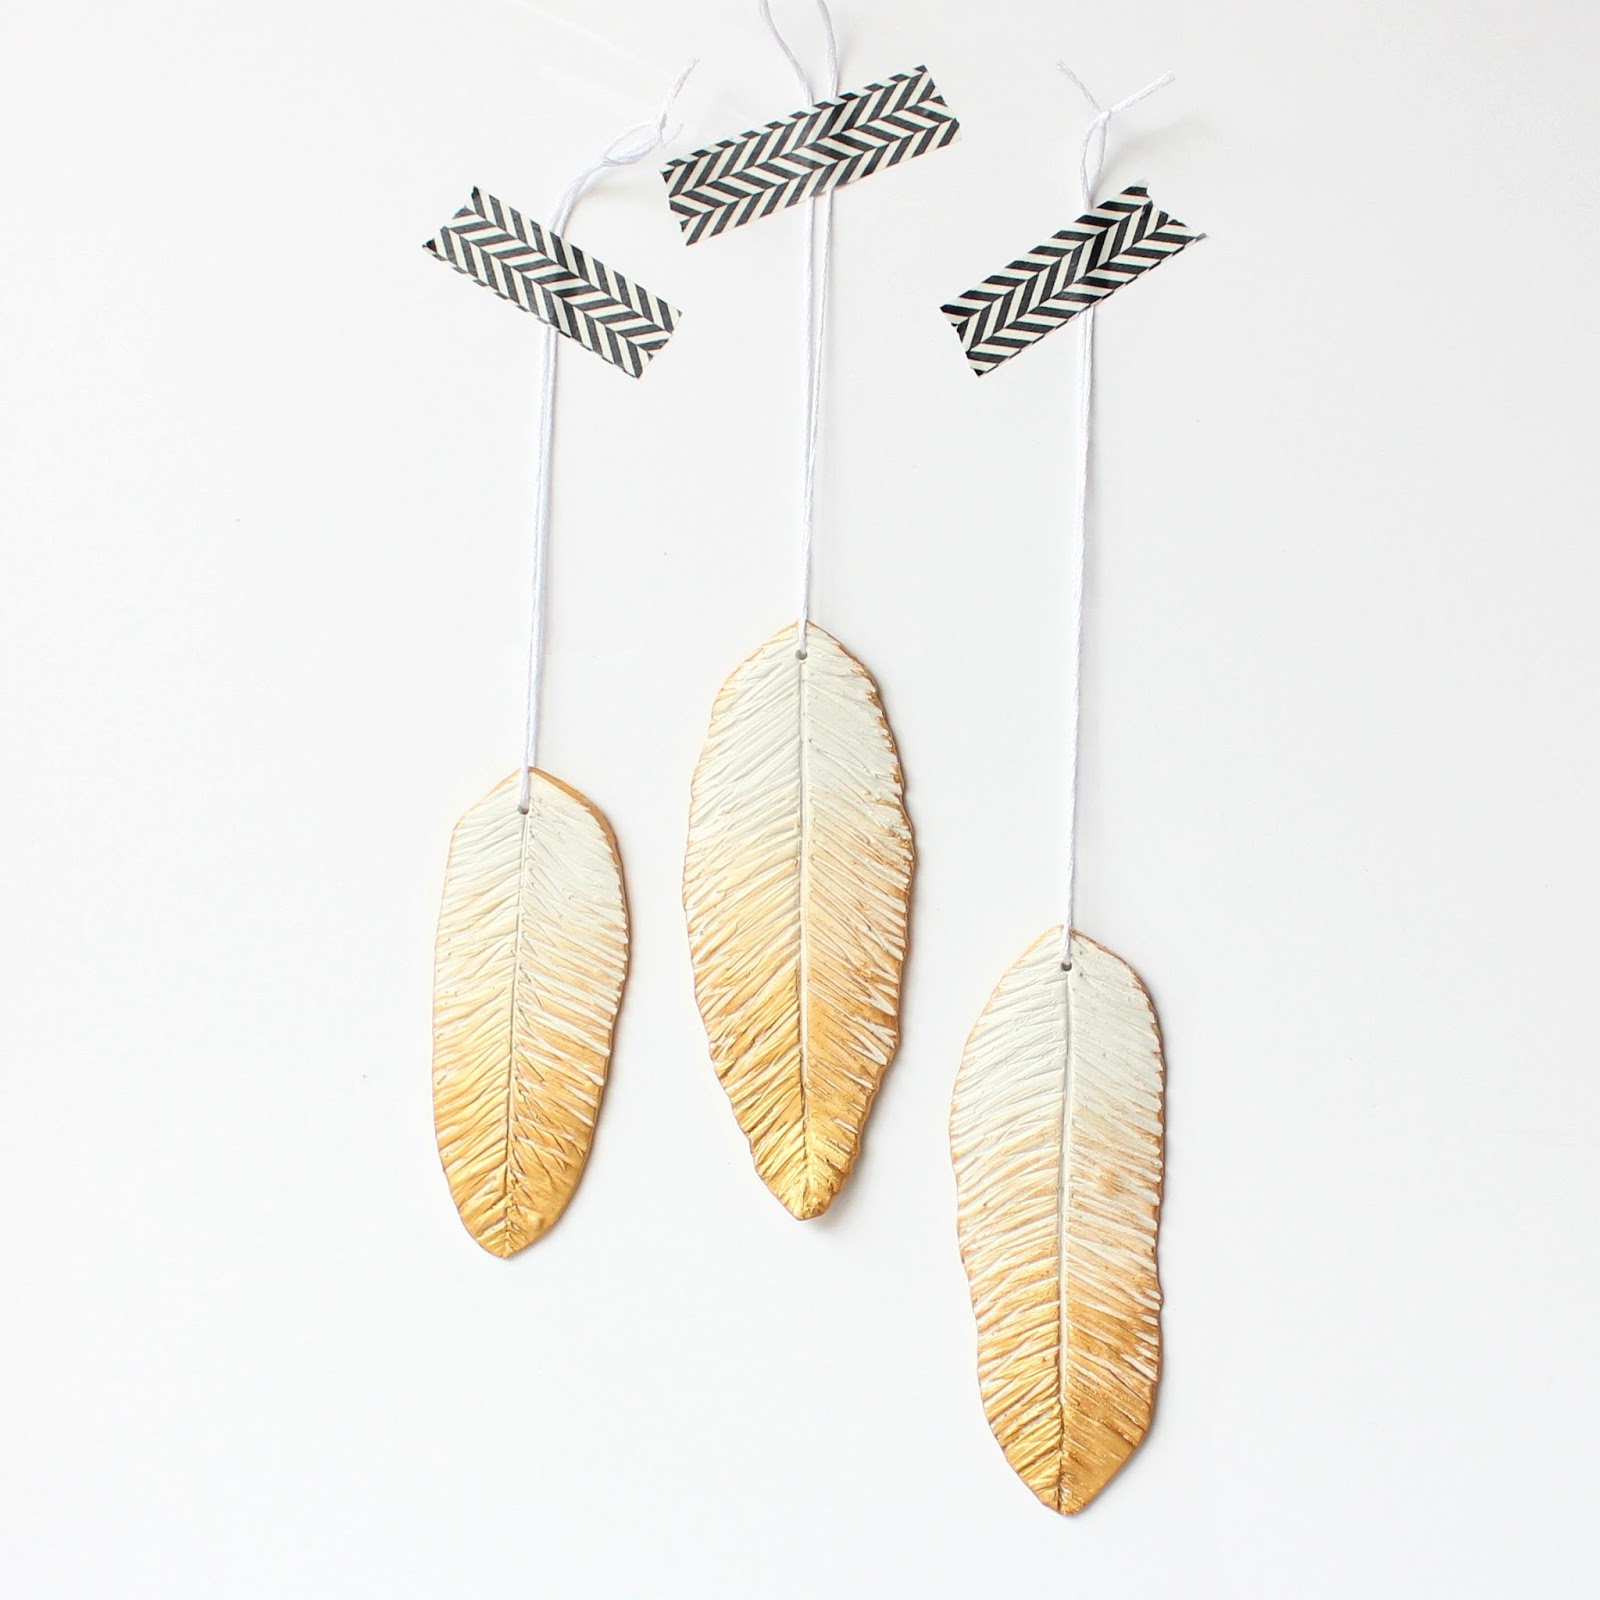
If you follow me on Instagram, you've probably noticed that I'm a little obsessed with gold and white this Christmas. I also seriously love polymer clay, especially when it comes to handmade ornaments. So when I saw these beautiful gold dipped feather ornaments from Anthropologie, I knew I had to make something similar out of polymer clay.

These are generally really easy to make, and they are a great project for someone new to polymer clay. However, it did take me a couple of tries to get feathers that I liked. The first set looked a little more like leaves.
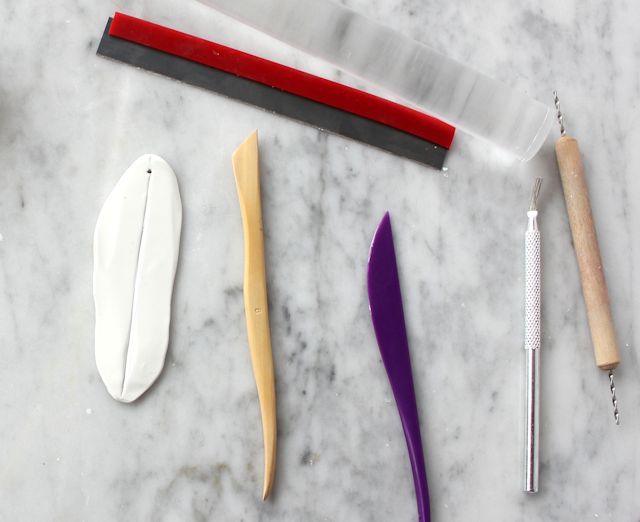
What you need:
1. White polymer clay 2. An Acrylic Clay Roller


4. Gold paint
* I thought I was buying this sort of Liquid Gilding
* I thought I was buying this sort of Liquid Gilding

and I planned on dipping the ends of the feather into the gold paint. However, I ended out getting this sort of gold paint (Inka Gold Metal Gloss Paint

) that is very thick and you gently rub on. You can't go wrong either way, but I do love how the gold rub brought out the texture of the feathers. Plus, it dried almost immediately.
What you do:
1. Start by rolling a long white tube of white polymer clay. It shouldn't be too perfect. Make the ends a little bit thinner than the middle. Make sure the surface you're working on is nice and clean because the white clay will pick up anything like dust or crumbs.
What you do:
1. Start by rolling a long white tube of white polymer clay. It shouldn't be too perfect. Make the ends a little bit thinner than the middle. Make sure the surface you're working on is nice and clean because the white clay will pick up anything like dust or crumbs.

2. Now take your acrylic roller and roll the white piece flat into a feather shape. Keep rolling in different directions until you get the shape you want. Don't be afraid to start over.
3. Use a flat edged wooden tool to press down and make a line down the middle of your feather. As you go, use the flat edged wooden tool to push along the edges of the feather and shape it however you want.

4. Start making lines on each side of your feather. At first I only made a few lines, but I realized it looked more feathery with lots of overlapping lines in different directions. Press down rather than drawing the lines on. Press down a little extra along the edges to create that feathery edge.


5. Poke a hole in the top of your ornament, and bake according to the instructions on your clay.
*Tip: Sometimes it's hard to move something flat and delicate like this from your working surface to your baking sheet. I like to go ahead and create each feather on a piece of parchment paper so I can just lift the whole thing and put it into the oven.

6. Let it fully cool. Brush on some gold. Make the tip of the feather the most gold, and lightly brush on gold over the middle part of the feather. I like how the gold only brushed onto the top part showing the texture of the feather. I also brushed some gold around the edges of my feathers, but when I make some more (hello handmade Christmas gifts!) I might skip this. Use embroidery thread, baker's twine, ribbon, string, or twine to hang the ornament.


More posts from