
Calligraphy Series: Part 1: Getting Started + Supplies
I am so excited to share this with you! I have been getting a lot of questions on Instagram. I am here to explain everything!
As you can tell by the title I started calligraphy. It all began when I was seeing beautiful calligraphy on my social feeds, from my friends who practiced and on blogs. I admired the ornate details of the letters and words. I decided I was ready to do some research to see if it was something I could do too. I stumbled upon an online class, I Still Love Calligraphy. I looked over the website and teacher and was hooked! It seemed like a great place to start, because I knew zero about calligraphy before I started. Once I had decided on a class, I needed to get supplies. The class had a list of required tools so I began my search.
During the sign up process with I Still Love Calligraphy, you had the option of buying a starter kit the online course. I thought about it, but I knew my friend Kelsey was big into calligraphy, her work is beautiful. So I reached out and asked her what supplies she uses. She gave me a list, and where I ended up was a mix of her recommendations as well as some required supplies for the class.
Here is what I used for the class:


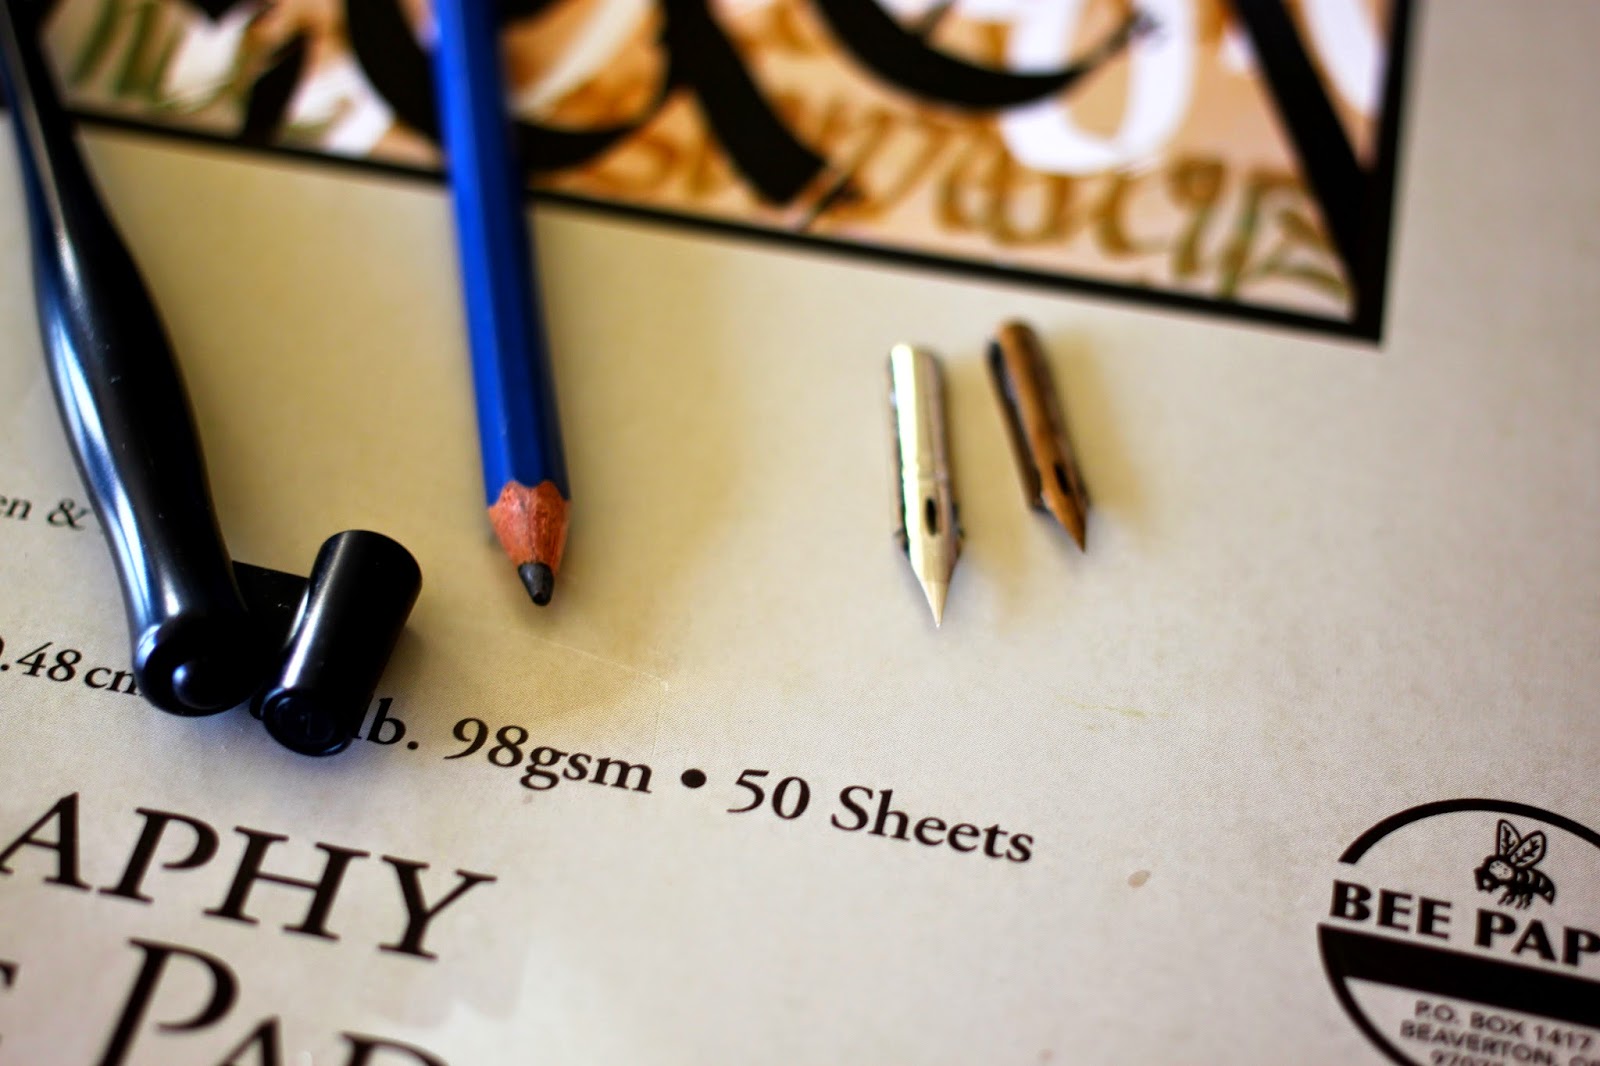
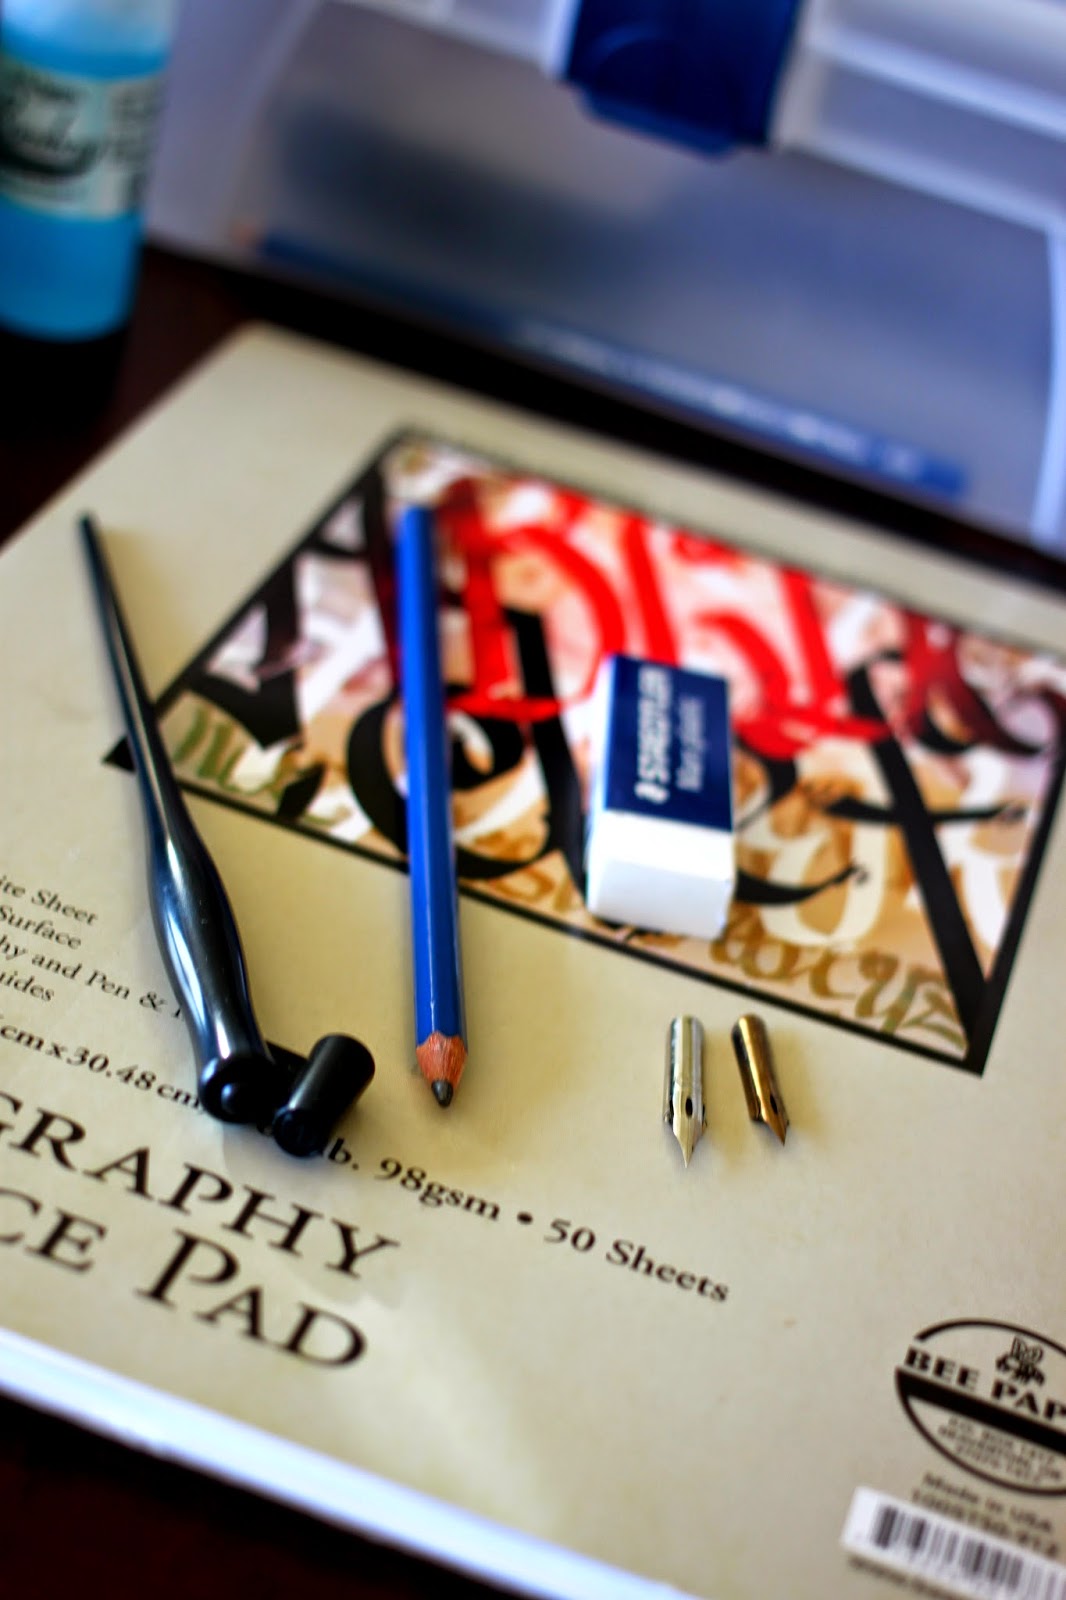
Here is the practice pad I decided to go with. It wasn't the one recommended by I Still Love Calligraphy, which I now own as well. I think both of these are great for different reasons. I love that this pad below is tracing paper for me I liked being able to copy strokes and letters from practice sheets.

I Still Love Calligraphy required you to have two nibs so you can see the differences between two kinds. Although, I mostly only used my Zebra G Nib, I had the Hunt 22 nib as well.


You need a pencil, and white plastic eraser. You can find these at most office supply stores. I started looking into holders. I went with the speedball oblique. I have since also purchased a straight speedball holder as well. I love them both!


Here are the ink and pen cleaner I chose. I went with Higgins Eternal ink because it was very easy to find in stores and also pretty dang cheap! Once this runs out, I am going to try Sumi 60 ink, but for now it does the job. I also got a pen cleaner. After you use your nib and holder you want to clean them of all the ink left over. I am loving this Dr. Martin's formula.
Lastly, I wanted a good place to store all of my things. I wanted to keep the nibs in their own area and the ink sealed up incase the cat was interested. I found this one and it has worked perfect! You can use any storage container. Need some ideas? Check this link.


To recap what you will need:
2 Nibs
Wooden or plastic holder
Pencil
White plastic eraser
Practice pad
Black ink
Storage box
Stay tuned for the next post about taking the class, my thoughts, reviews, and my progress! I have now finished the class for the first 30 days. Excited to show you how things turned out :)
Love,
Rachel xo
More posts from Rachel Lloyd