
MASTERING PHOTOGRAPHY & YOUR DSLR


. MASTERING PHOTOGRAPHY AND YOUR DSLR .
For today’s blog tips post I thought i’d share another photography tips post, i’ve done a couple of photography tips posts over the last year, but this time I wanted to write specifically about mastering how to use your DSLR, and learning how to shoot in manual which if you’ve read my top 5 photography tips post, then you’ll know this is one of my biggest pieces of advice.
I thought i’d start off today with the basics of shooting with a DSLR (learning ISO, Aperture, Shutter speed and dept of field), so if you’re already quite experienced you may find these a little basic, but in my opinion understanding and mastering these four things will truly help you take perfect pictures and know how to adapt these settings dependent on the conditions your shooting in and of course the style of photograph you’re looking to achieve. And whilst they are relatively simple to understand in their own right, it’s learning how to work them together which can take a little practice and experience.
So today I thought i’d share a DSLR 101, with a quick overview of what these four things are and how you should be using them to get the image you’re looking for.

. ISO .
WHAT: In it’s most simplest form, ISO is all about sensitivity to light.
HOW: The higher your ISO number the more light you’re lens will let in, the lower your ISO number the less light your camera will let in. In an ideal world you want to shoot on the lowest ISO possible as this will ensure you’re image quality is kept high and that ‘noise’ is limited (the higher the ISO you shoot on e.g. 800 , the more grainy you may find your images become).
TIP: I personally love to shoot in daylight, and even more so when the sun is out, providing a great ‘bright’ setting for my photography. In conditions such as this, you can truly drop your ISO down to it’s lowest settings as you’ll find you don’t need to let in tons of light to get a perfectly lit image. On a sunny day i’ll try and shoot around 100-200 ISO. This can increase to 400-600 if it’s a very cloudy or low lit day.
. SHUTTER SPEED .
WHAT: Shutter speed is simply what it says on the tin, the time or speed in which the shutter opens and closes. The speed of the shutter obviously determines and affects the amount of light let into the image (the exposure time).
HOW: The higher the shutter speed (so for example a shutter speed of 1/3500) the less light you will let into your photograph because the open and close is extremely quick, and as a result the sharper the image will be because it’s a quick action shot. The lower the shutter speed (e.g. 1/100) the more light let in but the grainer and less sharp your image will be as a result, as it’s taking more time to capture the shot. The ideal of course would be to shoot on a high shutter speed, but if you’re shooting in low light conditions this may not always be possible, as you may need to adjust your shutter speed to let more light into the shot.
TIP: If you’re shooting in great daylight conditions, and are able to shoot on a low ISO like 100 then you will be able to shoot on a high shutter speed like 1/2500 – this combination will give you the perfect light balance and ensure your photo has great sharpness and exposure. Equally if you’re conditions are dark, low light, or even a night time setting, then you’ll need to up your ISO number (800 perhaps) and drop your shutter speed so that your camera allows as much light in as possible to be able to capture the scene. It’s always a balancing act dependent on your settings, conditions and desired shot.
When it comes to capturing the perfect picture, aperture also has to be thrown into the mix …
. APERTURE .
WHAT: Aperture relates to the size of the hole / opening of the lens. E.g. the size of the hole for which the light has to enter the camera.
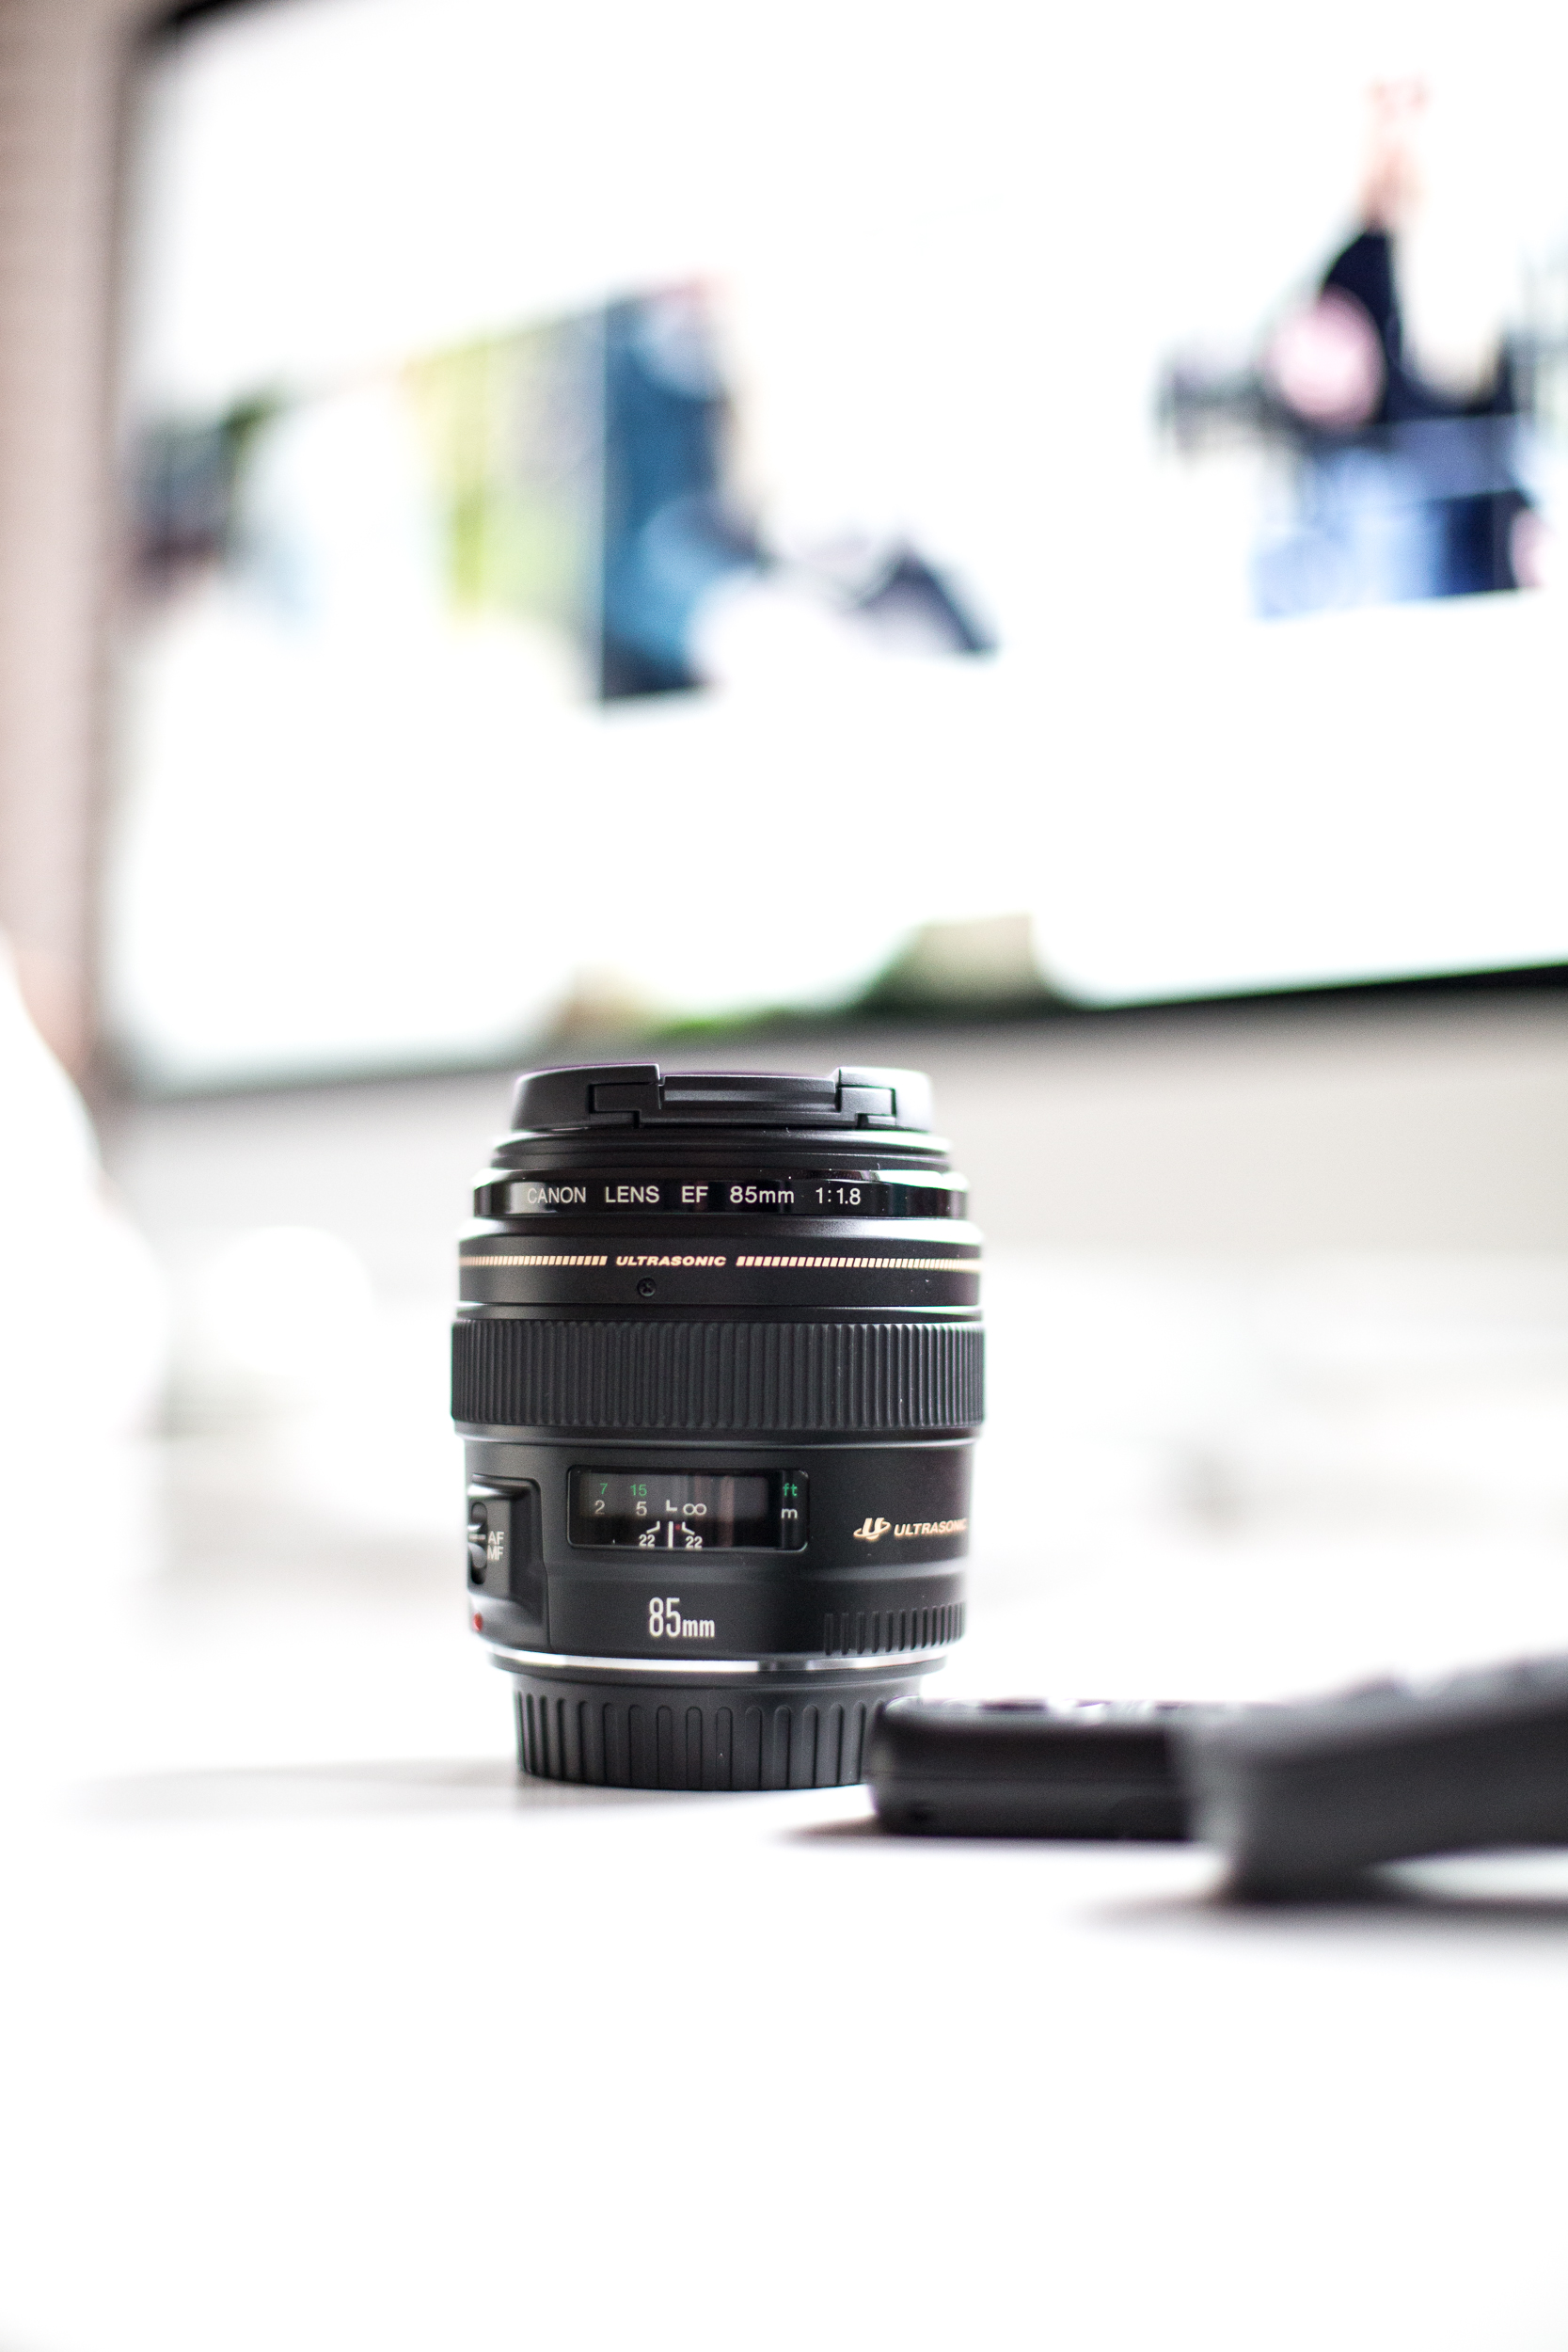
HOW: Aperture is also referred to as ‘F number’, which you may be more familiar with, and is something we also use to classify lenses (e.g. Canon 85mm F1.8). The F is determined by dividing the diameter by focal length, but at the simplest level we know that the smaller the F number the more light able to get into the photo (because the hole is wide) and the higher the F number the less light let into the photo (because the hole is small).
TIP: The thing to consider with aperture and F numbers, is that the smaller the F number, the more shallow the depth of field. And of course depth of field is something that us bloggers love to create in our imagery (that blurred / bokeh background).
. DEPTH OF FIELD .
WHAT: : This is simply how much of the image is in focus versus out of focus.
HOW: Depth of field affects what of the total image becomes the main subject versus the background (the range of distance that is in focus). I personally love a shallow depth of field, and this means that a core subject (for example, me, in an outfit post) is in focus, however my background (the stuff further away) is blurred and out of focus.
TIP: A shallow depth of field is achieved with a lower F number (it’s all linked together).

. BALANCING ACT .
The trick with learning how to use your DSLR, and particularly in mastering how to shoot on manual, is learning how these things all work together. The key thing to know and understand is that they are all intrinsically linked, you can’t adjust one without considering how it will affect the other. Ultimately what they all link back to and affect is light and exposure … how much light is let in, and what other ‘style’ affects you want to achieve (depth of field, sharpness, clarity etc).
The balancing act is always in making sure your photo is perfectly exposed (ISO / Aperture) but also sharp and focussed (Shutter speed).
I personally believe the only way to truly get to grips with these factors and learn how to create the perfect shot with your DSLR camera is to play around, test out different settings when you’re out and about, adjust your ISO, Aperture and Shutter speed to see what combinations work best together for various settings and conditions.
As a little starter for 10, when I shoot my outfit pictures my ideal settings (always dependent on the natural lighting available of course) is to shoot on around an F1.6 – F2 (I actually have a Canon 50mm F1.4 lens, but in order to ensure my full outfit is in focus & sharp, I always shoot a little higher to ensure the full look is in focus), when the sun is out i’ll try and shoot at around 100 – 200 ISO and increase my shutter speed to around 1/2500 – this ensures my images stay bright and light, but not too over exposed (the high shutter speed ensures it’s not over exposed, but also that it’s crisp and sharp). As I mentioned, your manual settings must always be adjusted dependent on the natural light available, and if i’m shooting on a dull and low light day I may need to adjust the settings to have a c. F1.8 aperture (the lower the number the more light let in), an ISO of around 400-600 and a shutter speed of around 1/1000. It’s all a balancing act and I will always take a series of test shots to get the perfect combination.
As I mentioned in my very first photography tips post, If you don’t feel ready to shoot on manual and have to control all of these factors, you can also shoot on Aperture priority mode (AP) rather than manual, and on this mode your camera sets the right shutter speed for you, and you’ll set a fixed aperture and ISO. It means one less thing to worry about.
So there you have it … a 101 guide to shooting on manual and some tips to mastering your DSLR camera. My biggest piece of advice is to go out and play, test things out and learn from your mistakes. Photography is fun, so don’t stress yourself out too much :)
If you want to read more photography tips, then make sure you check out my blog photography tips post, my top 5 photography tips and my tips for shooting blog pictures.
The post MASTERING PHOTOGRAPHY & YOUR DSLR appeared first on Media Marmalade.