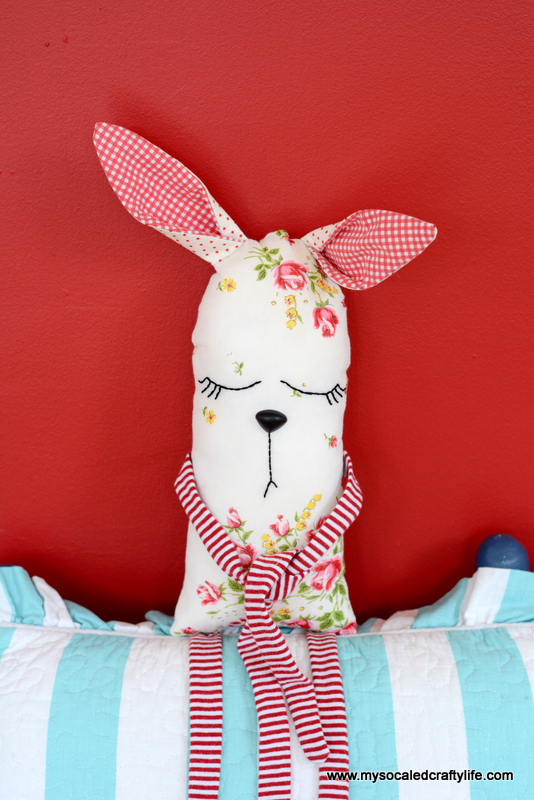
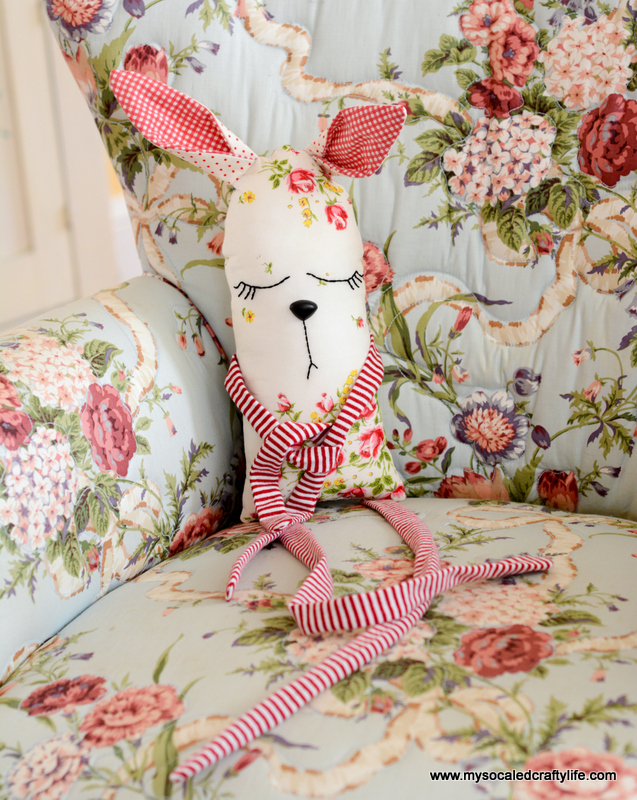
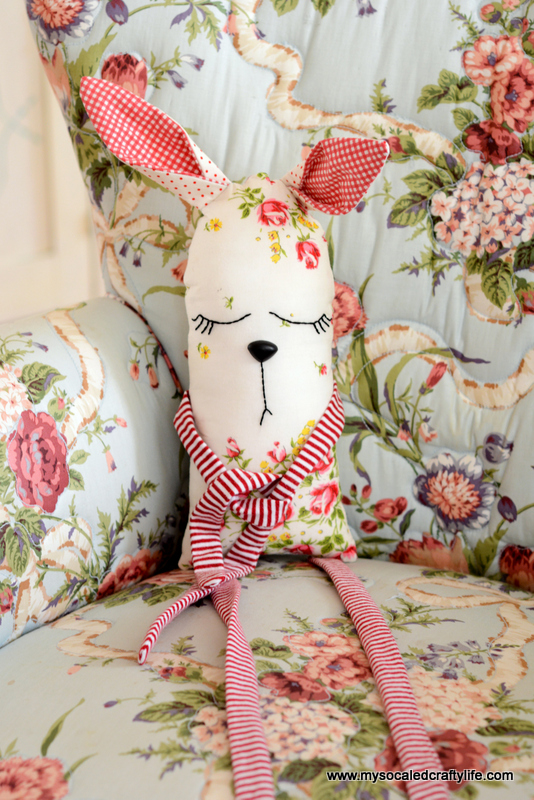
DIY Vintage Hanky Bunny Plushie


Here’s What You Need:
*Vintage Hanky
*Striped Tee Shirt or Knit Fabric
*Interfacing, Medium Weight (a 1/4 yard should do)
*Coordinating Fabric Scraps
*Marking Pen
*Ruler
*Embroidery Floss and Needle
*Plastic Animal Nose (I got mine at JoAnns)
*Sewing Machine , thread and pins
*Stuffing (Polyfill)
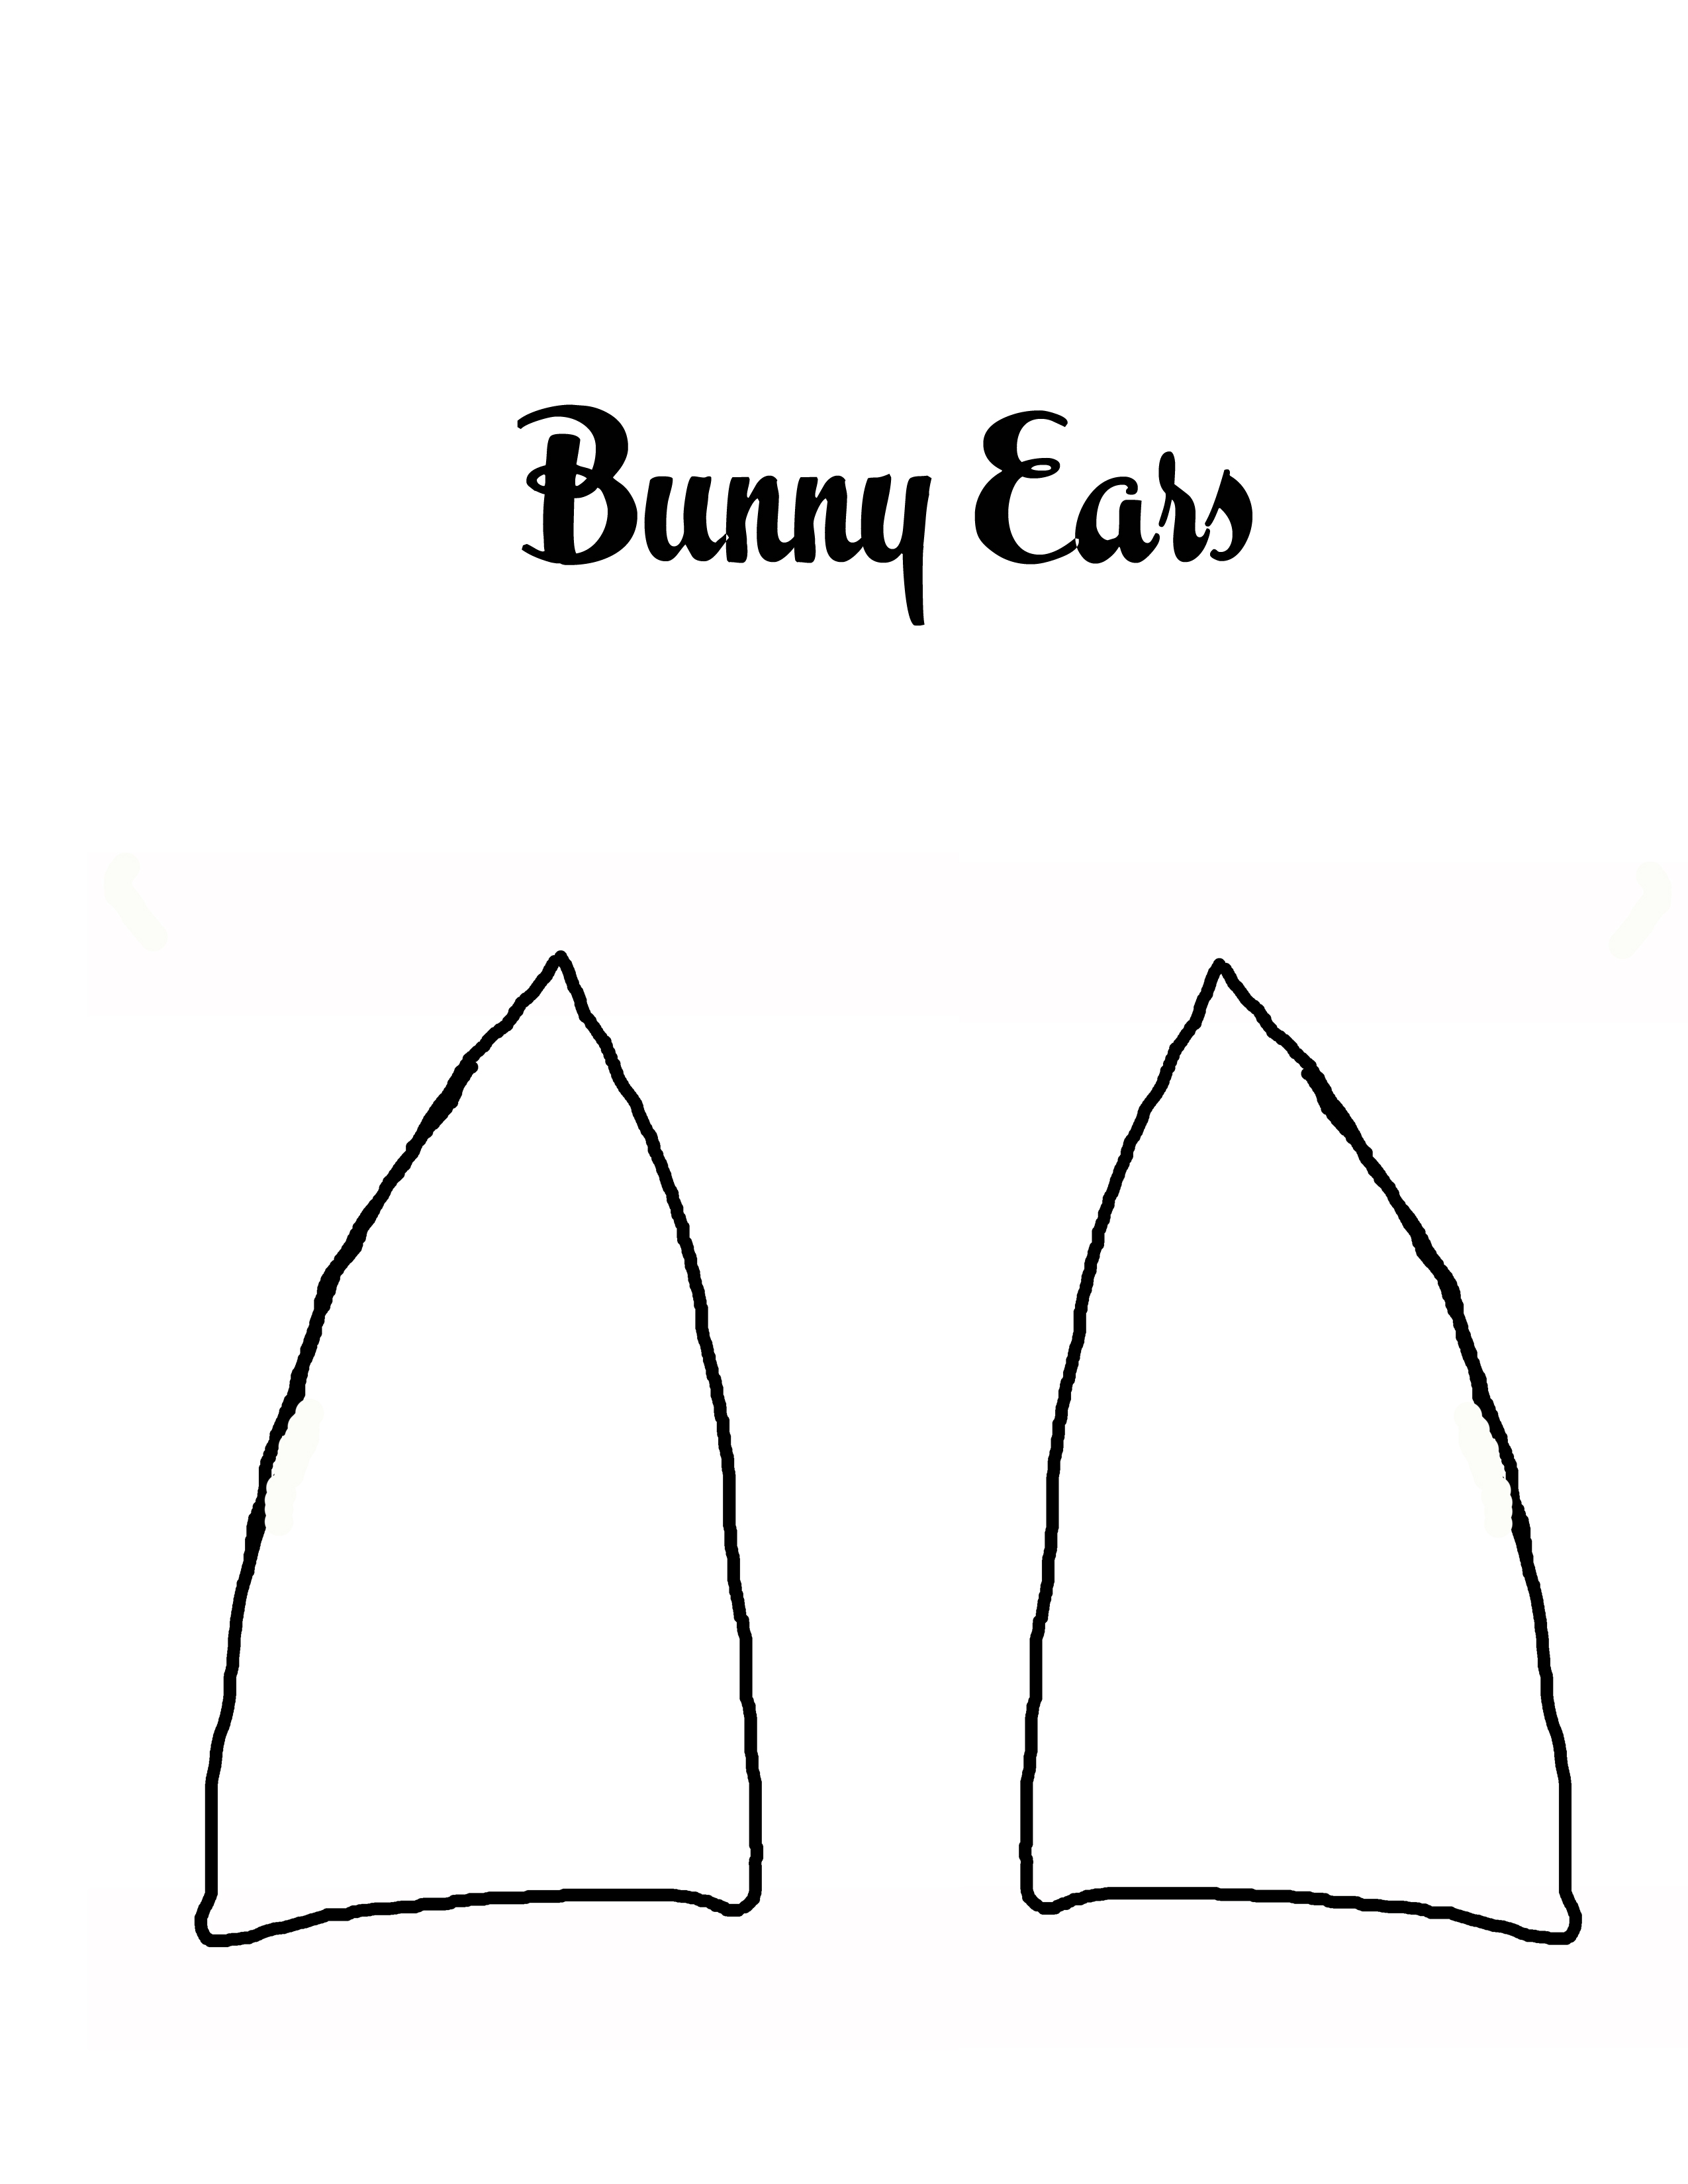
*Ear Pattern
Pattern for the Ears:


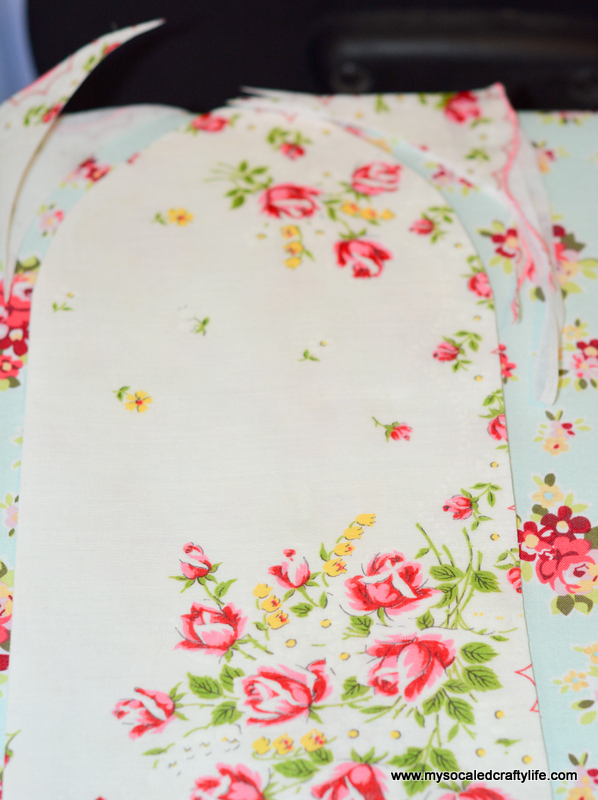
First, iron your hanky and then cut and iron interfacing to the wrong side of the hanky. Fold it in half.

Cut a rounded or egg shape at the top of the hanky, and trim the sides so they are straight and even.

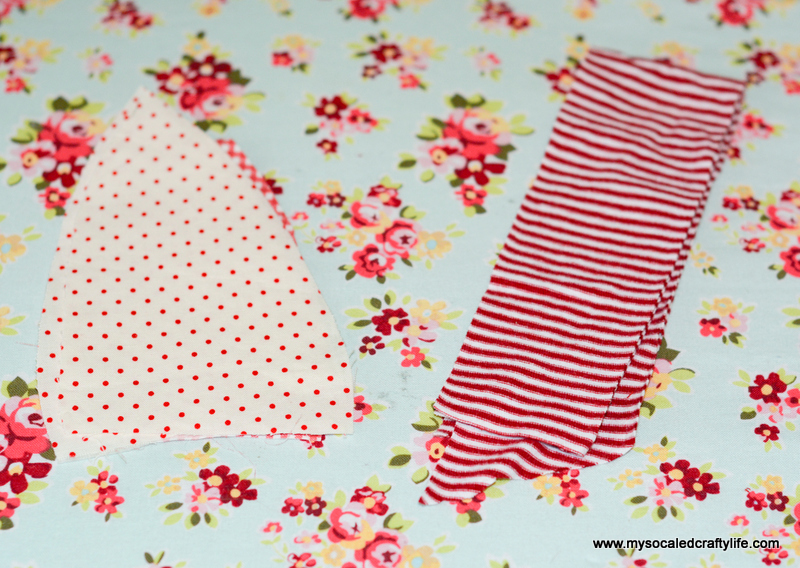
Cut one ear, interfacing for the ear, and ear lining piece for each ear from your fabric scraps. Also, cut two to two and a half inch strips for the legs and arms from your tee shirt. I made mine very long. I cut them all from the sleeves of a long sleeved tee shirt. Iron the interfacing to the wrong side of your ear lining pieces.

Pin your ear and ear lining pieces together. Stitch all the way around leaving the bottom open. Clip the seam allowance at the top and turn right side out. Iron flat.

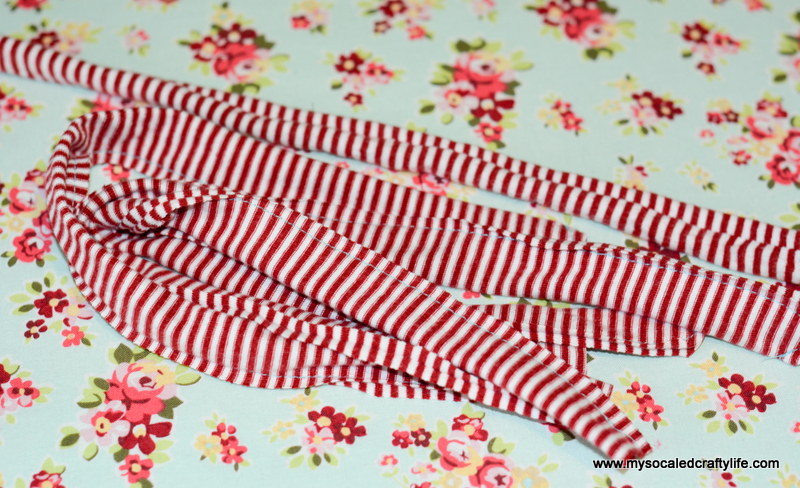
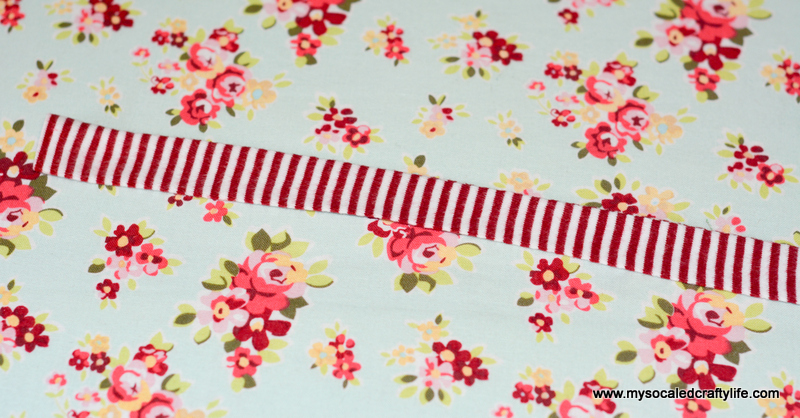
Take a long knit strip and fold it in half lengthwise and so the right sides are facing each other. Stitch close to the edge all the way down. When you get about an inch away from the bottom curve the seam across the bottom for the ends. Do the same thing for all the other arms and leg.


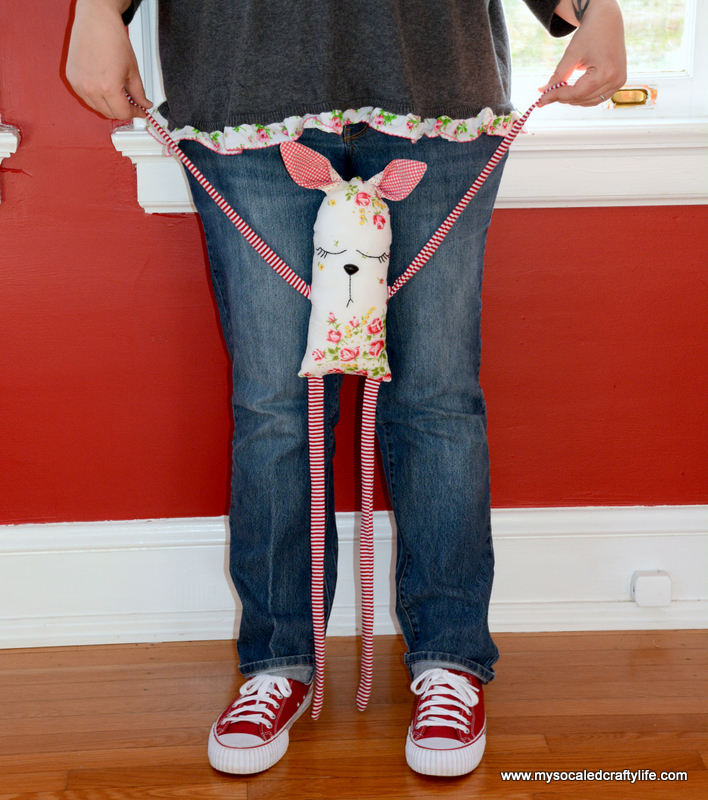
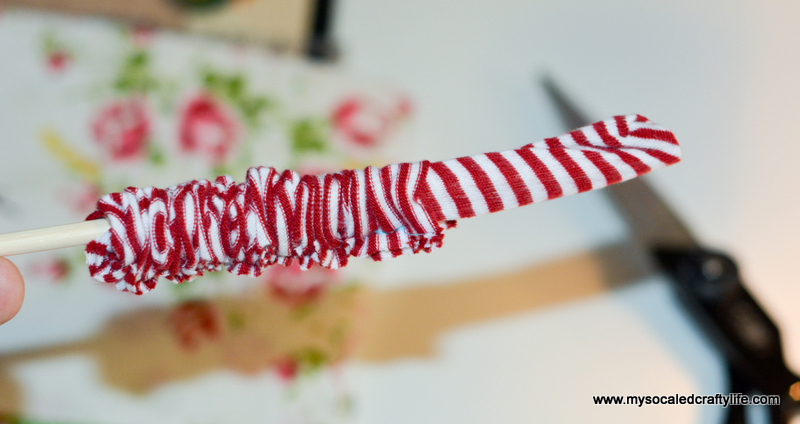
Carefully iron all your leg and arm pieces. This is also a good time to trim them up to make sure the arms are the same length as well as the legs. You can also decide how long you want to make the arms and legs if you have not already and trim to your liking.

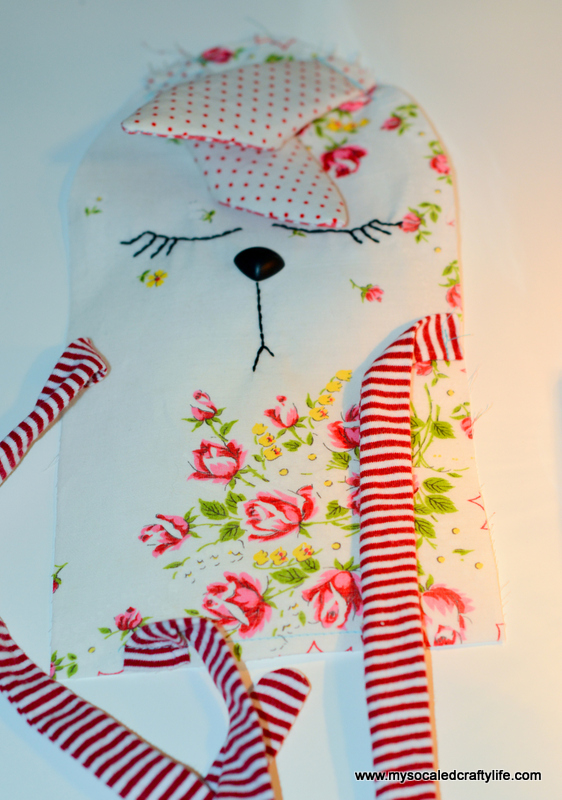
Pin the arms and legs to the body where you like. I pinned my arms about half way down the sides and the legs about 3/4 of an inch from the corners at the bottom. Pin so that the limbs are pointed in toward the middle of the body.

Stay stitch limbs in place. Stay stitch the ears too. Fold the ends of the bottom on each ear in toward the middle. Pin in place to the head where the lining fabric is facing the right side of the hanky. Ears should point toward the center. Pin in place and stitch.

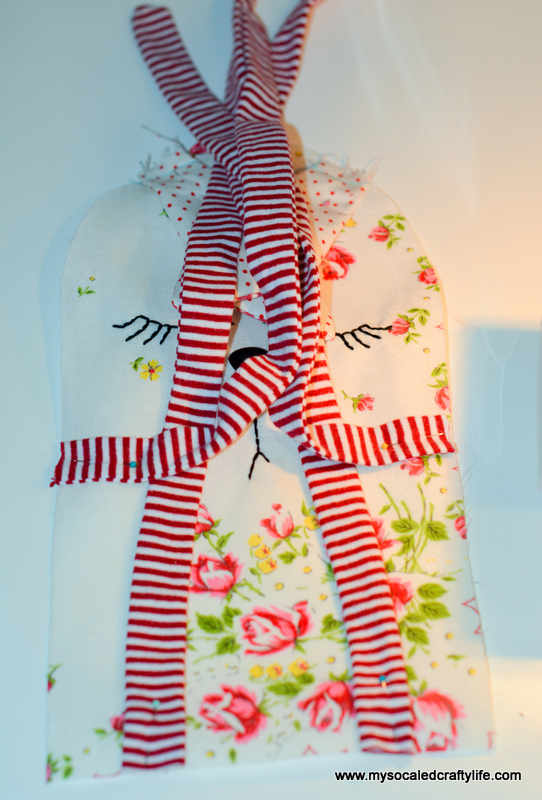
Once the limbs and ears are stitched in place, carefully fold everything in towards the middle of the bunny body.

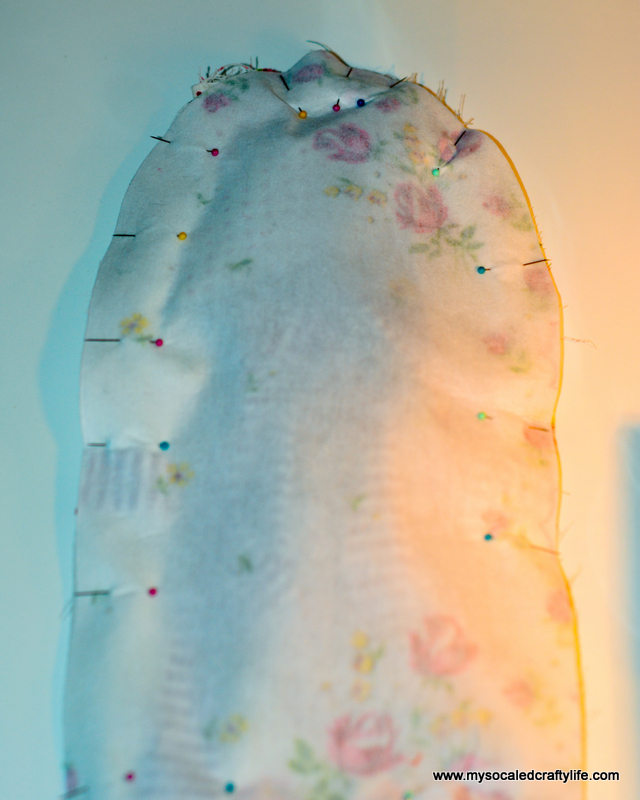
Lay the other body piece right side down on top and pin all the way around. Stitch all the way around the body leaving couple of inches open in the bottom for turning.

Now, clip corners and allowance where needed, and turn your bunny right side out. Stuff the bunny with fiber fill.


Happy Crafting!