
Repurposed a dress into a skirt and blouse

I found this great dress at a thrift store while visiting my college roommate Shannon in San Francisco this past December. My plan was to cut it up and make a blouse and skirt- then my daughter put it on- and it fit her perfectly. Unfortunately, she says she won’t wear it and I can’t make her… being 14 is silly.
I believe it was Yogi Bera that said “Youth is wasted on the Young” and I couldn’t agree more in this case.
So I’ll cut it in half after all. No longer in my youth, I can pull the look off in halves but not the whole thing at once without looking ridiculous.
I believe it was Yogi Bera that said “Youth is wasted on the Young” and I couldn’t agree more in this case.
So I’ll cut it in half after all. No longer in my youth, I can pull the look off in halves but not the whole thing at once without looking ridiculous.

There was a zipper down the center back of the dress to contend with in this cut, but thankfully it ended up being inches away from the final cut.

A lovely yellow zipper down the back, adding to the homemade charm of the dress, luckily, just short enough.


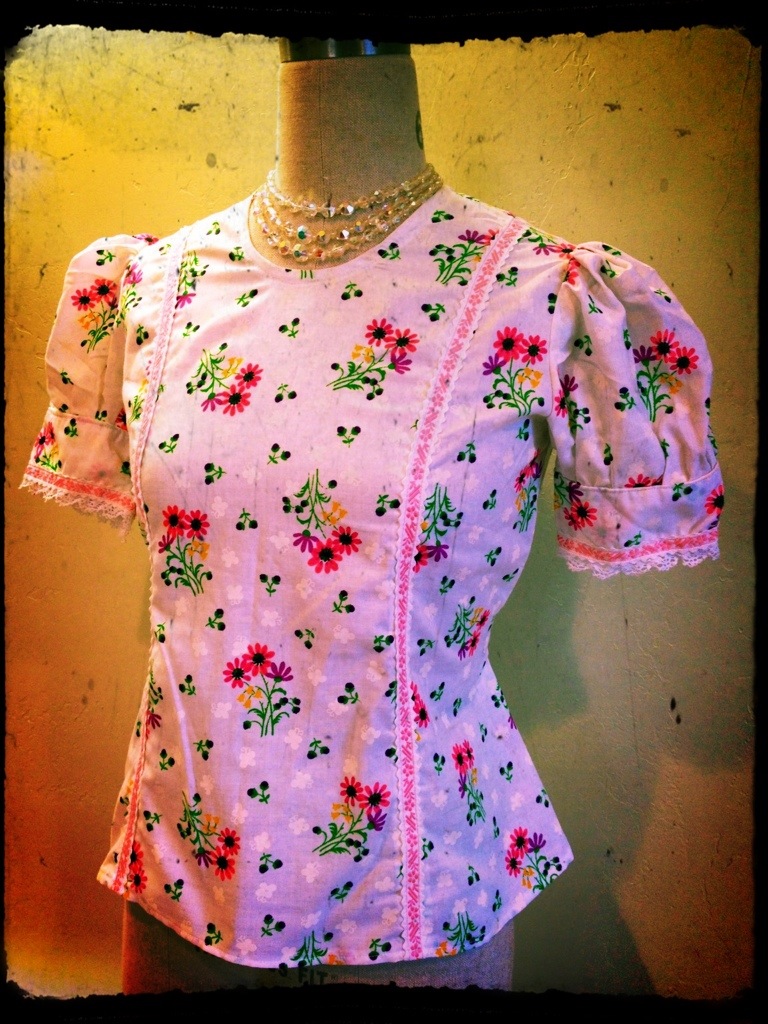
The top of the dress, and my new blouse was simple to finish, all it needed was a little ironing and a narrow seam sewn around the bottom.

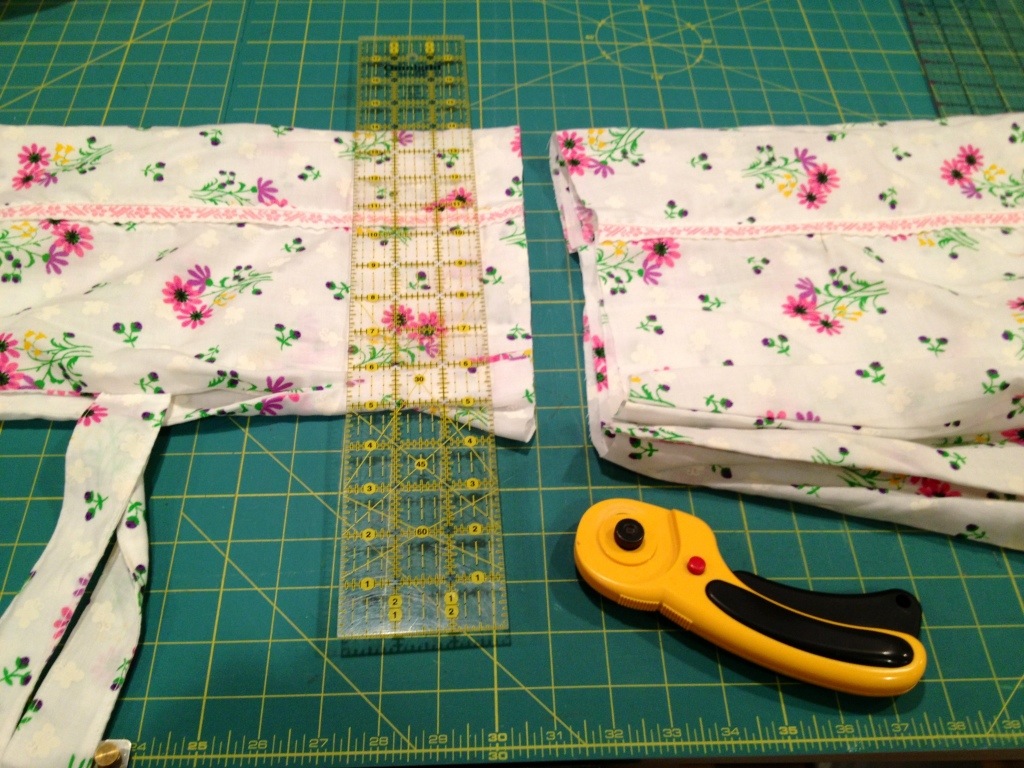
There’s plenty of fabric left for a skirt. I want it to have a tailored look- as opposed to a drawstring or elastic waist so here’s what I came up with:

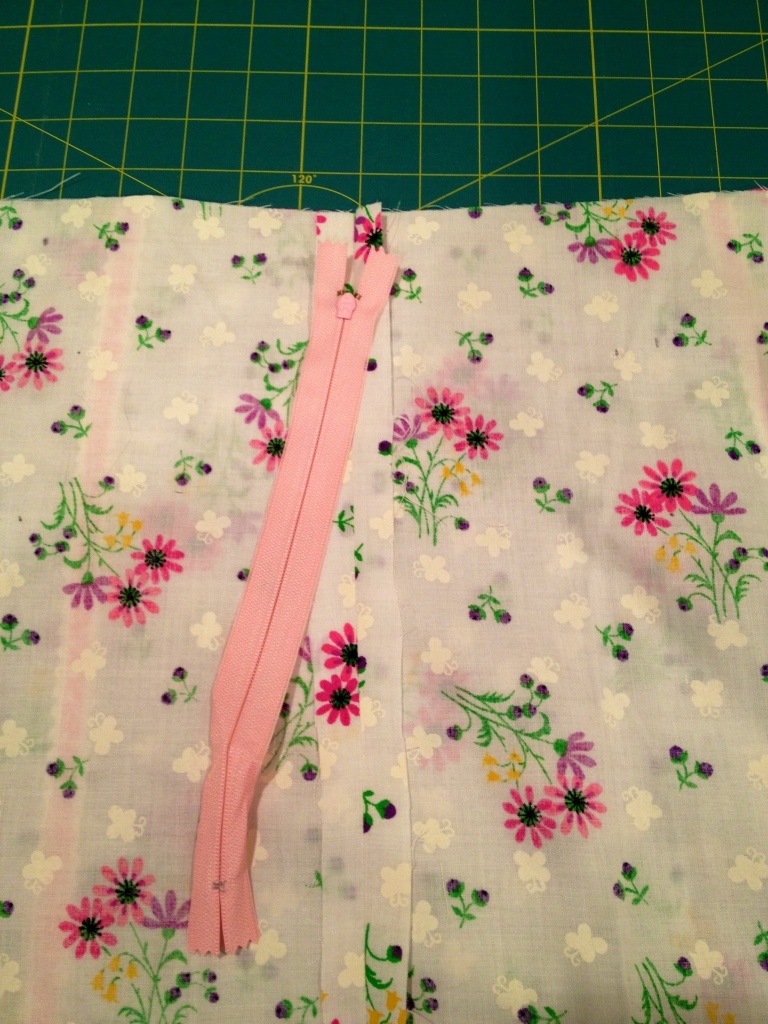
Luckily, the seam allowance left behind by the original maker was enough that I could easily add a zipper. I pressed the seam flat then placed the right side of the zipper down the center of the inside out fabric. I moved the sewing machine needle position closer to the center of the zipper (or use a zipper foot) I stitched all the way around.

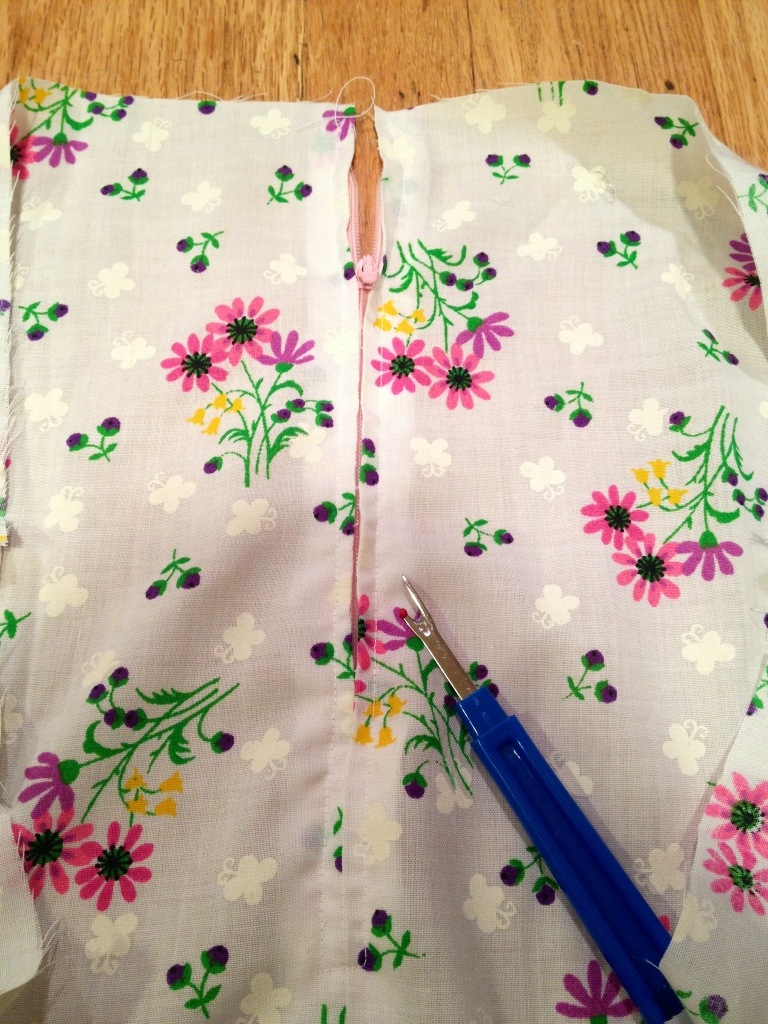
Then flip the skirt right side out and with a seam ripper (pictured above) carefully pick out the old seam where the zipper is now situated. (This is my favorite, and the easiest way to add a zipper in any garment.)

Using an old favorite skirt pattern (but you could easily make it up) I added 2 darts to the back and to the front of the skirt.

Darts are simply make with a pattern or by making up with your own measurements, just make sure to make them equally in length and in width if there are two or more on the garment.

Finished darts on the front of the skirt. The business was a bit tricky because of the ribbon already in place where darts should have been placed.

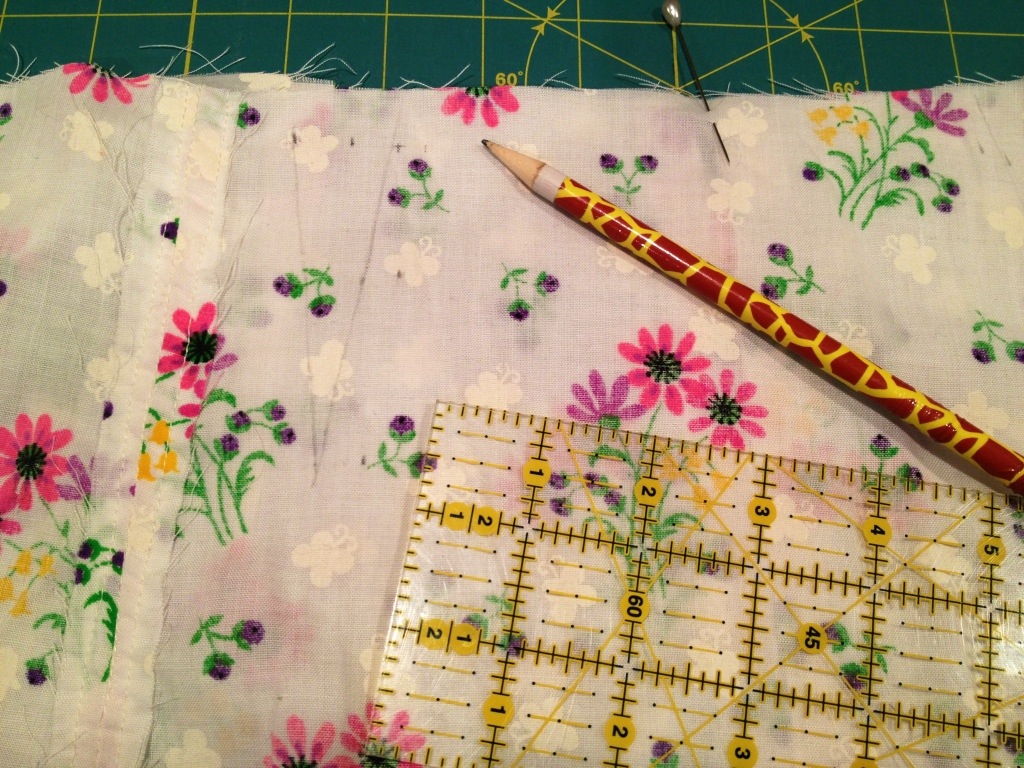
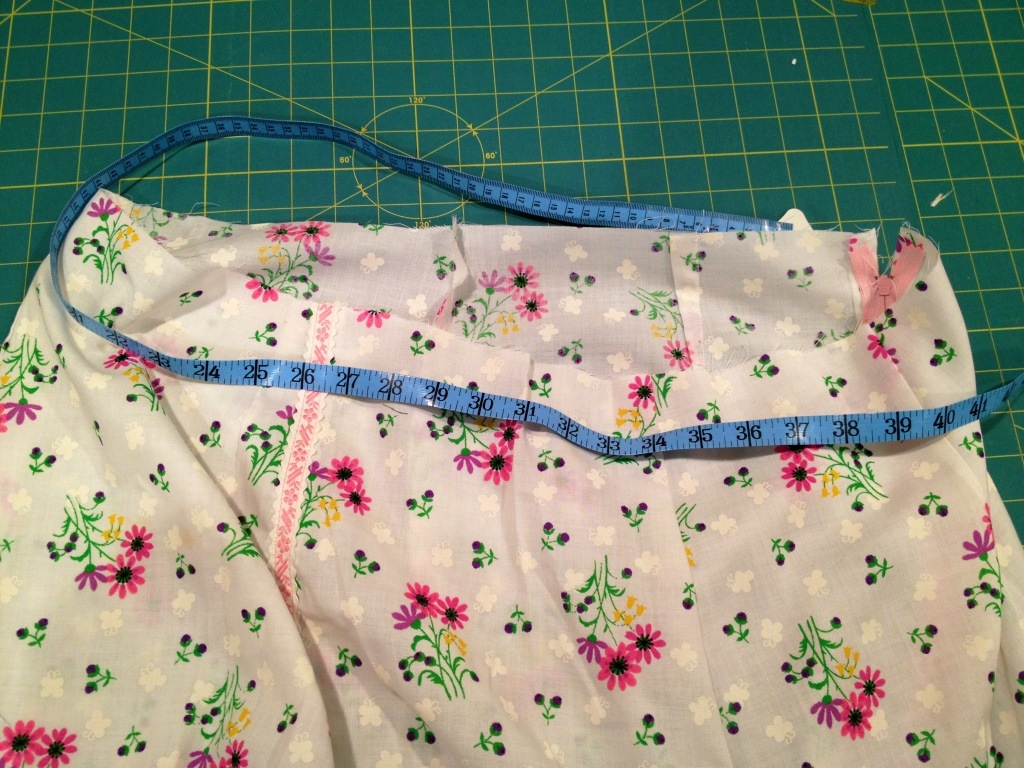
The darts and zipper, once in place, took off nearly 4 inches of width off. Remeasure the width now to find how much more needs to be taken off to have the skirt fit your waist. In this case I needed to get rid of 4 more inches.

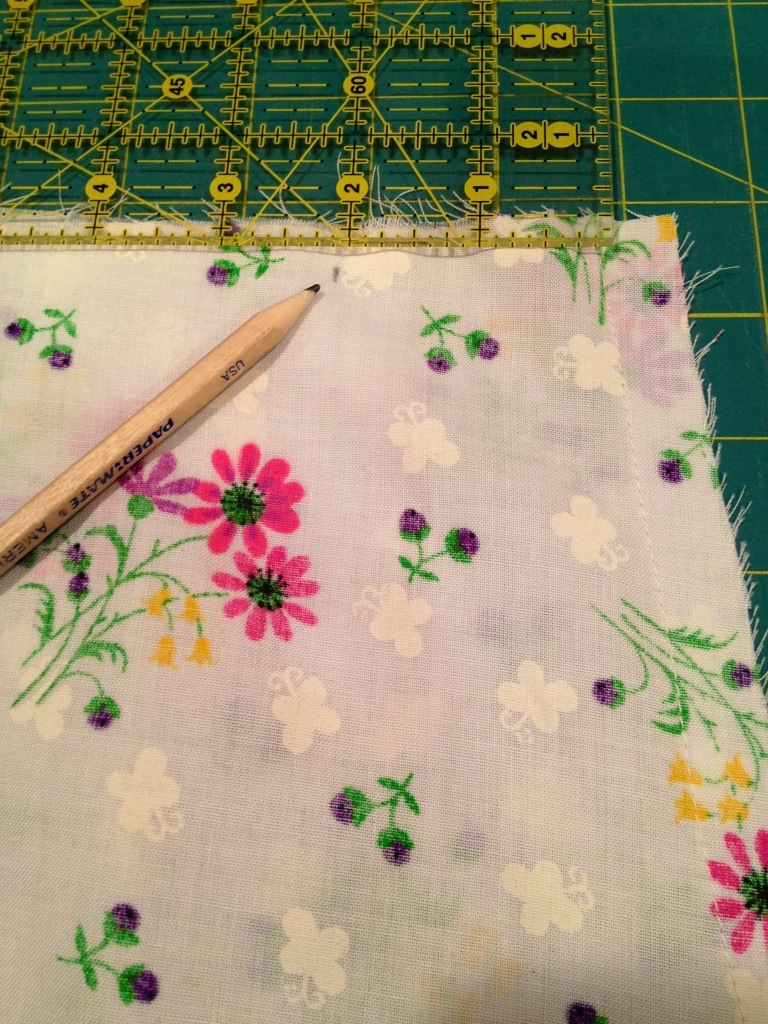
On the existing side seams, I marked off 2 inches in either side, this will take away the excess 4 inches and leave the skirt fitting great.

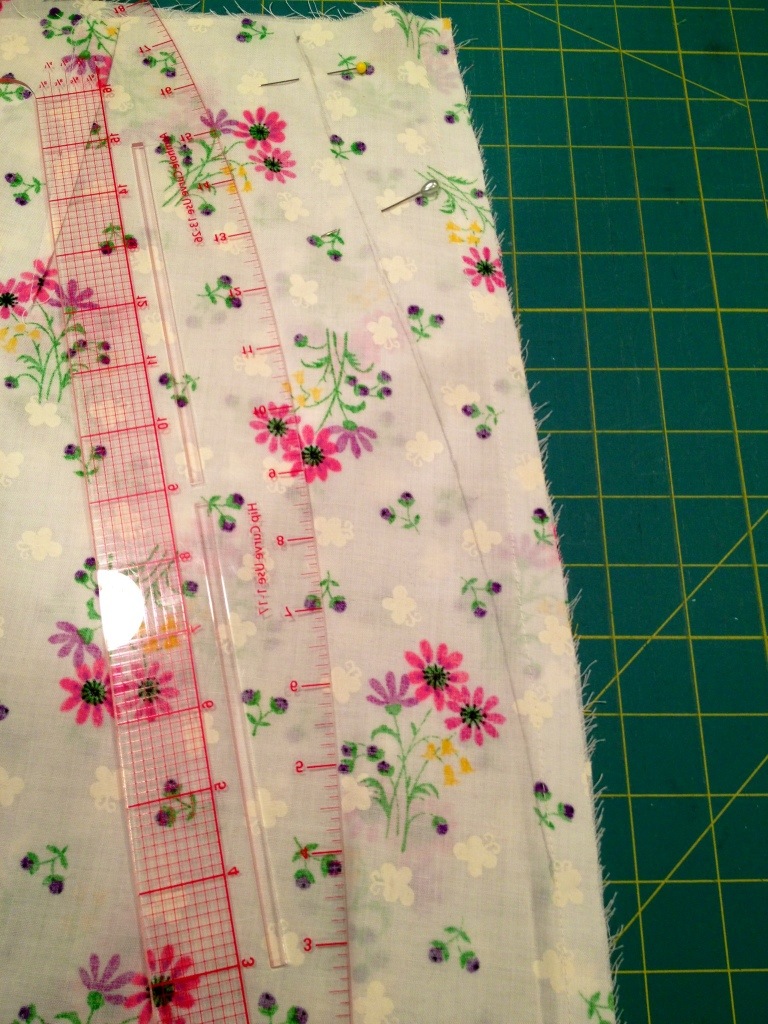
Use a ruler to mark a gradual taking-in and adjusting of the side seam. My new seam ran the entire length of the skirt (not including the ruffle area at the bottom).


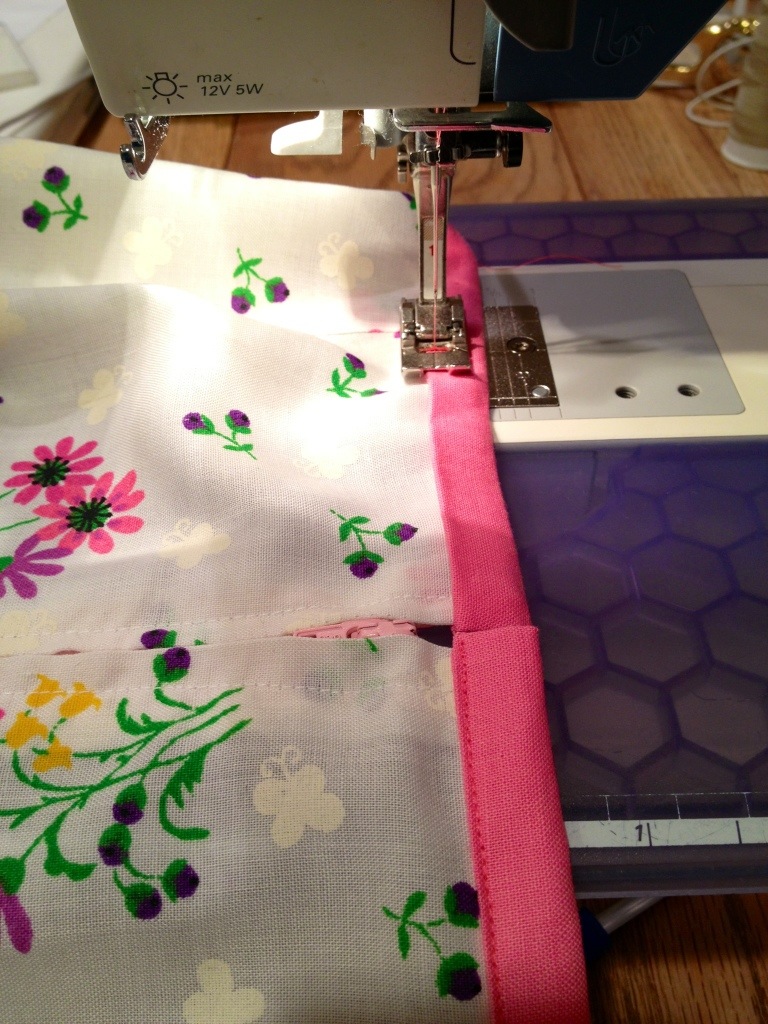
For the waistband I chose to use bias tape, which would match well and not require any attempt to find or try and match up similar fabrics.

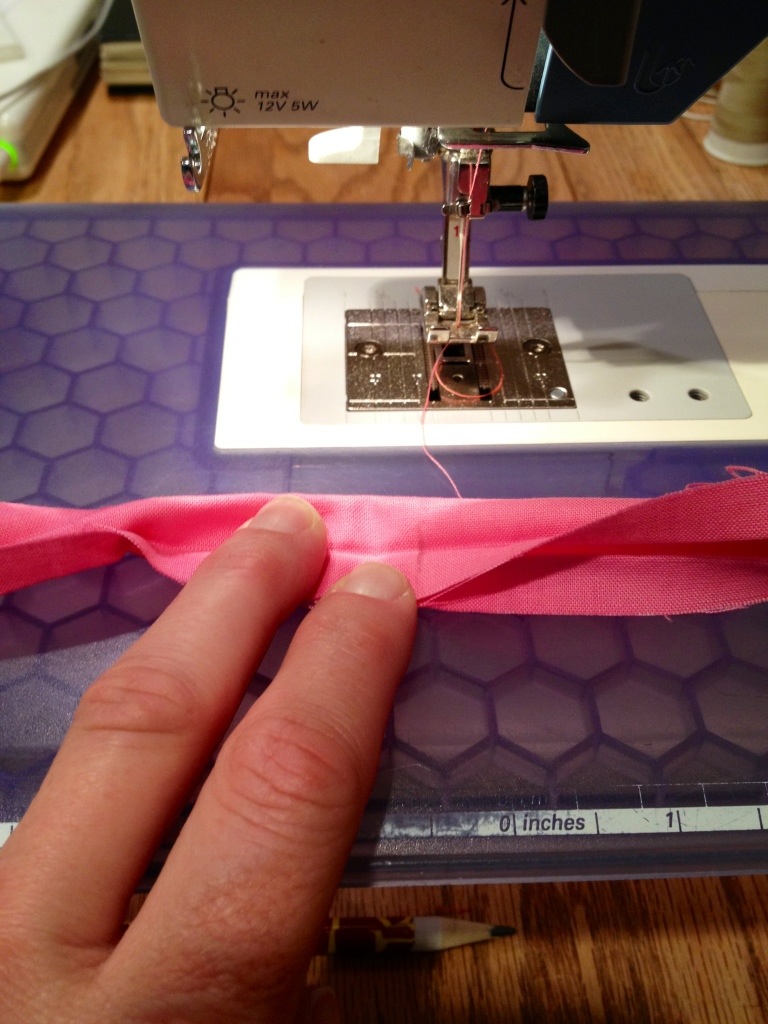
To make the beginning (and end) of the bias tape, which will be right above the zipper in the back, I turned it inside out and sewed it together.

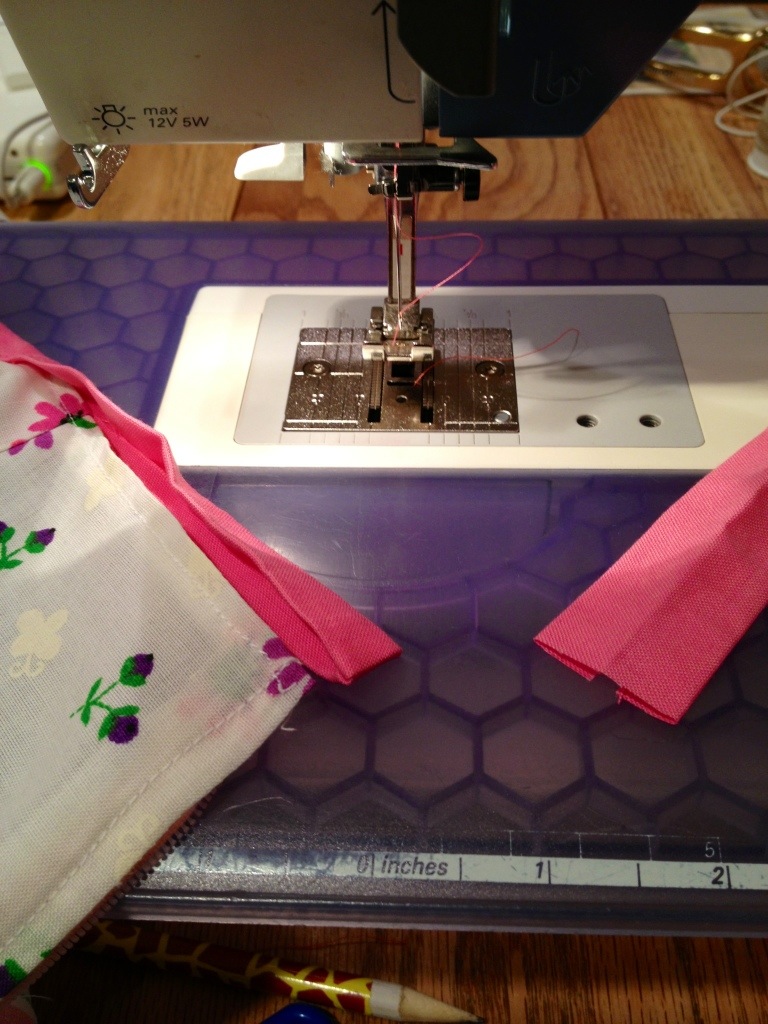
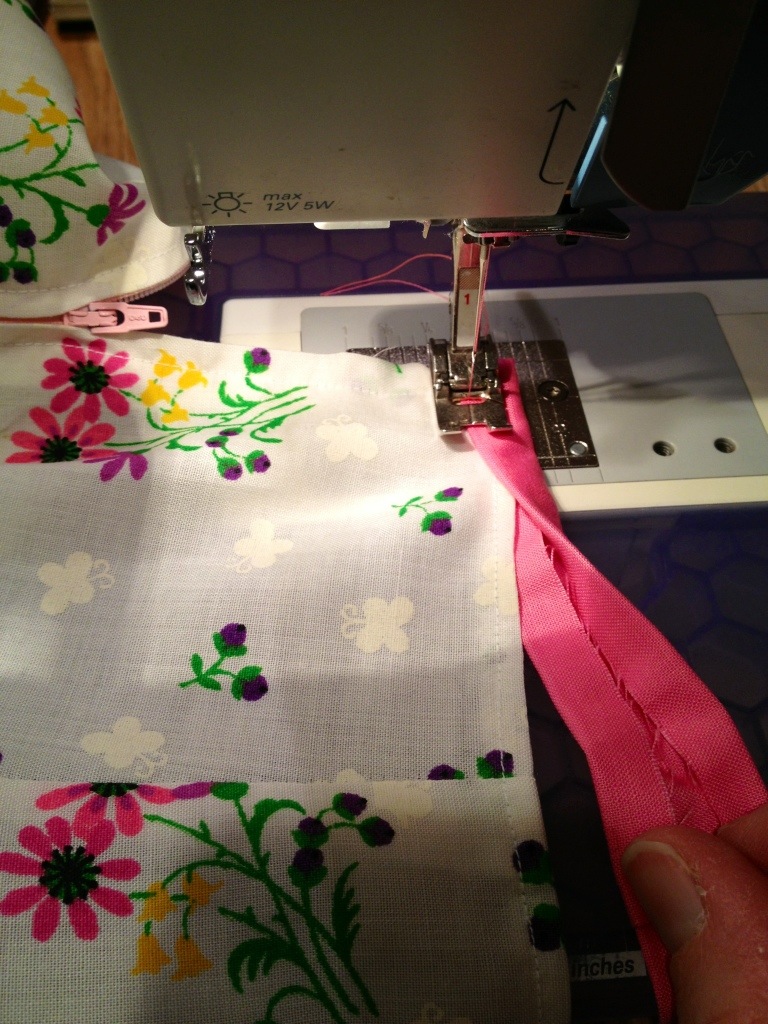
Then, following the old fold lines, I turned the bias tape back to right side out and used the nice finished end to begin the waistband. Don’t finish the other side until you’ve sewn the bias tape nearly all the way around. In the picture above you can see I also folded over and sewed around the top edge of the skirt fabric to add an extra bit of sturdiness and bulk to the waist.


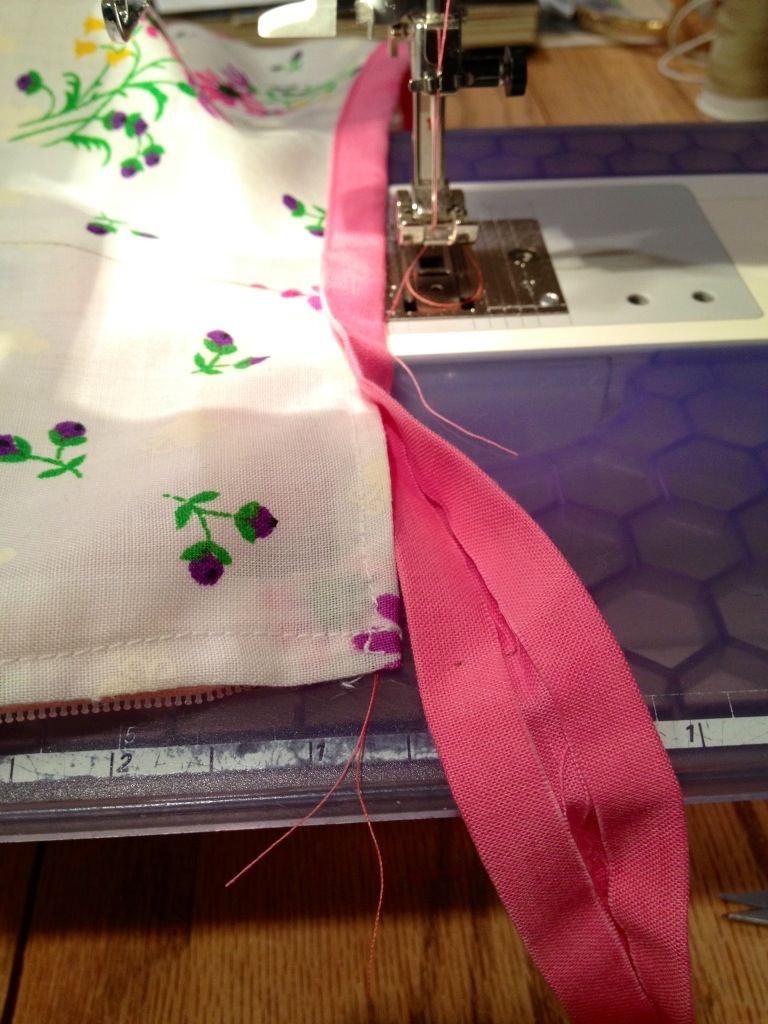
When you get within a few inches of the end stop and mark the end of the bias tape. Finish this end like you did the other.

Then put the end of the bias tape into it’s place, making sure the ends of the waistband will line up when the zipper is closed.

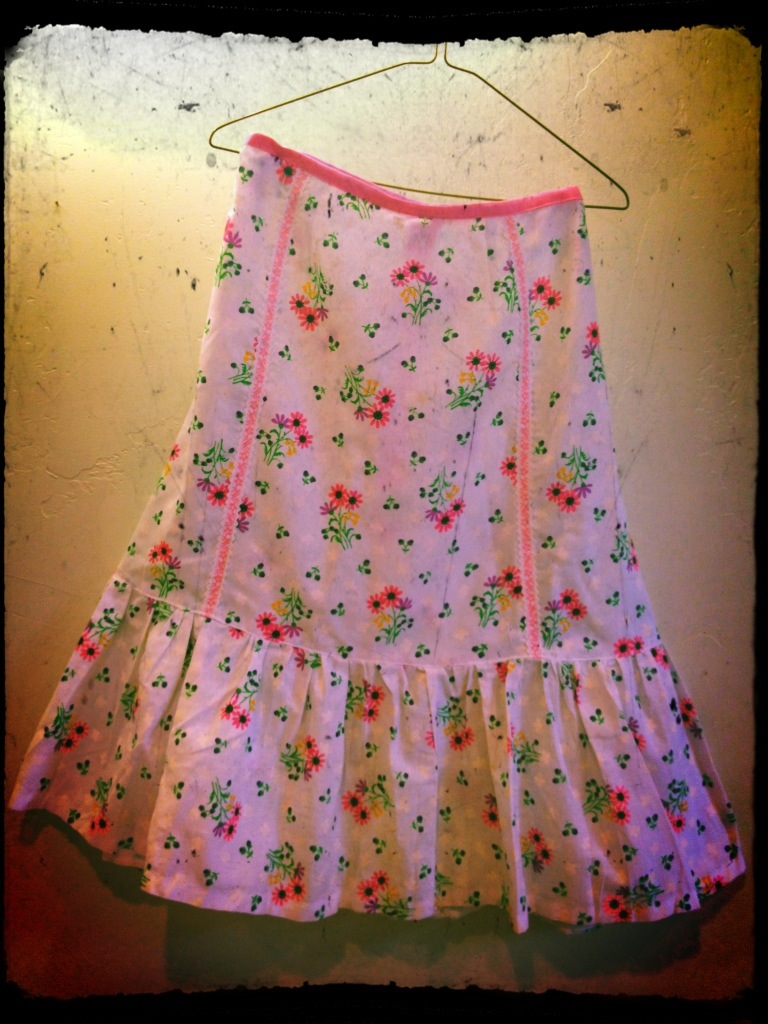
All finished, a new/old article of clothing I can’t wait to wear when it finally stops snowing. I’m thinking a chambray shirt, and bright colored sandals.
The post Repurposed a dress into a skirt and blouse appeared first on noelle o designs.
More posts from Noelle Olpin