
DIY Twine Ball
When my oldest “baby” was home for Christmas she asked if we could craft together (she knows the way to her mama’s heart). One of the projects we created together were to make these easy twine balls, because just one DIY twine ball wouldn’t be enough.

I received this great jar with Christmas candy in it. When the candy was gone, I just couldn’t throw the jar away. Fortunately, I stumbled across a glitter twine ball tutorial and knew I wanted to do something similar to fill this jar as a decoration.
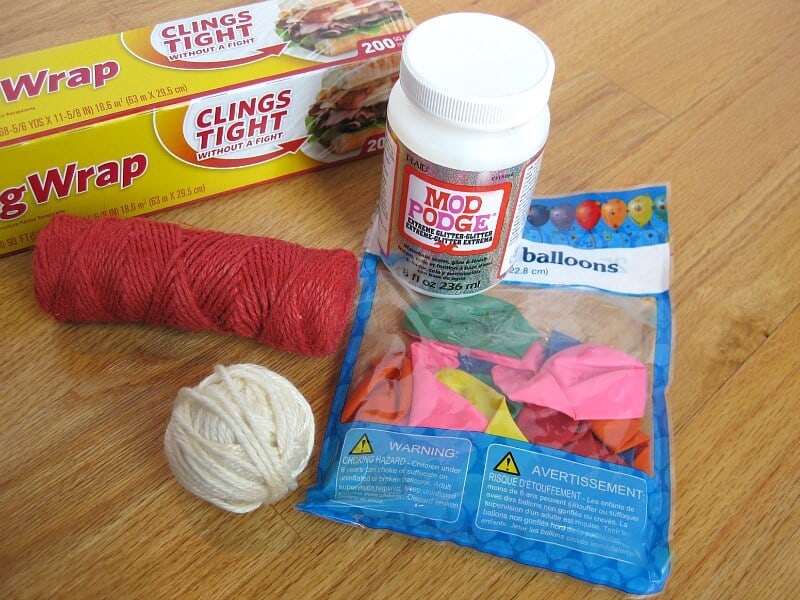
Supplies
Balloons (round shaped)
Twine or yarn (twine produces a stronger ball when it’s done and the yarn ball is much more delicate)
Mod Podge (I used glitter, but you could use matte)
Plastic wrap
Scissors

We found that if you stretch the end of the balloon first, the balloon is a more round shape when you blow it up. We also discovered that the barely inflated balloons could be formed into a round shape in the next step. This allows you to make all different size balls.

Wrap the balloons in plastic wrap so that it will be easier to remove the balloon from the twine ball later.

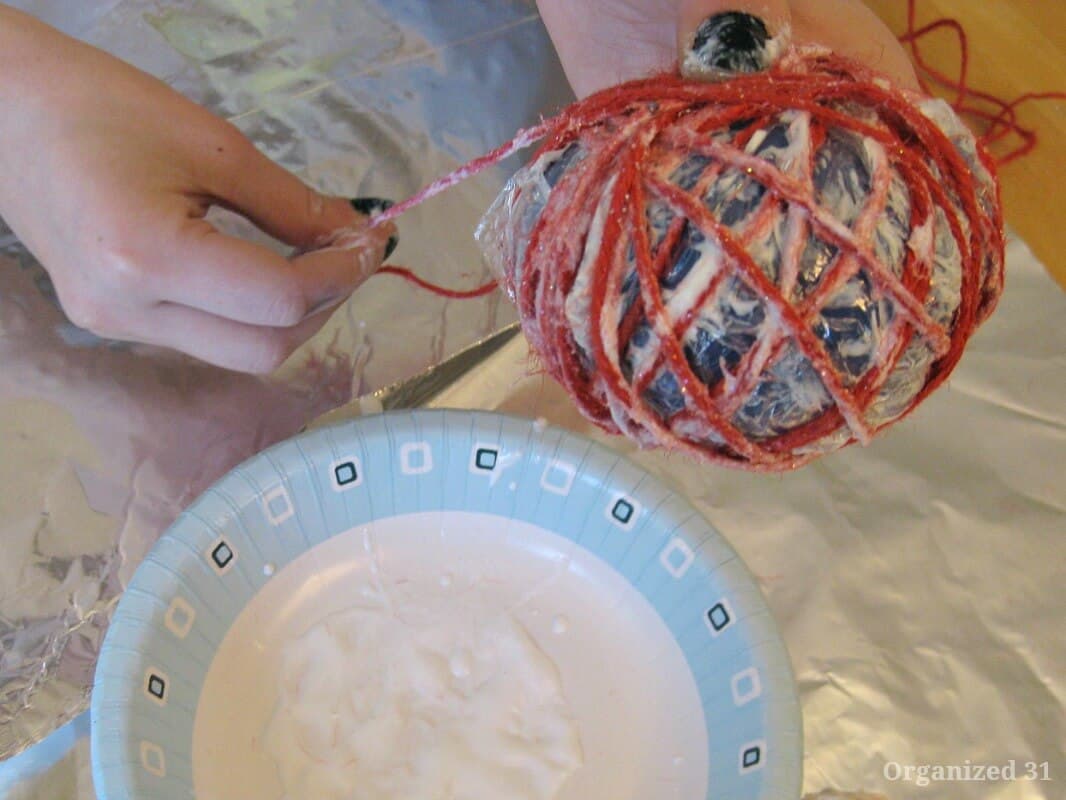
We found it easiest to fill a bowl with Mod Podge, coat our fingers with Mod Podge and then run the twine through our finger to get good coverage. Randomly wrap the twine around the balloon. We just held the starting end in place until a couple of rounds of twine held it in place. Be careful to not pull the twine too tight and squish the balloon, you want to maintain the round shape.

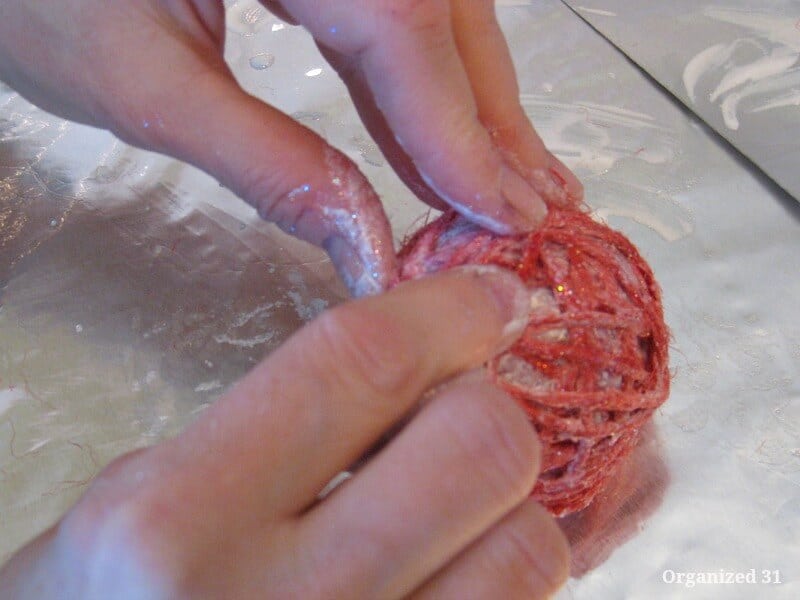
When you’ve wrapped enough twine around the balloon, simply tuck the end of the twine under an early round. You can squish the balloon down a bit to tuck the end under.

Don’t wrap the twine too many times. You want to leave open spaces between the twine. Next time I’ll do fewer rounds with the twine than we did this time.

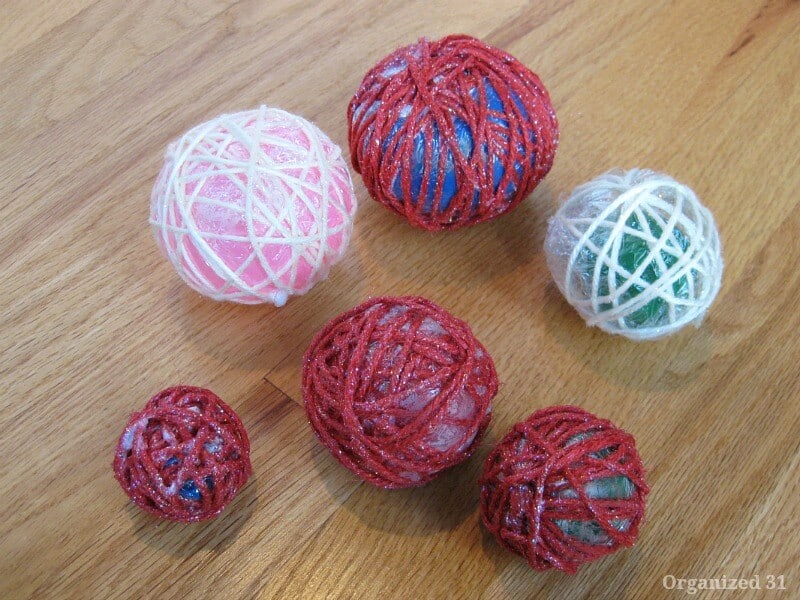
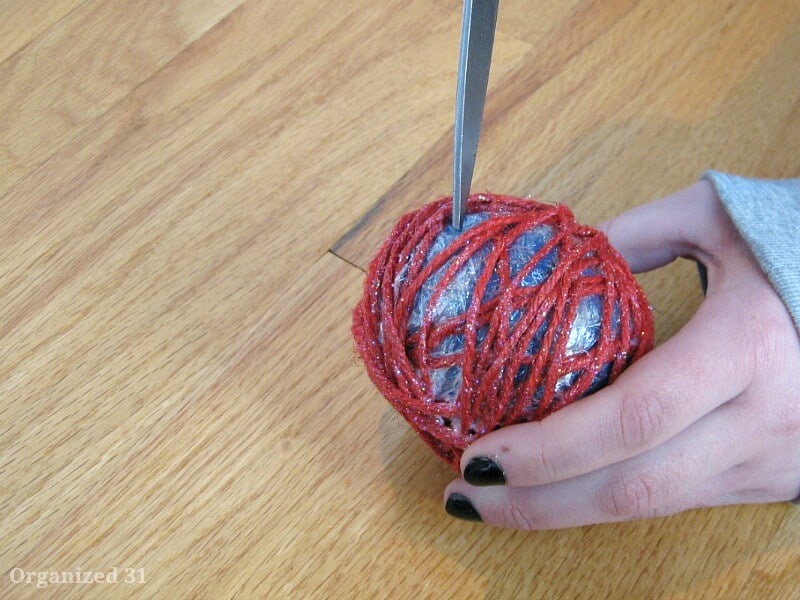
Let the balls dry overnight. The yarn absorbed more Mod Podge and took longer to dry. Once you’re sure that the twine is thoroughly dried, carefully puncture the balloon inside the ball. Gently pull the balloon remnants and plastic wrap out through a hole in the twine ball. You may have to reach through the openings to pull the plastic wrap loose from the inside of the ball. Just work carefully and it will come loose.

You can see that a couple of the balls are not round. This is where we weren’t as careful when we removed the balloon and plastic wrap (and we were impatient and started before the twine was thoroughly dry).

They look great in this plastic jar and make a perfect Valentine’s Day decoration. I can’t wait to try another round of making a DIY twine ball (or 20). It’s easy enough that you could make them with younger kiddos with some supervision.

The post DIY Twine Ball appeared first on Organized 31.