
DIY Zen Living Wall Art

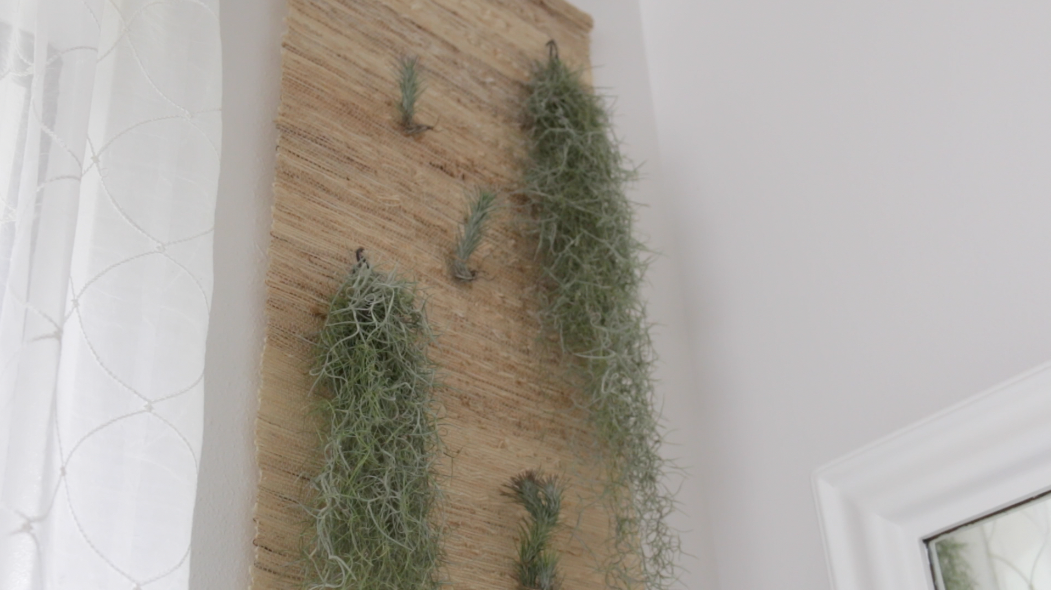
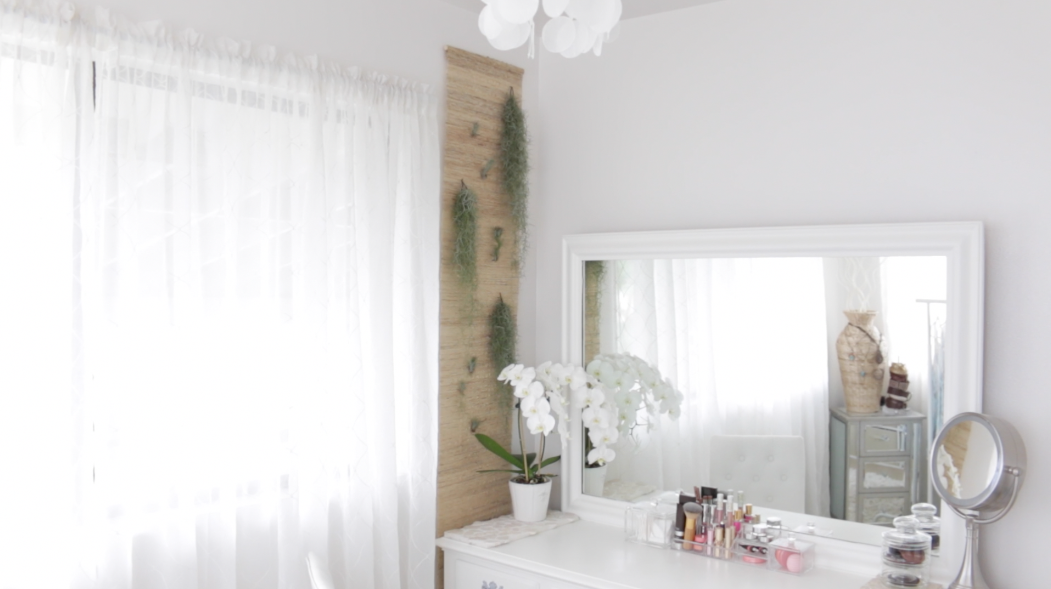
In part of creating a more zen atmosphere in my dressing room, the idea popped into my head, to somehow turn my small collection of air plants into a form of living wall art.

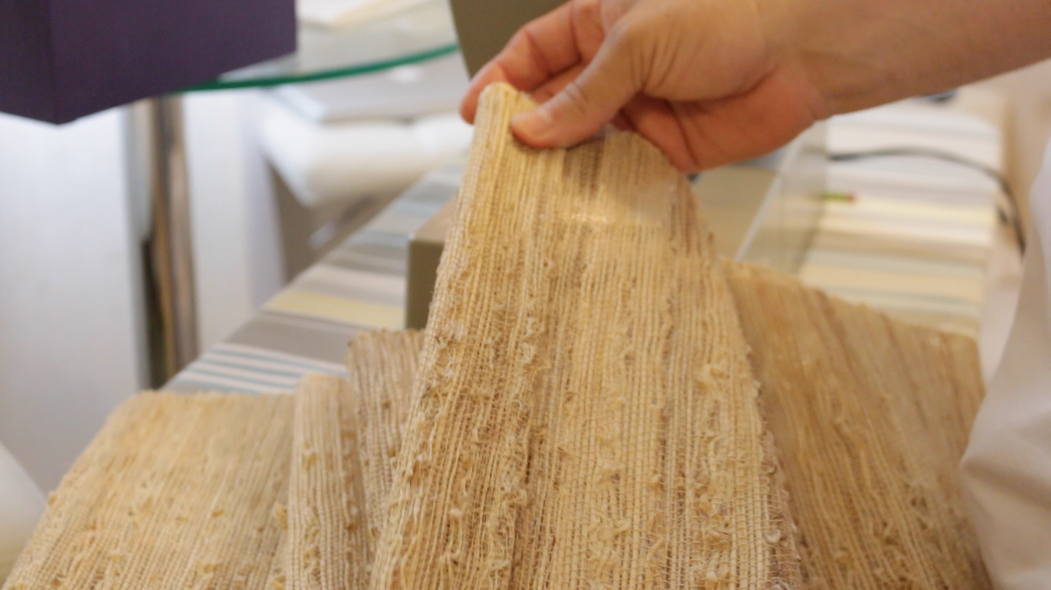
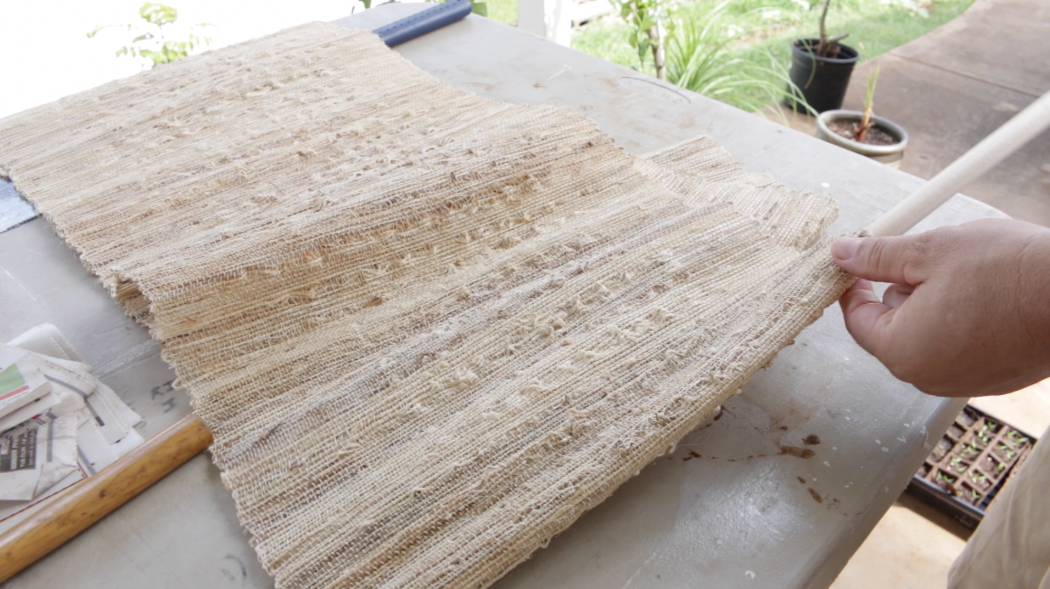
Target just opened here on Maui this month, it was an exciting day in the Kobzeff household. While browsing the aisles of their bright and shiny new store, I spotted this natural fiber woven table runner. It was exactly what I'd envisioned, so I grabbed one and ran off to the checkout line. I also had a couple of tiny white cement adobe looking plant pots in hand... but that's another post.


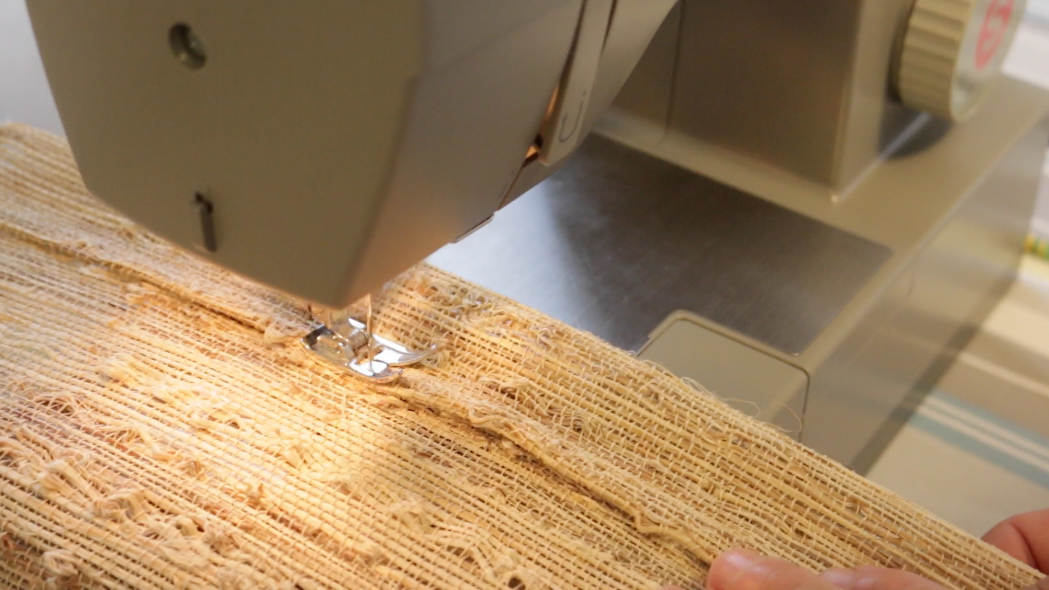
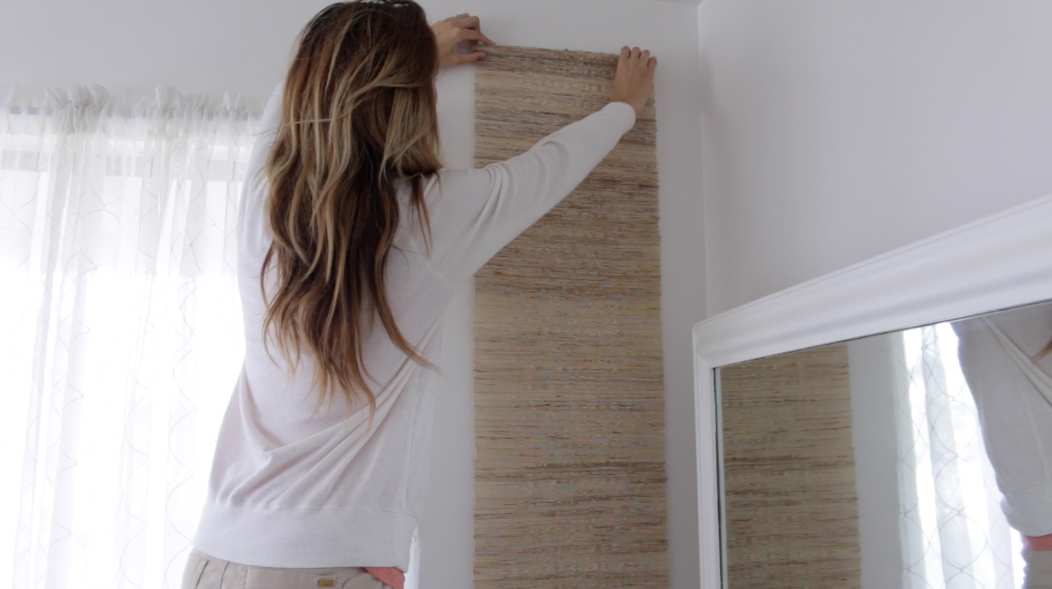
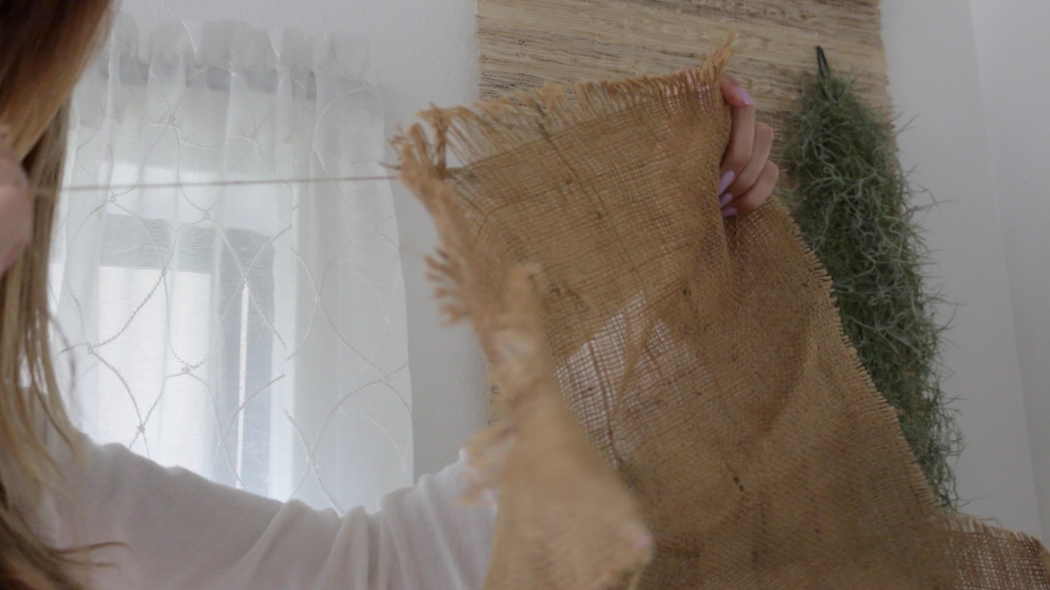
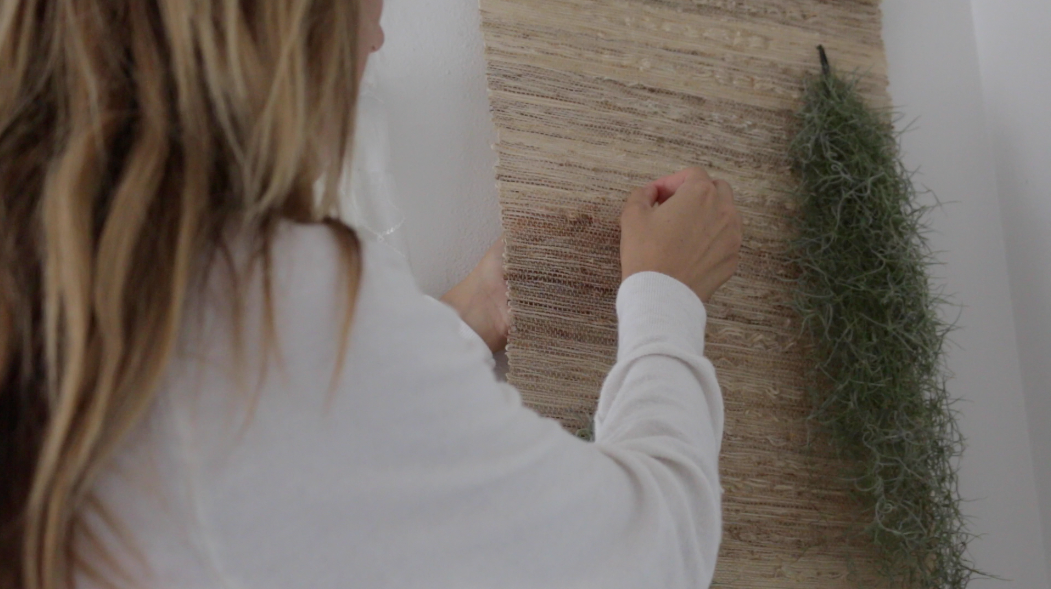
Decide how you want to hang your wall art. We're using picture hanging hardware, this requires drilling screws into the wall. But if you're renting and prefer a damage free method, you can use Command hooks and hang the table runner with a strong twine.


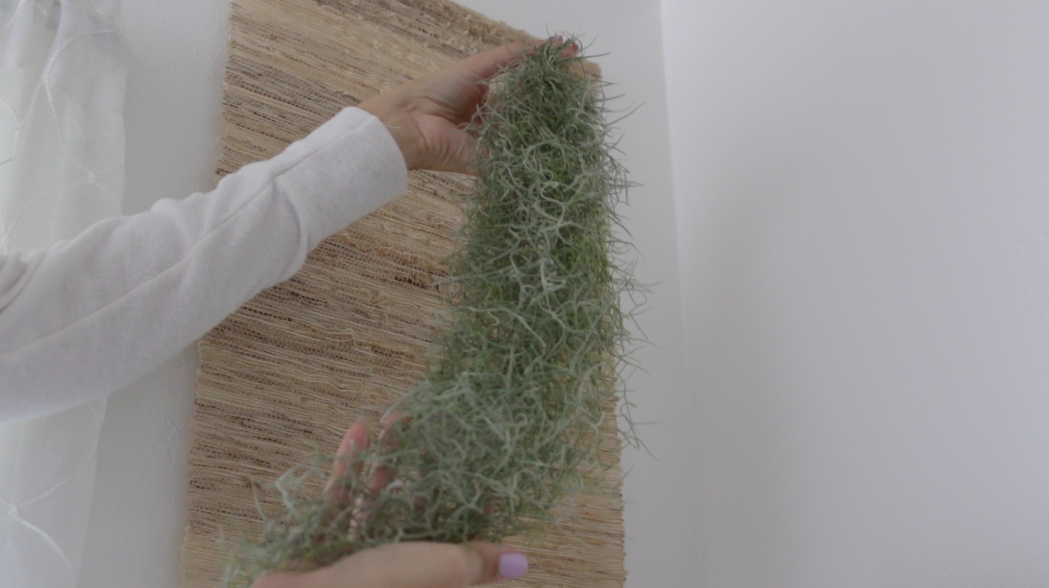
This room is bright and breezy with large windows, Spanish Moss appreciates indirect lighting and plenty of air circulation.

My Spanish Moss came on these plastic coated hooks. I've been told by local growers, certain types of metal can be harmful to Spanish Moss. So far, my Spanish moss has been happily growing and multiplying quite well. I don't want to take any chances, so I'll keep them away from any metal, just to be safe.


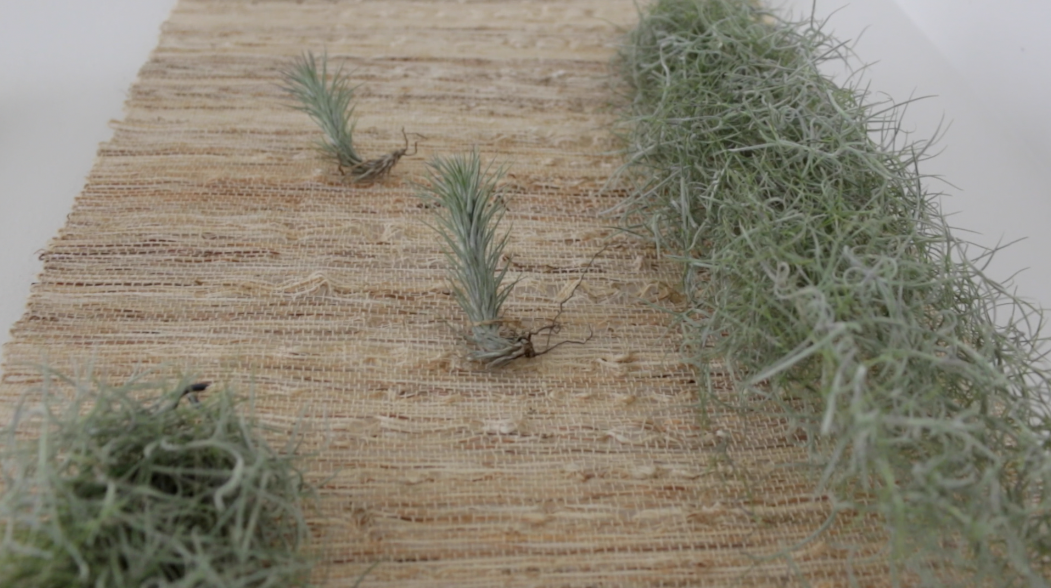
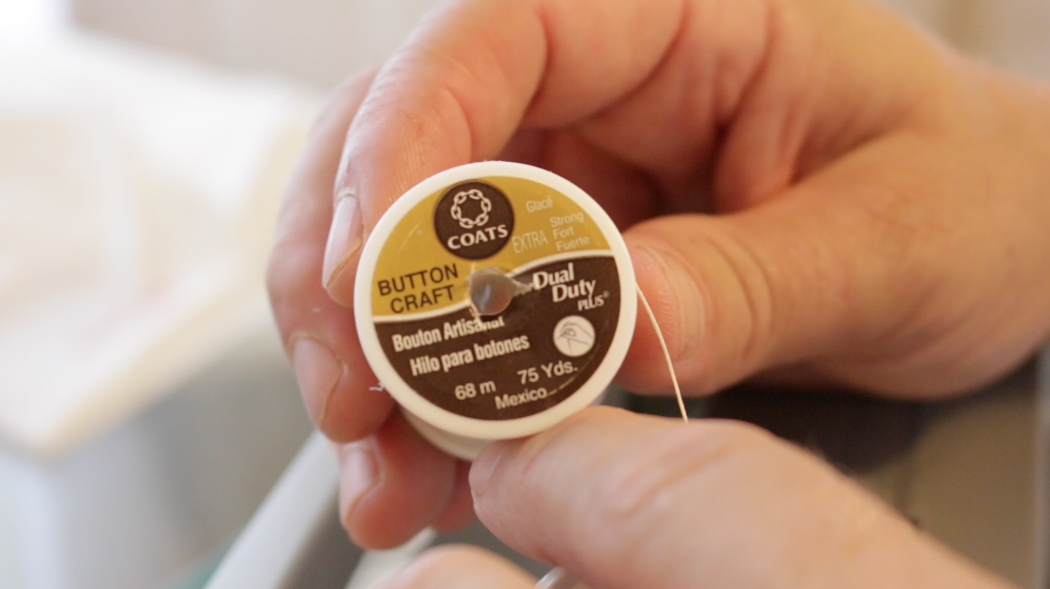
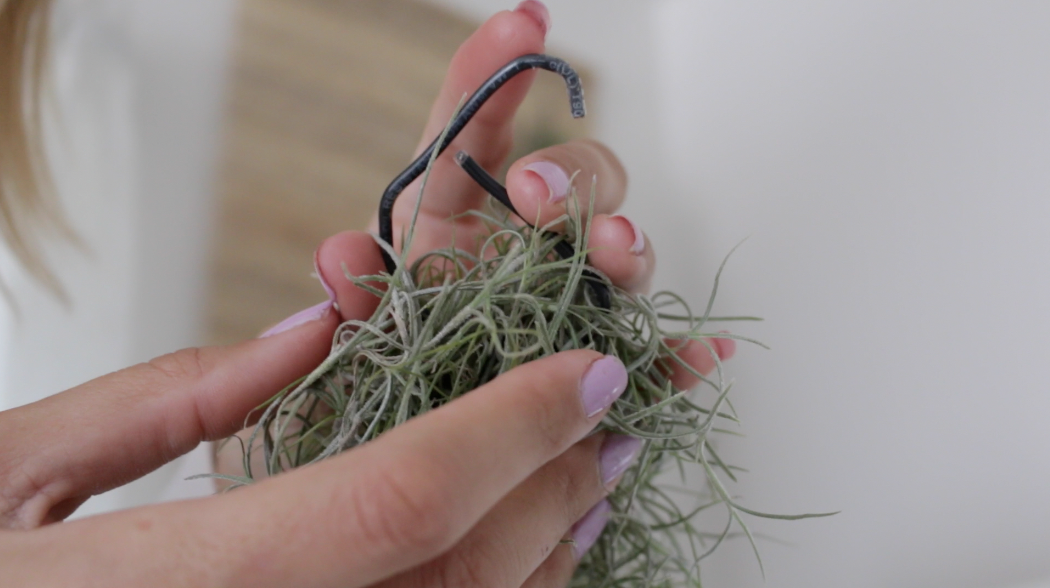
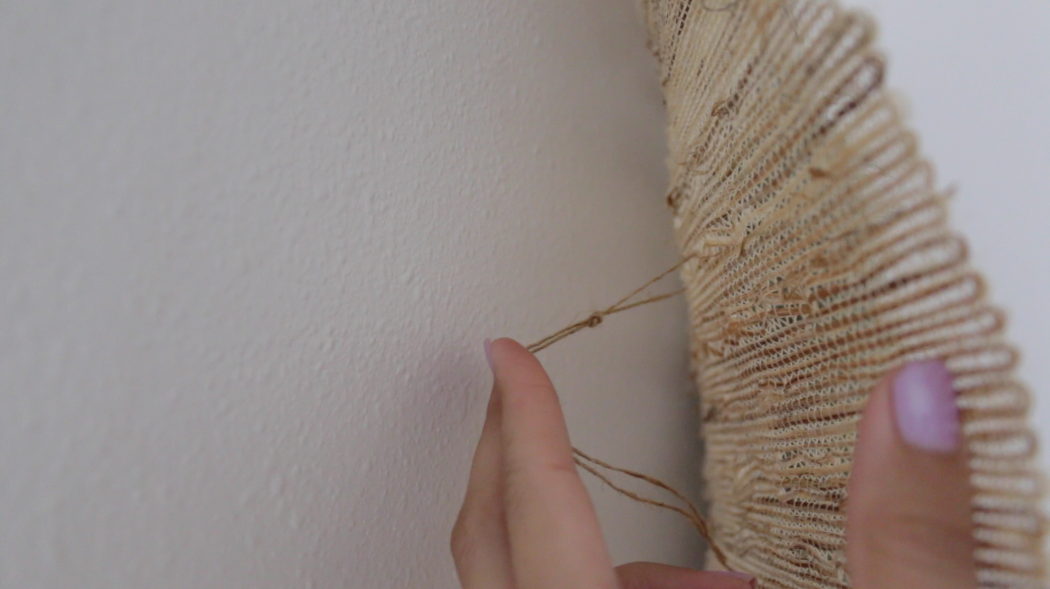
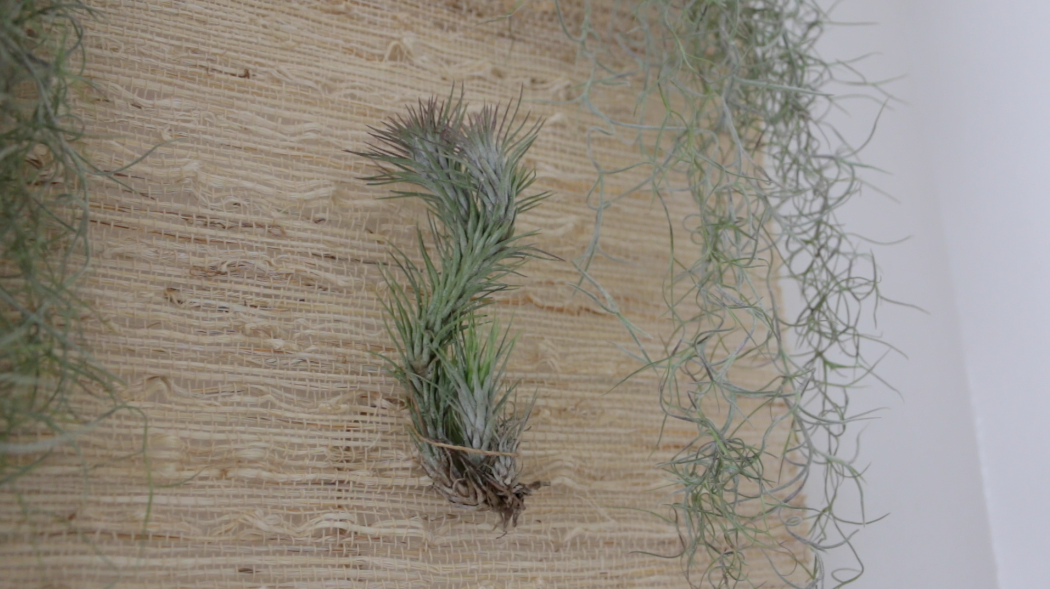
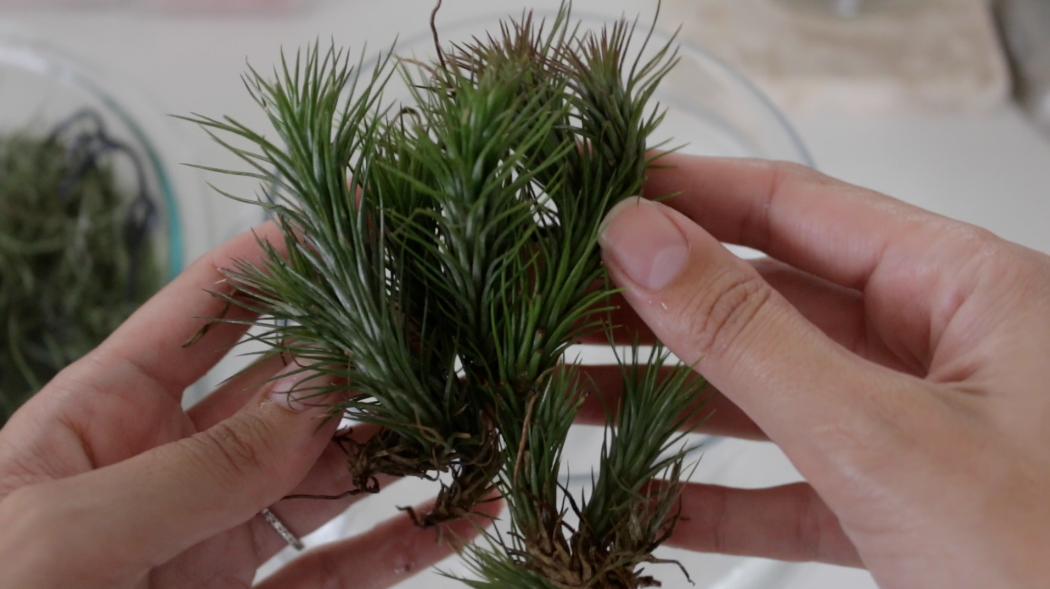
I needed some natural twine, so I dug through my bag of fabric and found this old scrap of burlap. I pulled out several pieces of twine, for mounting my Tillandsia Funckiana air plants.


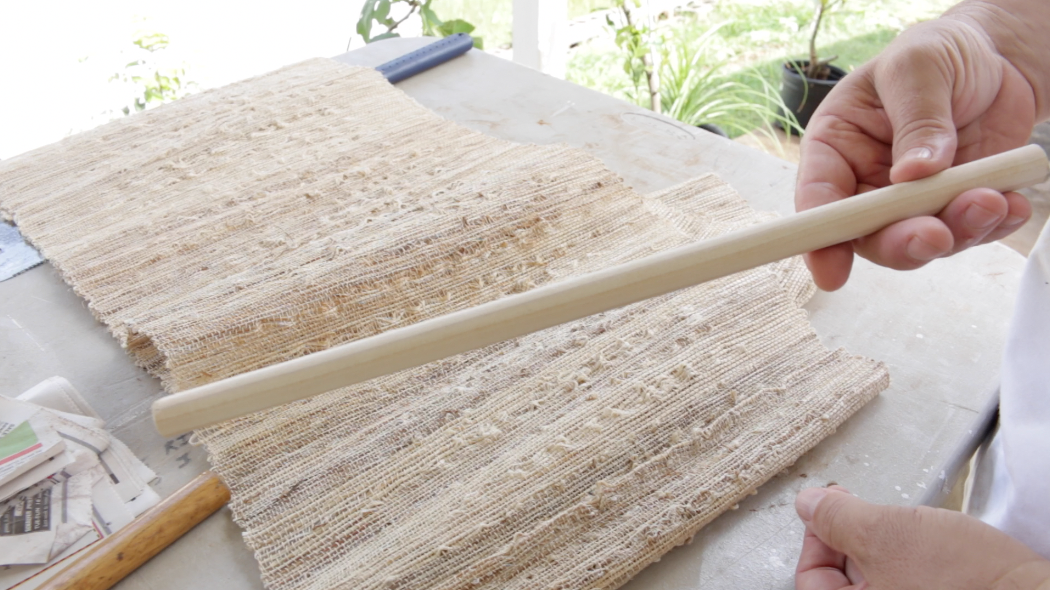
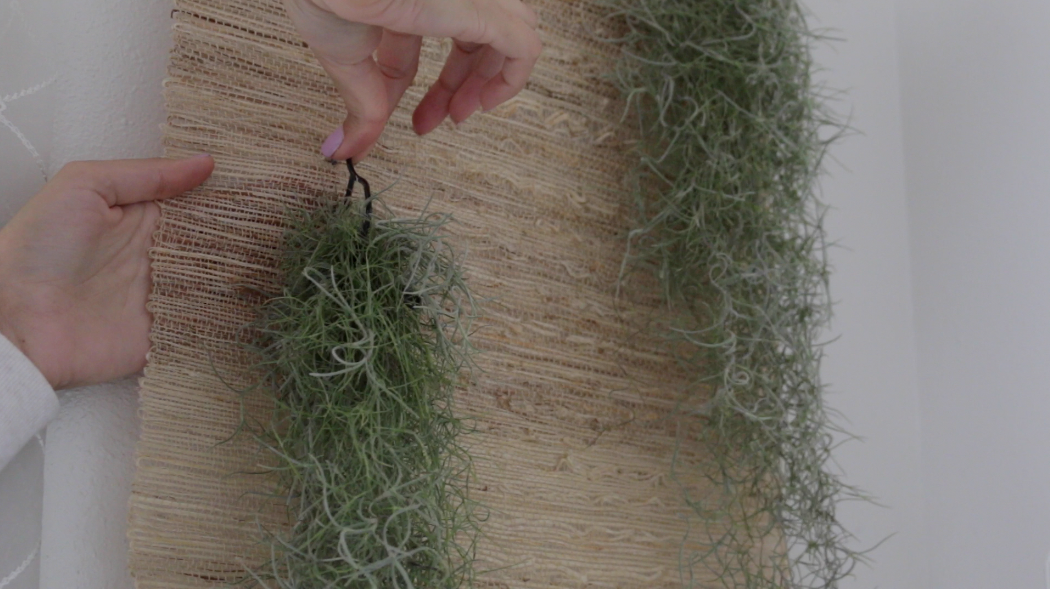
Feed both ends of the twine through the table runner. When you poke them through, space the ends about an inch apart.


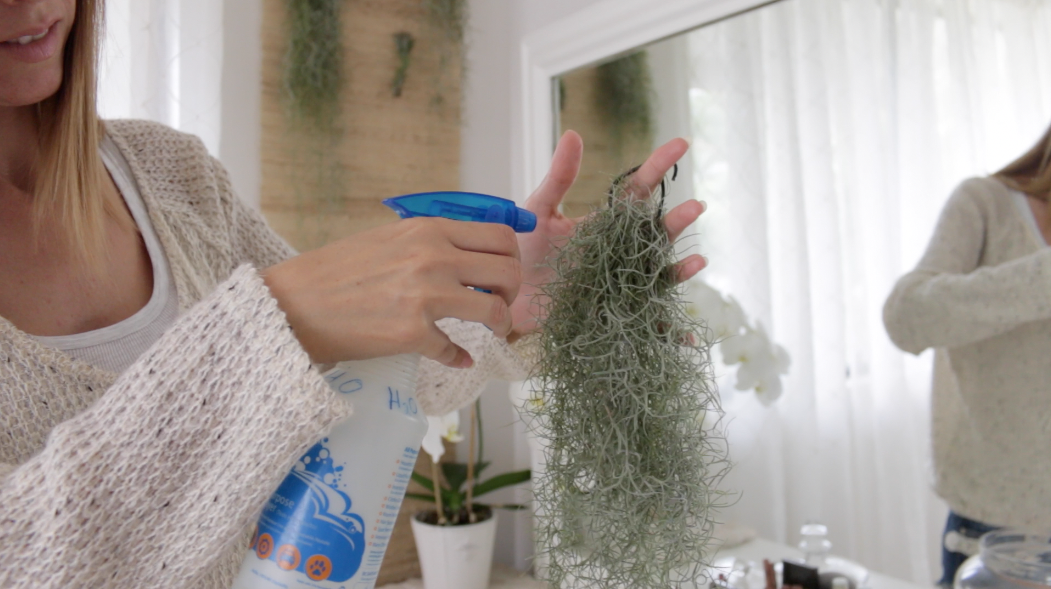
Air Plants appreciate regular misting, I mist these guys a couple times a week. but they also need a good drenching.

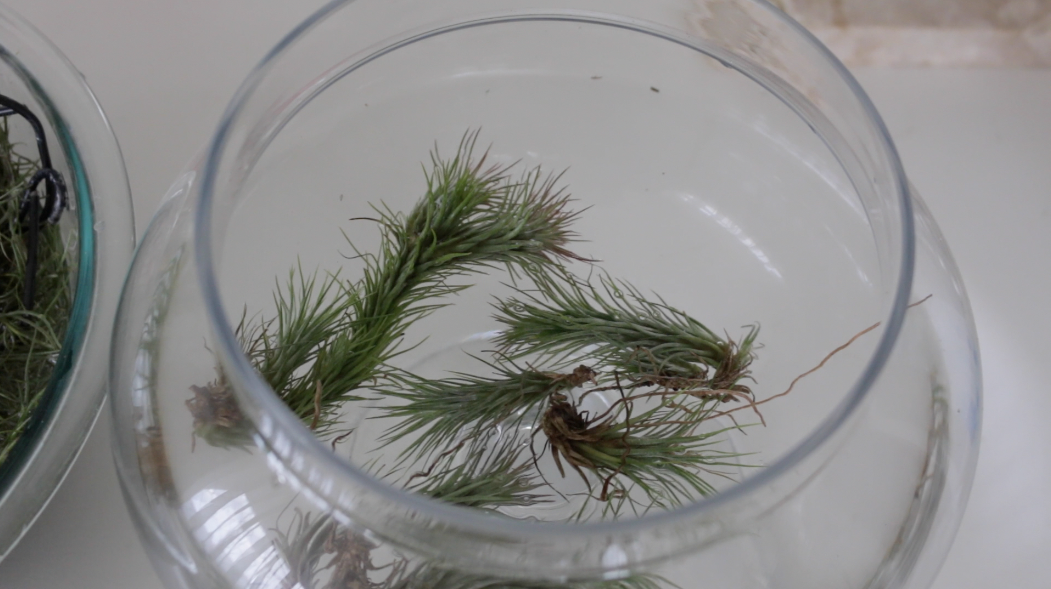
When Air Plants are well hydrated they are green. When dehydrated, they turn a silvery color. On the left: Slightly dehydrated Spanish Moss. On the right: Misted Spanish Moss. (When drenched in water, Air Plants become very green.)

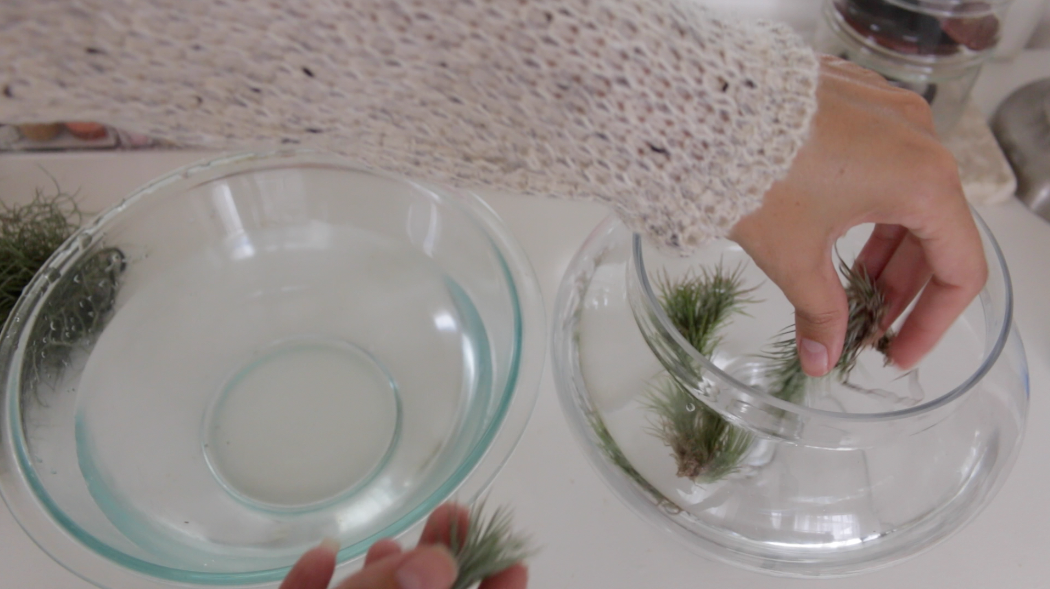
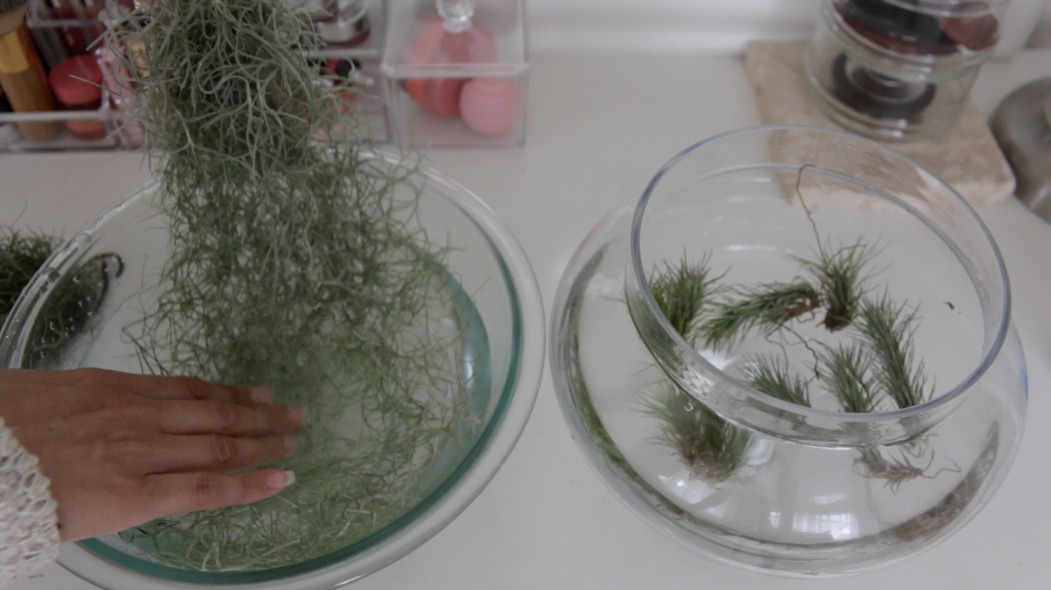
Giving your air plants a regular soaking will help keep them happy and thriving. Watering frequency will depend on your climate and they're environment. Typically, I soak my Spanish Moss and Tillandsia Air Plants once a week.

I fill two bowls with room temperature filtered water and submerge the Tillandsias in one bowl and Spanish Moss in the other. Or you can use tap water that has sat out long enough for the chlorine to dissipate.


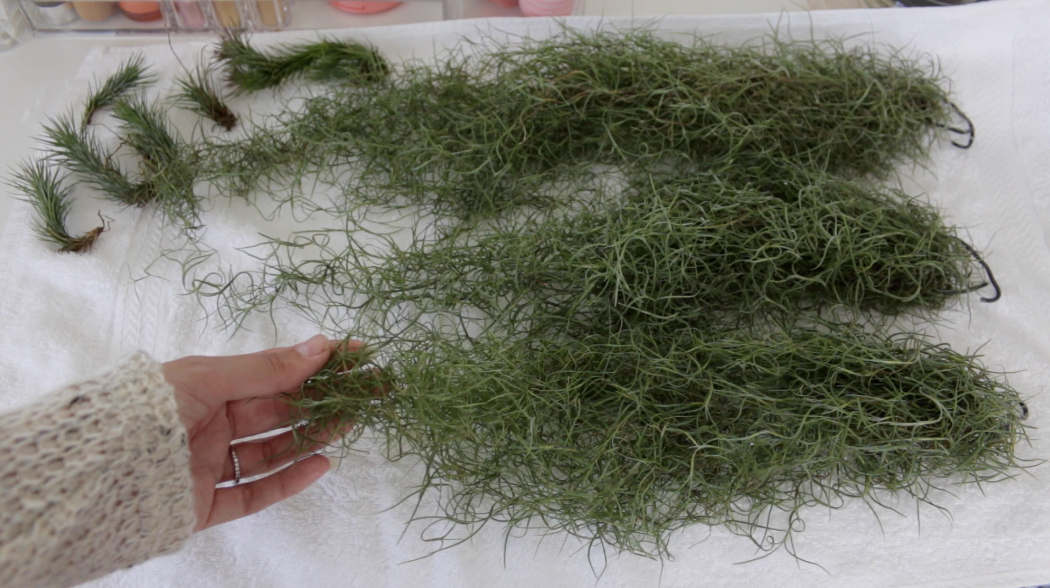
I lay them on a towel for a minute to let the excess water drip, before I hang them back on their woven mount. If your air plants are hanging outside or where they can freely drip, just re-hang them immediately after soaking.

Air Plants should be kept in an area where they will receive enough light and air circulation to dry within a few hours. If kept too moist, they risk rotting.

I'm no air plant expert but definitely an air plant enthusiast. If you grow air plants and have any other care tips or mounting ideas, please share with us!
Thanks for stopping by my blog today!
Love, Christine
More posts from Christine Kobzeff