
P317_7: Patrones Pink Shorts
I used my trouser block draft from my previous post to (mostly) successfully alter a Patrones pattern to fit me straight up! Cue crazy happy dance!!!


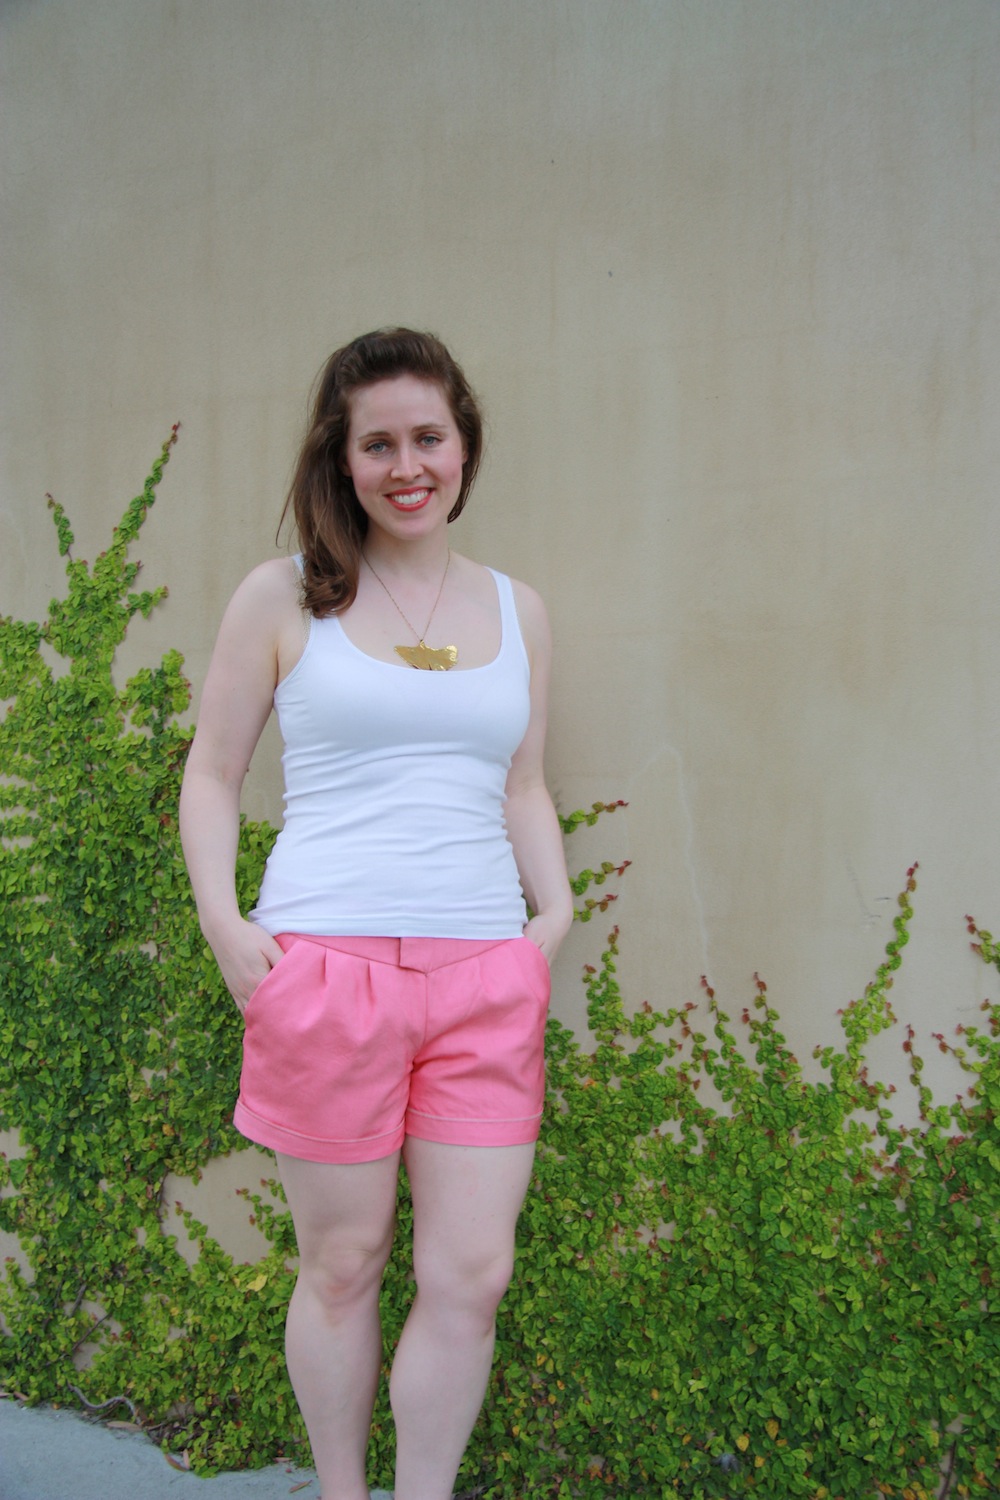
I bought this Patrones magazine (issue 317 – June 2012) after seeing it on Mel’s blog (The Curious Kiwi), because I fell wildly in love with those pink shorts that are pattern #7. It’s only taken me two summers to actually get around to sewing them.
My hip and waist measurements matched the Patrones size 44. So I traced that one out and placed the pieces over my trouser block – turns out I’m a Patrones 44 at the hips, but a 48 at the location of the pattern’s waist. I then basically re-drafted the pattern pieces to match the shape of my block. The muslin I then made up of these shorts fit perfectly, first time.

I then halved the width of the waistband – it just looked a little out of proportion on me at the height you see in the magazine pictures above.
And the fabric I’ve had kept specially for these – a hot-house pink silk twill from The Fabric Store. It’s lovely stuff – beautiful sheen and incredibly soft and smooth, yet so strong! I ended up sewing these using ‘couture’ methods, mainly because after throwing the silk twill in the washing machine, it dried incredible creased. I was kind of hoping that the silk organza underlining will mitigate a small portion of the propensity to crease to make ironing them a little bit easier! I’ve worn them a few times now and this has definitely helped.
That did cause some headaches (mostly of my own causing) because of the cuffs – which you can’t exactly fold up when you’ve got an organza underlining. Also, the twill is pale pink on the reverse side, which I didn’t really feel like having visible. Aaaand I wanted to incorporate a bit of the selvedge, because it would add the kind of subtle detail I love in a self-sewn garment. So I drafted a cuff with a facing to hide the selvedge fringe, which was sewn on then stitched in place in a dark pink thread – I’m really happy with the result.


I tacked the cuff at both the outerseam and inner seam to keep it in place.
Otherwise this sew was pretty uneventful.
I did screw up my re-drafting when dealing with the slant pocket – thankfully the large seam allowances were able to save the day! I’ll be going back and re-walking my seam lines to figure out where I went wrong there, but you can see the original seam on the blue organza markings below. Yeah, probably should have used the yellow tracing paper instead of the dark blue…


Completely forgot to get a photo of these from behind whilst I was wearing them! They’re elegantly simple from the back :)
I also made my own binding – pre-wedding dress I was all about using the ‘Hug Snug’ rayon seam binding, and all my favourite dresses have their seams bound with that. It doesn’t wear as well as I would like it too though, so I’m either going to have to finally buy an overlocker, or make my own seam binding. As we’re saving like crazy so we can buy a house right at the moment, it’s the DIY option for now.
I did take complete advantage of the one benefit of having flat hips – these shorts don’t have a proper fly, they are sewn right up to the point where the waistband joins at the front. The shaping of the waistband basically is what is holding them up. I can quite easily shimmy them on without a whisper of strain on that seam!


I’m a bit of a weight fluctuator. So in anticipation of this, I’ve sewn the waistband so it can be relatively easily altered, similar to that of men’s trousers. This way, I can unpick the waistband facing, take them in, then join the waistband back by stitching in the ditch. However, I’m going to take a guess that the likelihood of me actually bothering to do that is extremely low.
In hindsight maybe I should have left the giant waistband be and had a matching belt made up, like they do in the magazine. Next time!

The fit of these shorts far eclipses the fit of shorts I’ve made previously, and they are both smart looking and ridiculously comfortable. So I’m really just over the moon! The style definitely suits a stiff and fairly substantial fabric though – the organza really helped there as my twill is more floppy than crisp.
One thing I did completely balls up was sewing on the hardware. OMG. First I sewed the bar on backwards – so instead of hooking and holding in place, the bar met with zero resistance. Then I turned the tack around so the bar could hook onto something. Then I realised that the bar and tack were on the wrong way around so the waistband stuck out at an odd angle. 3rd time lucky I got it right, but even with me carefully unpicking the threads there is a little damage which you can see below. It does appear to be mainly cosmetic, with the twill and the sturdy cotton facing not ‘structurally’ affected:

I’m wondering if these would translate well as a pair of winter shorts, made up in a heavy-ish tweed and worn with tights?
But the weather has been warming up delightfully and sewing for winter is far from my thoughts. If a sew another pair of these (perhaps in a print?) and buy another singlet top or two – there’s my 2014/2015 casual summer uniform pretty much complete!

