
alternative hem finish for the ICON coat (bag the bagged lining!)

I never want you to feel scared of tackling a project like the Icon coat. I think every seamstress has it in them to do something like that! You just need a little confidence. BUT, if you’re scared of any parts of the Icon coat, I’m sure it is the bagged lining. So, if that is what is keeping you from sewing a coat, I’m offering an alternative method today!

I made the girls pattern just slightly different than the women’s. The big difference is the hem. I wanted a really nice professional finish for the lining on the Icon coat, which is why I made it a bagged lining. But, the bagged lining method will give you a headache the first time you do it. Because you’ll probably read the instructions 50 times trying to figure it out. Hopefully my photographed tutorial post will help you get it faster than that. But, either way I wanted the Kennedy coat to have an alternate method so I opted to ditch the bagged lining for a quicker, simpler sew. But the hem/lining instructions are pretty much interchangeable. So if you want to make a Kennedy with a bagged lining, you can! And alternatively if you want to ditch the bagged lining on the Icon and use a simpler method, here it is!
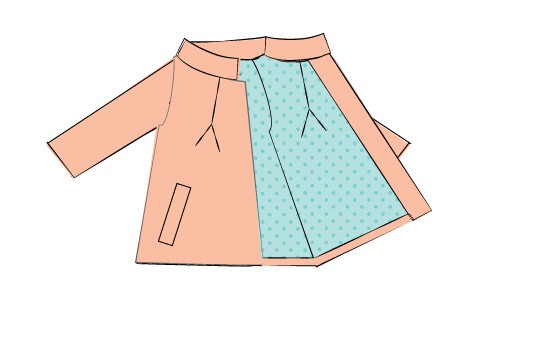
When changing the Kennedy method to a bagged hem, you’ll have to add 1 inch to the bottom of your outer coat hem. That is the only adjustment you have to make to the pattern pieces. Then, just move forward using the bagged lining tutorial. The bagged lining will look like so:

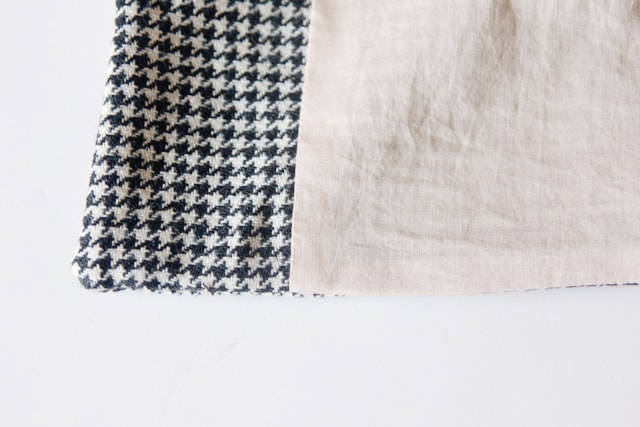
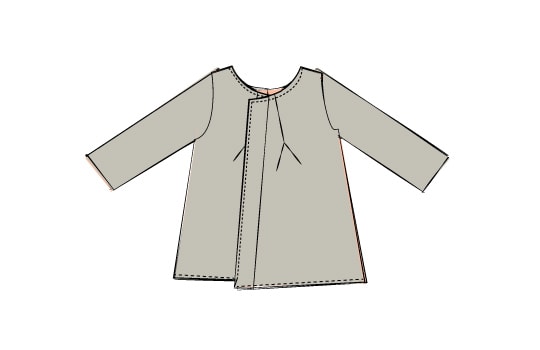
To change the Icon from a bagged hem to a simple hem, simply trim 1 inch from the bottom of your outer coat hem. The instructions include trimming 1″ from the lining also, so you’ll have to do it for both the lining, facing and outer coat. Then you just pin the coat all the way around and sew at 3/8″. Clip seam allowances and turn. You will want to press the hem really well to make sure you can’t see the lining from the outside. This illustration shows the stitching lines that you will make. This is very simple! Use the 6″ opening in the lining side seam to turn the coat.


That’s it!
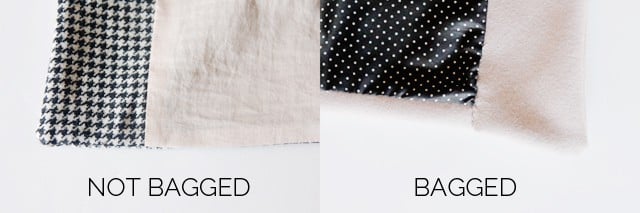
In case you need a visual, here is the difference between a bagged and not bagged lining:


