DIY Art Display Hangers!
.png)


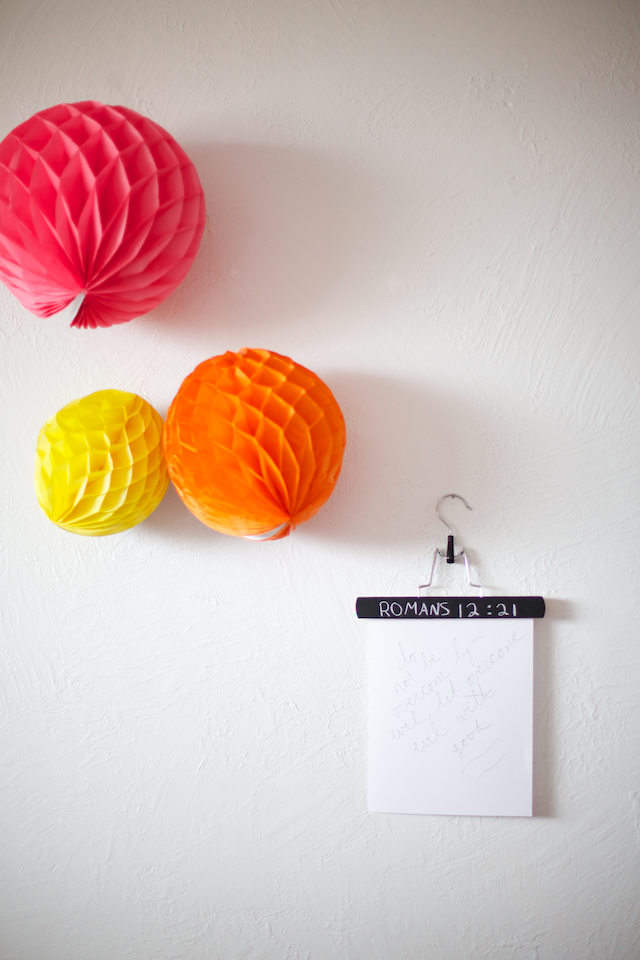
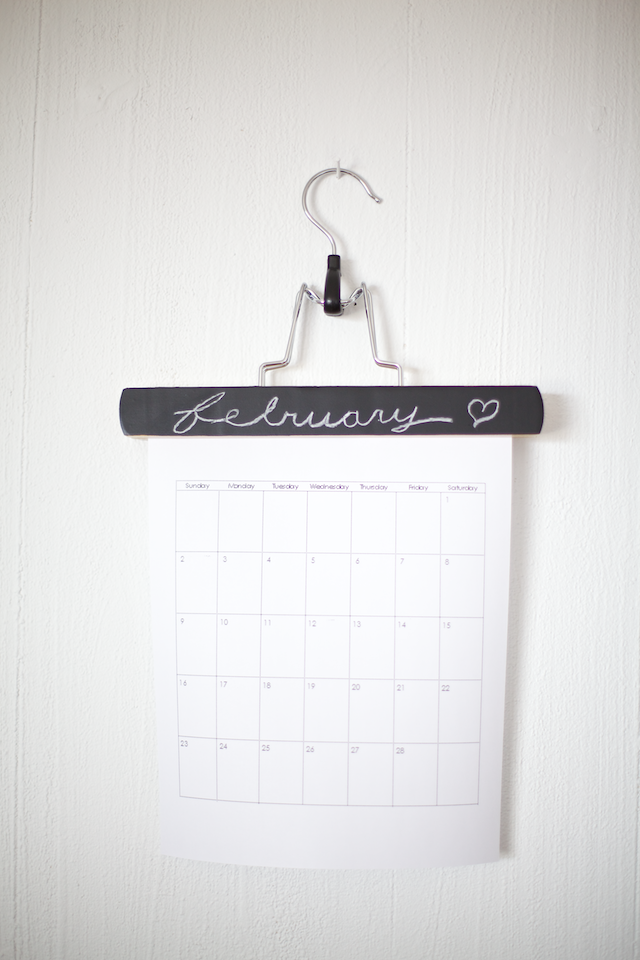
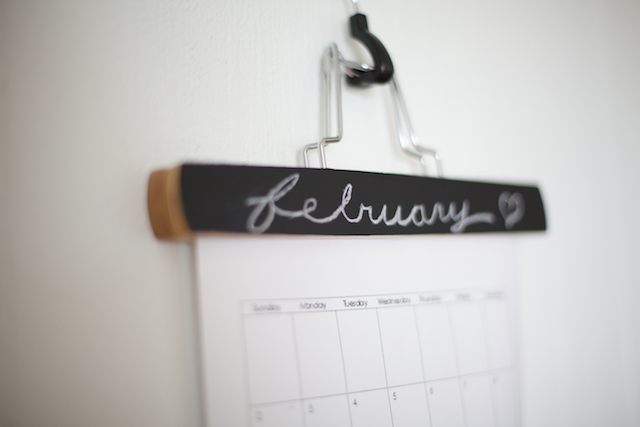
The other night my husband and I had a sleepover with our friends. An adult sleepover. It was seriously the funnest night ever. Two days, 6 kids under 8, and 1 million pounds of junk food! We stayed up until 2am watching UHF and Rhett and Link videos. Cara (the female half of our friend-couple) is basically my soulmate, I love her so much. She is super creative and sweet and texts me every day at 9 to remind me to pray. We even organize our UNO cards the same way, which is probably the truest test of compatibility. ;o) So during our sleepover she and I made these decorative hanger...art...hangers. ? Not sure what to call them, really, but you hang art (or photos) from them. And they're amazing.
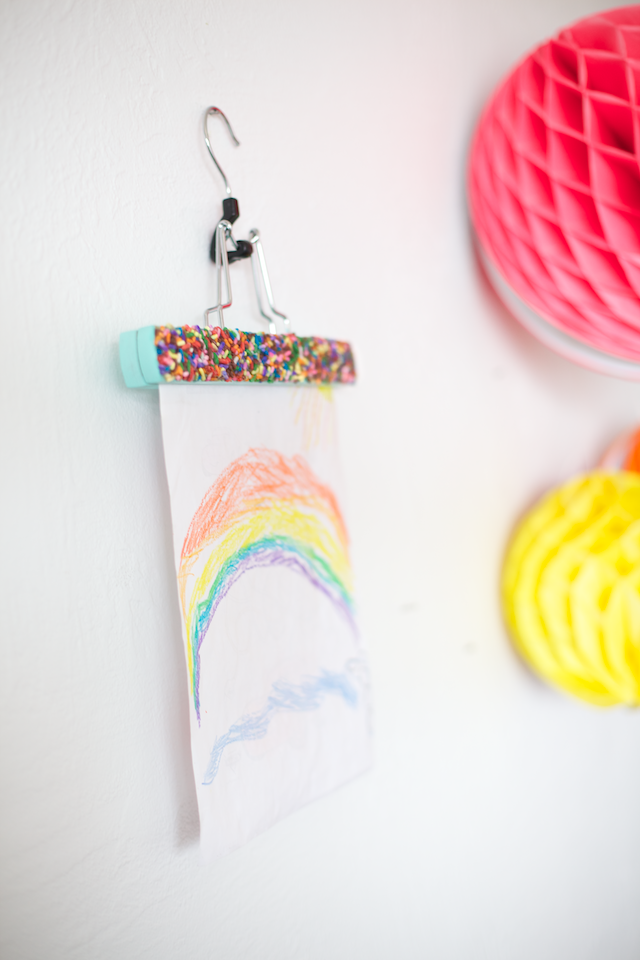
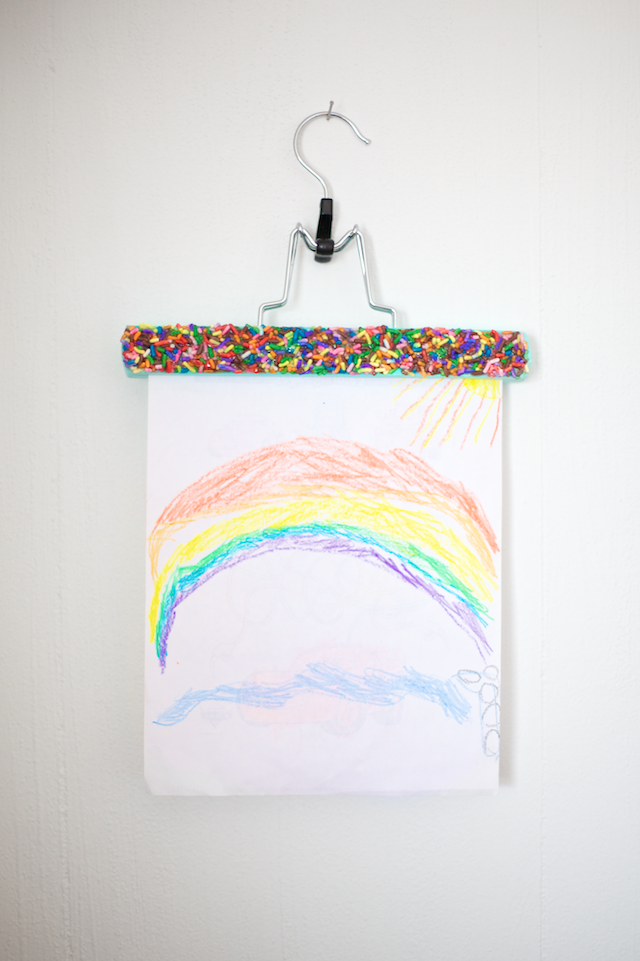
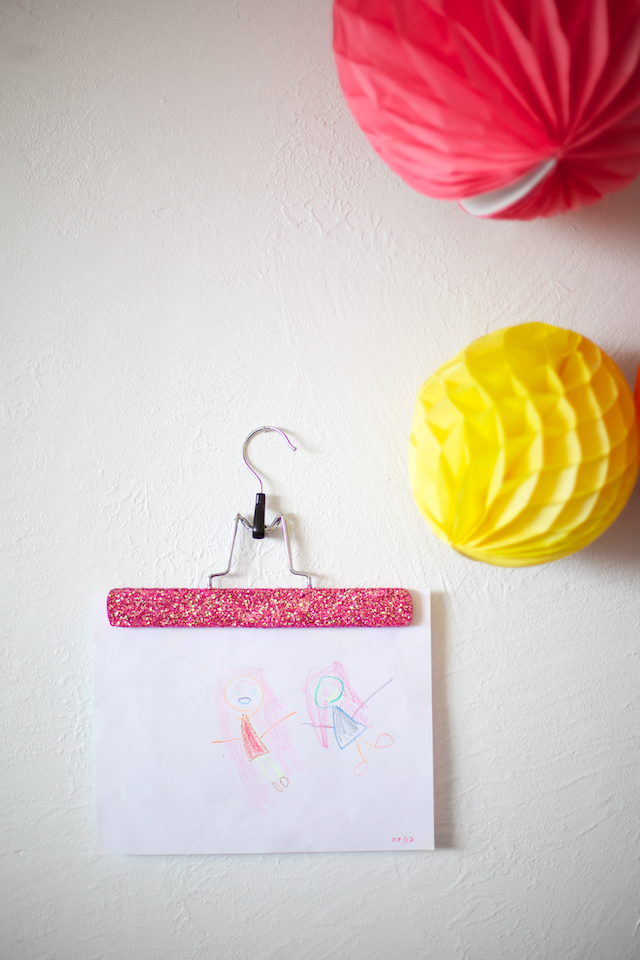
I thought of this idea the other day when I saw some sweet sequin-covered hangers and I was like "Dude! You could cover hangers with all kinds of stuff!" My mind started reeling: paint, glitter...whoa. Sprinkles. As soon as I thought of the sprinkles I knew that I had to do it immediately. But I didn't have rainbow sprinkles. And they HAD to be rainbow sprinkles, obviously. But guess what? Cara had rainbow sprinkles in the back of her van! (I told you! Soulmates!) so we made them. And I have to tell you, this is the most satisfying thing I have ever put sprinkles on. Which is saying a lot, because cupcakes.
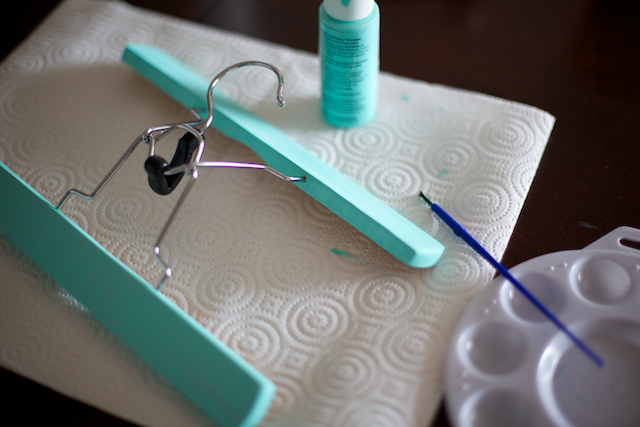
So, you can probably tell from the photos how to do this...
- Find some clamp-y style hangers and paint them with acrylic paint. (Two coats should be okey-dokey.)
- When the paint is dry (use a hair dryer to speed things up, unless you just need an excuse to get on Pinterest) brush on a coat of Mod Podge
- Sprinkle on glitter or sprinkles and tap off excess
- Repeat the Mod Podge/sprinkle process for a second coat
- Apply a final coating of Mod Podge and let dry completely
At this point I'm pretty sure you're excited to try this. Tag me on IG (@RufflesandStuff) if you make one!
Have a great night! Love, Disney
More posts from