BLOOM Sew Simple Shapes - Traditional Hand Applique Method Tutorial!

Hi there!!! Today I'll be talking about appliquéing by hand... using my Sew Simple Shapes Yesterday I posted a tutorial about using them with the iron-on appliqué method. CLICK HERE if you want to see that tutorial:)

I'm so excited that my BLOOM Sew Simple Shapes are finally here and available to play with!
I love appliqué and I have found over the years that some think it can be hard and so they are afraid to try it.
Because of this... I decided to design a line of shapes to use for appliqué so that I can show you how easy and fun it really is!
Appliqué can add so much to your sewing skills. Not only can it add personality to your projects... I especially love appliqué mixed with pieced quilt blocks!
Everyday this week... I'll be posting to show you how to use my Sew Simple Shapes in several different appliqué methods.

This is what they look like in their cute little package:) I named my first set "BLOOM" because the shapes are flowers, leaves and petals:) The set has 24 fun shapes to mix and match for super cute and easy applique designs!

For this week... I'll be using shape A-12 to make a "SEED" block. This is a traditional appliqué block with many names, but my grandma and great aunts always called this shape a seed...so I will too! Each day this week while making a block... I will be using a different method each time so that you can choose your favorite!

I designed a line a fabric called Calico Days to go along with my BLOOM set. It will be here in December...

Just in time to start my BLOOM Sew Along in January! We will be making the above quilt... one block at a time ... every Monday right here on my blog!

But for this weeks tutorials... I'll be using this super cute fabric collection called Fancy and Fabulous!

To cut fabric for the SEED blocks for each tutorial and method this week... I cut 5" squares from the prints and I cut 7 1/2" x 7 1/2" squares for the background. (I'll later square them up to 6 1/2" square) I always cut my appliqué background 1" larger than needed because the appliqué process can shrink your blocks a little ... so I like to appliqué first and then square up the block afterwards.

Let's get started! For my method of hand appliqué I have always used freezer paper as a tool to get the pattern onto the fabric. You could skip the freezer paper but I love to use it... I explain why below:)

Simply trace around the A-12 template onto the freezer paper (on the paper side) four times. *NOTE - you could obviously just trace around the shape directly onto the fabric... but I like to use freezer paper for this step for a few reasons:
1. I like to prepare all of my appliqué pieces at once, so I love the way that the paper keeps them nice and flat without wrinkling until it's time to appliqué it. Just put prepared shapes in your baggie, basket, tin etc. and they remain just like you prepared them with no "re-pressing" needed.
2. The paper makes it easier to trim the 1/4" seam allowance because it's sturdy.
3. If you are glue basting... the paper makes this step easier.
4. You can write on the paper to label when necessary to keep your pieces organized.

With that being said... let's get back to the freezer paper! Cut them out directly onto your traced line.


Use a mechanical pencil to trace around each shape. This is how you get the shape onto the fabric... easy peasy!


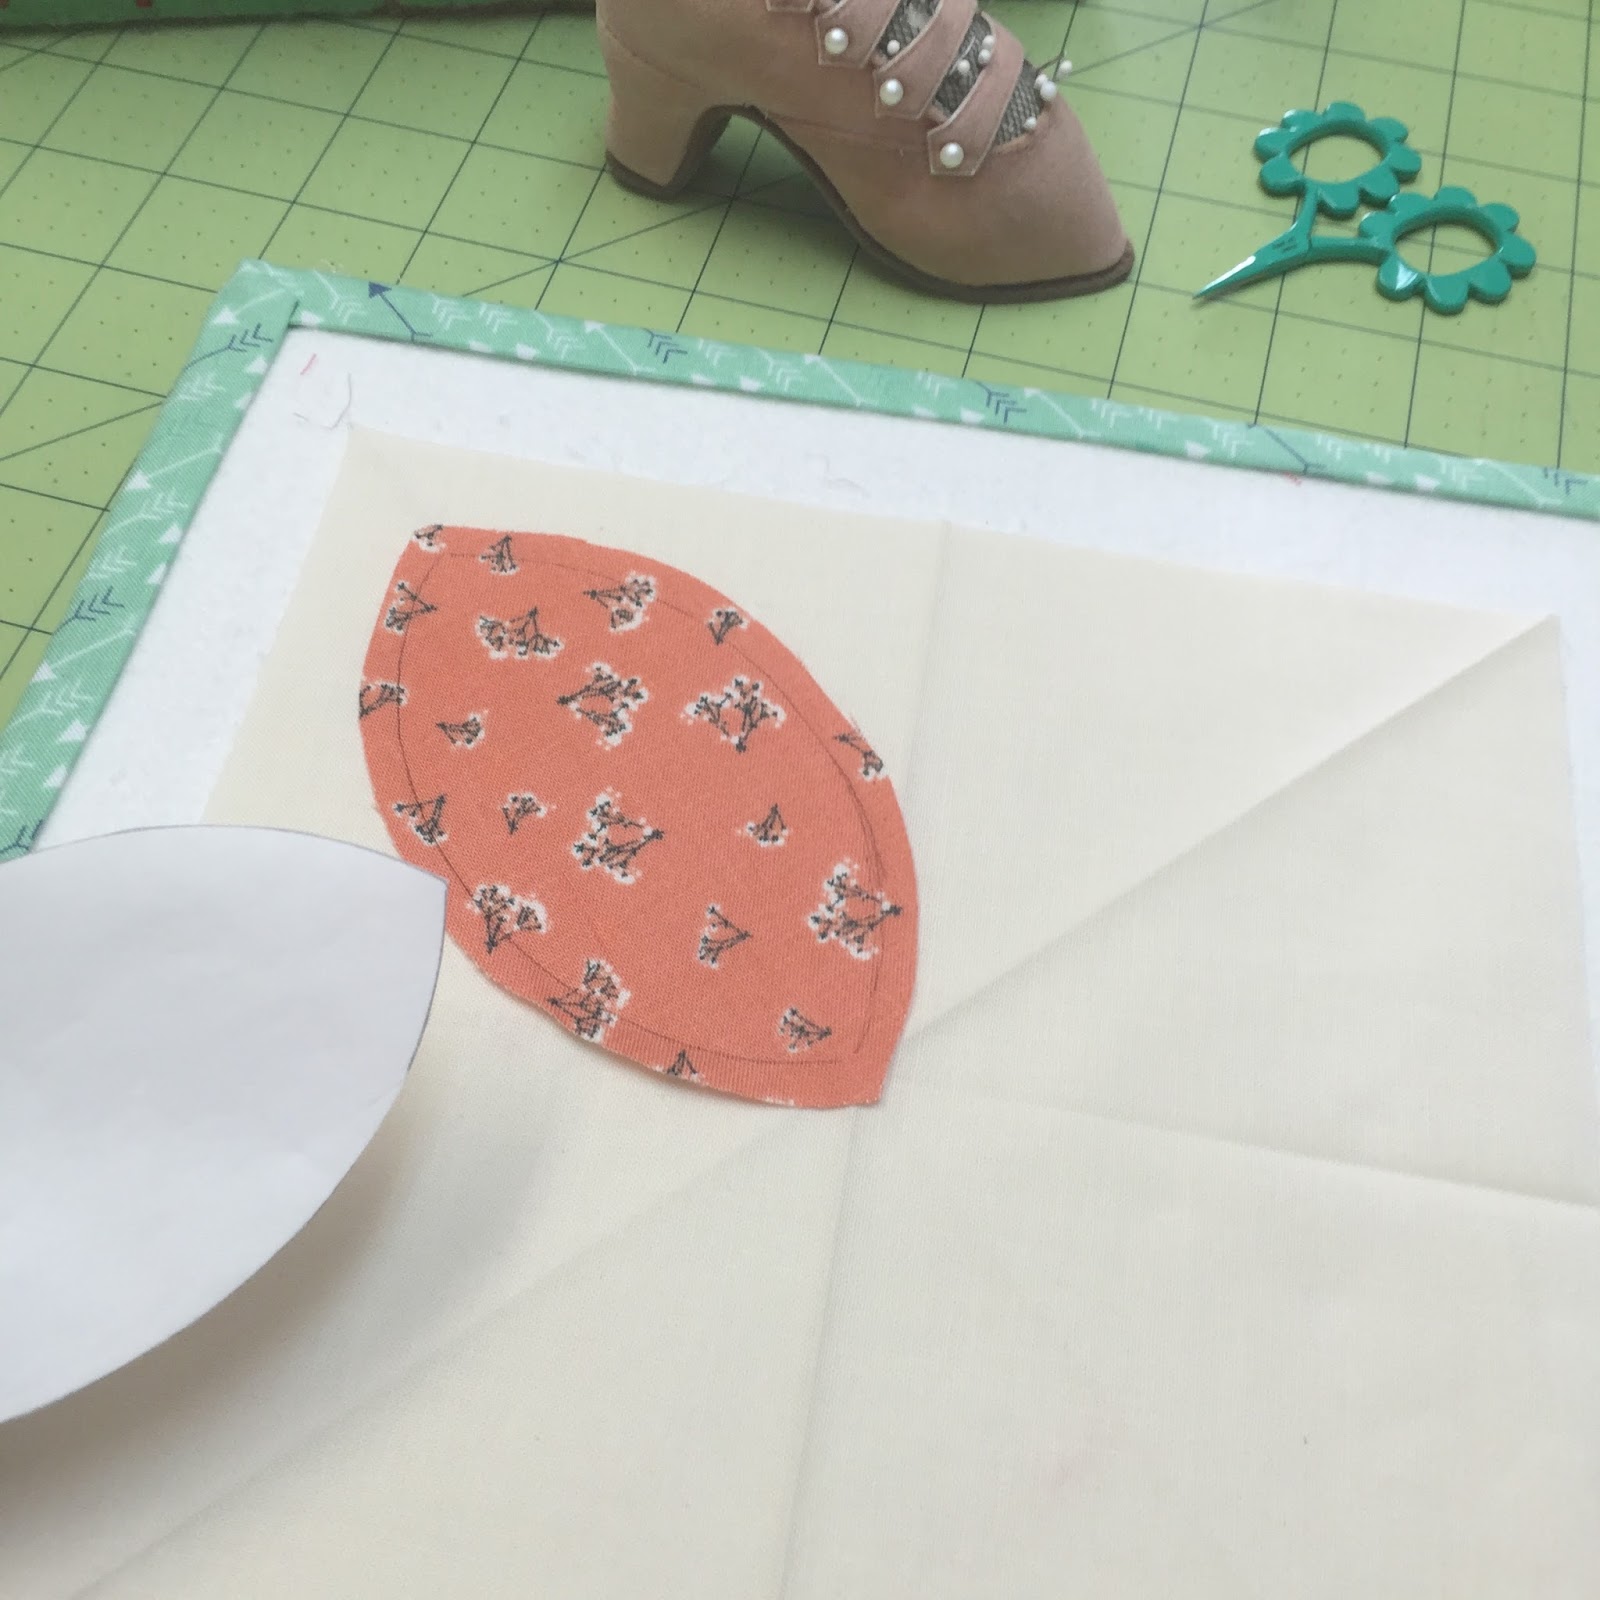
Place a seed shape in one corner of the background... making sure that the points line up with the diagonal pressed lines.

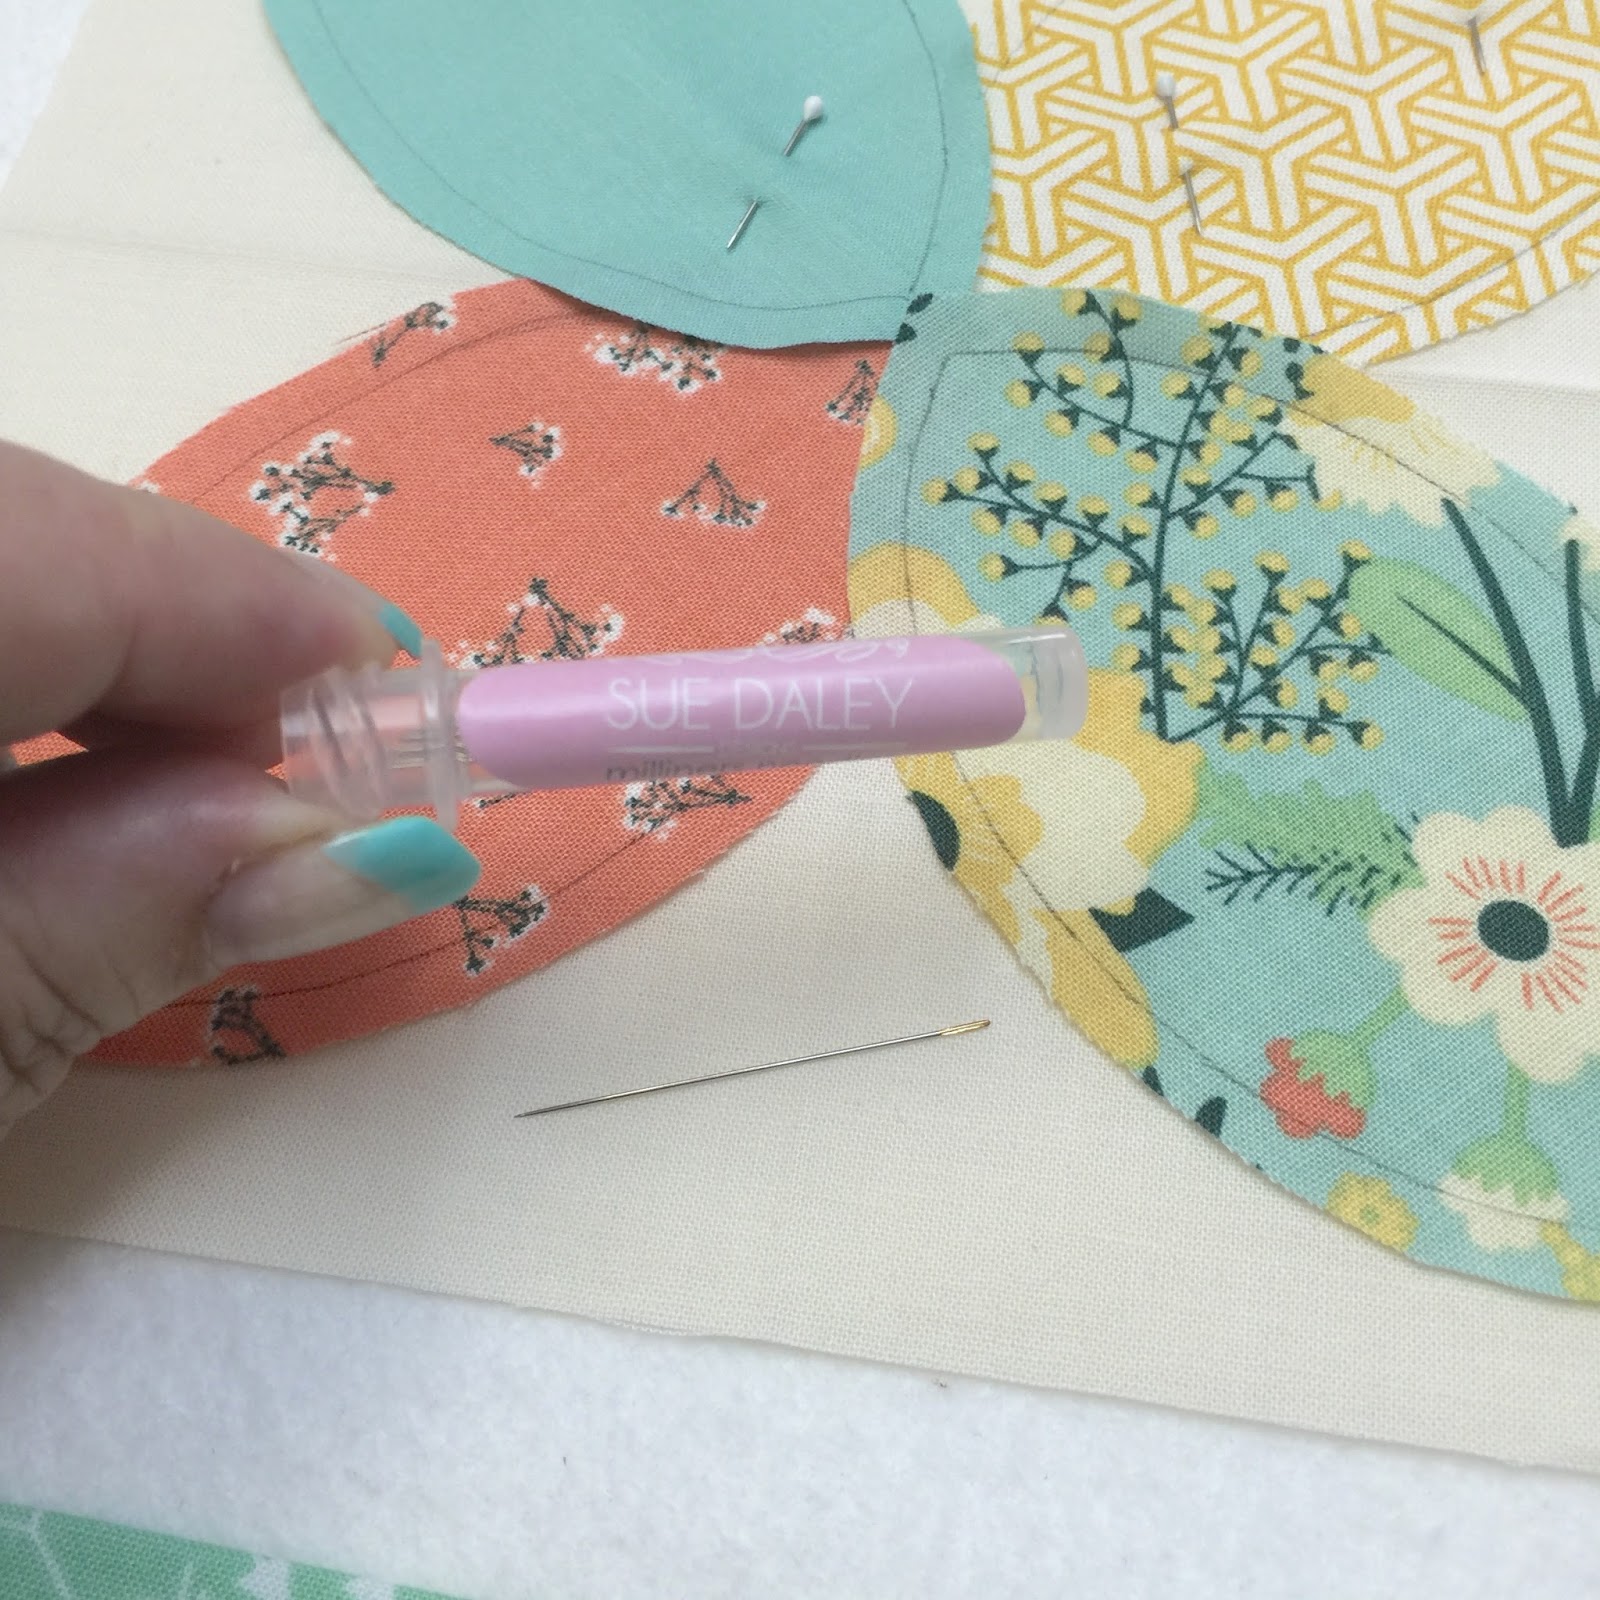
If you like to use glue instead of pins... use it sparingly. Just a few small dots will do it! Keep the shape in place and just lift one side at a time.

After the glue is dry... remove the paper. P.S. I like to use Busyfingers Appliqué Glue by Sue Daley.

If you like to use pins... make sure that they are appliqué pins because they are short and won't stab you or catch your threads while you are appliquéing:)

I usually use glue but pins definitely have their place. Once your pieces are on the background you're ready to start stitching!

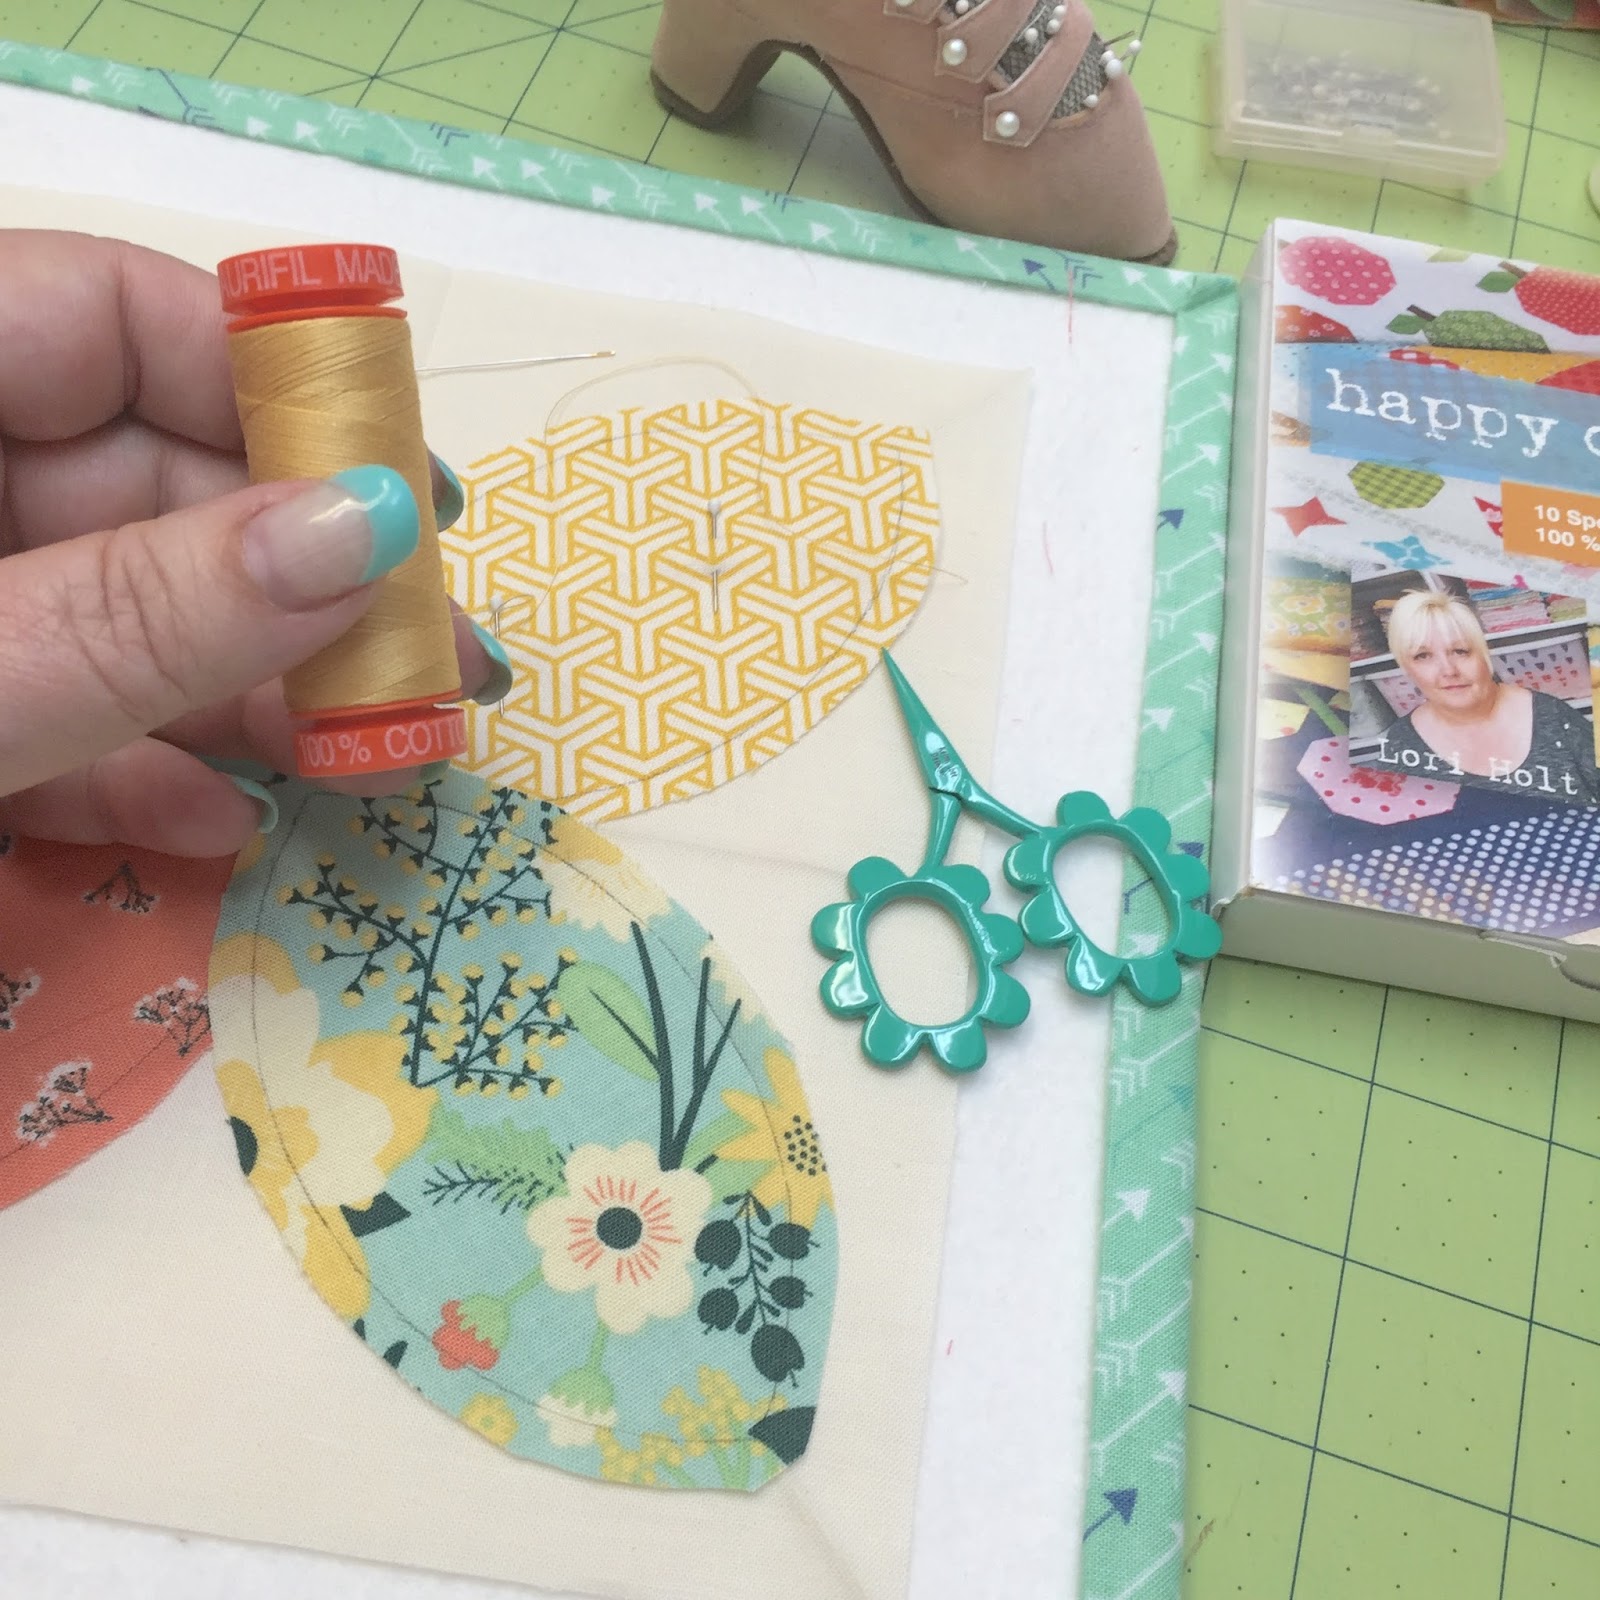
A good straw needle is a great tool for hand appliqué. They are long ... which you need because it is your tool to turn under your seam allowance. They are also thin so that allows for a tiny stitch:) I recommend starting with a size 10 and working your way to a size 11.

I always use 100% cotton thread...50 weight. Aurifil is my absolute favorite! I match my thread to my applique shape... NOT the background.


I'm starting with the yellow piece so I pinned the other 3 out of the way where the seam allowances overlap.


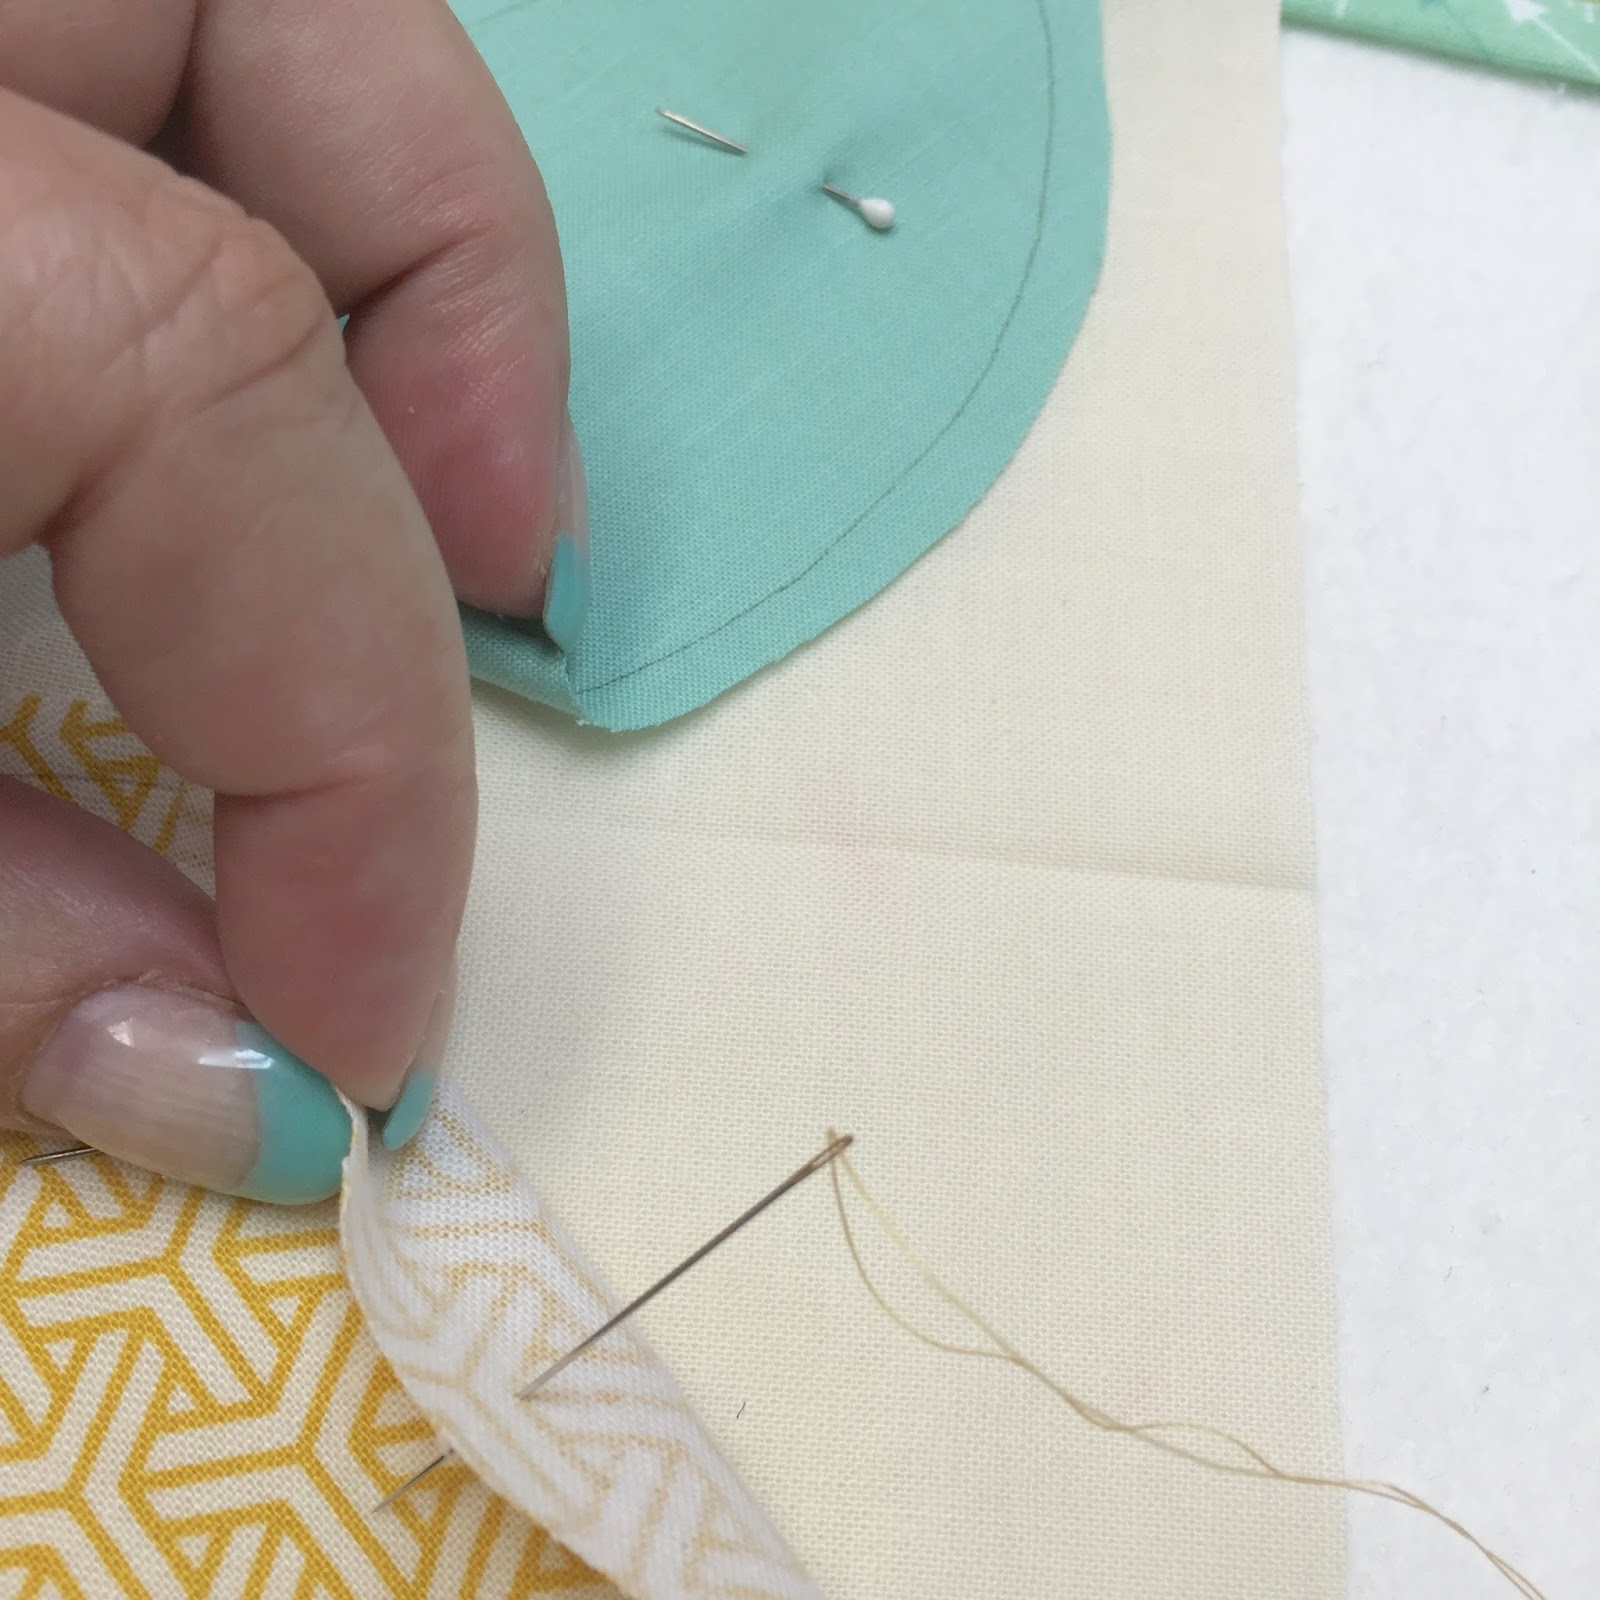
Use the side of your needle to turn under the seam allowance ... only a little at a time as you go... about 1/2" at a time. Hold down seam allowance that you have turned under with your thumb on left hand so that you can stitch with your right hand. (reverse that if you are left handed) Sorry I wasn't able to get a pic of this but I don't have three hands ...lol.

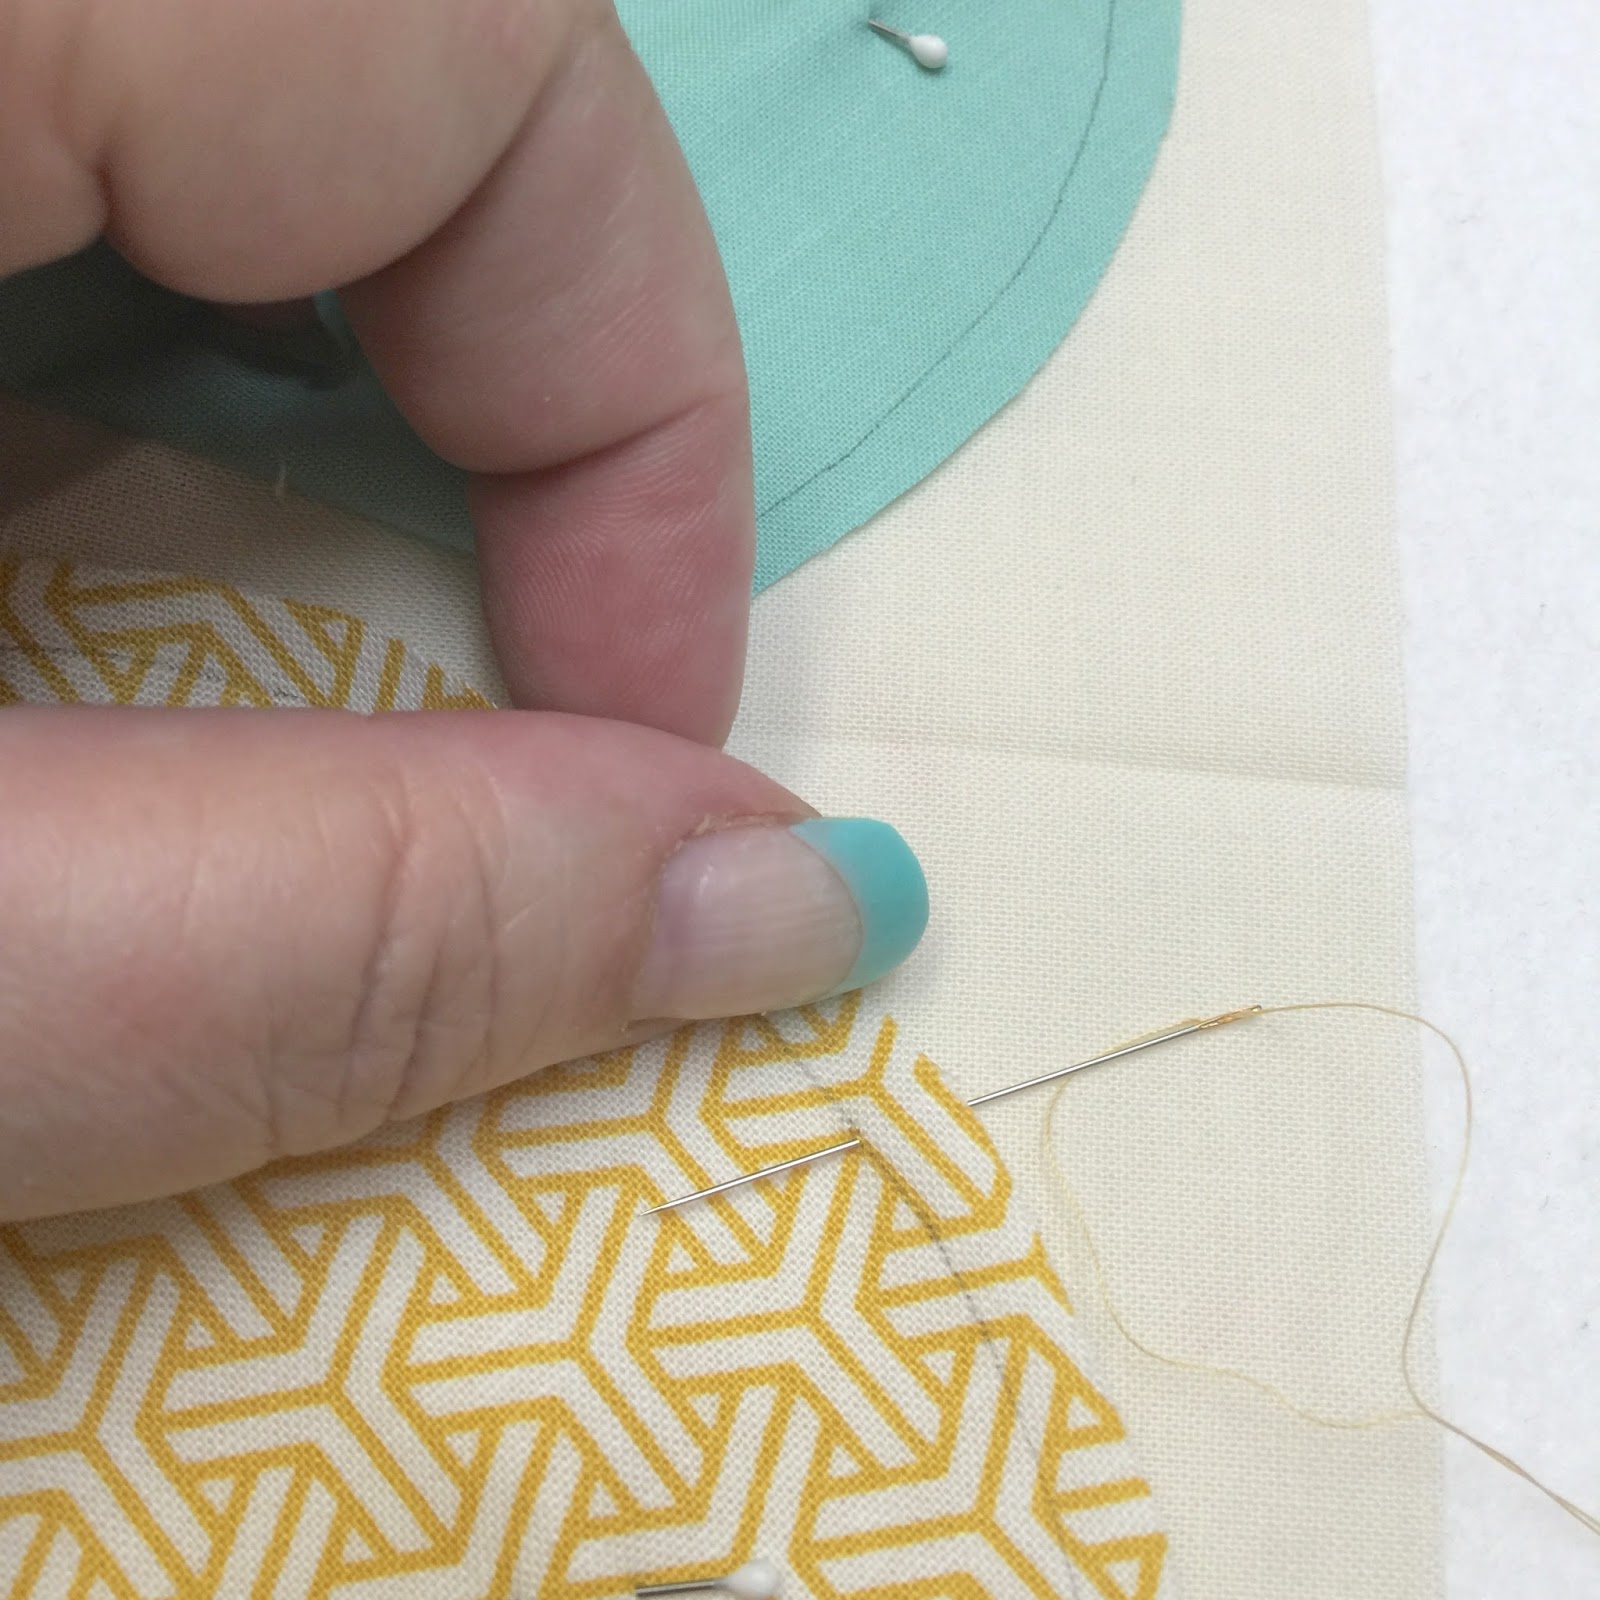
Here's a side view... pencil mark should be on the side so it won't show on the top.
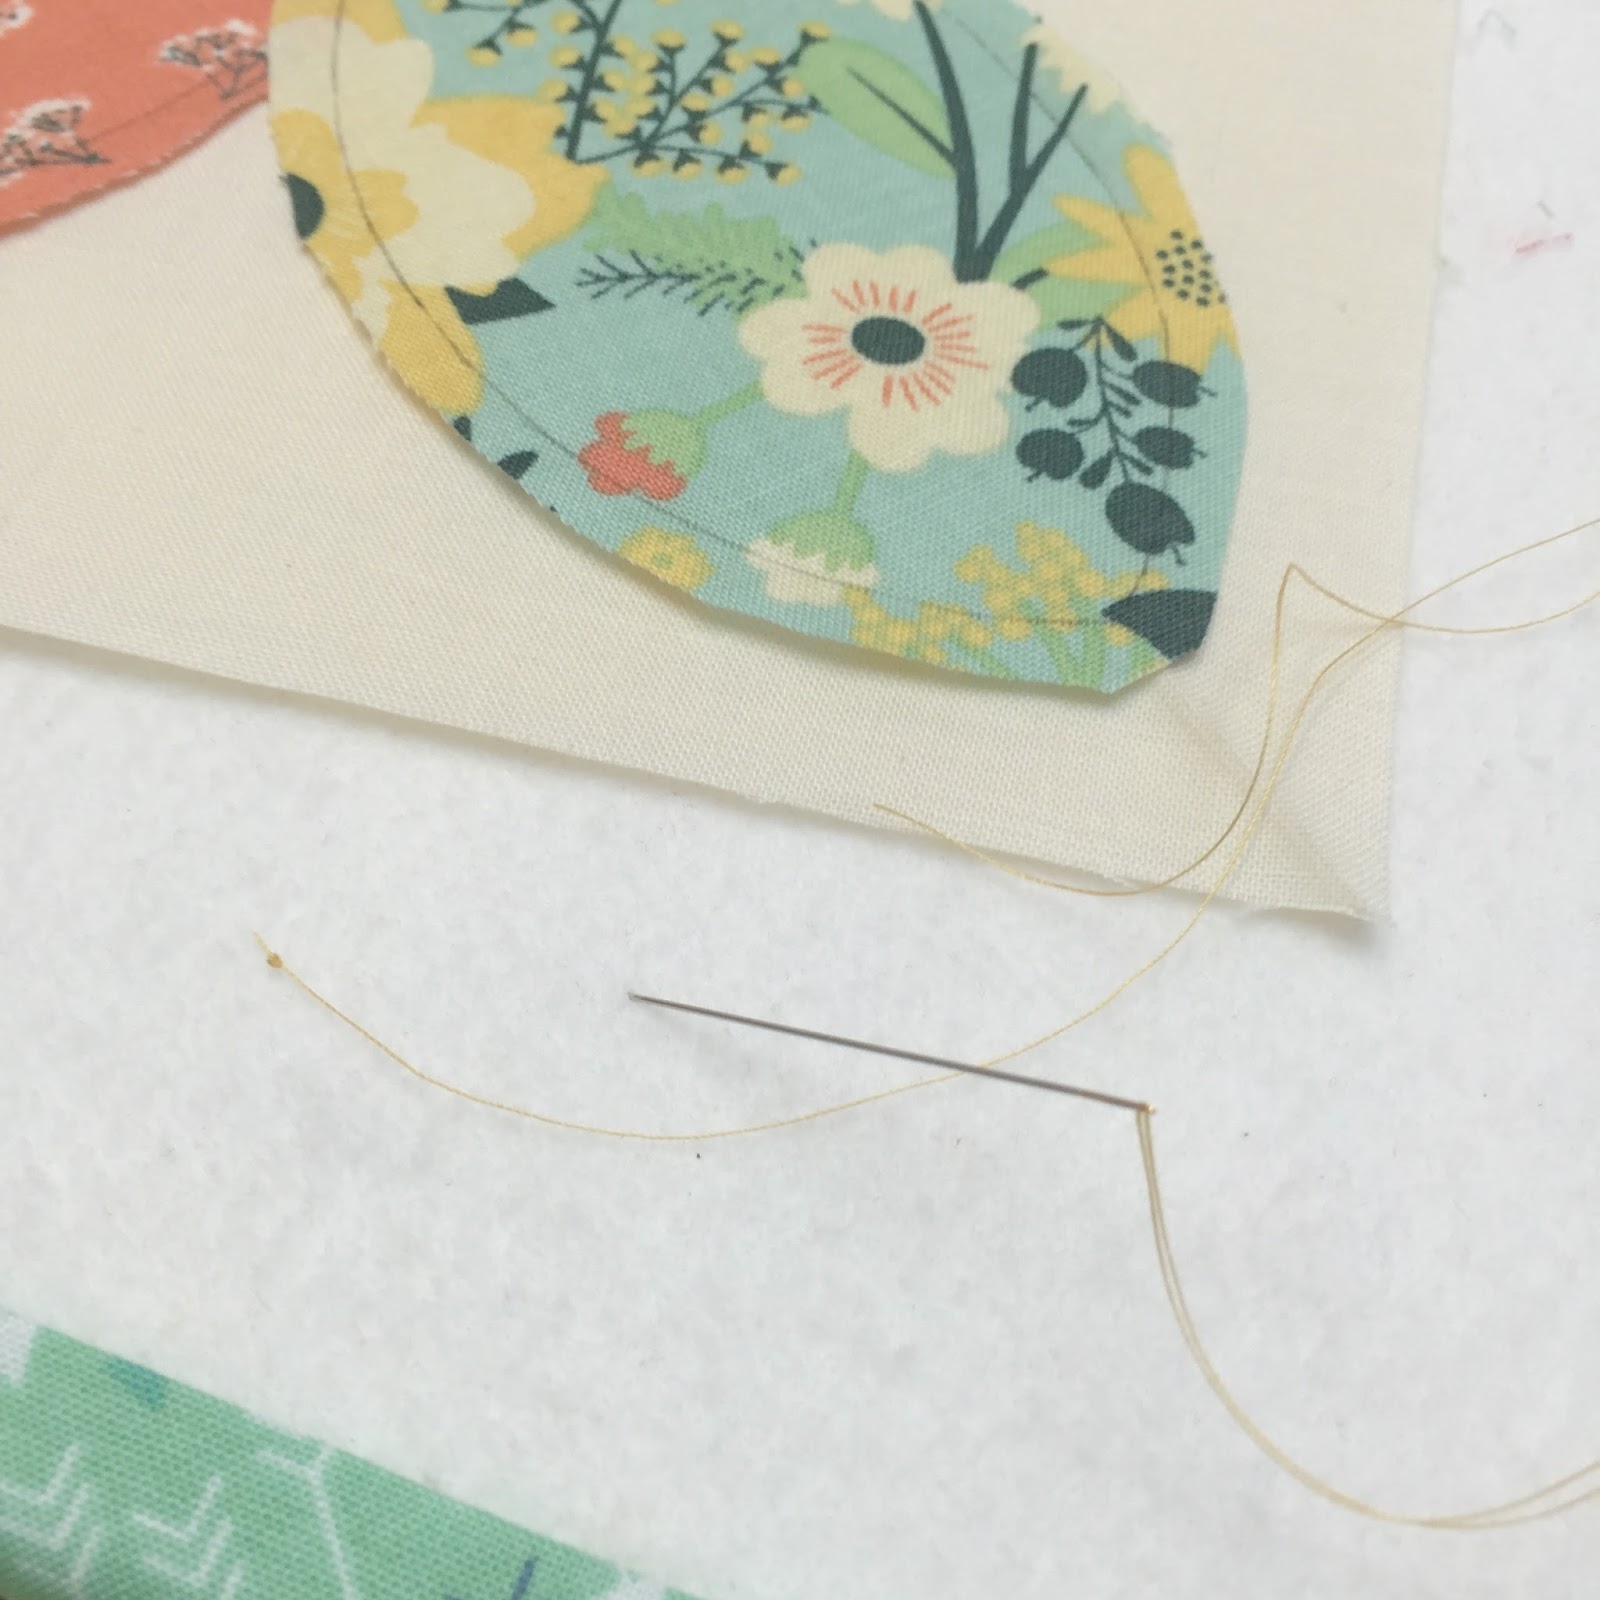
Stitch straight down taking a small bite of your appliqué edge and going to the back of the background where your thread travels underneath to the next stitch.


This is what my left hand looks like when I'm stitching... my needle would obviously be held by my right hand if I wasn't taking this picture:)


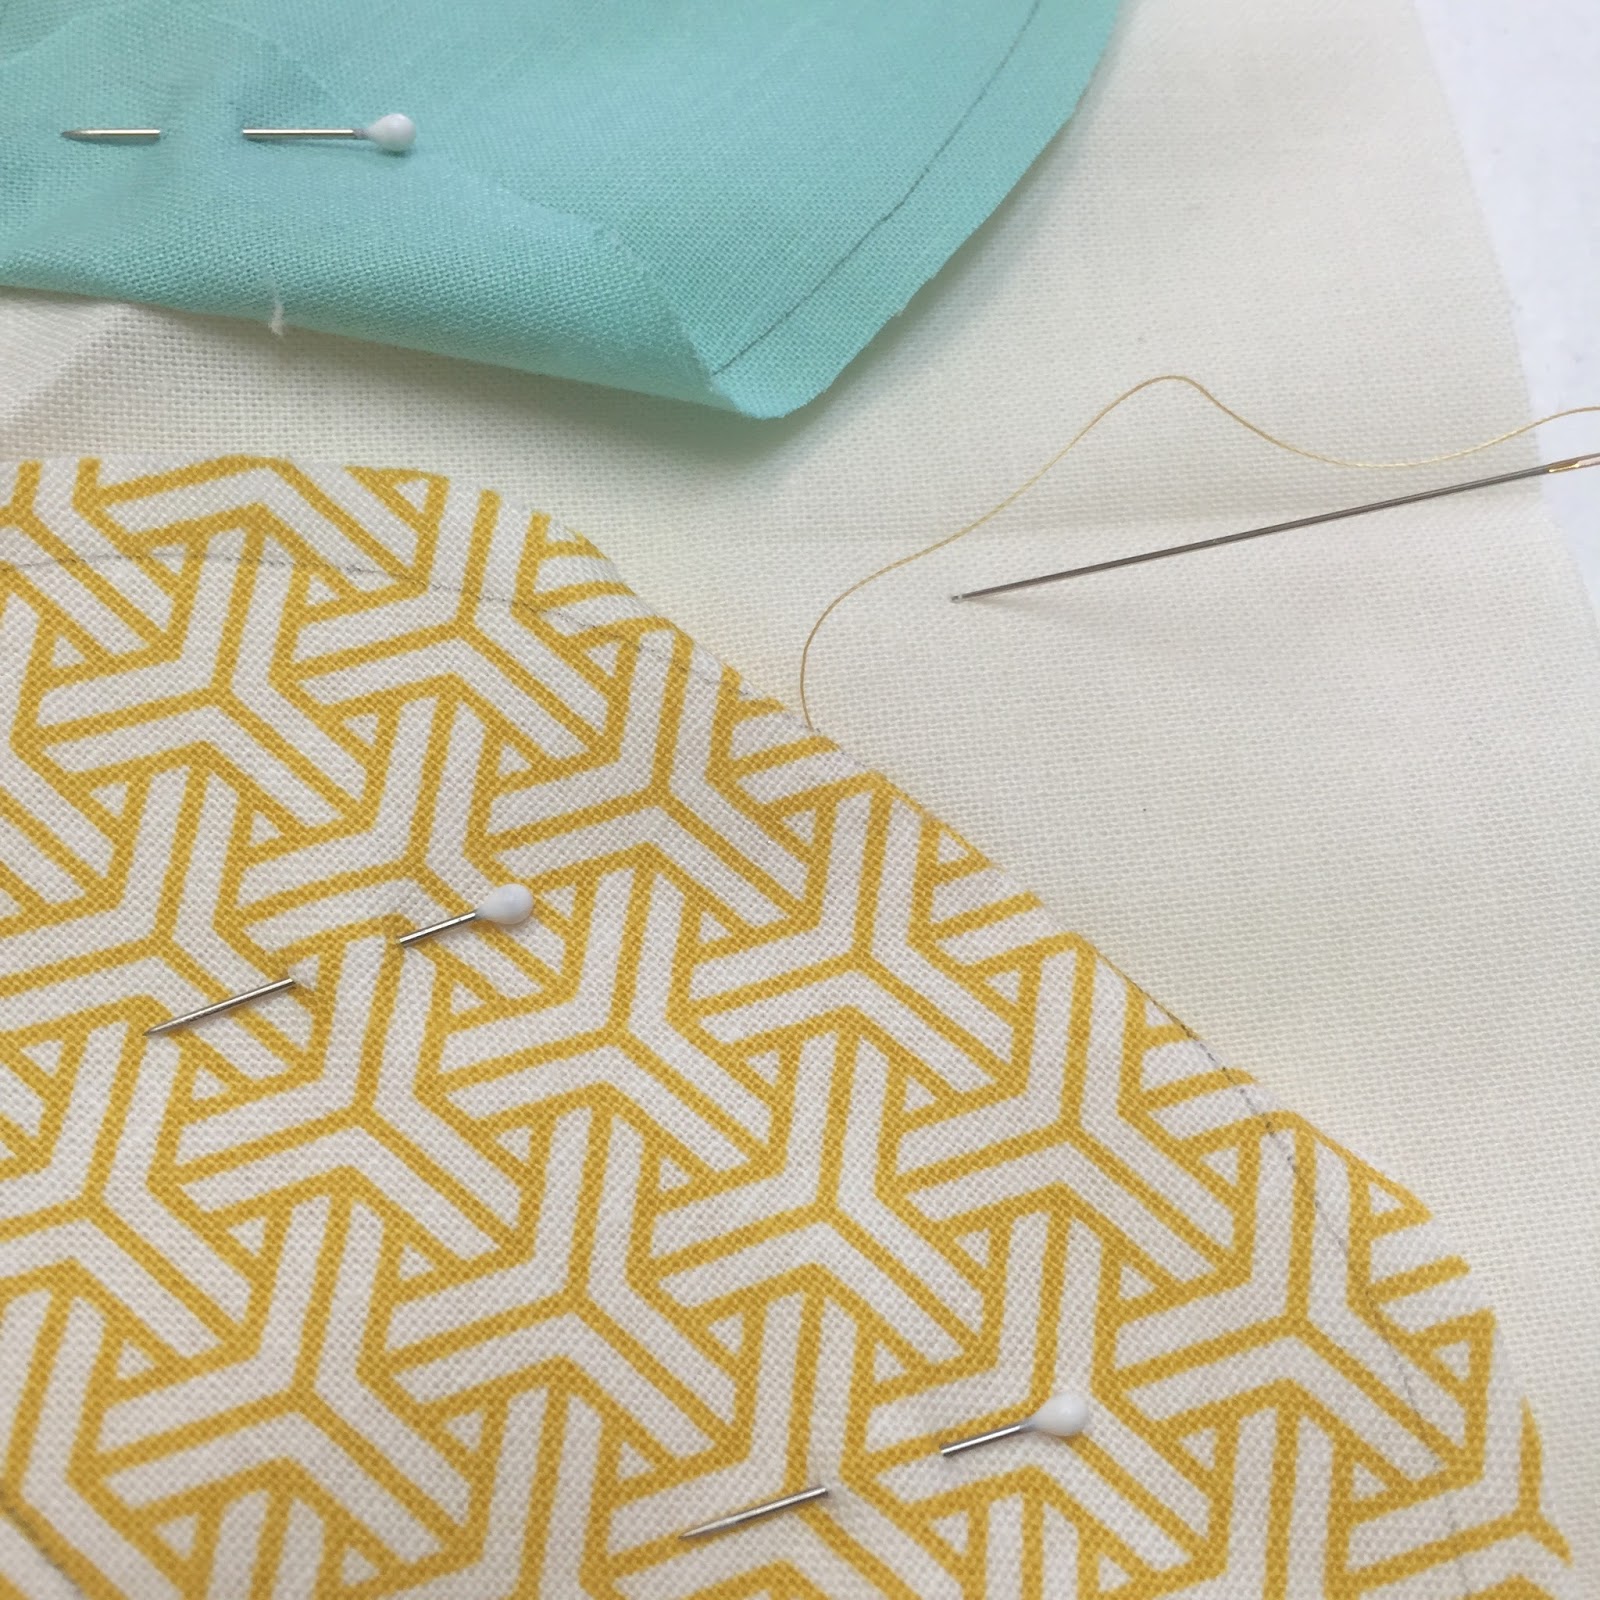
Another view of the back:) Knot your thread off in the back behind the appliqué shape so it won't show on the front.


Now you can square up your block with a 6 1/2" square up ruler. I always PRESS (don't iron) my hand appliqué blocks from the back... so the front pieces will not be distorted.

I LOVE hand appliqué and have designed, made and taught my method using my patterns for many years. Unfortunately... I don't have as much time to hand appliqué anymore because of my busy designing schedule.... and I have really missed it.
That is exactly why I decided to do my Sew Simple Shapes along with a faster method for appliqué!!!
The BLOOM is just the first in a series that will be released over time. I plan to use my appliqué designs along with my pieced block patterns that I love to design as well... for even more quilty fun!

CLICK HERE if you want a set of my BLOOM Sew Simple Shapes of your own to play with:)
Tomorrow I'll show you my very favorite way to use my Sew Simple Shapes. It's easy machine applique! It's simple and quick and I LOVE the results!!! See you then... xx Lori
More posts from