
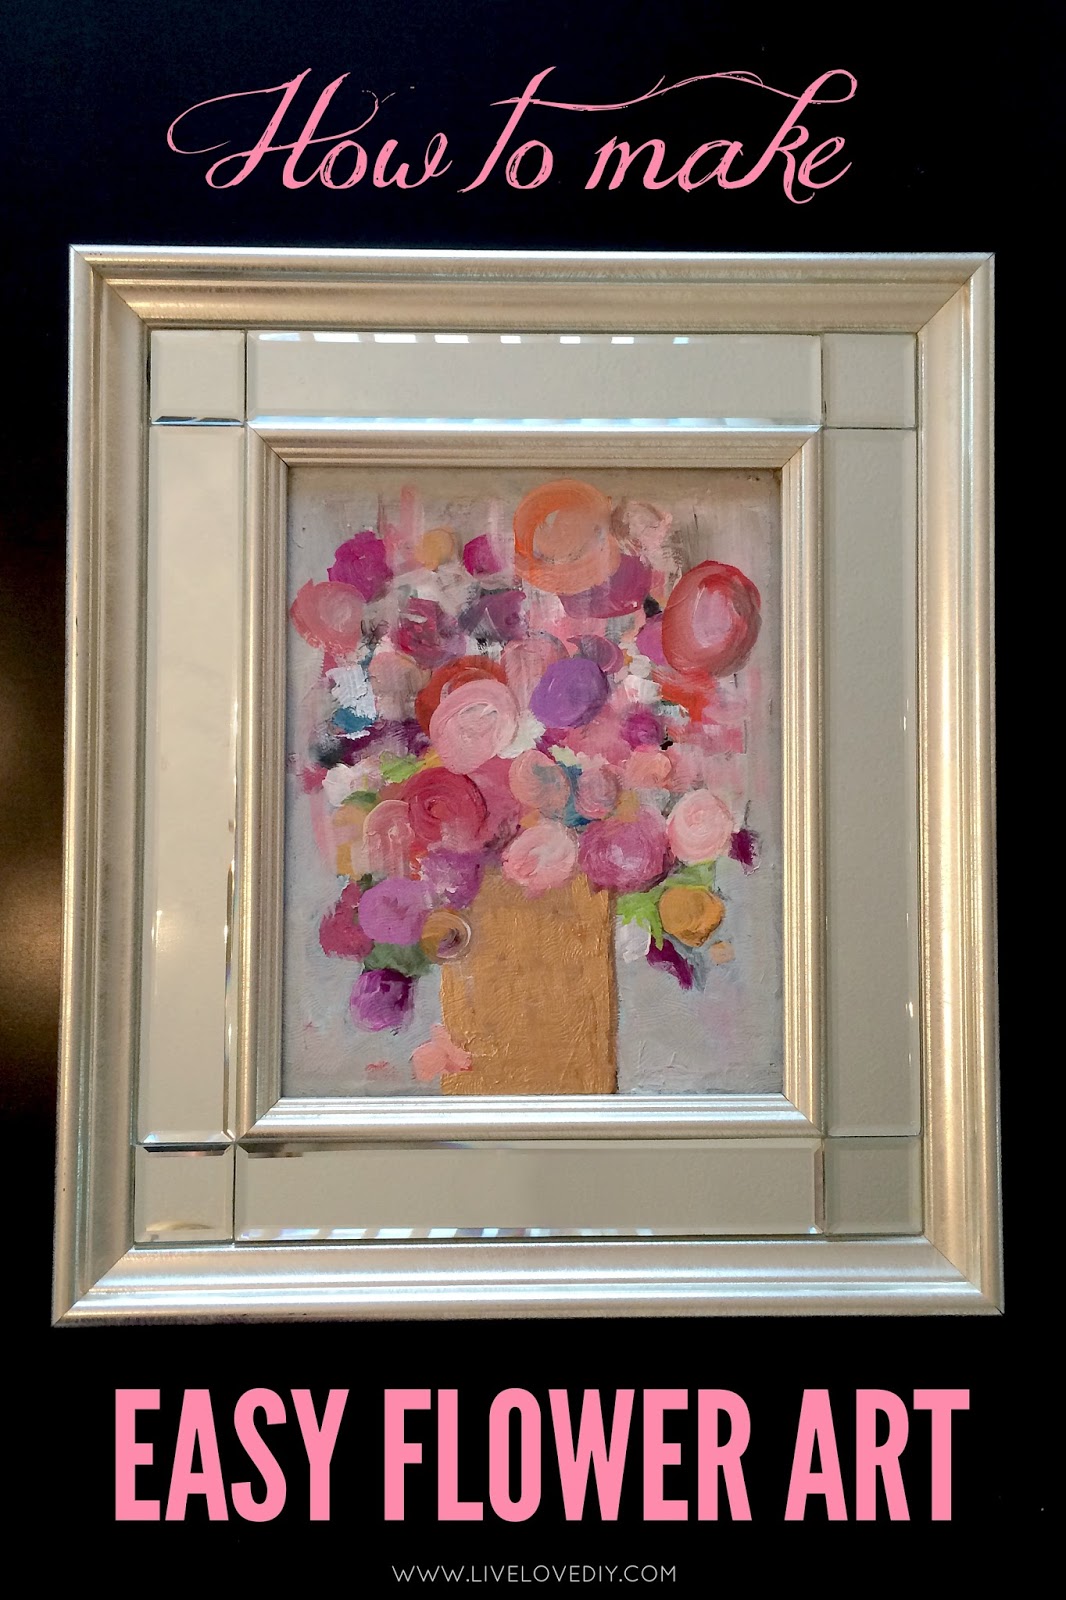
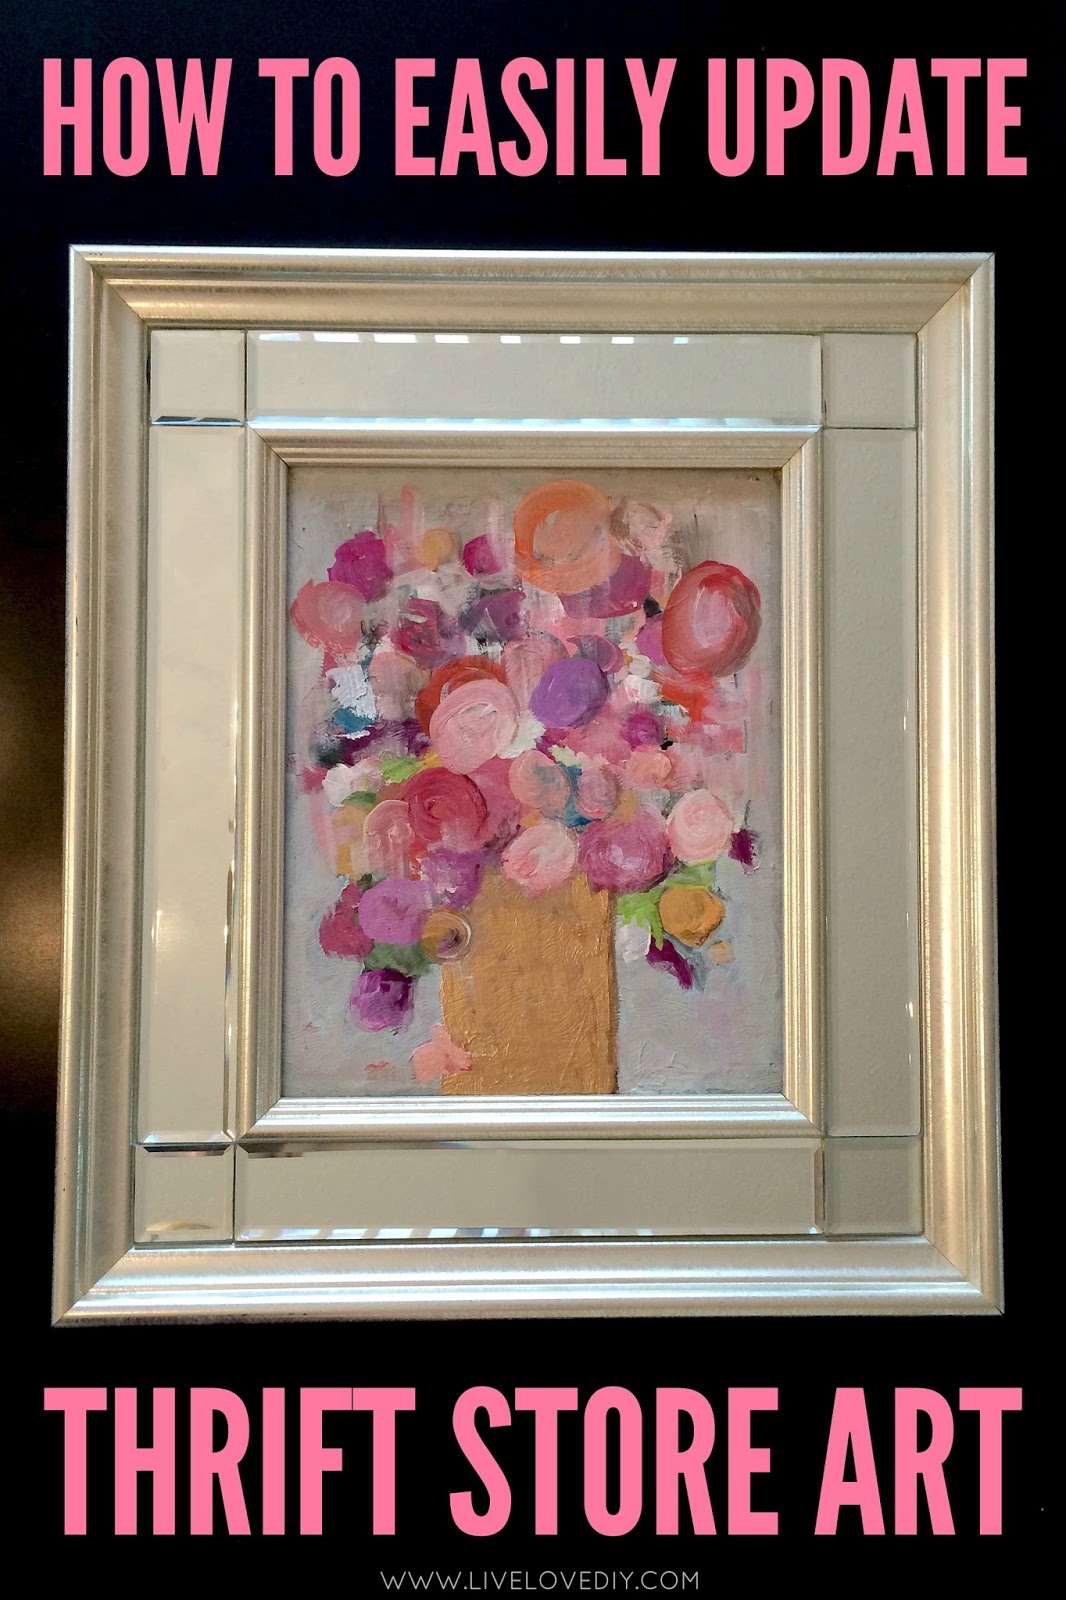
How To Easily Update Thrift Store Art

Hey ya'll! Well, we are still in the throes of laying tile in the basement. It's going along at a decent pace, so I'm hoping to have a few in-progress pics to show you eventually. They may not be pretty pics, but I'll show you anyways.
Jesse has been doing most of the heavy lifting, so while he's been busy downstairs, I've been working non-stop trying to finish up the rest of the upstairs.
It's a deal we struck.
He got the short end of the stick.
The 'rest of the upstairs' basically includes the guest bathroom, guest bedroom, laundry room, hallway, and several projects I started in the master bedroom (and never finished) back when I was trapped back there for 8 months. So, basically, I'm really good at biting off more than I can chew, starting 45 projects at once, and then feeling like I might end up giving myself a Lena Dunham haircut, circa the end of Season 1.
So, this past weekend, I allowed myself a little downtime. I wore flannel pants for 48 hours, watched movies, ate Papa Johns and behaved like a total waste of space. Obviously Cheese is very affected by my energy.
Meanwhile, Tootie doesn't know I'm alive.

I finally felt a little more relaxed on Sunday and I decided to make some art, as that's something that I genuinely love to do for fun.
Painting a room, not so much.
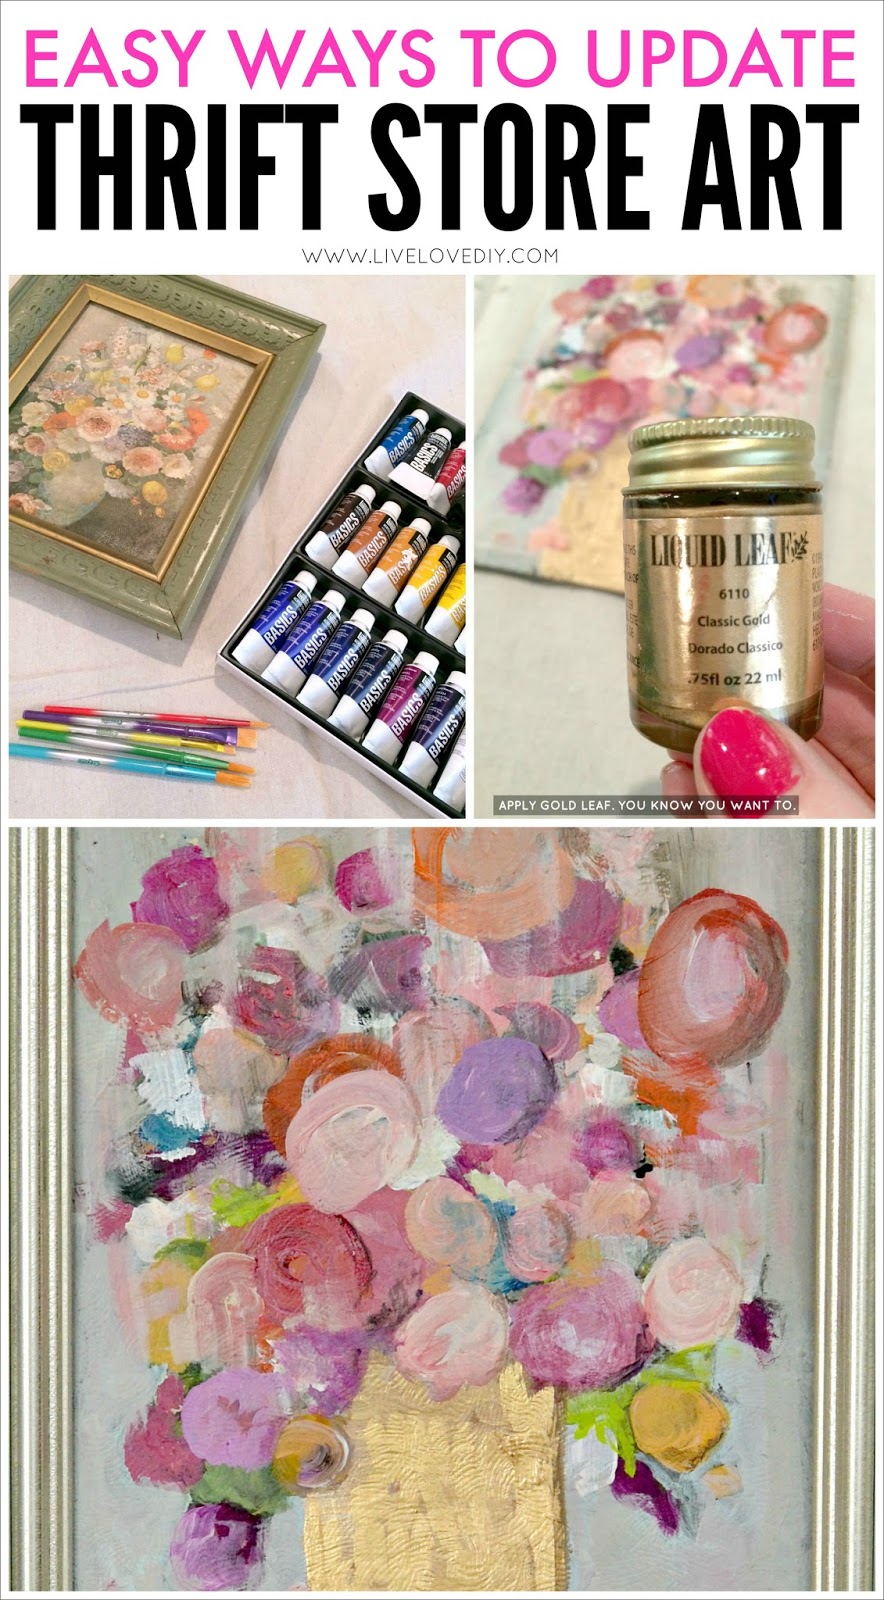
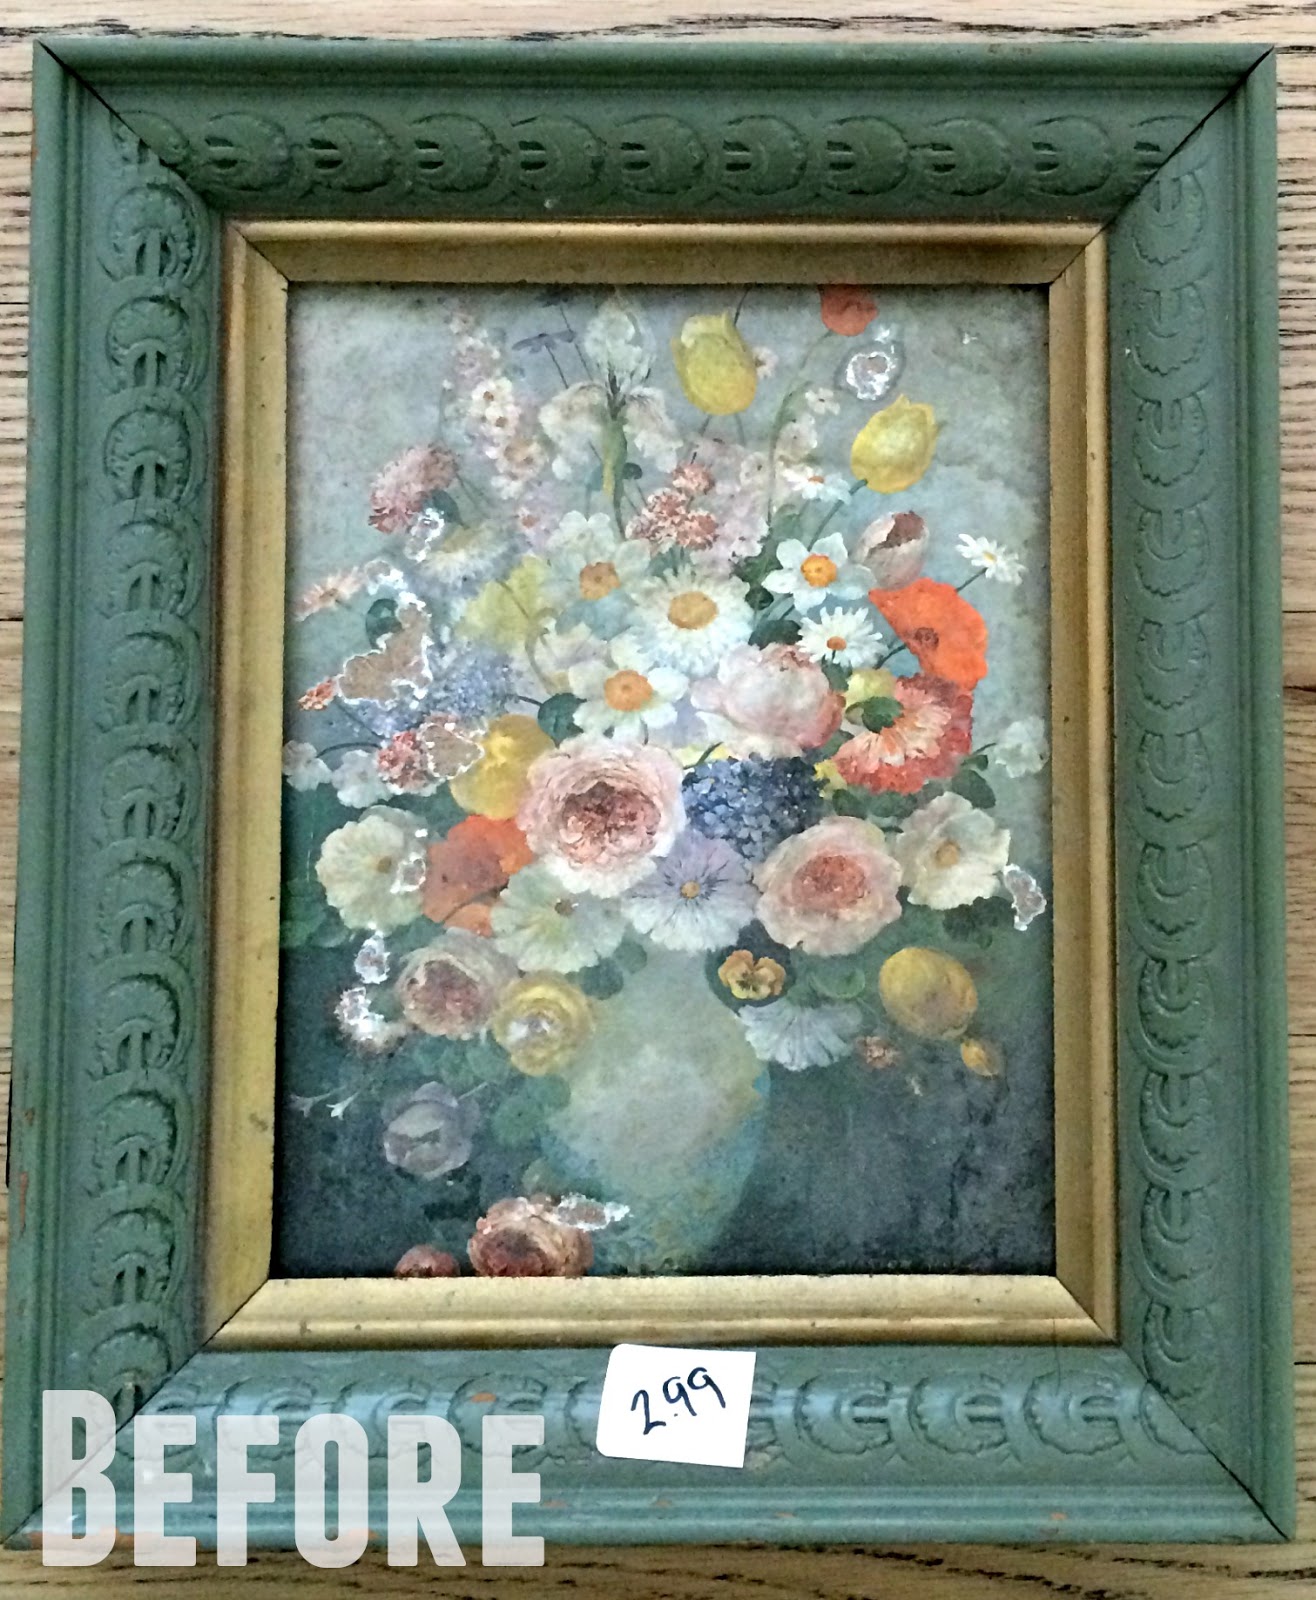
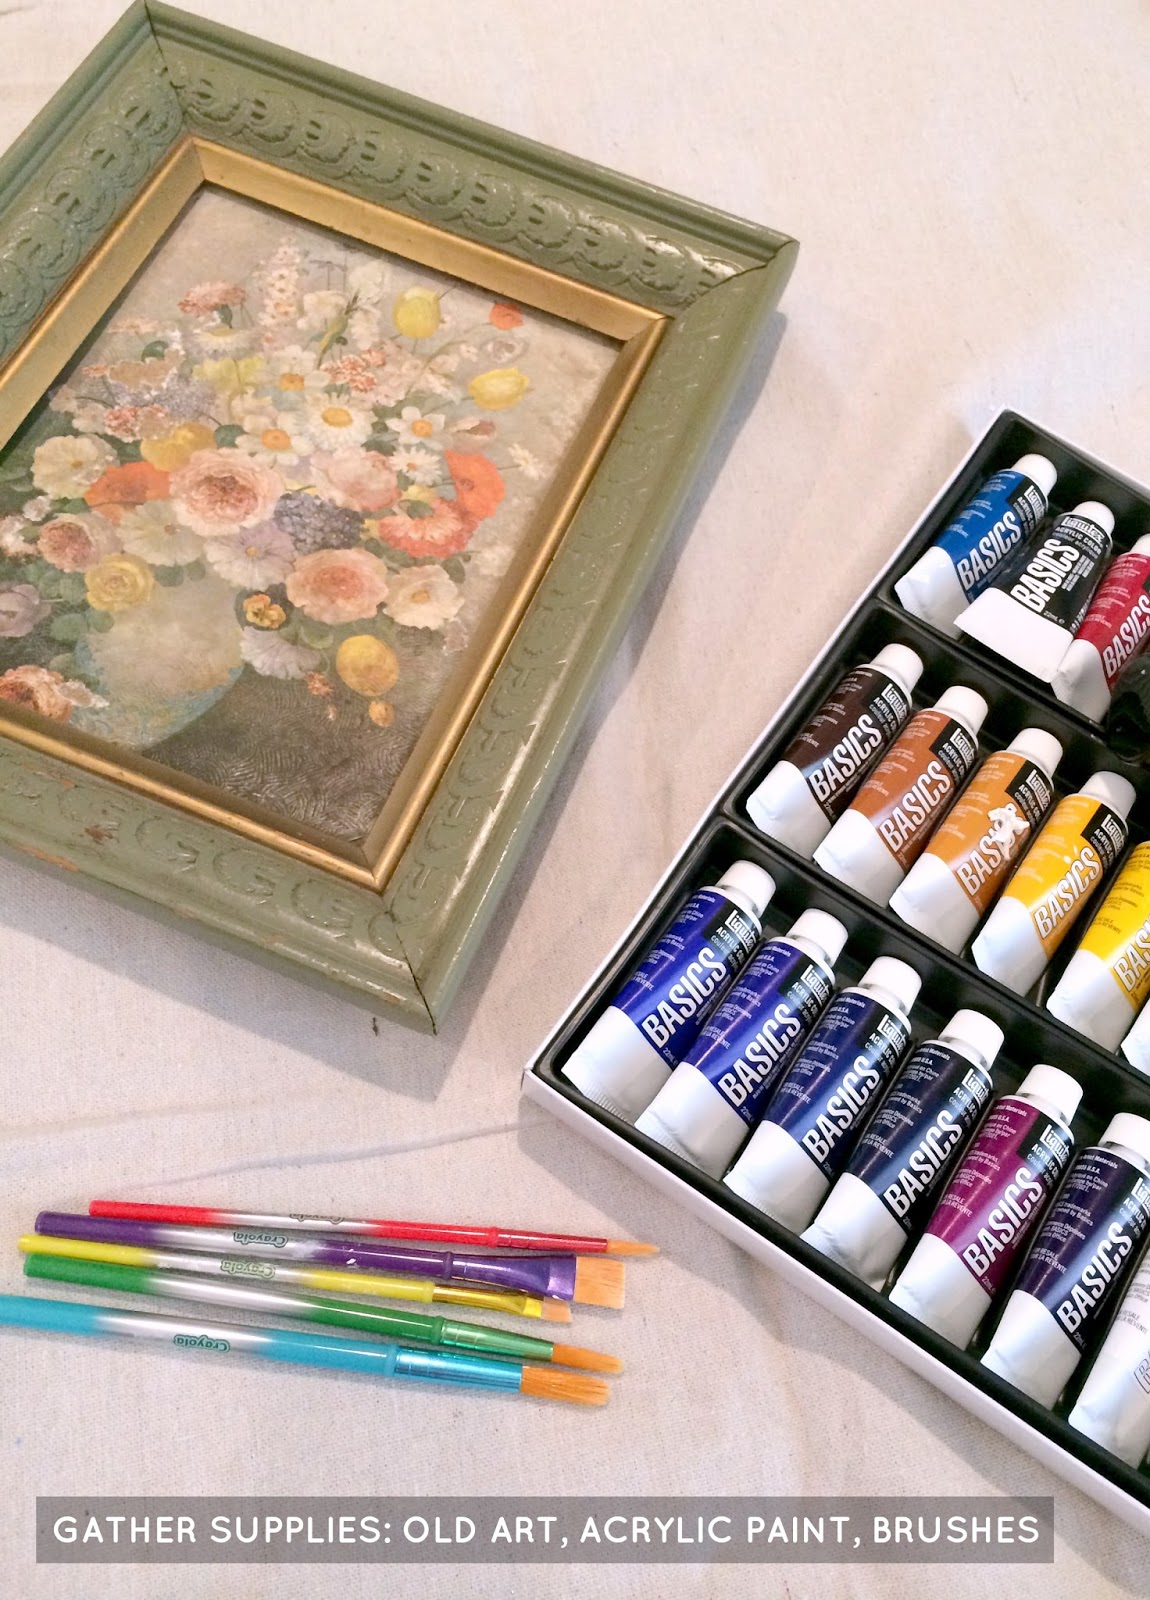
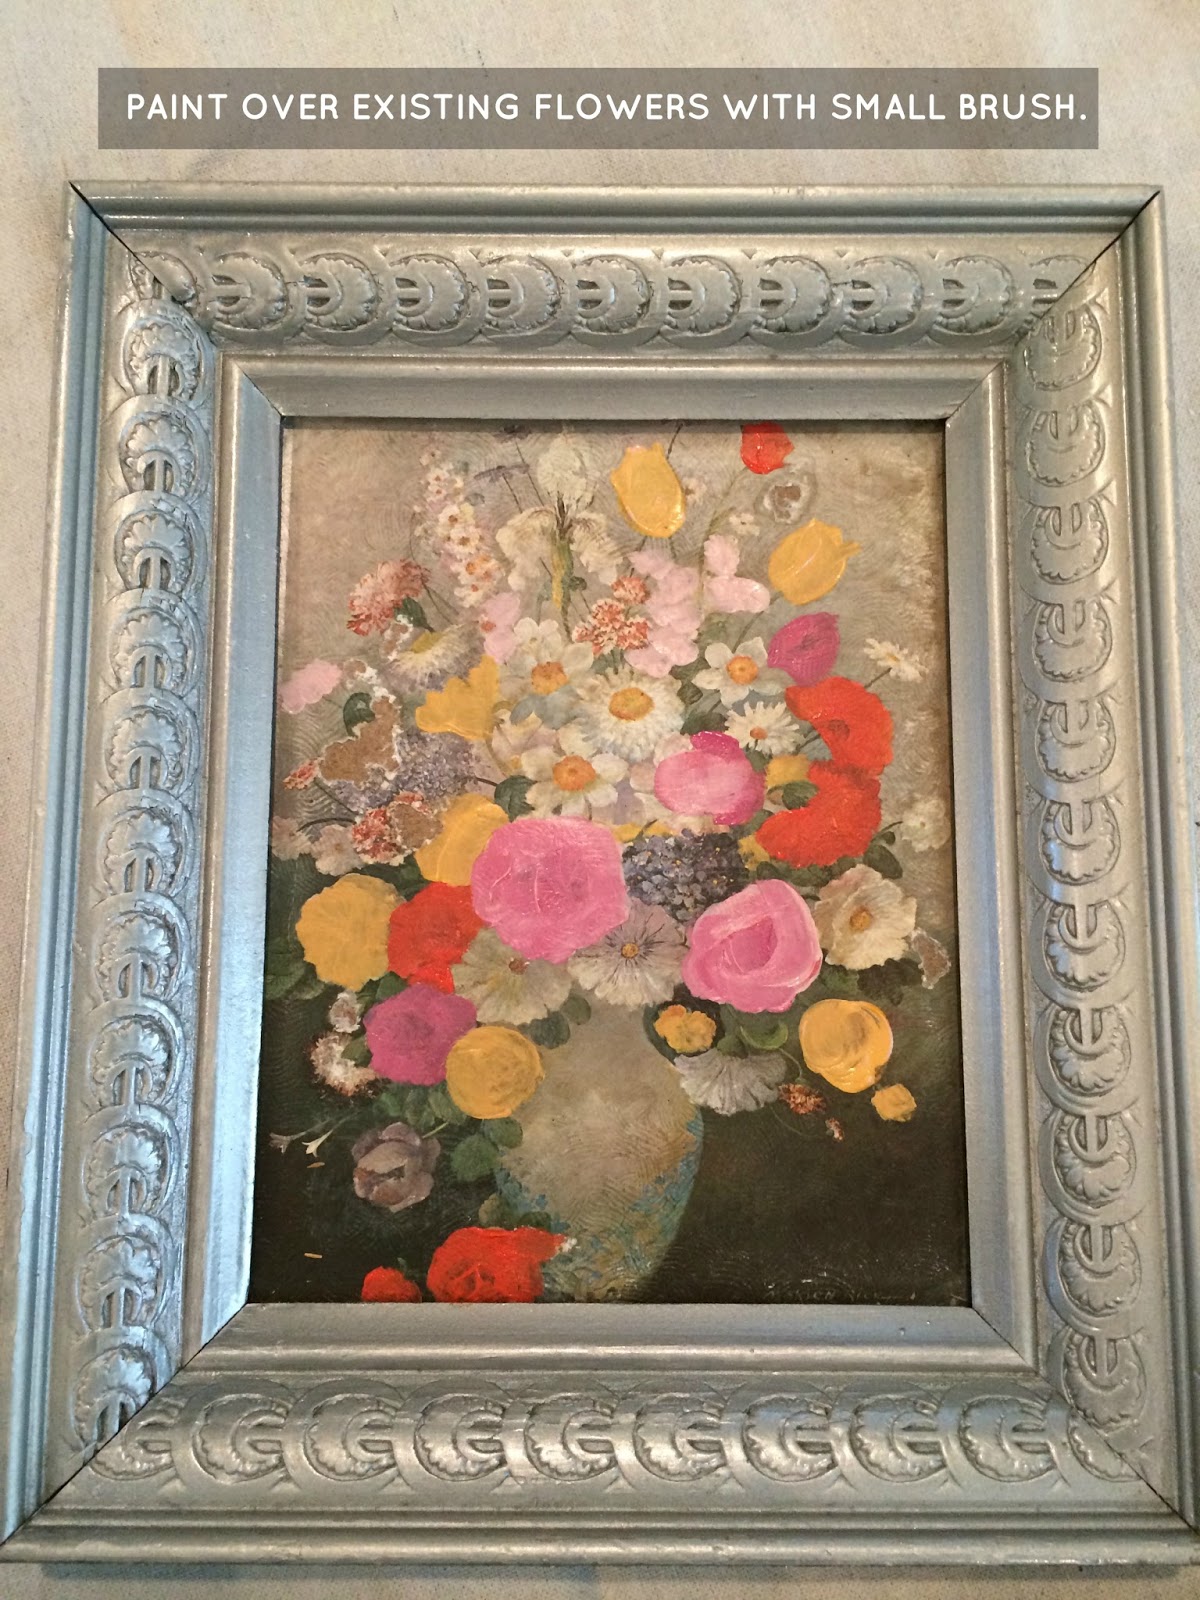
I didn't have any blank canvases or card stock on hand, and I didn't feel like going anywhere, so I dug through the haunted house room (where I've stockpiled all of the junk from the basement) and I found an old thrift store painting I brought home a few years ago.

I wasn't really all that excited by the original color scheme, plus it was just a cheap print (and not hand painted), so I had no problem painting over it.
It was also covered in dust and I literally had to hose it off in the sink. I could blame the thrift store, but we all know it was probably the 8 months of upstairs construction.
Or maybe that just seems preferable.
For this project, I chose to use the drawing that was already there as a starting point for my painting, and I kind of treated it like a paint-by-numbers project. It's one of my favorite easy art ideas when I'm not really feeling up to the task of creating a floral masterpiece from scratch. And if you're a real artist and never want to speak to me again, I'll totally understand.
Just close your eyes 'til it's over.
So, first things first, you'll need some acrylic paints and small paintbrushes.

I use the BASICS Acrylic Paint 36-Piece Set (affiliate link) for almost all of my art. It was about $25, it has every color you could possibly need, and I've been using this same set for years.
Next, I mixed a few colors (pink, yellow, and orange) and then I painted over the existing flowers, filling in each flower with a single color of paint, and kind of tracing around the edges of each flower.

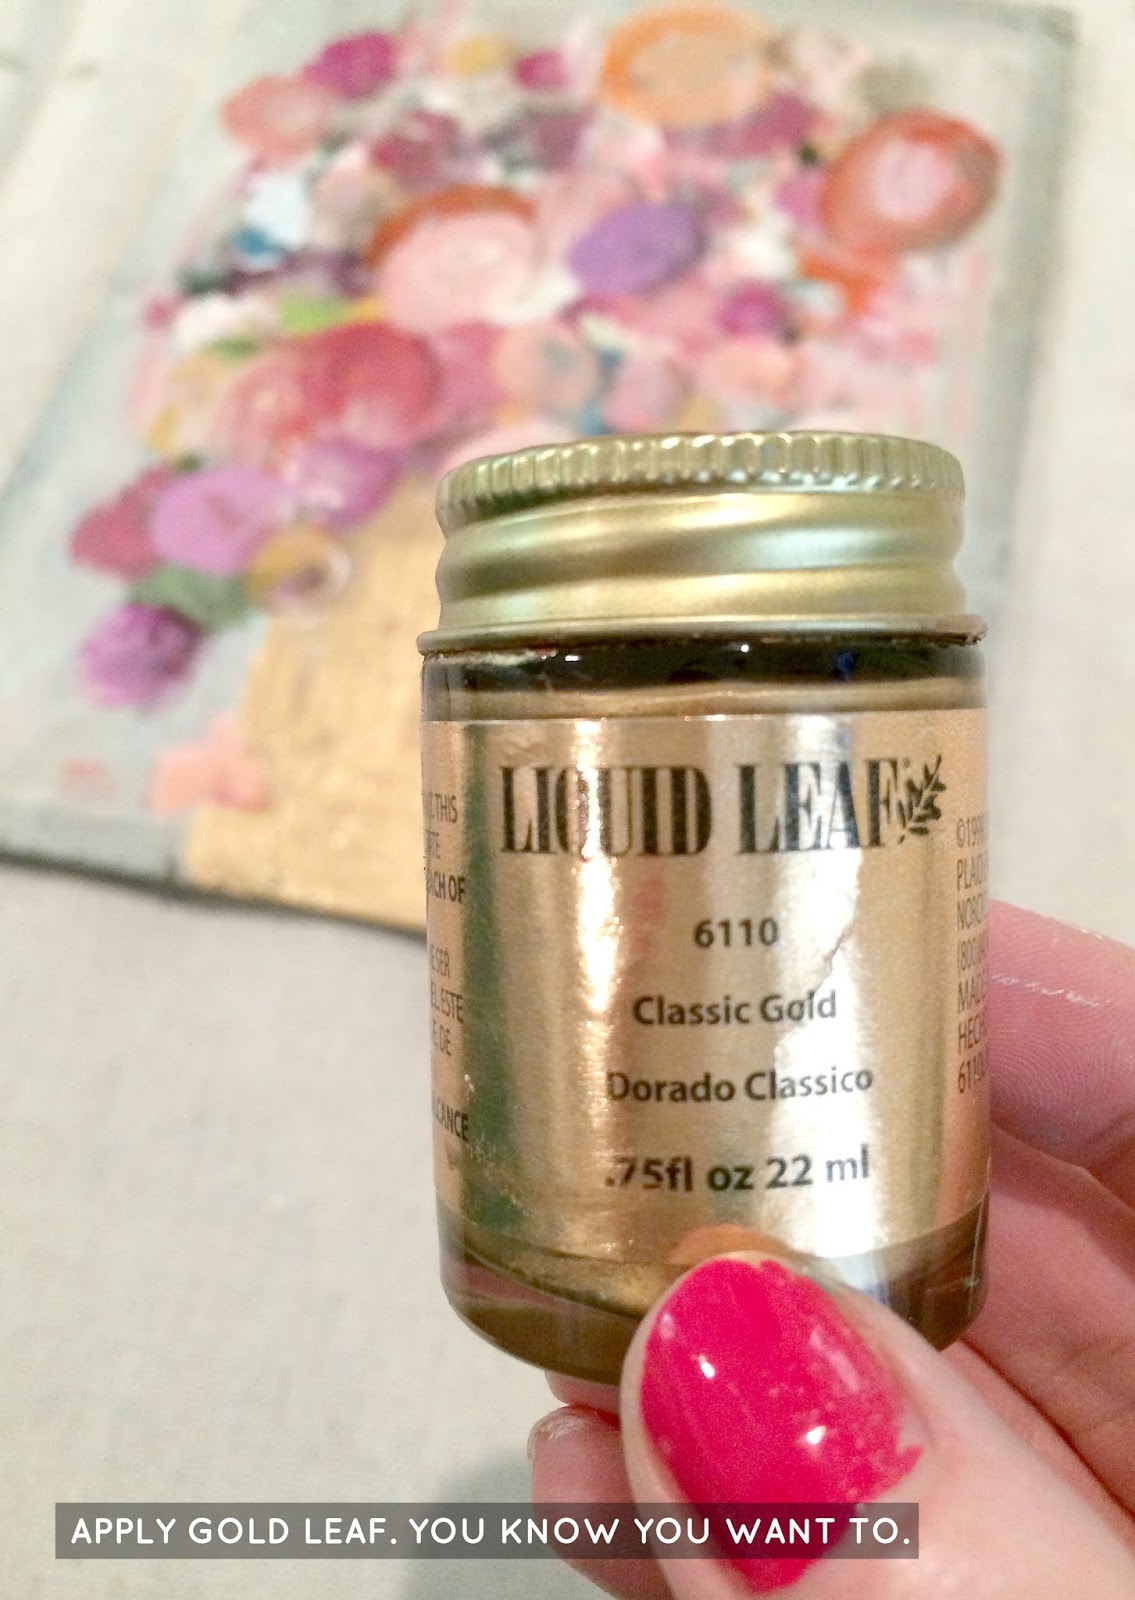
Next, I used some of my Liquid Leaf (affiliate link) to paint the vase part of the painting. This stuff is like gold leaf in a bottle, and a great alternative if you don't want to get messy with the real stuff.

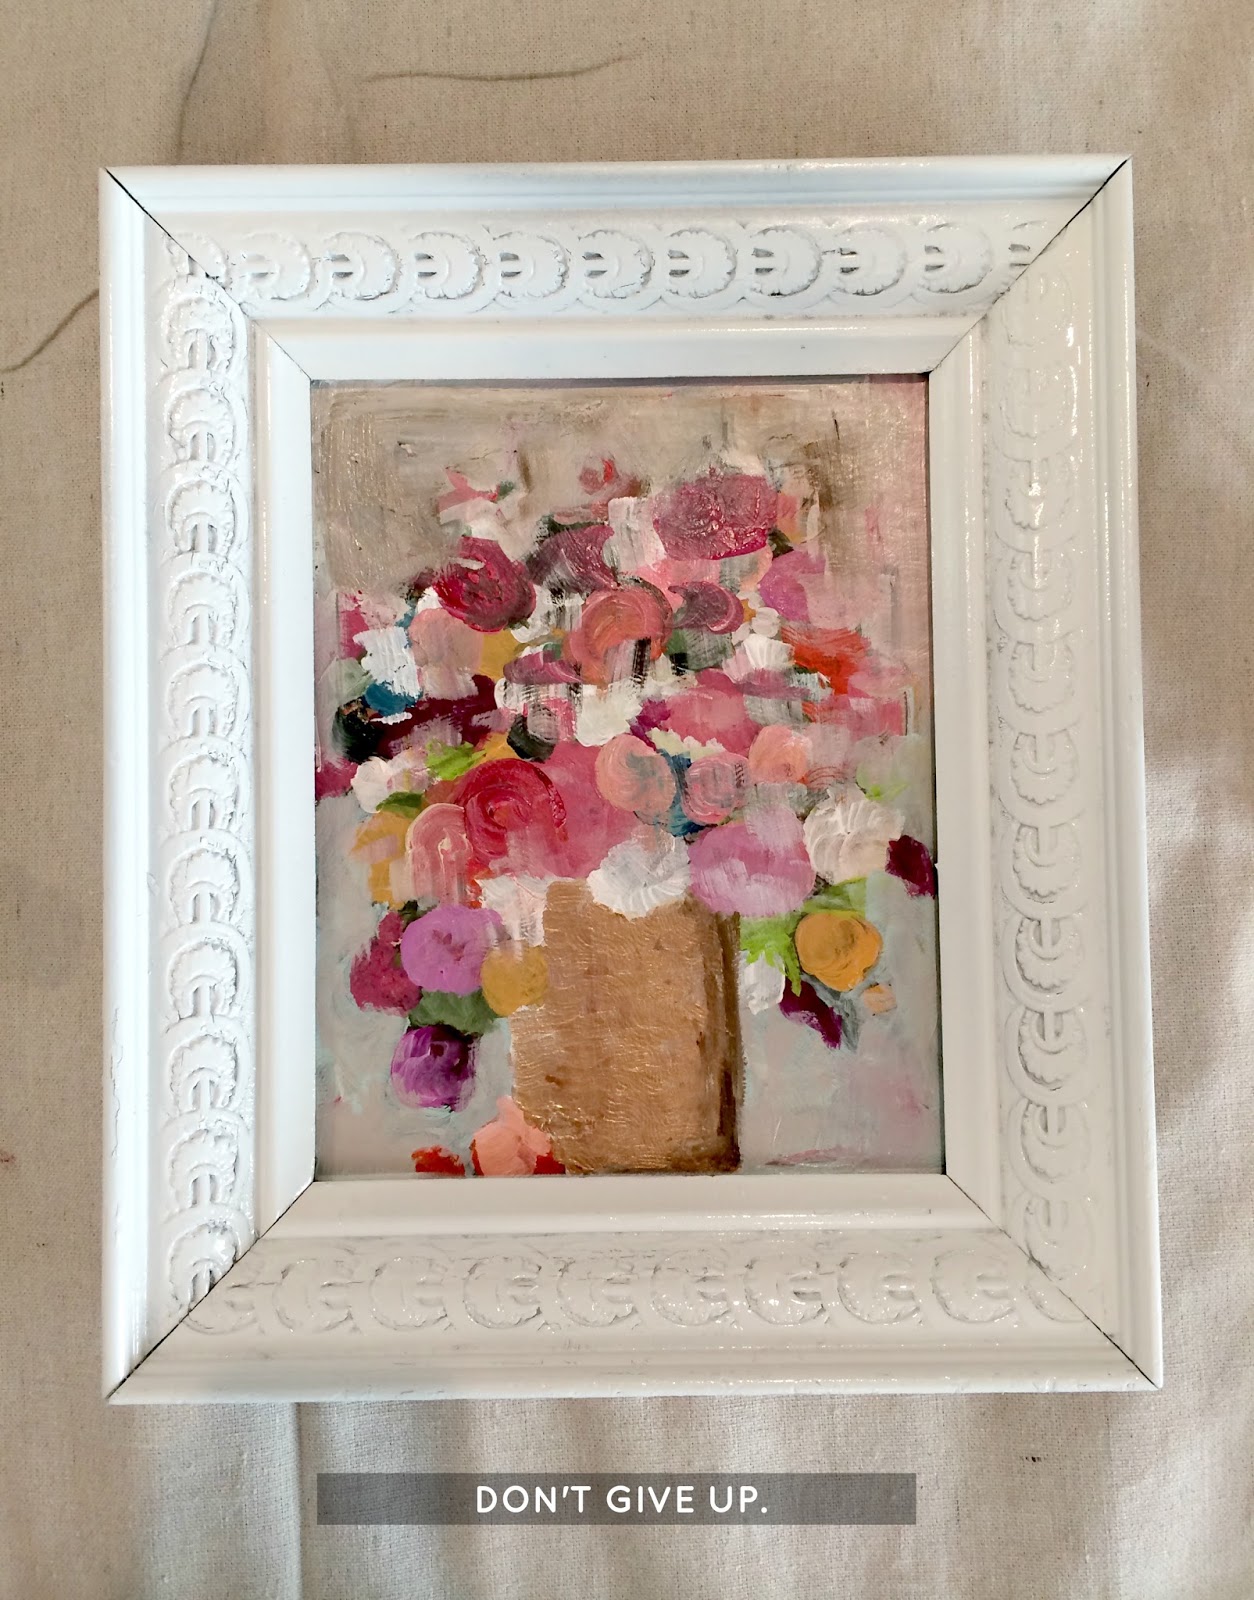
After that, I painted the background gray and kept adding more color to the flowers. There were several points when I felt like it just wasn't coming together, but by now I know that this happens with almost every painting. The trick is just to keep going past the 'give up' point.

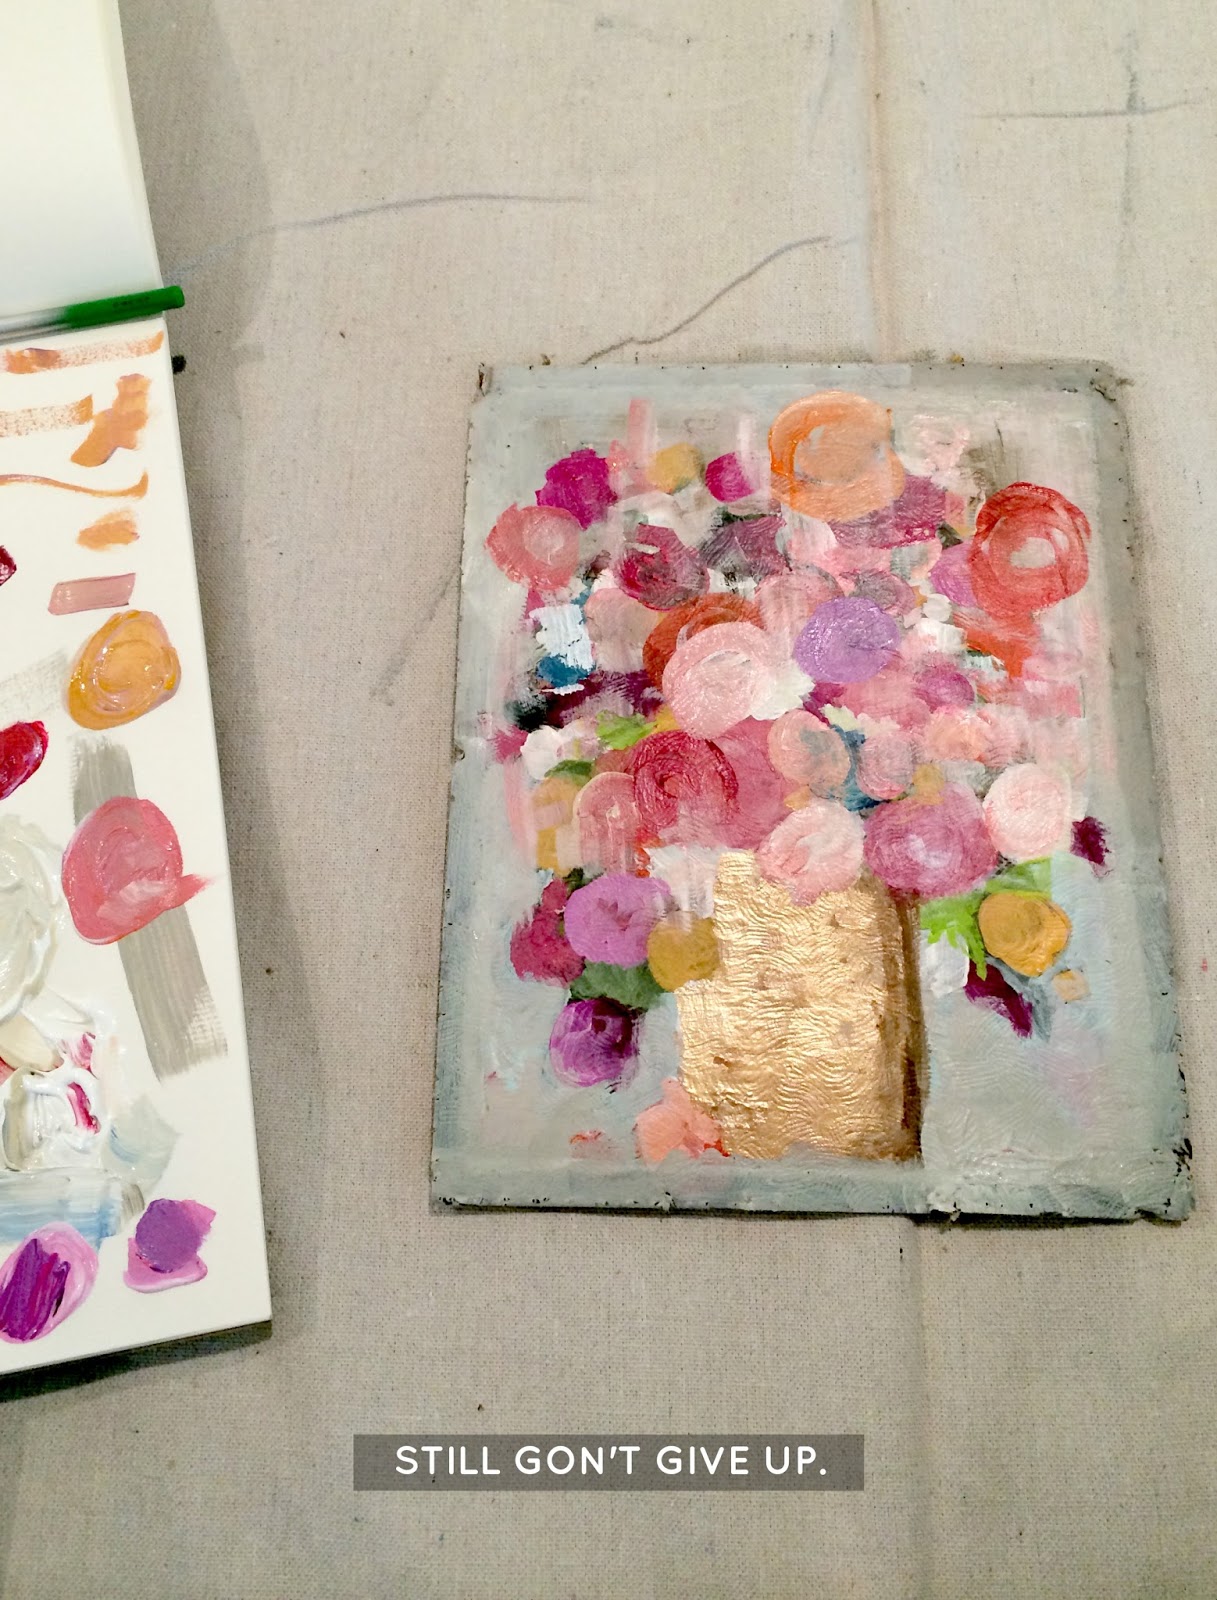
After adding a few more flowers, I eventually got fed up with my goopy spray painted thrift store frame (after painting it silver and then white), so I pried the cardboard canvas out of the frame with some pliers.
There were about 50 staples holding this thing in the frame, so that was fun. These 3 hours of my life HAD to amount to something.

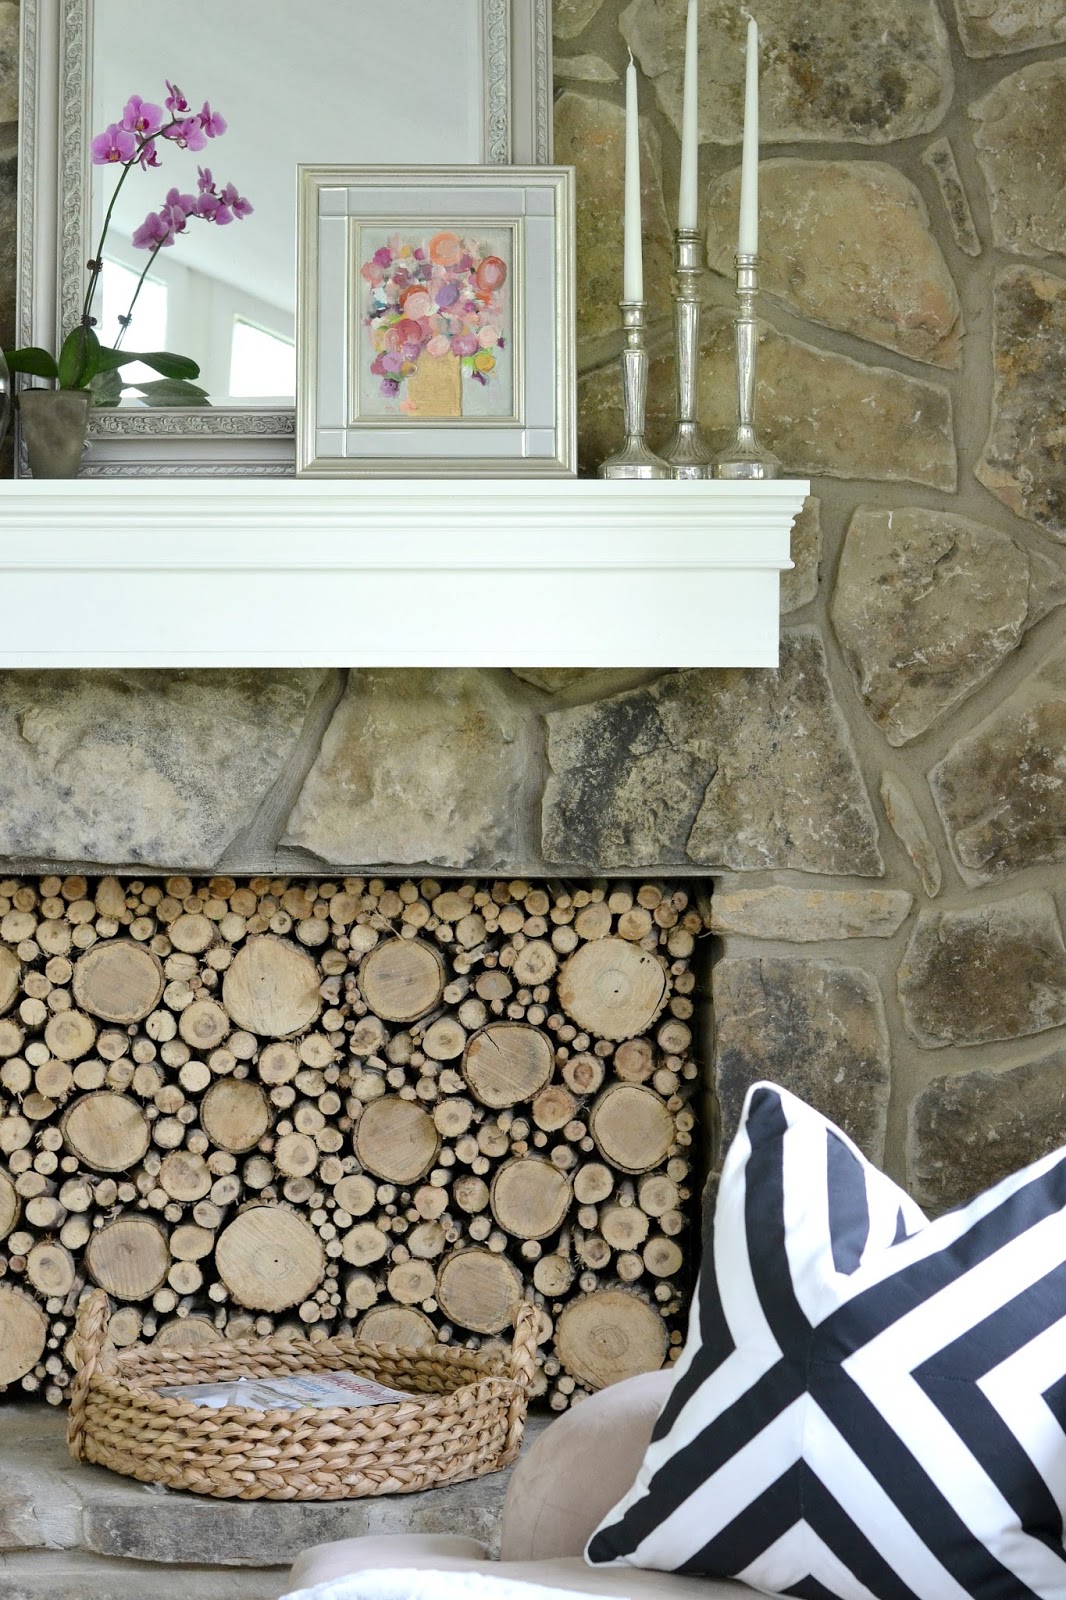
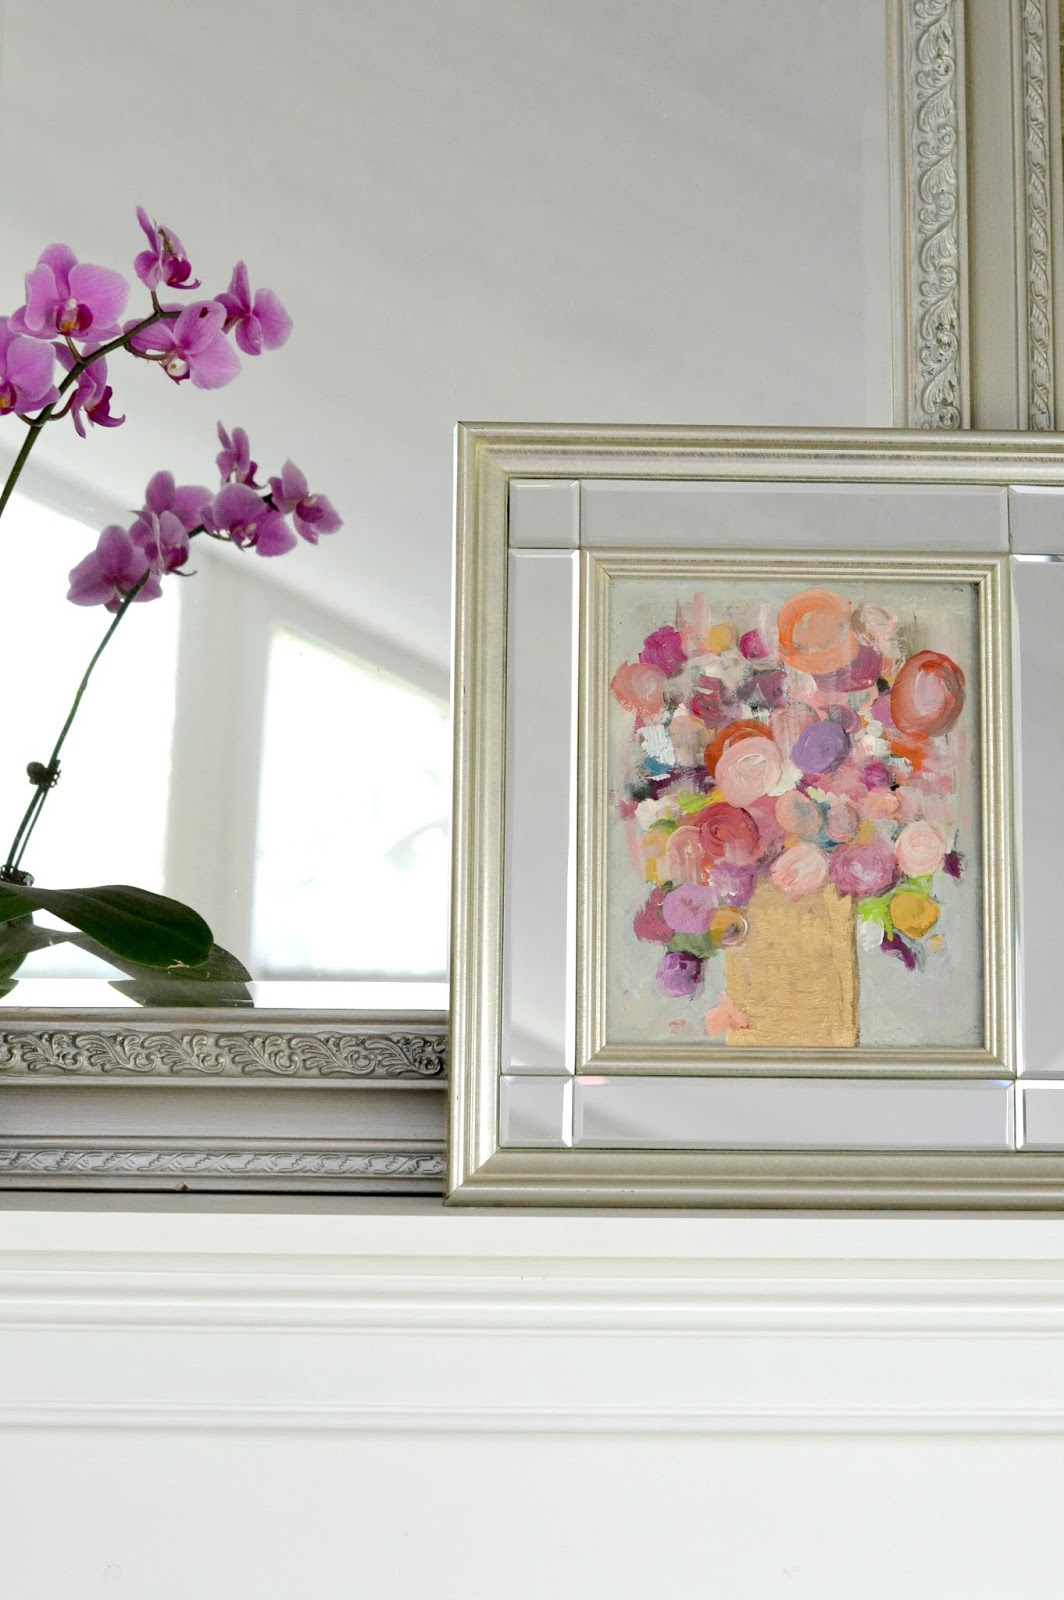
I searched the house for a better frame to use, and decided upon the one that was sitting on the mantle.

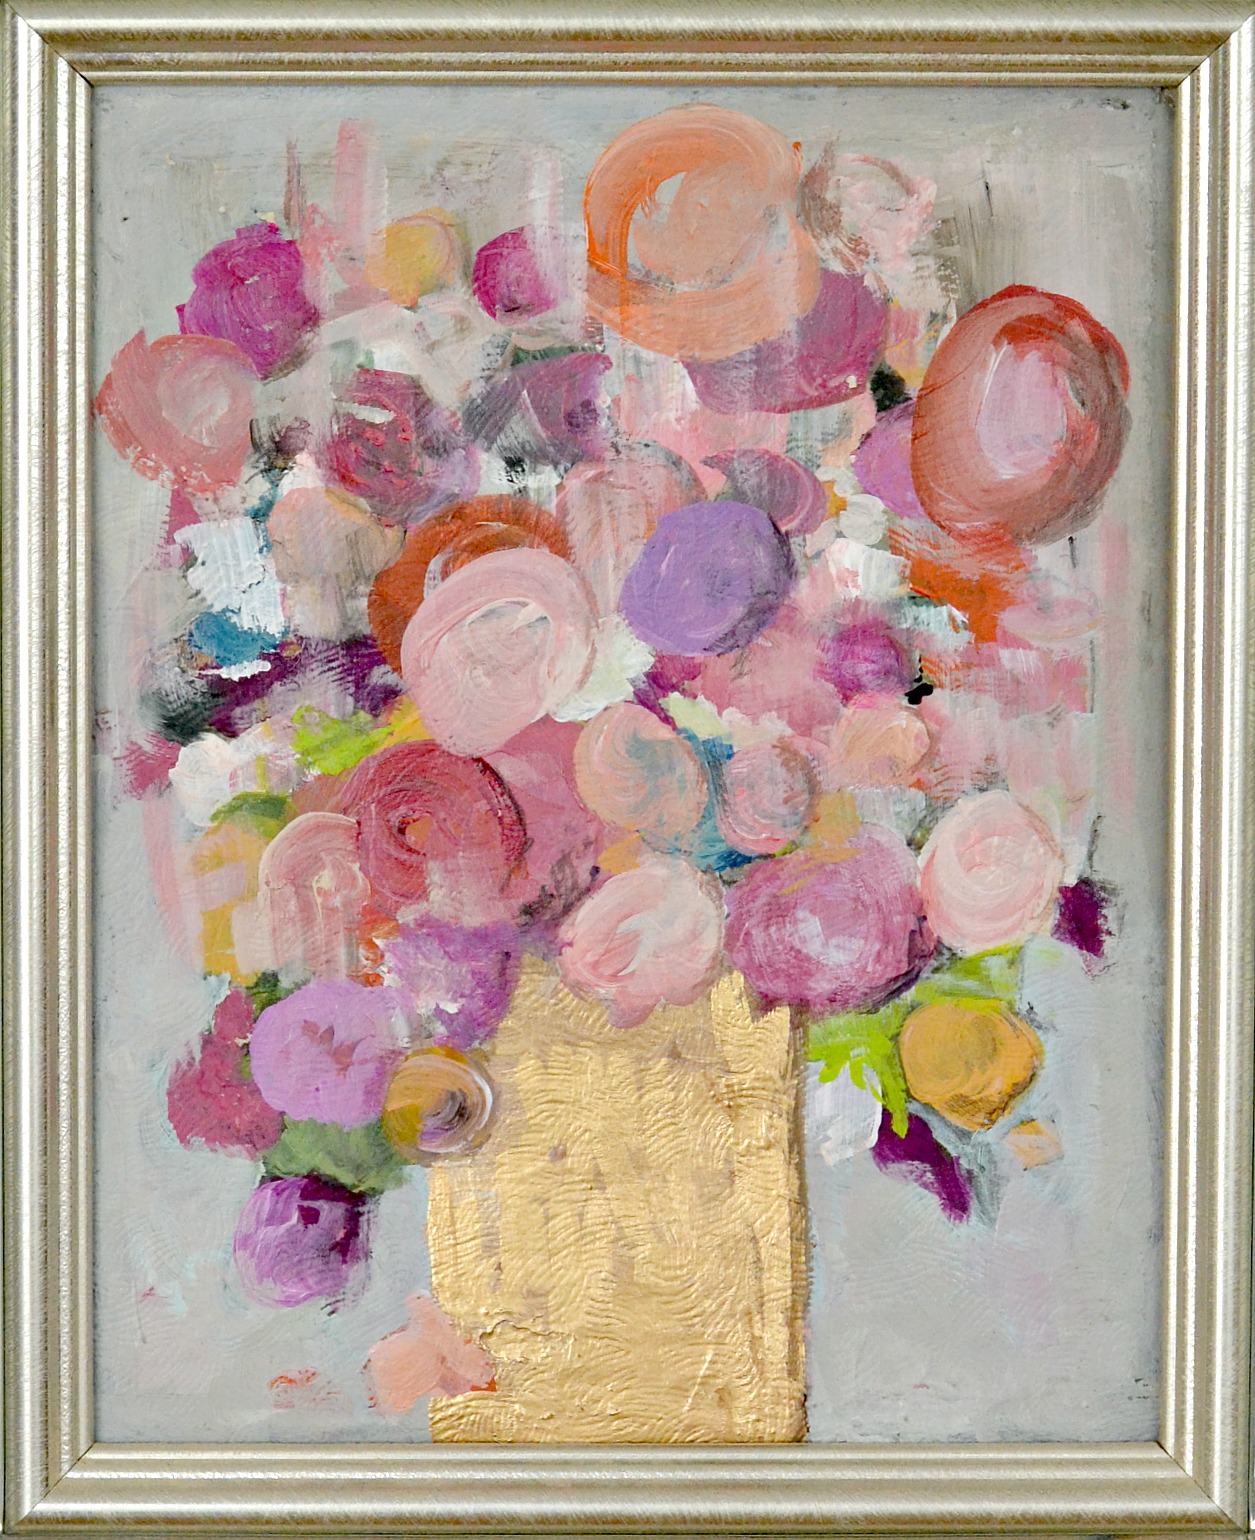
And finally...success. Here's a closeup, so you can see all the details. In summary, all I did was draw circle after circle, and add layer after layer, and then smudge a little black and a little white here and there. I used the original art as my guide, and then kind of ventured away from the original as I added more layers.


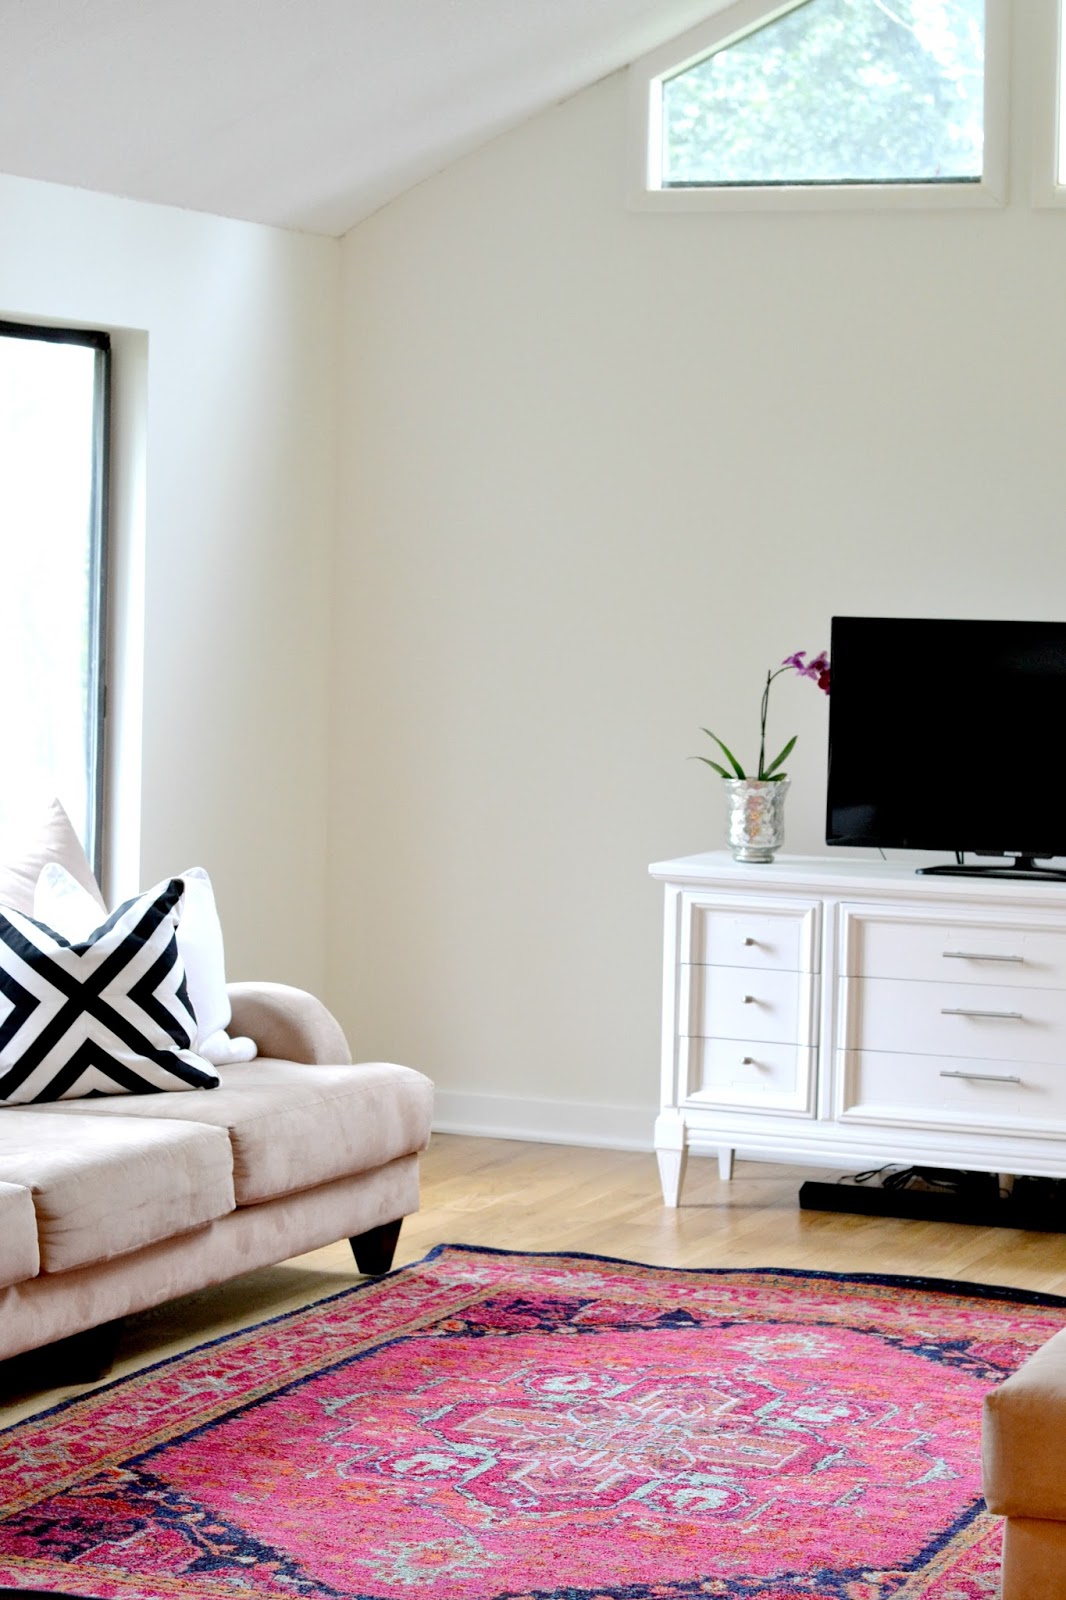
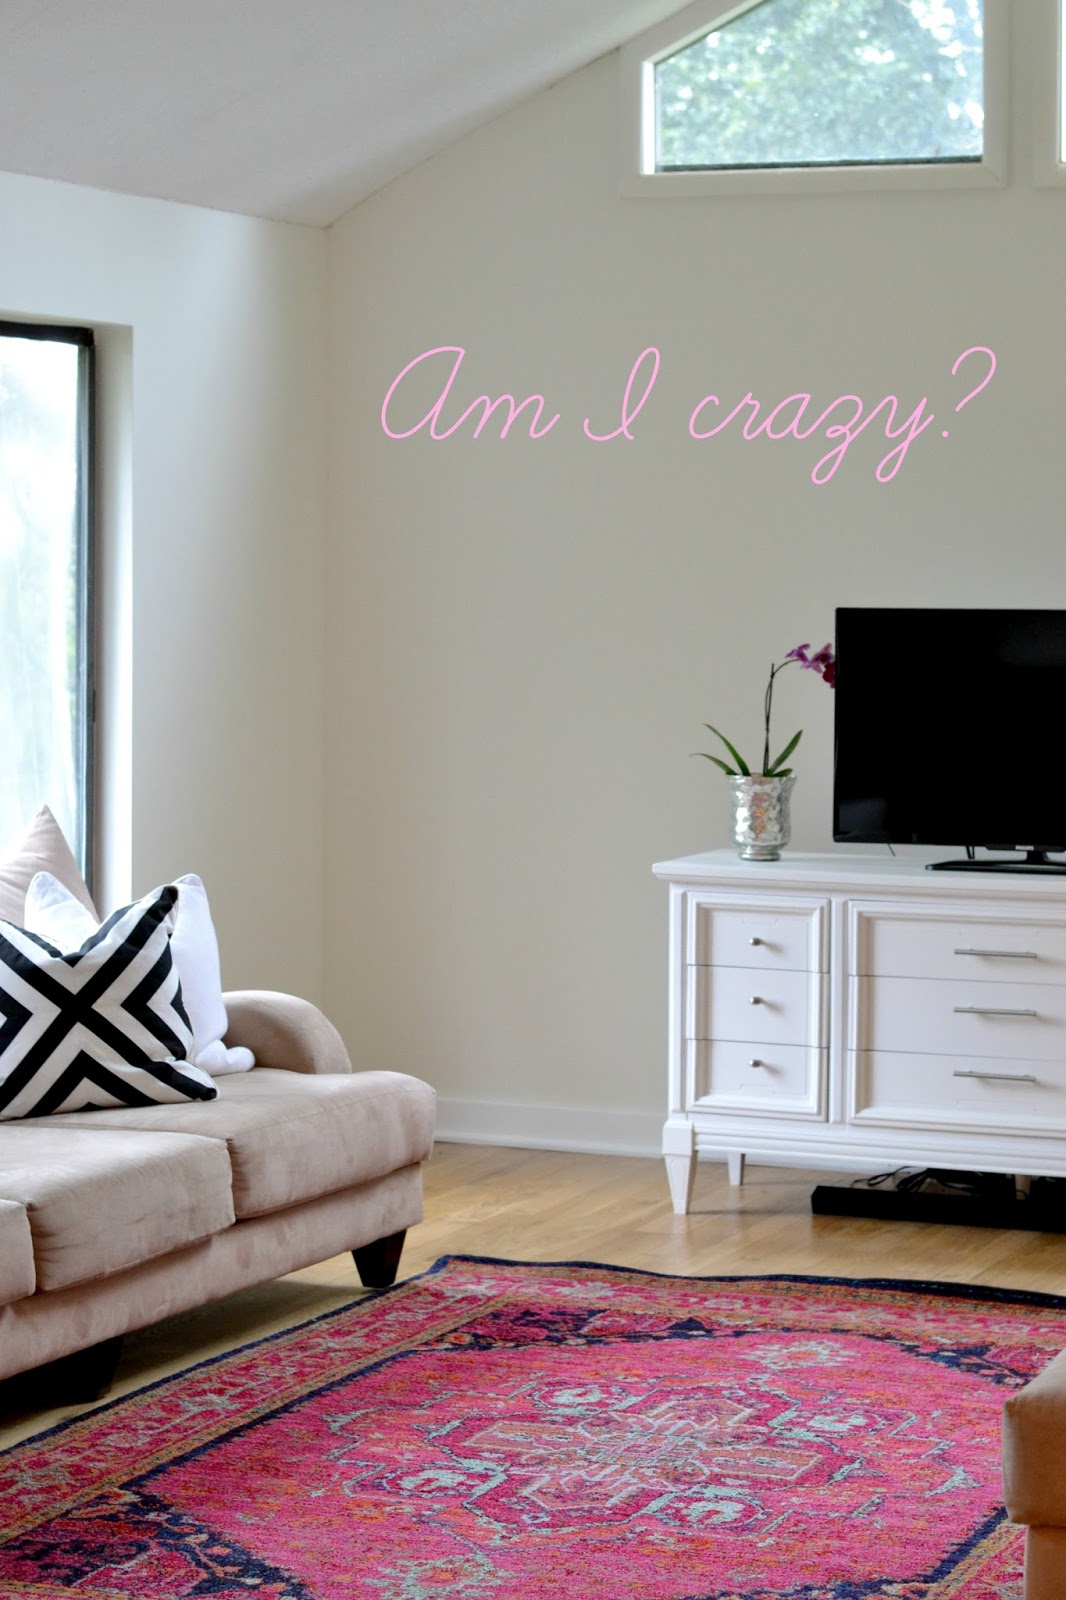
I've been thinking the living room needs a little color lately, and I'm just really drawn to pinks and oranges and purples. Call me crazy.

And while we're on the subject of the living room and pink, remember when I found this rug at the salvage store for $60 back in May?
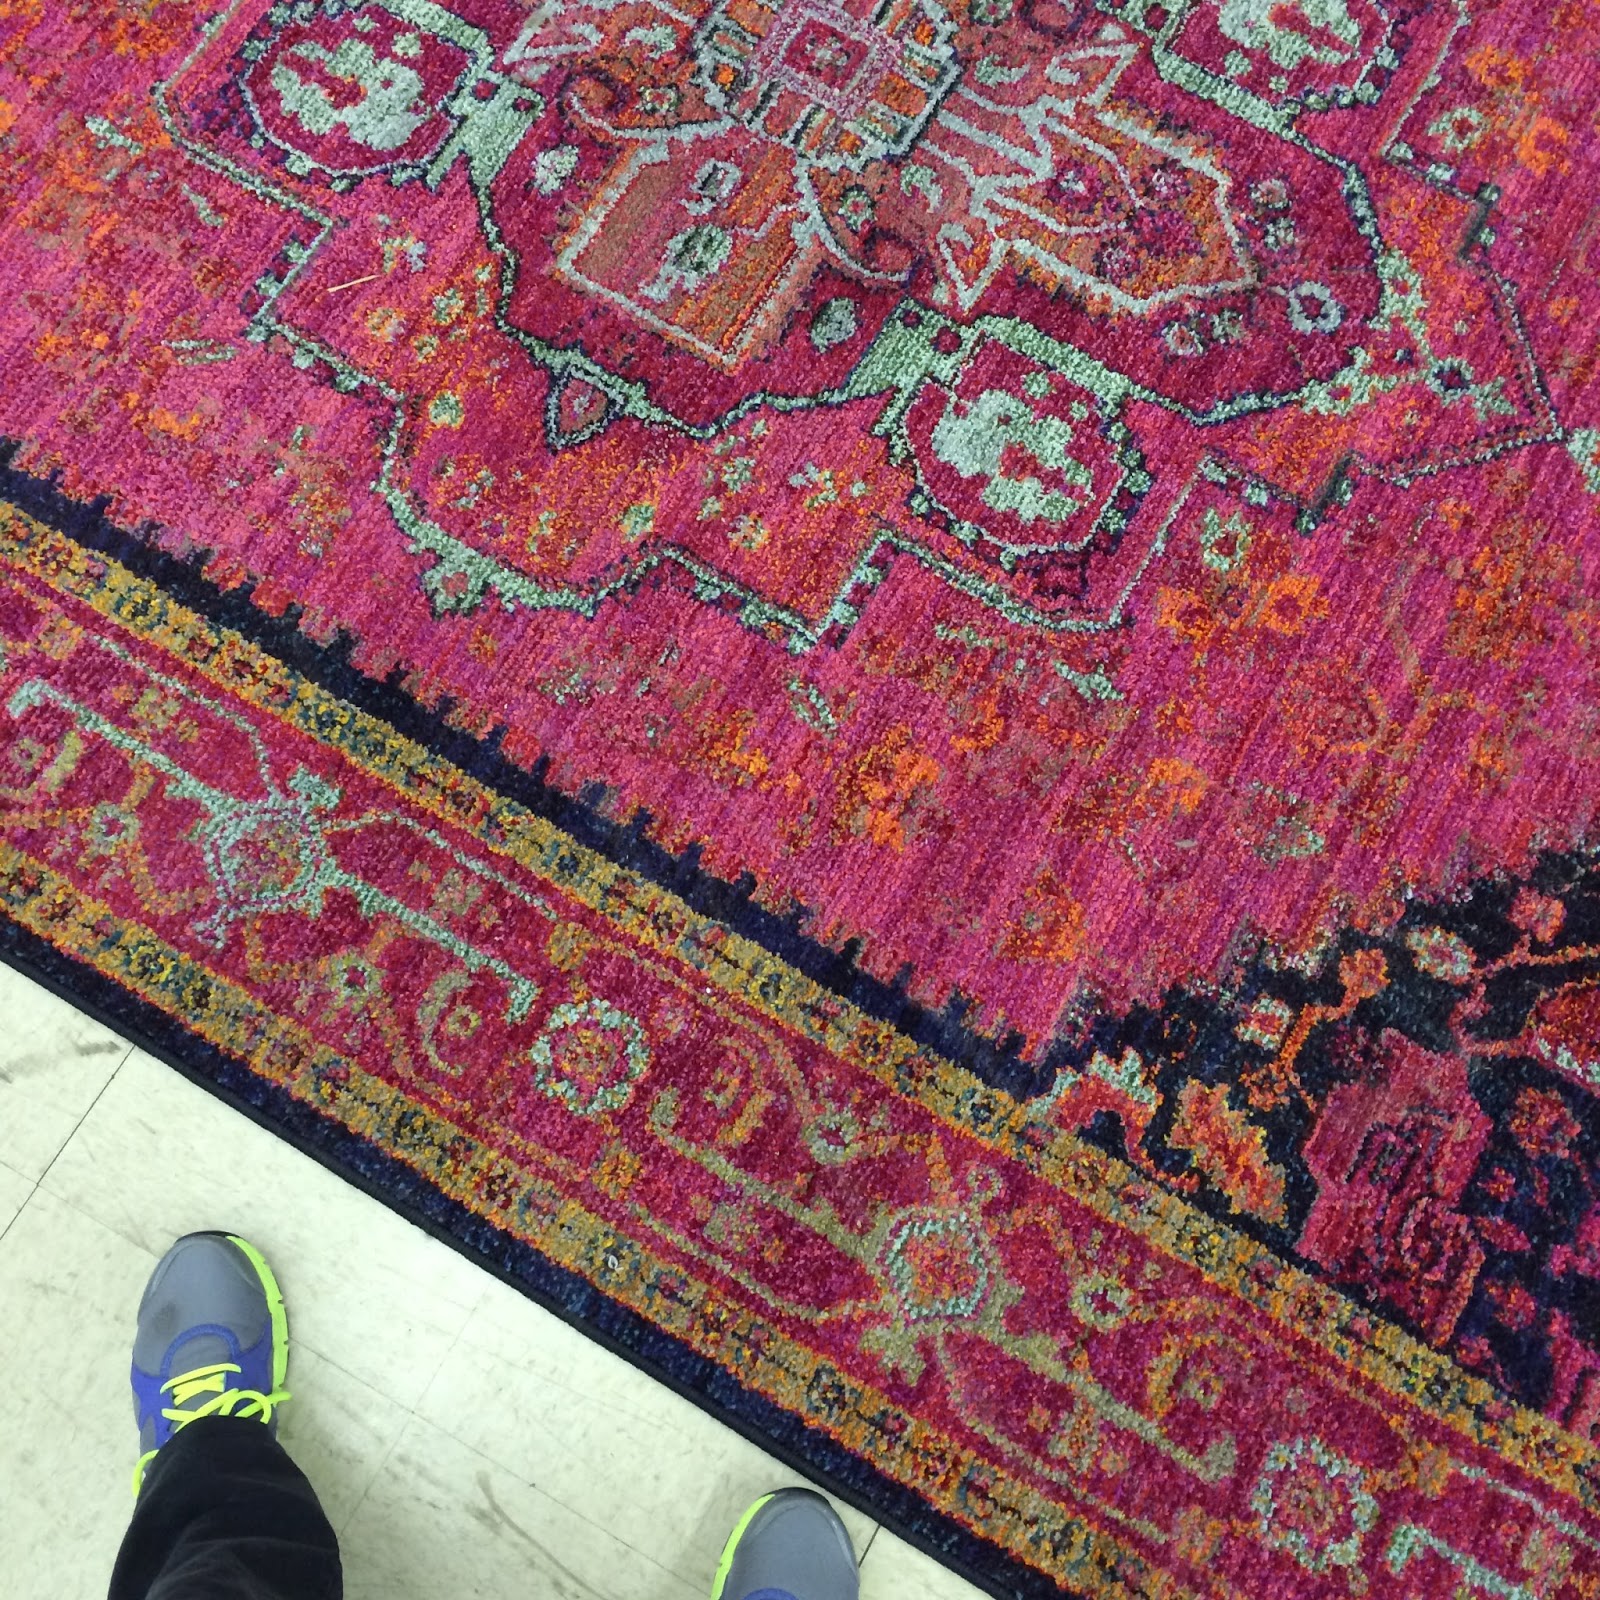

Well, I've been hoarding it ever since, and I thought you might enjoy learning about what I refer to as 'The Great Theraflu Incident of 2014'. Basically, imagine a giant fluorescent yellow stain on the Moroccan rug, and us having to carry it like little ants all the way to a professional rug cleaning company (after failing to get the stain out on our own).
So, long story short, the pink rug ended up in the living room for the week, but only temporarily until the Moroccan fella comes home.

It's totally crazy, occasionally makes me feel like squinting, and I'm pretty sure Jesse views this as punishment for the 'theraflu incident'. But, in all truth, I may never find a permanent place for this rug in the house, so I thought it would be nice to give him his day in the sun, even if just for a moment.

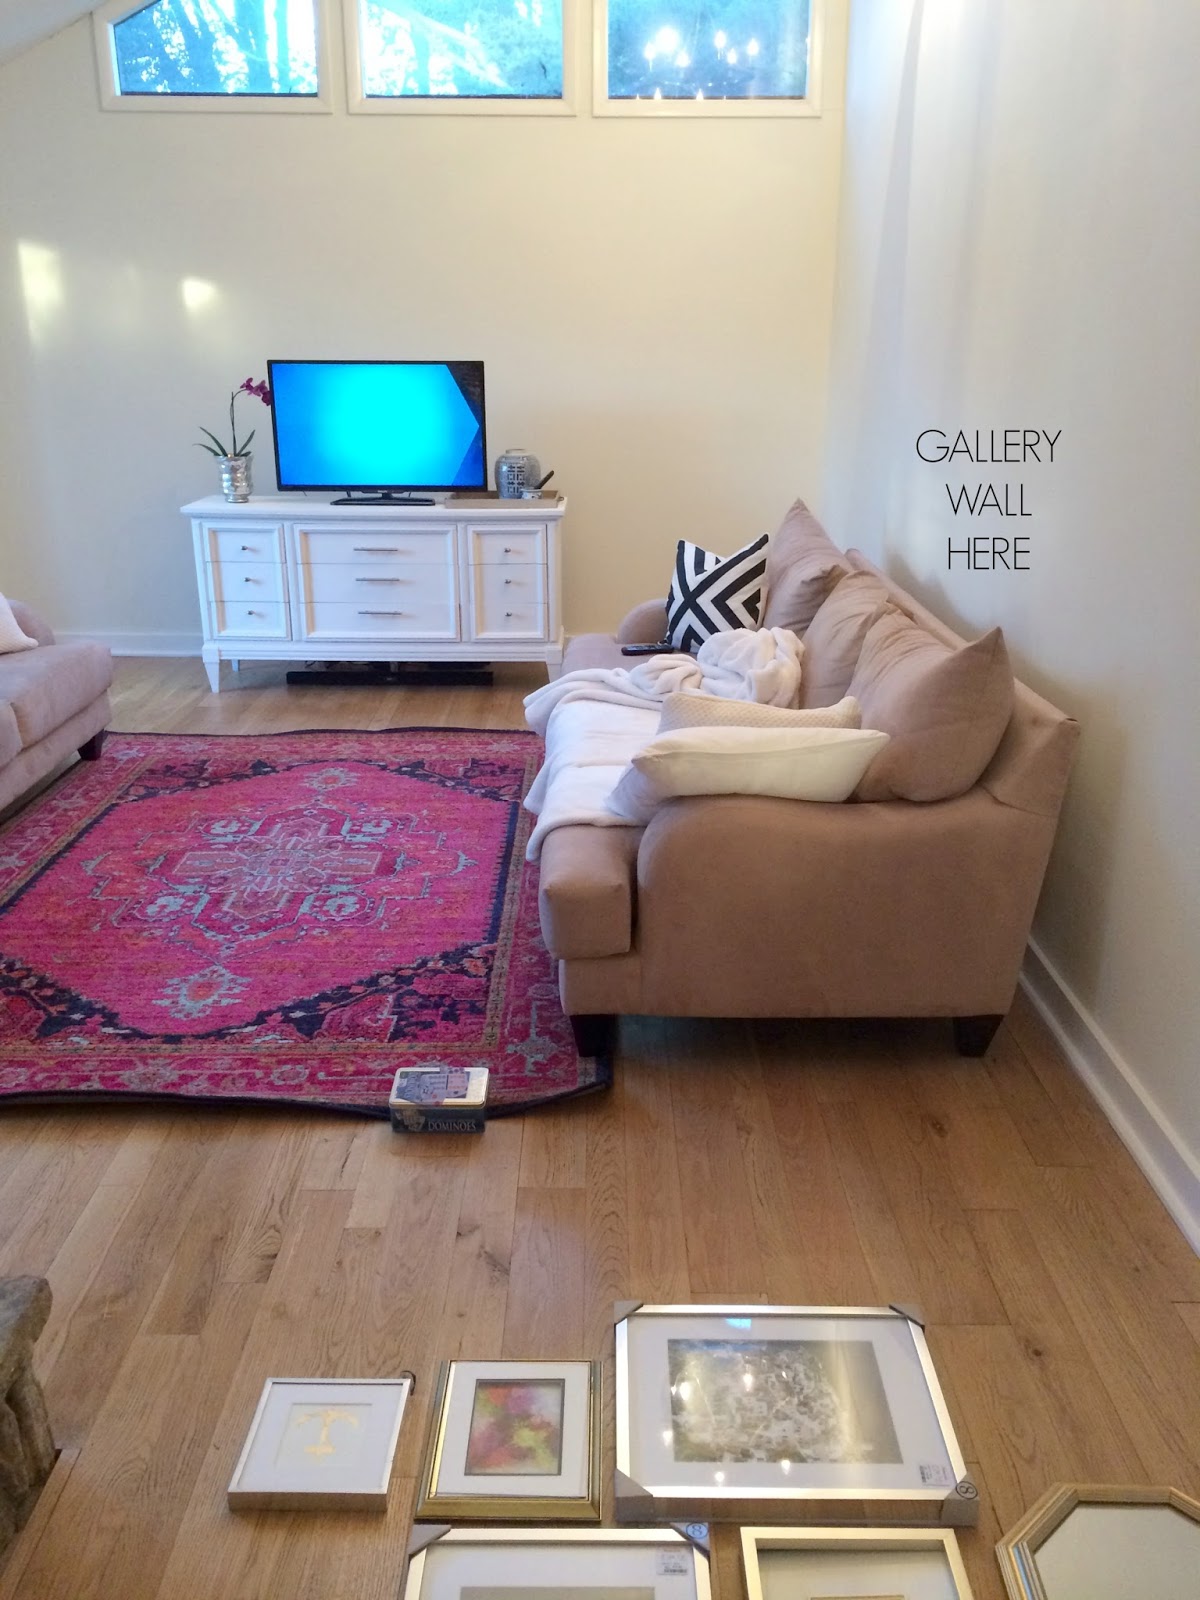
And if nothing else, moving stuff around got me inspired to start working on a gallery wall for above the sofa, and to start my hunt for a decent coffee table (to prevent 'Theraflu Incident: The Sequel'). I have no updates on either, but frankly, deciding to start felt like its own accomplishment. I know you understand.
Also of note: I attempted to flatten out the rug with a box of dominos. It did not work.

Anyways, I kind of went on a rug tangent, but let's bring it back around and remember that this post is about repurposing thrift store art....which sometimes involves hosing it off in the sink and crossing your fingers that the water won't melt it.
Thanks for being here, ya'll. I'll be back whenever I have more to share. 'Til then! P.S. For more gold leaf art ideas, go here.


or
Subscribe to LiveLoveDIY with email!
Enter your email address:

//