
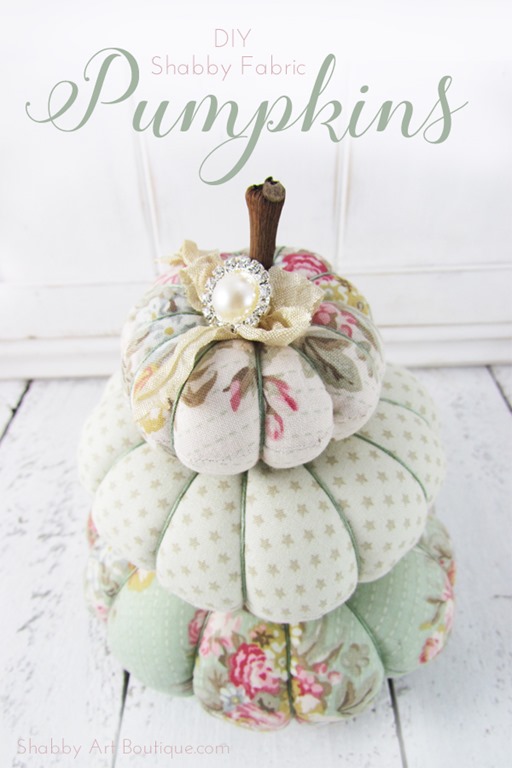
DIY– Shabby Fabric Pumpkins
With pumpkin season almost upon us, it’s time to start crafting.
Pumpkins come in all shapes and sizes… but my favourite ones are a tad shabby and of course, are the homemade variety.
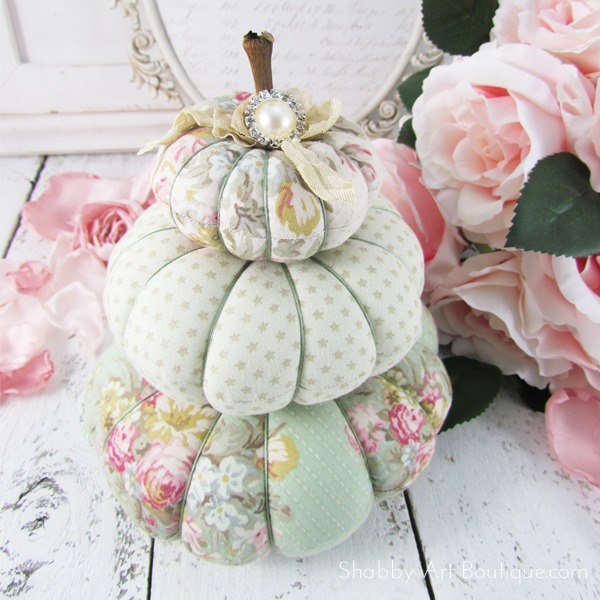
Today I am sharing how to make this sweet little pumpkin trio, but I warn you… these shabby little gems are the perfect size to tuck into Autumn vignettes, so you’ll want to make more the three!
(Pin for later)

Seasonally…. I’m a little confused, because I live between two worlds and multiple seasons!
As most of you know, I live in Australia, but what many people don’t realize is that the southern hemisphere has the opposite seasons to the northern hemisphere… so when it is summer in the US, it is winter in Australia.

The large majority of my blog readers are in the northern hemisphere, so I try to accommodate their needs as well. That means I’m usually creating for the opposite season to the one I’m living in…. hence the seasonal confusion!
So, as we are experiencing the first hints of our Spring, I’m enjoying the crafting delights of Autumn, or maybe you call it Fall.
For your convenience, I’ve supplied affiliate links to the products I used.
DIY – Shabby Fabric Pumpkins
Supplies:
3 x coordinating shabby fabrics,
DMC cotton,
Small stick and hot glue gun,
Cardboard and compass,


Instructions:
1. Make 3 cardboard circle templates using your compass. My circles had diameters of 9 cm, 13.5 cm and 17 cm, but you could make them any size.
2. Fold each of your fabrics in half, right sides facing, and trace around each circle. (diagram 1.)
3. Using the sewing machine, sew around each circle, leaving a small opening in the seam for turning through. Trim fabric excess and turn circle right side out. Press with iron. (diagram 2)
4. Stuff each pumpkin with fiberfill until you have a round ball. Using the large doll needle threaded with an extra large length of DMC cotton, insert needle in the center of the ball from top to bottom. Take thread around the outside and insert in same spot again. Pull cotton tight to make a dent. Continue making the same stitch until you have divided the ball in four equal parts. (diagram 3.)
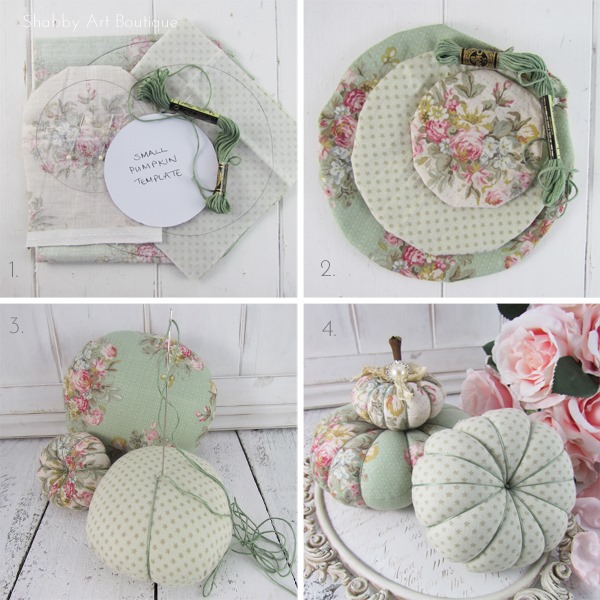

5. Continue working around the ball, adding two more segments in each of the previously made quadrants. You will end up with 12 segments. Secure the last stitch with a knot. (diagram 4)
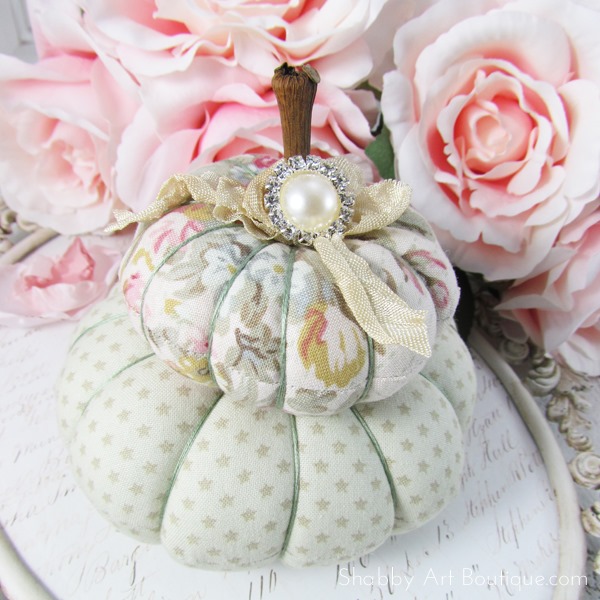
6. I embellished the smallest of the pumpkins by adding a small stick to the top with hot glue. Once dry, I tied a small bow with cream seam binding and added a pretty rhinestone button.

These were so quick and easy to make…. I couldn’t stop at just 3 fabric pumpkins, so expect to see these and a few other pretty pumpkins popping up in my Autumn vignettes.
Happy crafting,
Kerryanne


Follow on Bloglovin.
If you’d like a private pass to all things ‘shabbilicious, sign up today for my fortnightly newsletter. It contains personal stories, sneak peeks, recommendations, discounts and freebies.
Plus, you will also get a free copy of my eBook,
5 Tips for creating a Shabbilicious Home.
The post DIY– Shabby Fabric Pumpkins appeared first on Shabby Art Boutique.