
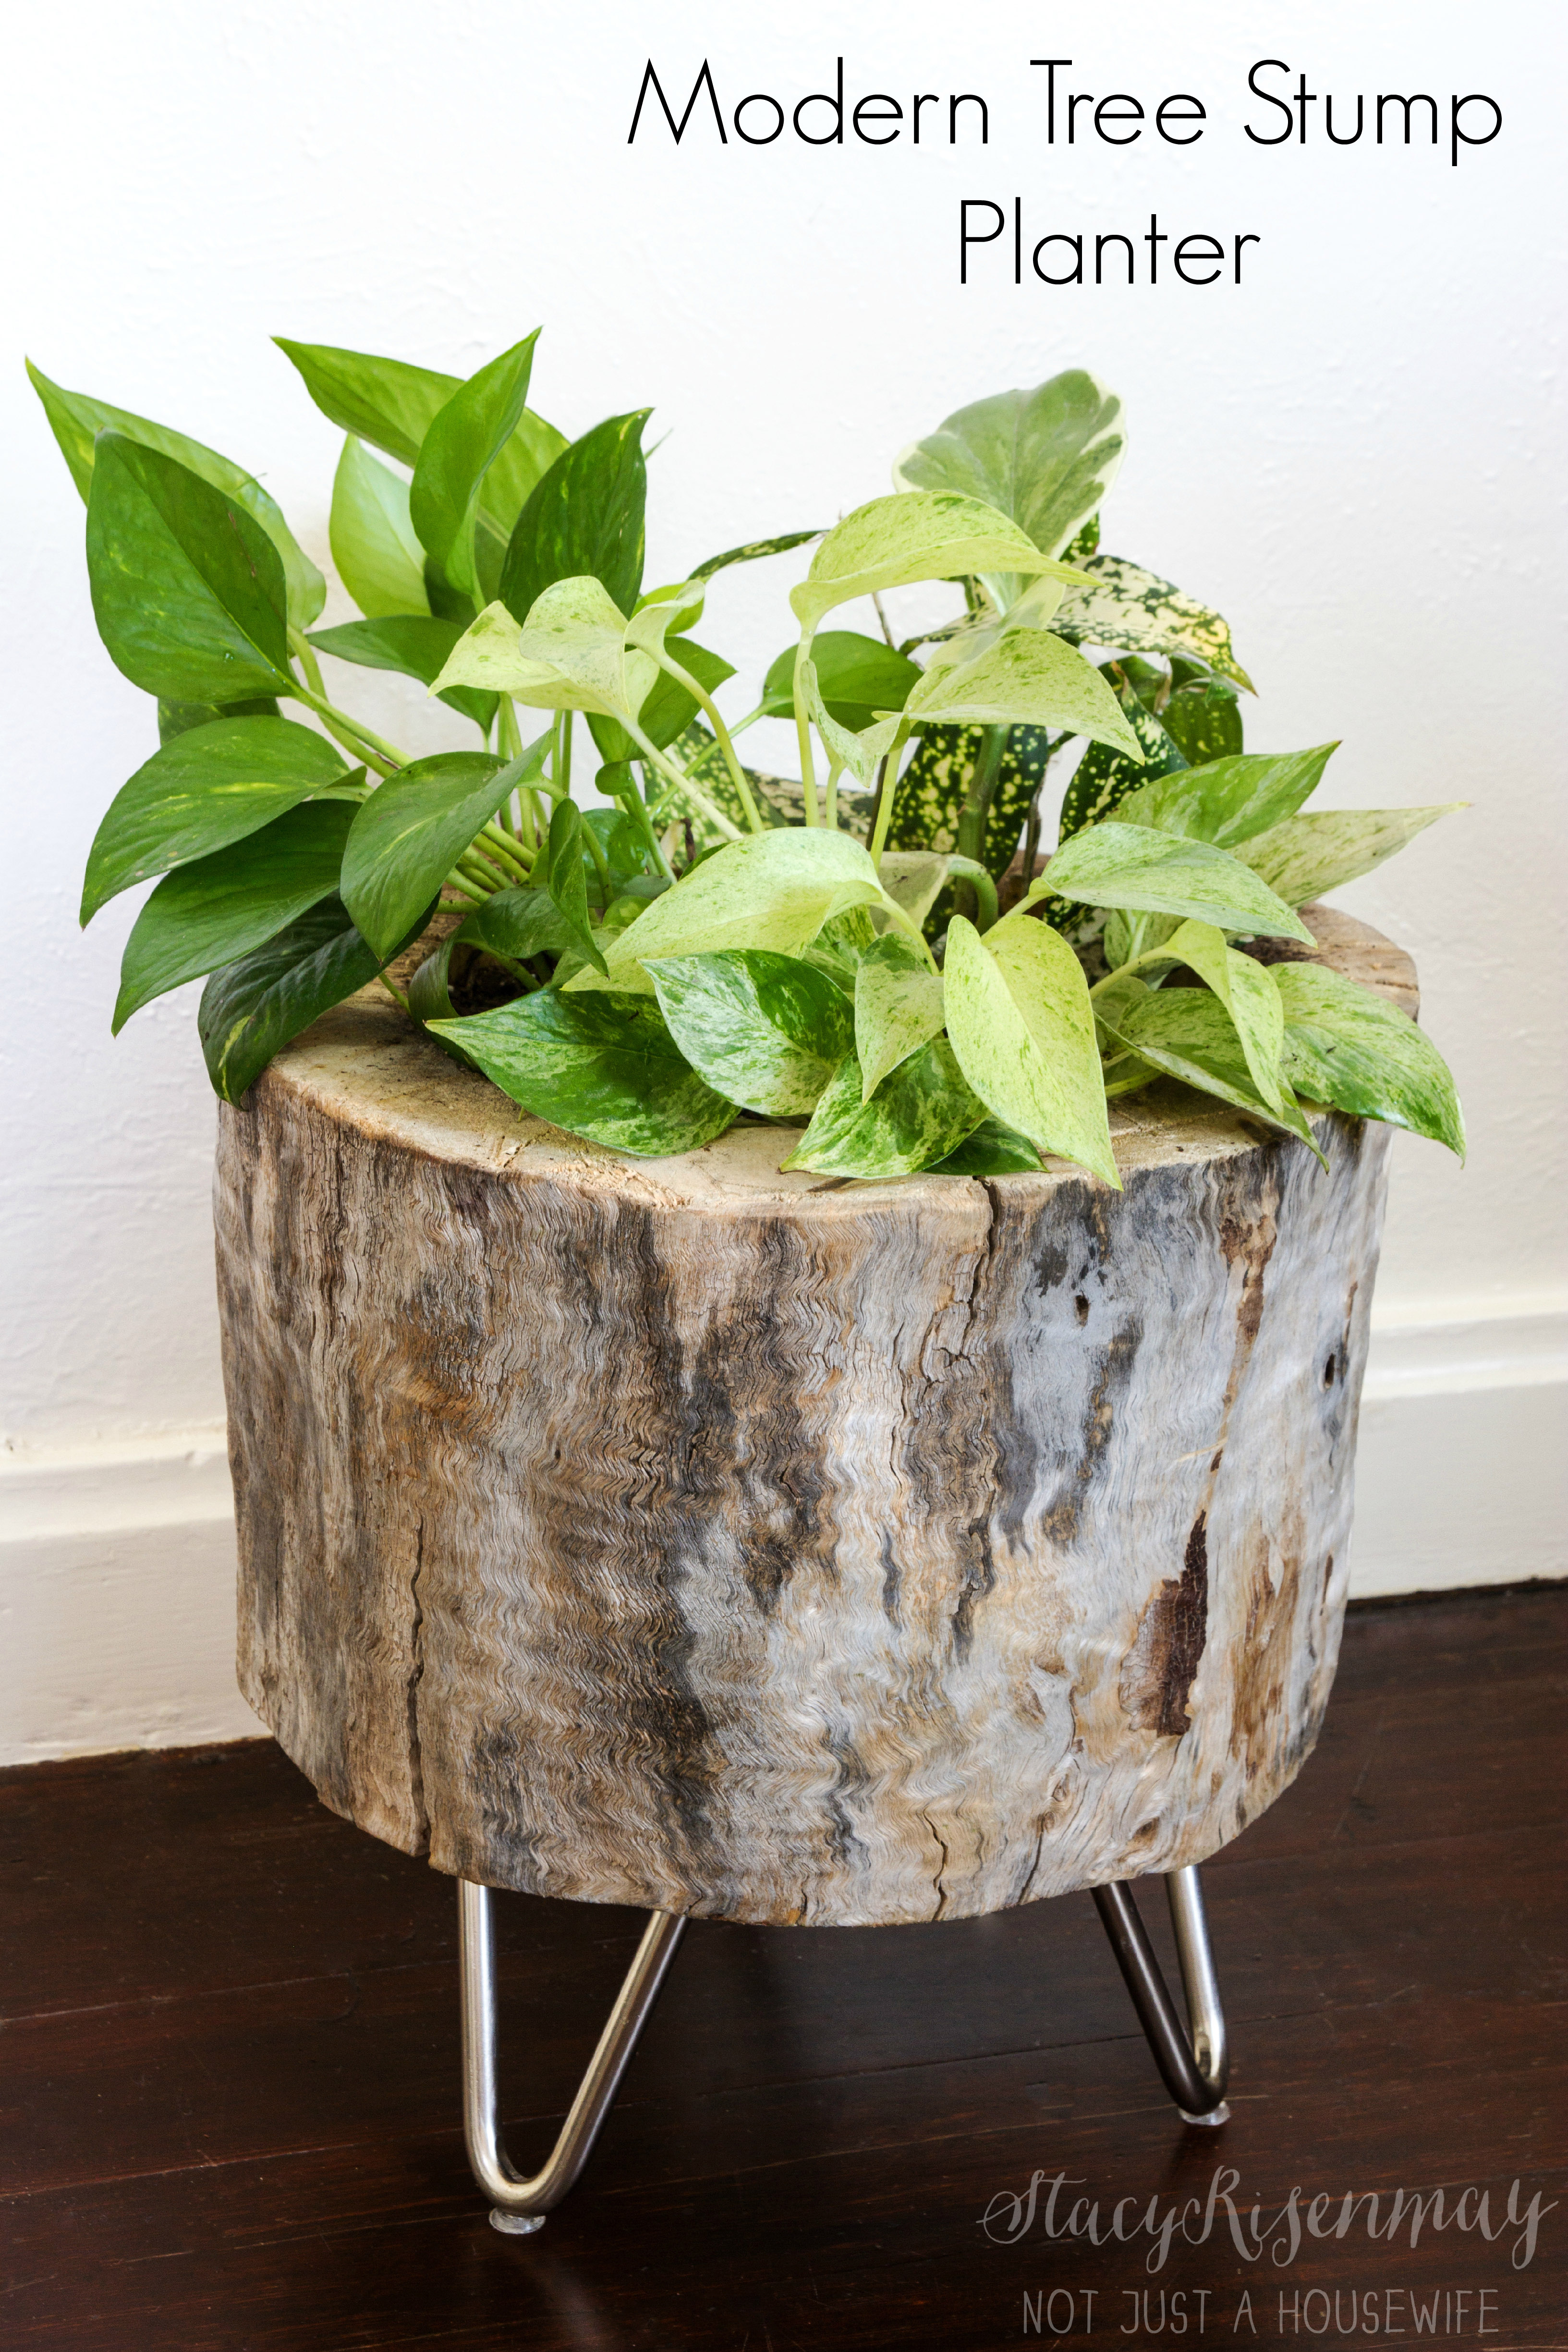
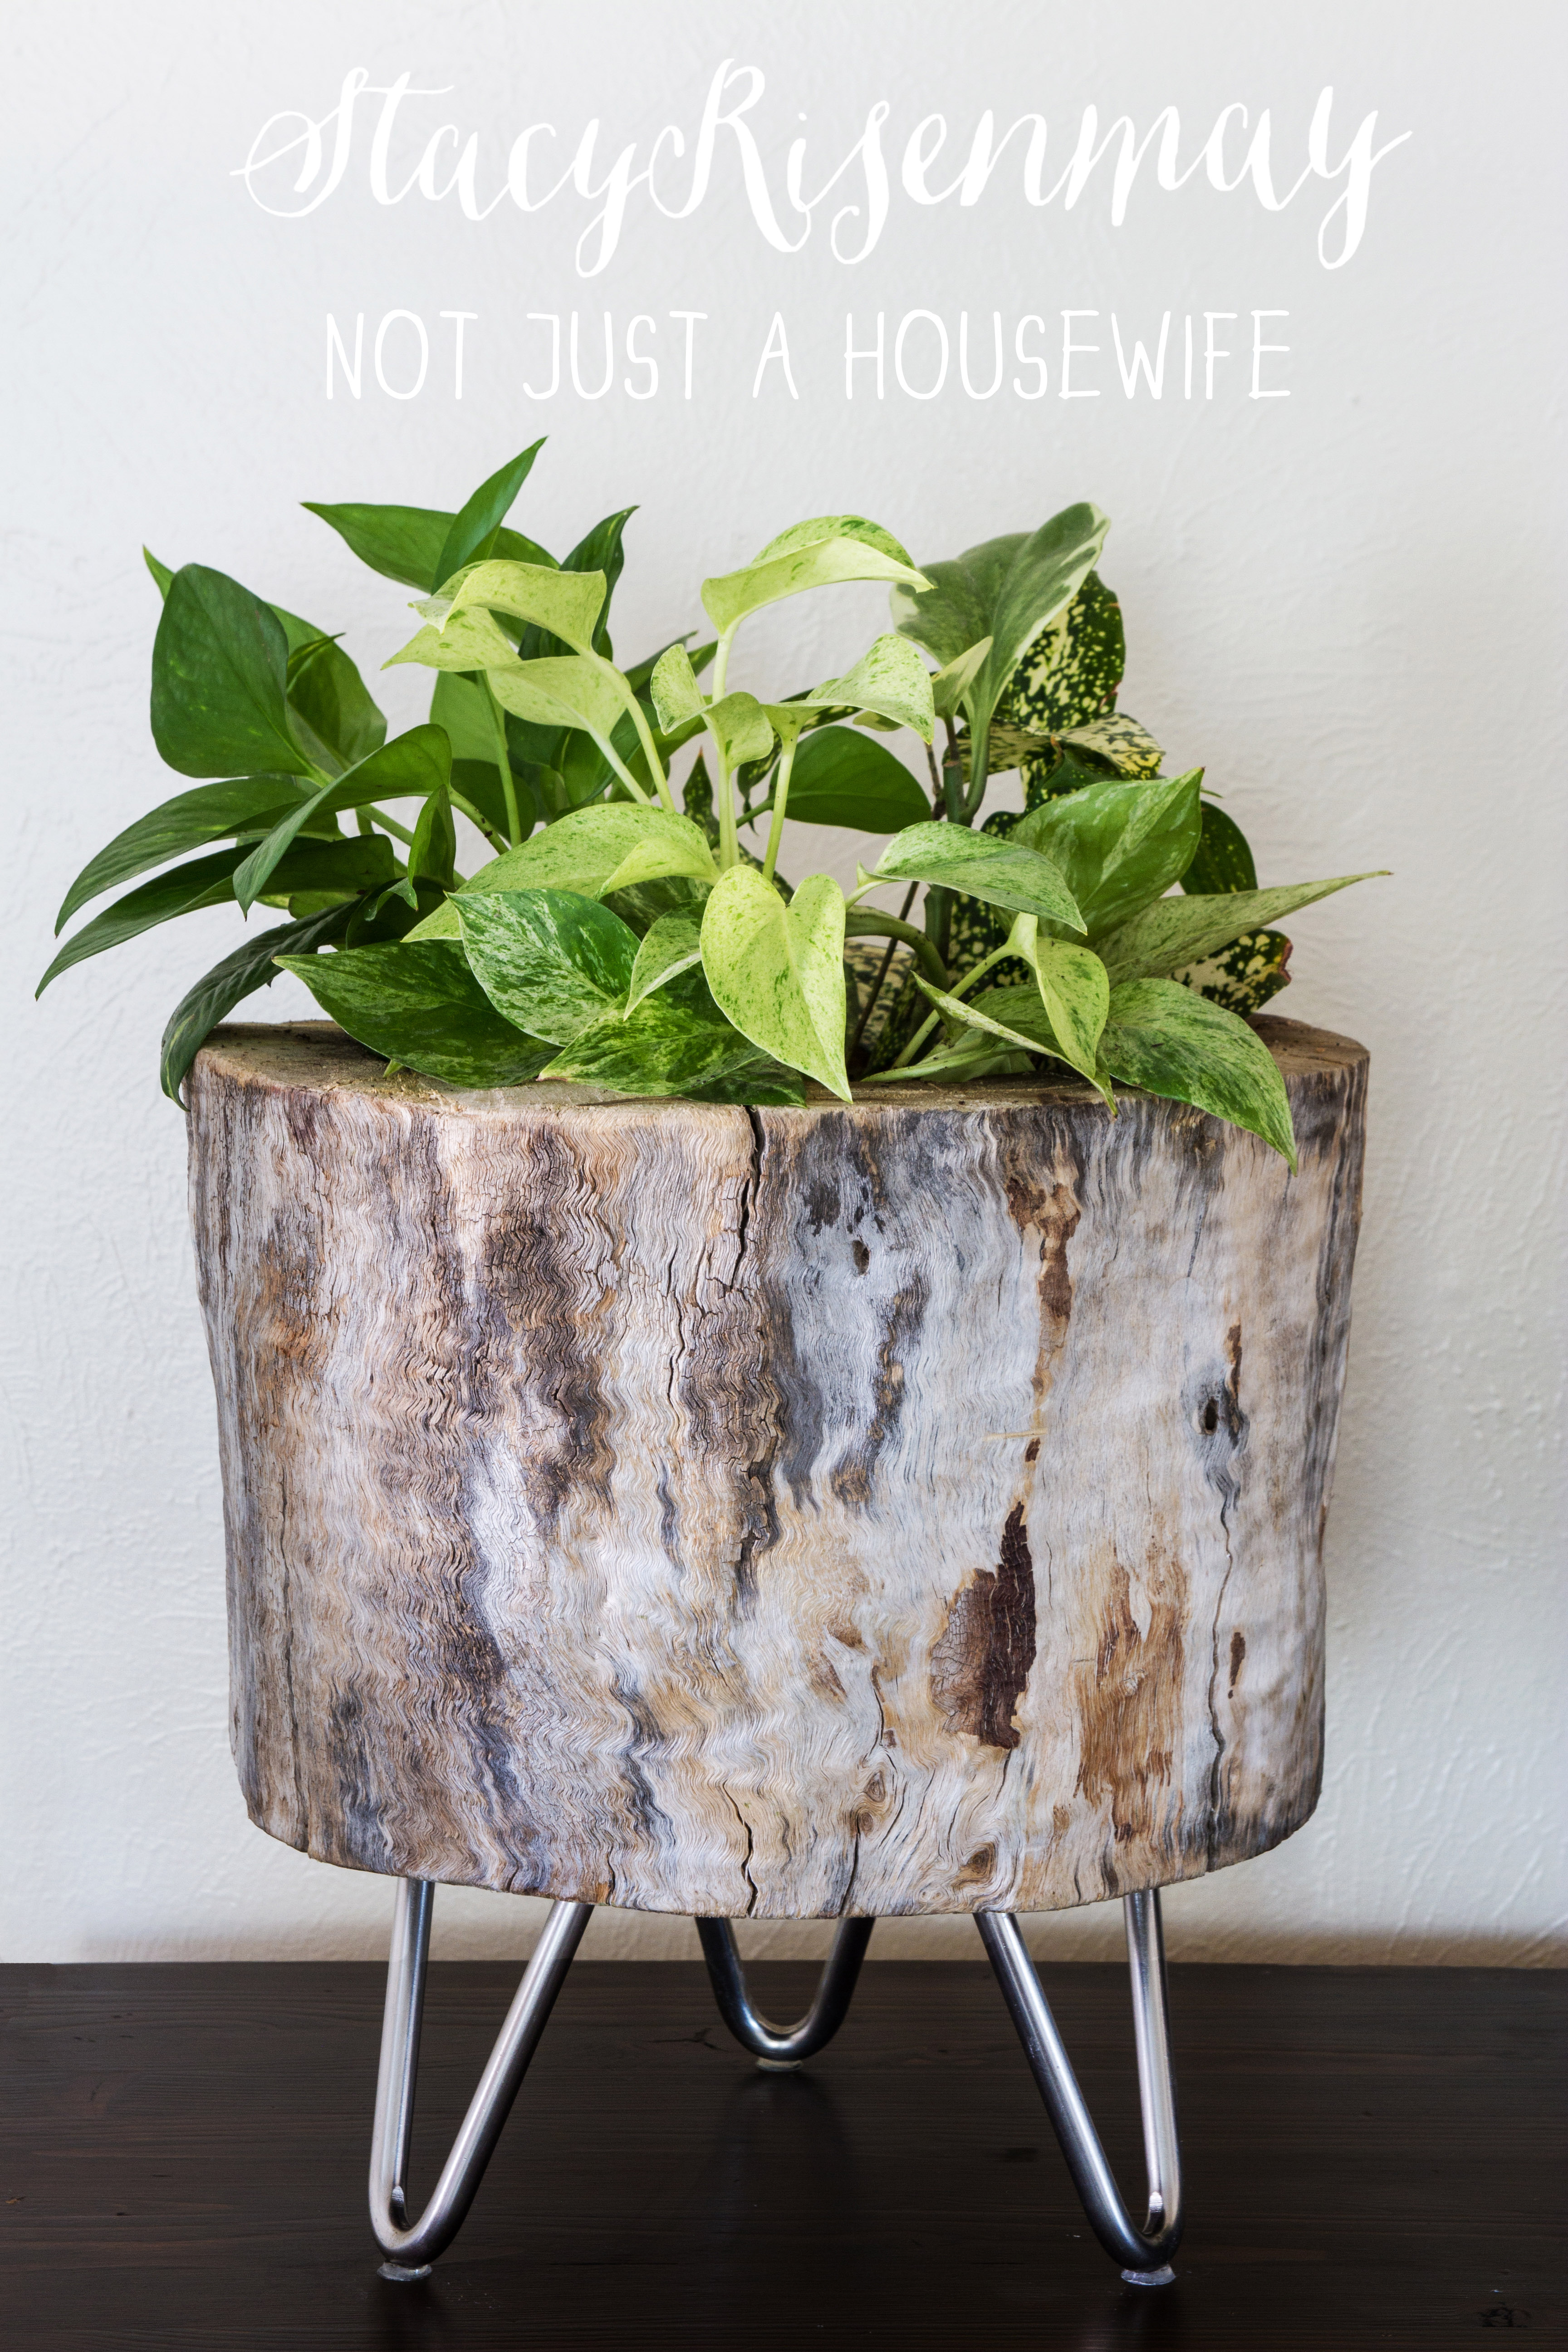
Modern Tree Stump Planter
I planned on doing this project back in March. I started making this project about a month ago. I kept getting interrupted. So to say that I am excited it is finally done is an understatement. But it was worth the wait because I am completely smitten with my new planter!

A couple of years ago one of our big trees in our backyard got blown down in a huge storm. I was devastated. Ever since then, I have tried to use the pieces of the tree in projects so that it didn’t get wasted. We didn’t have a chainsaw at the time so a kind neighbor came over and cut it into manageable pieces so we could move it to the very back of the yard to our wood pile. It sat there for a long time. It lost its bark and dried out. But to me it was beautiful and needed a new life.


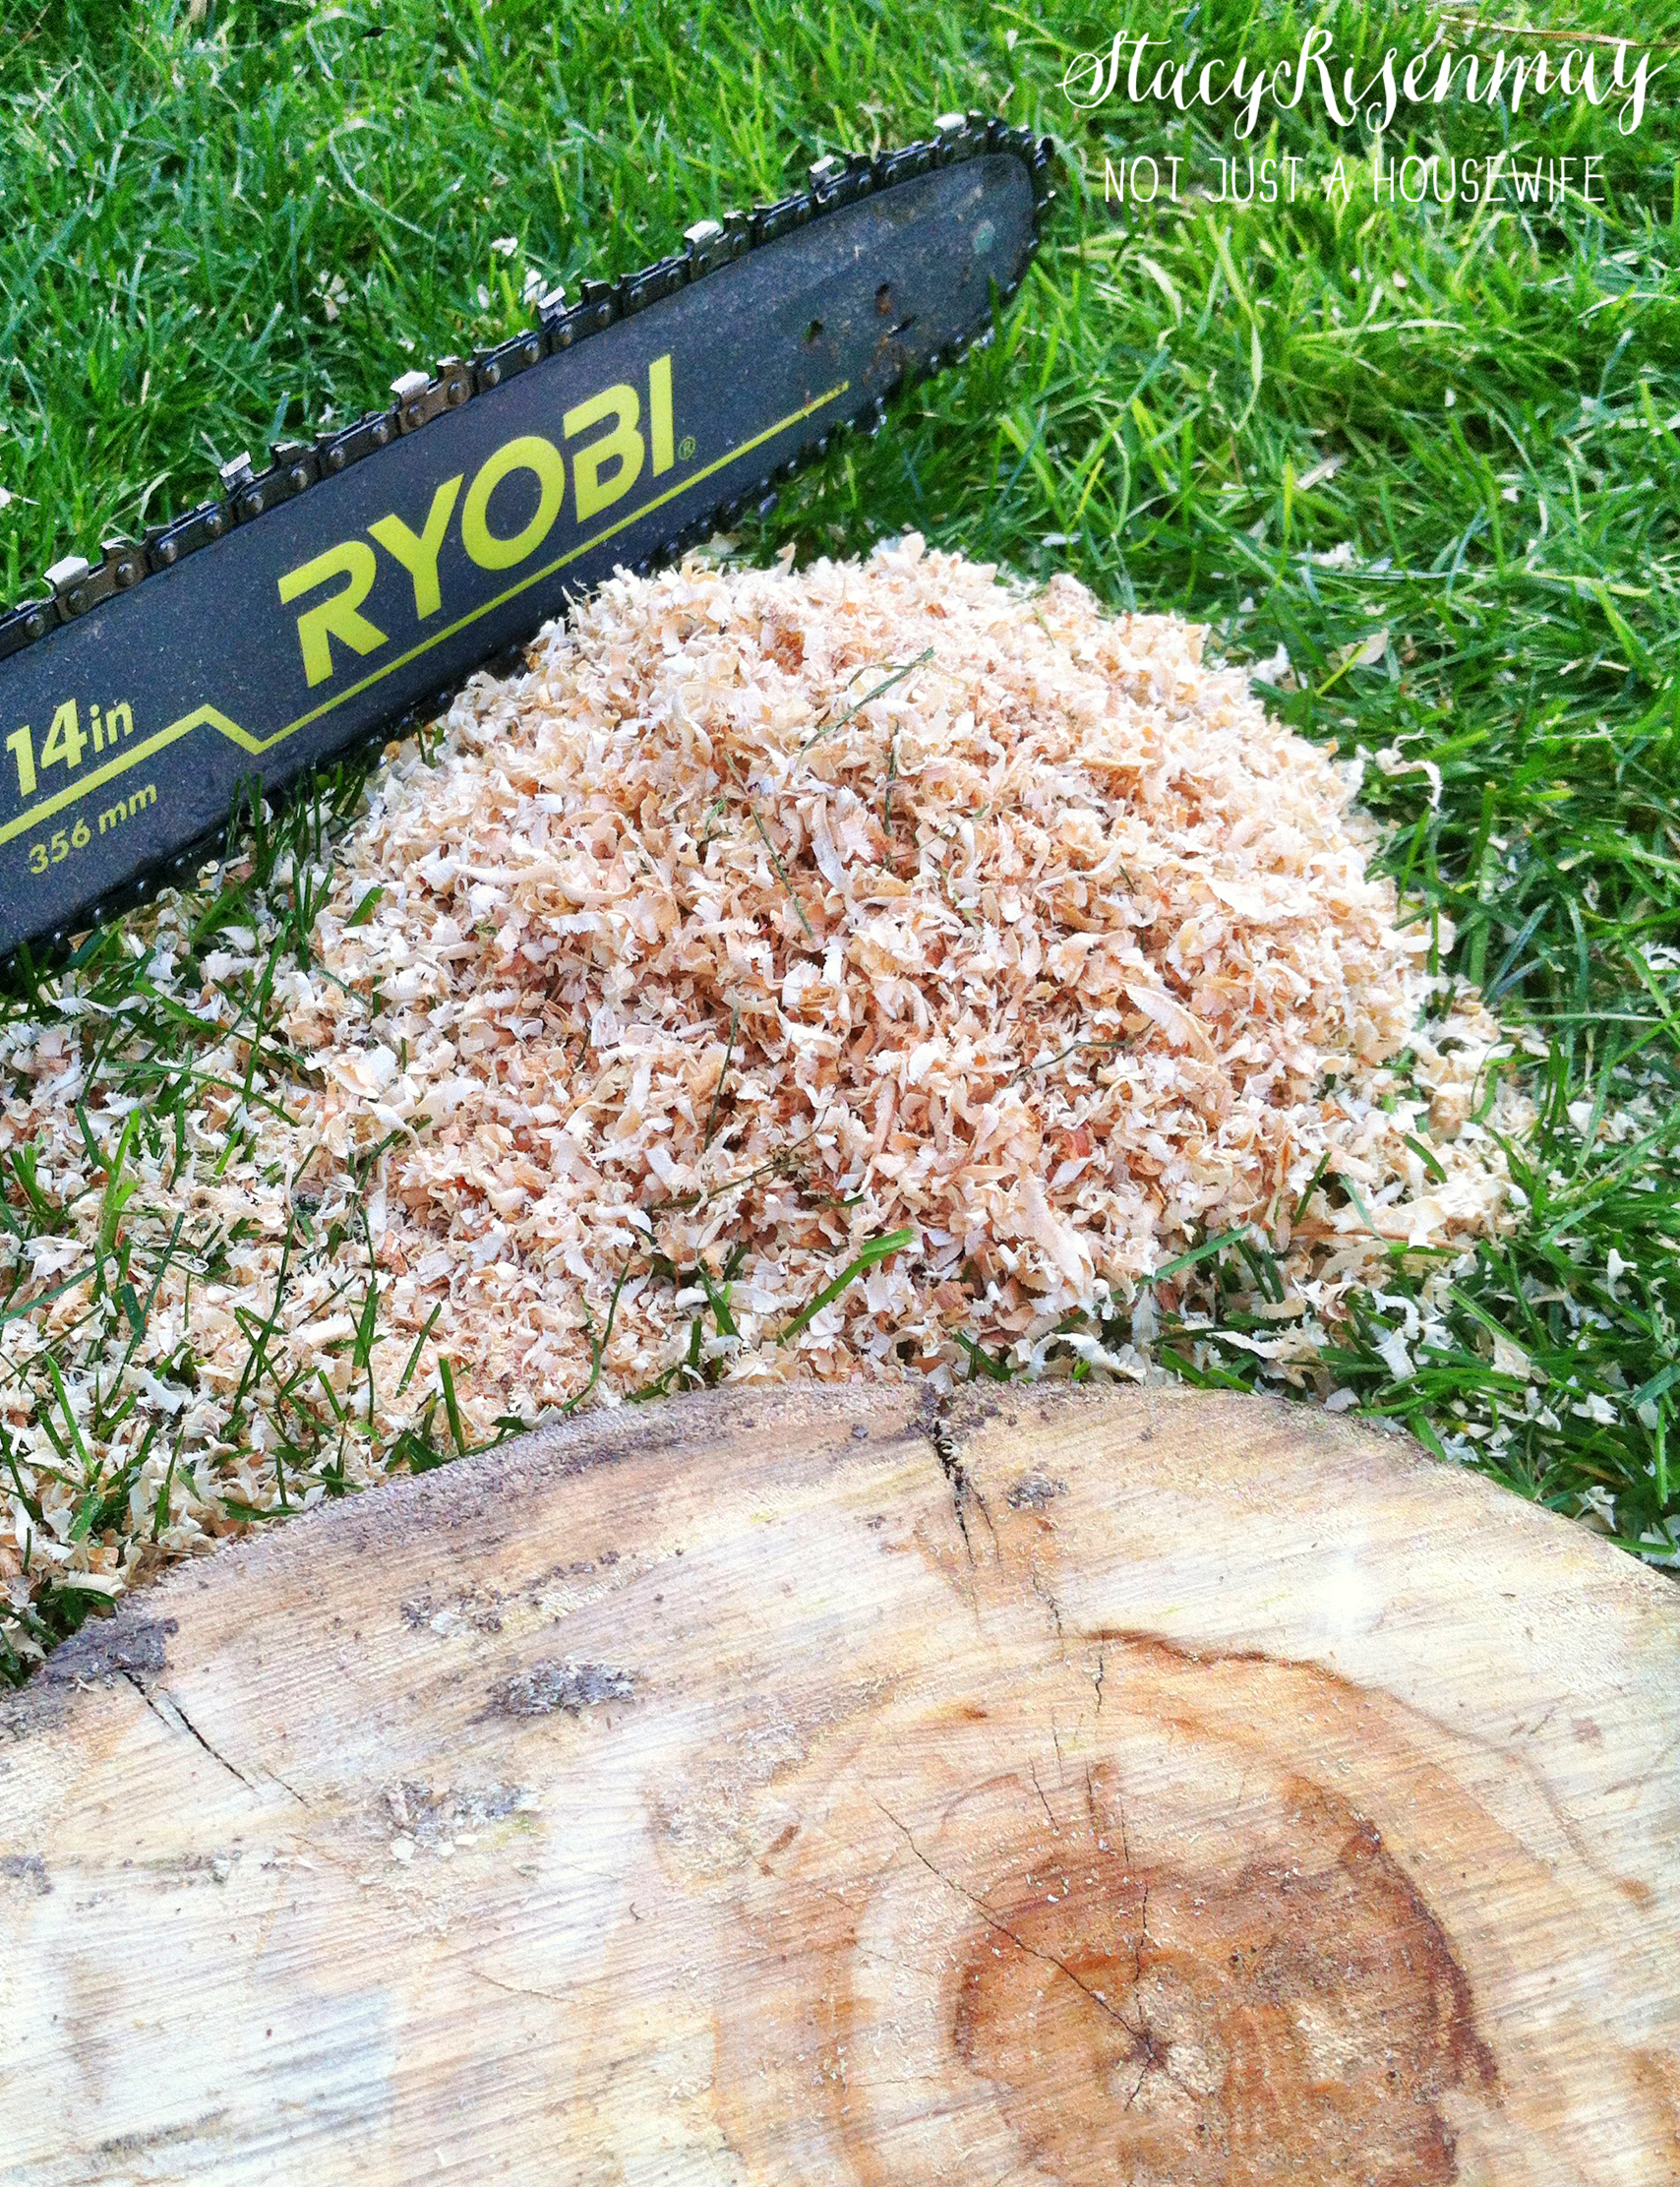
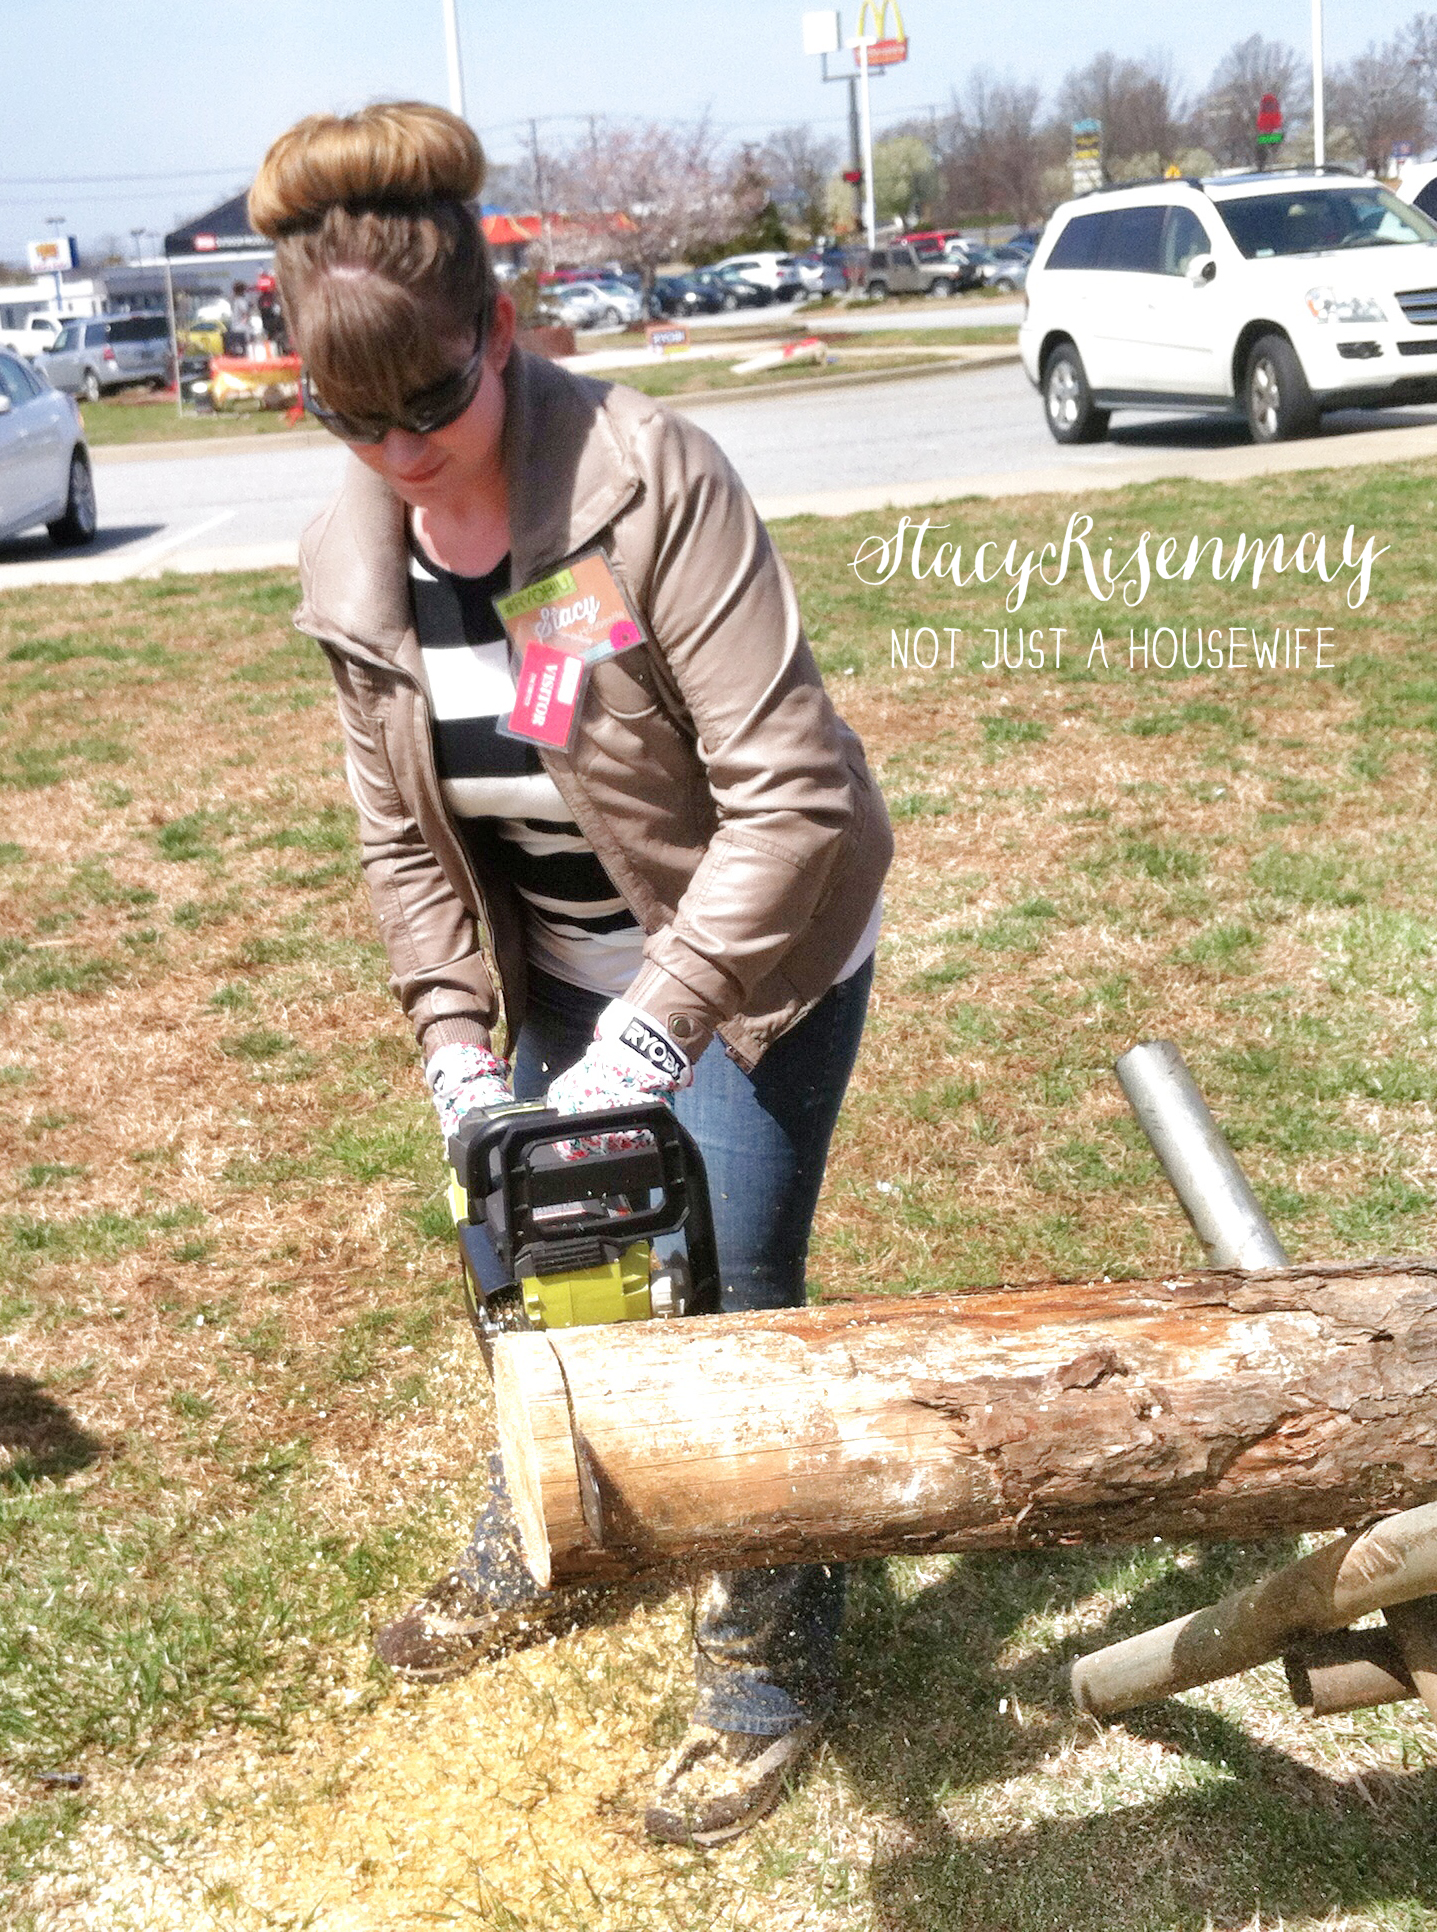
To start out, I had to trim up the stump. Our neighbor was not concerned with making straight cuts when he cut up the tree for us so I had to level the top off. I didn’t have a chainsaw back then, but thanks to Ryobi, I do now!

Back in March I was able to go to the Ryobi headquarters and try out all their outdoor tools. I was the most impressed by the mower and the chainsaw. It cut fast and smooth.

Ryobi 14″ 40V Brushless Motor Chainsaw
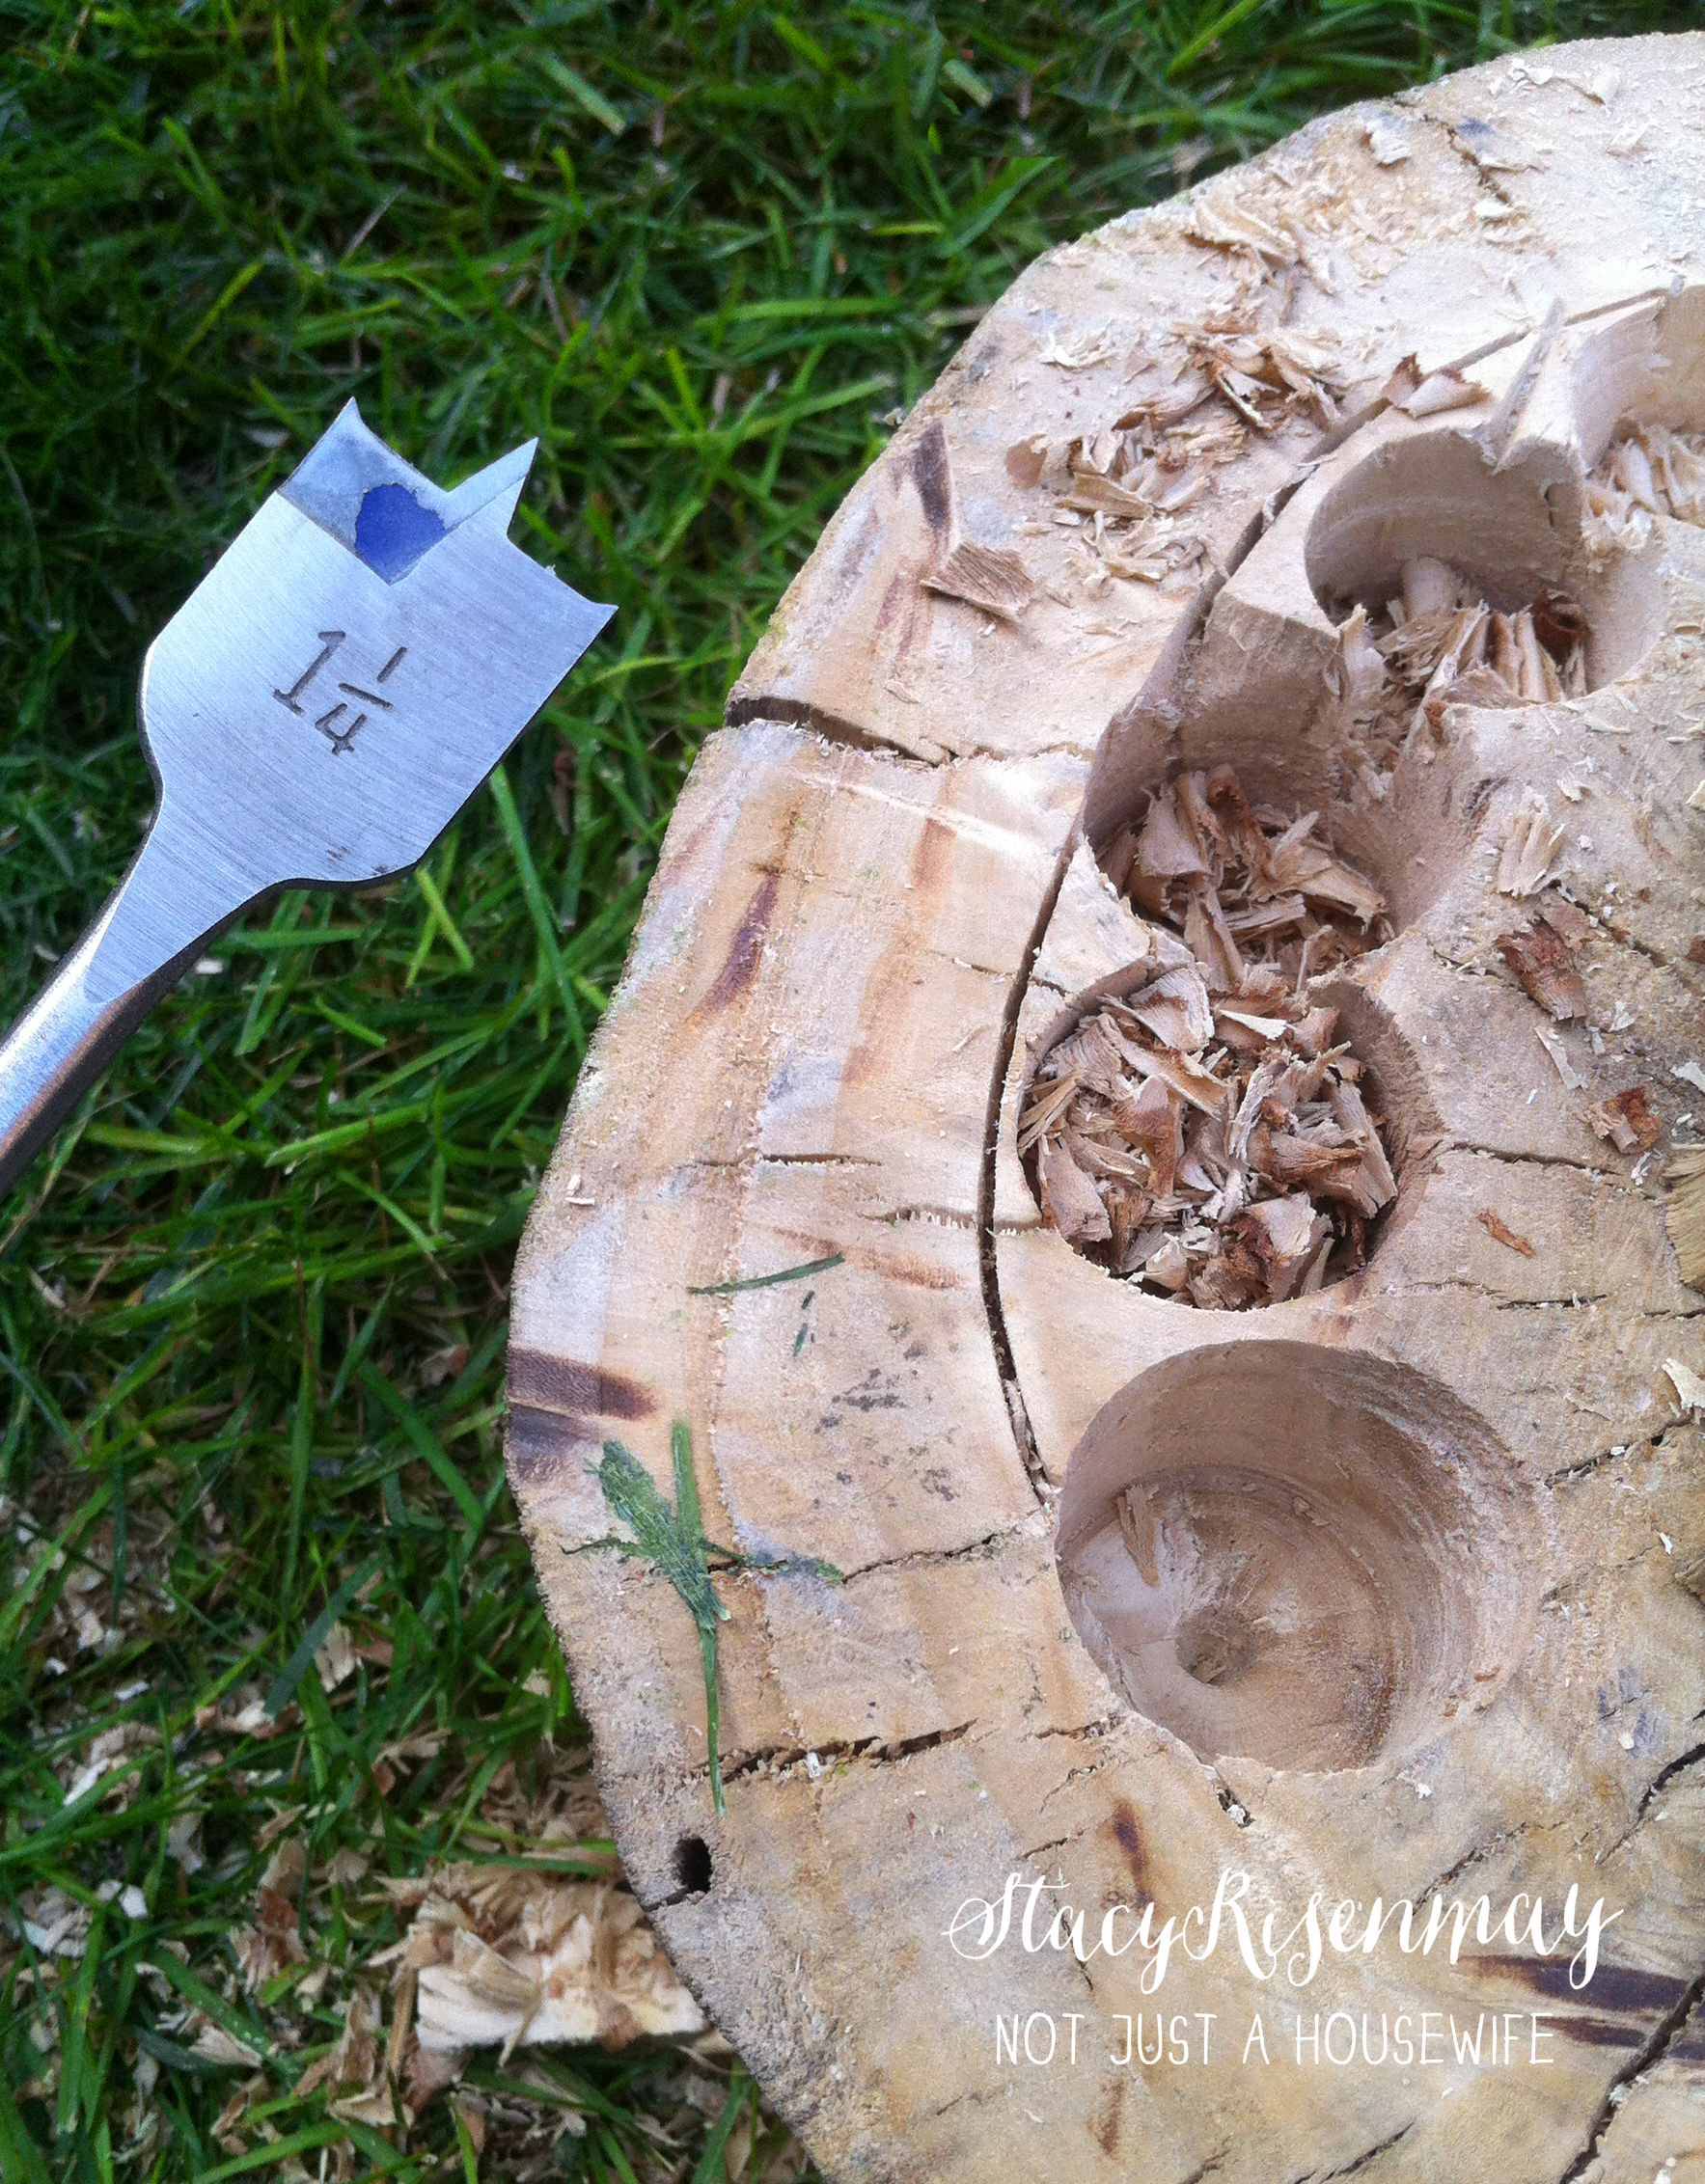
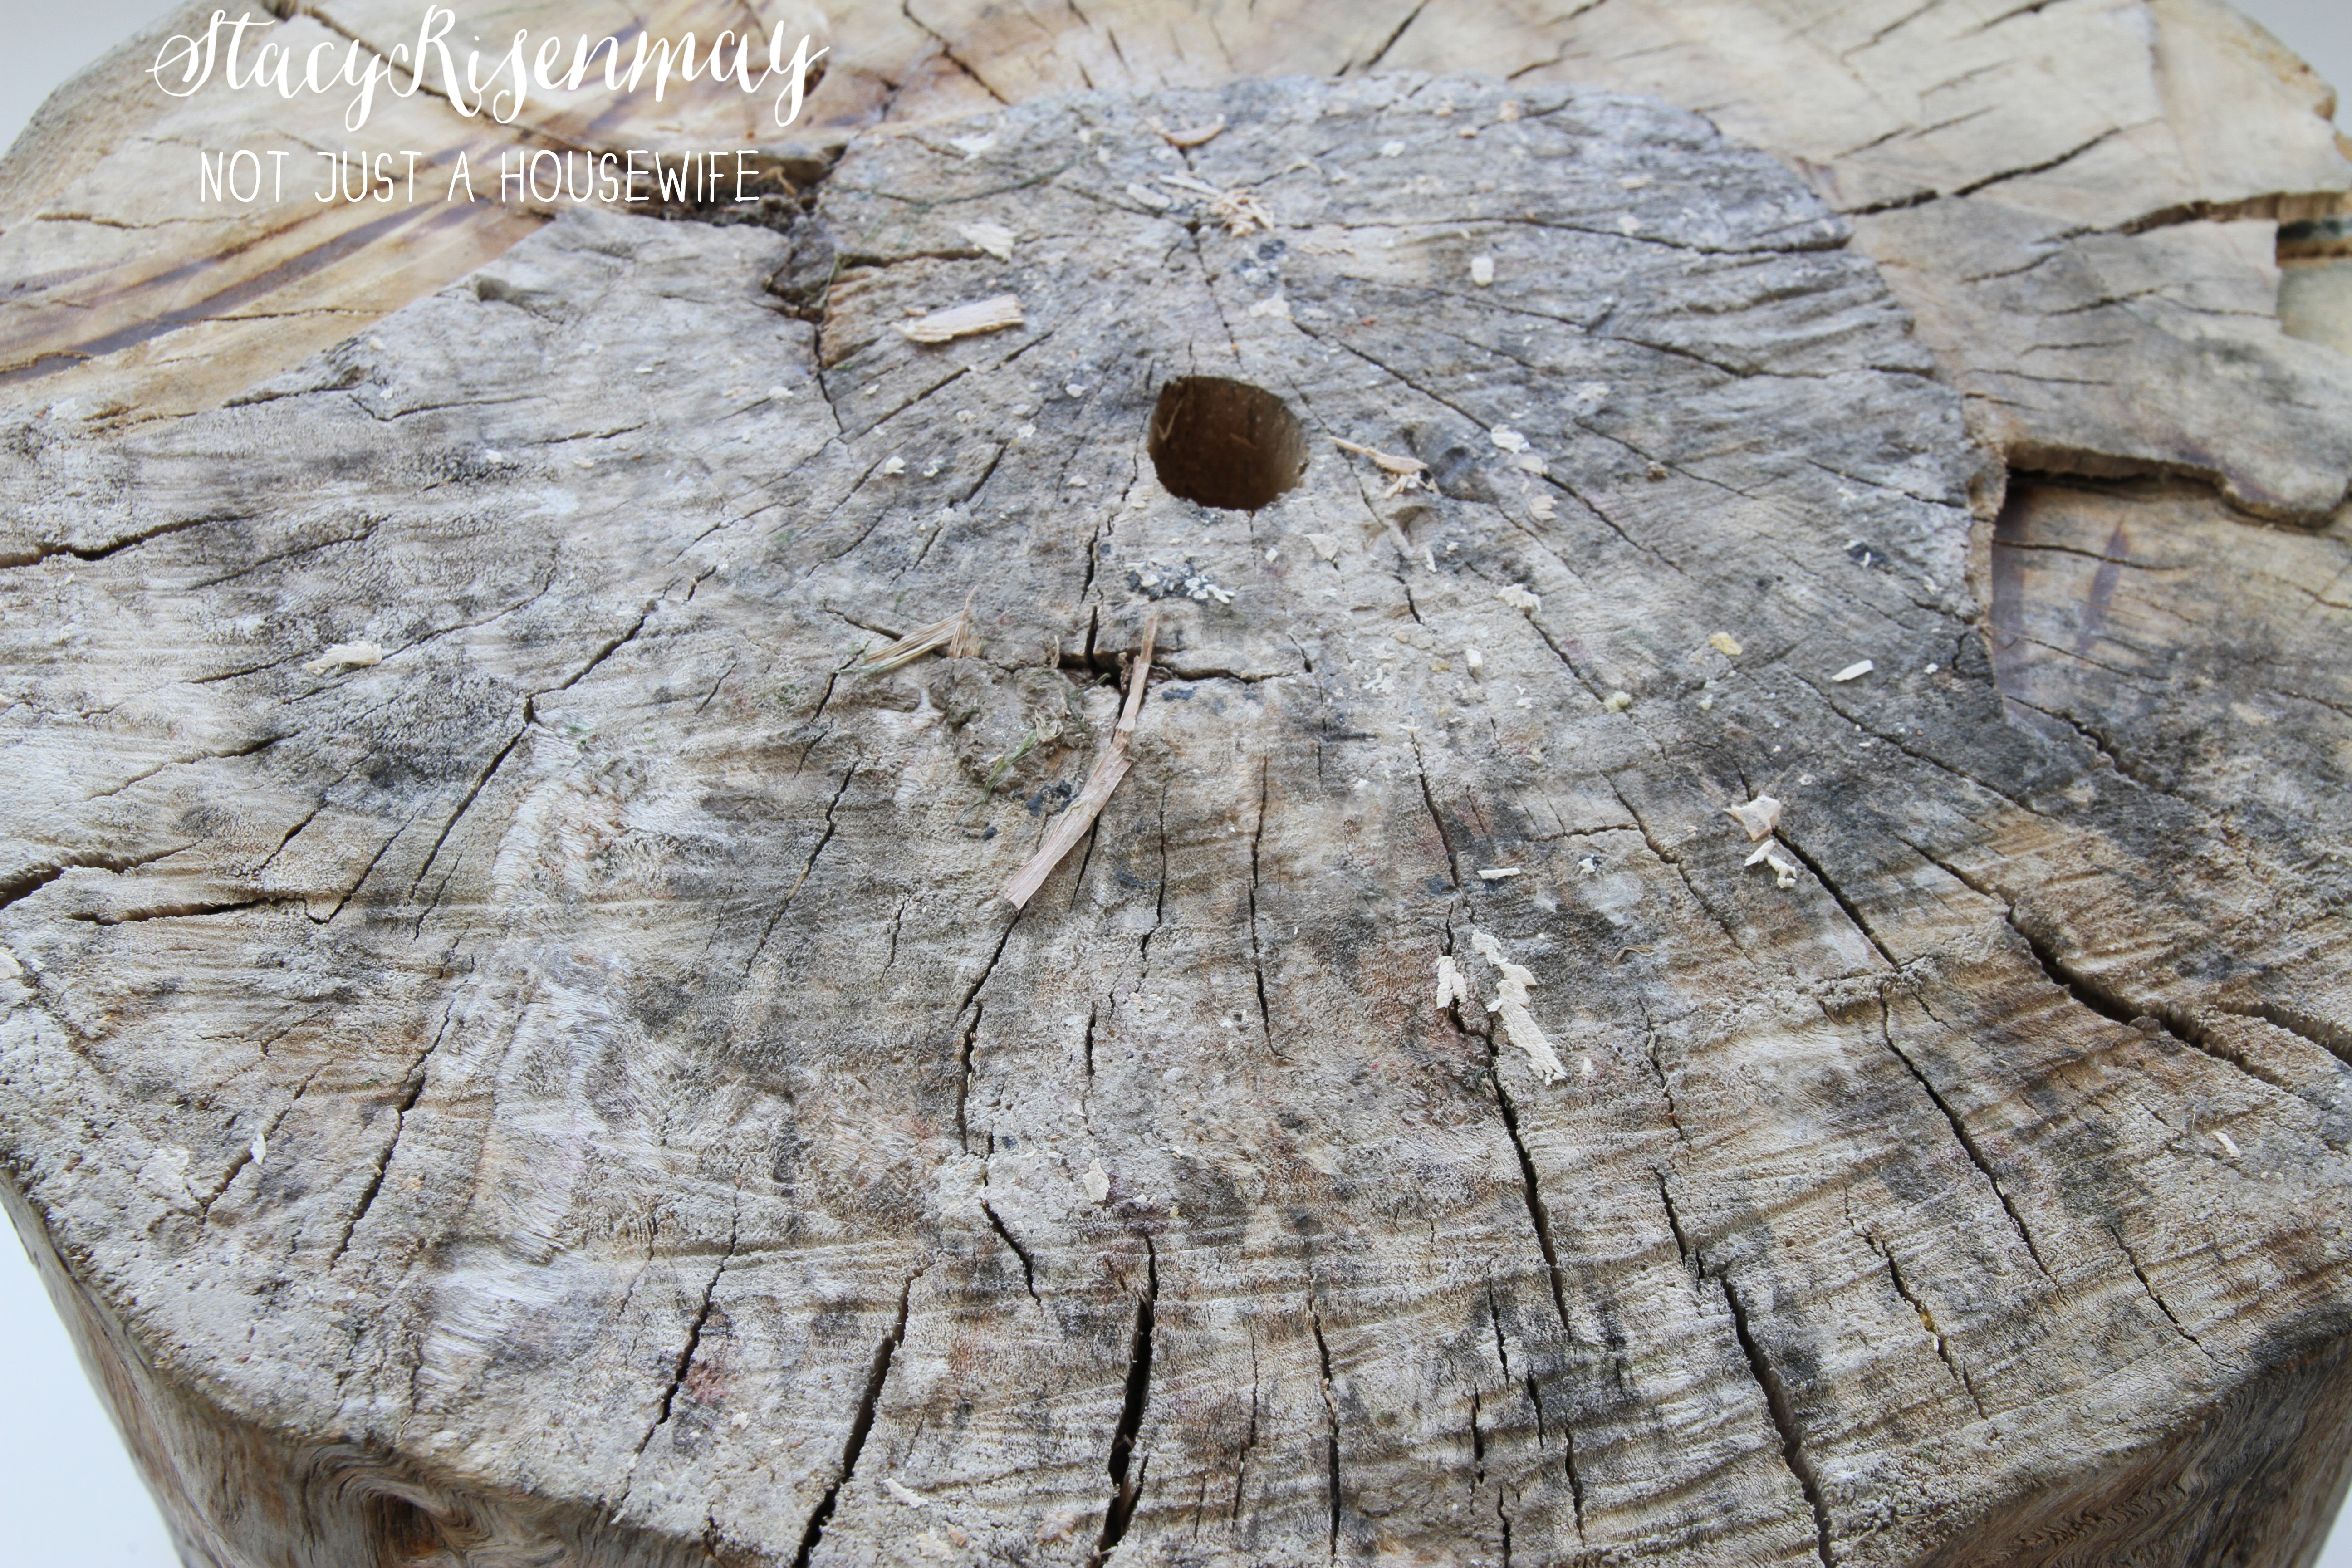
After I had the stump pretty flat, it was time to hollow it out. I started out by drilling a hole with a 1/2 inch drill bit. The I inserted my jib saw into the hole and cut a cirlce around the stump where I wanted the opening to be. I wanted the perimeter to have a nice clean line. Then I used a bore bit to drill down.

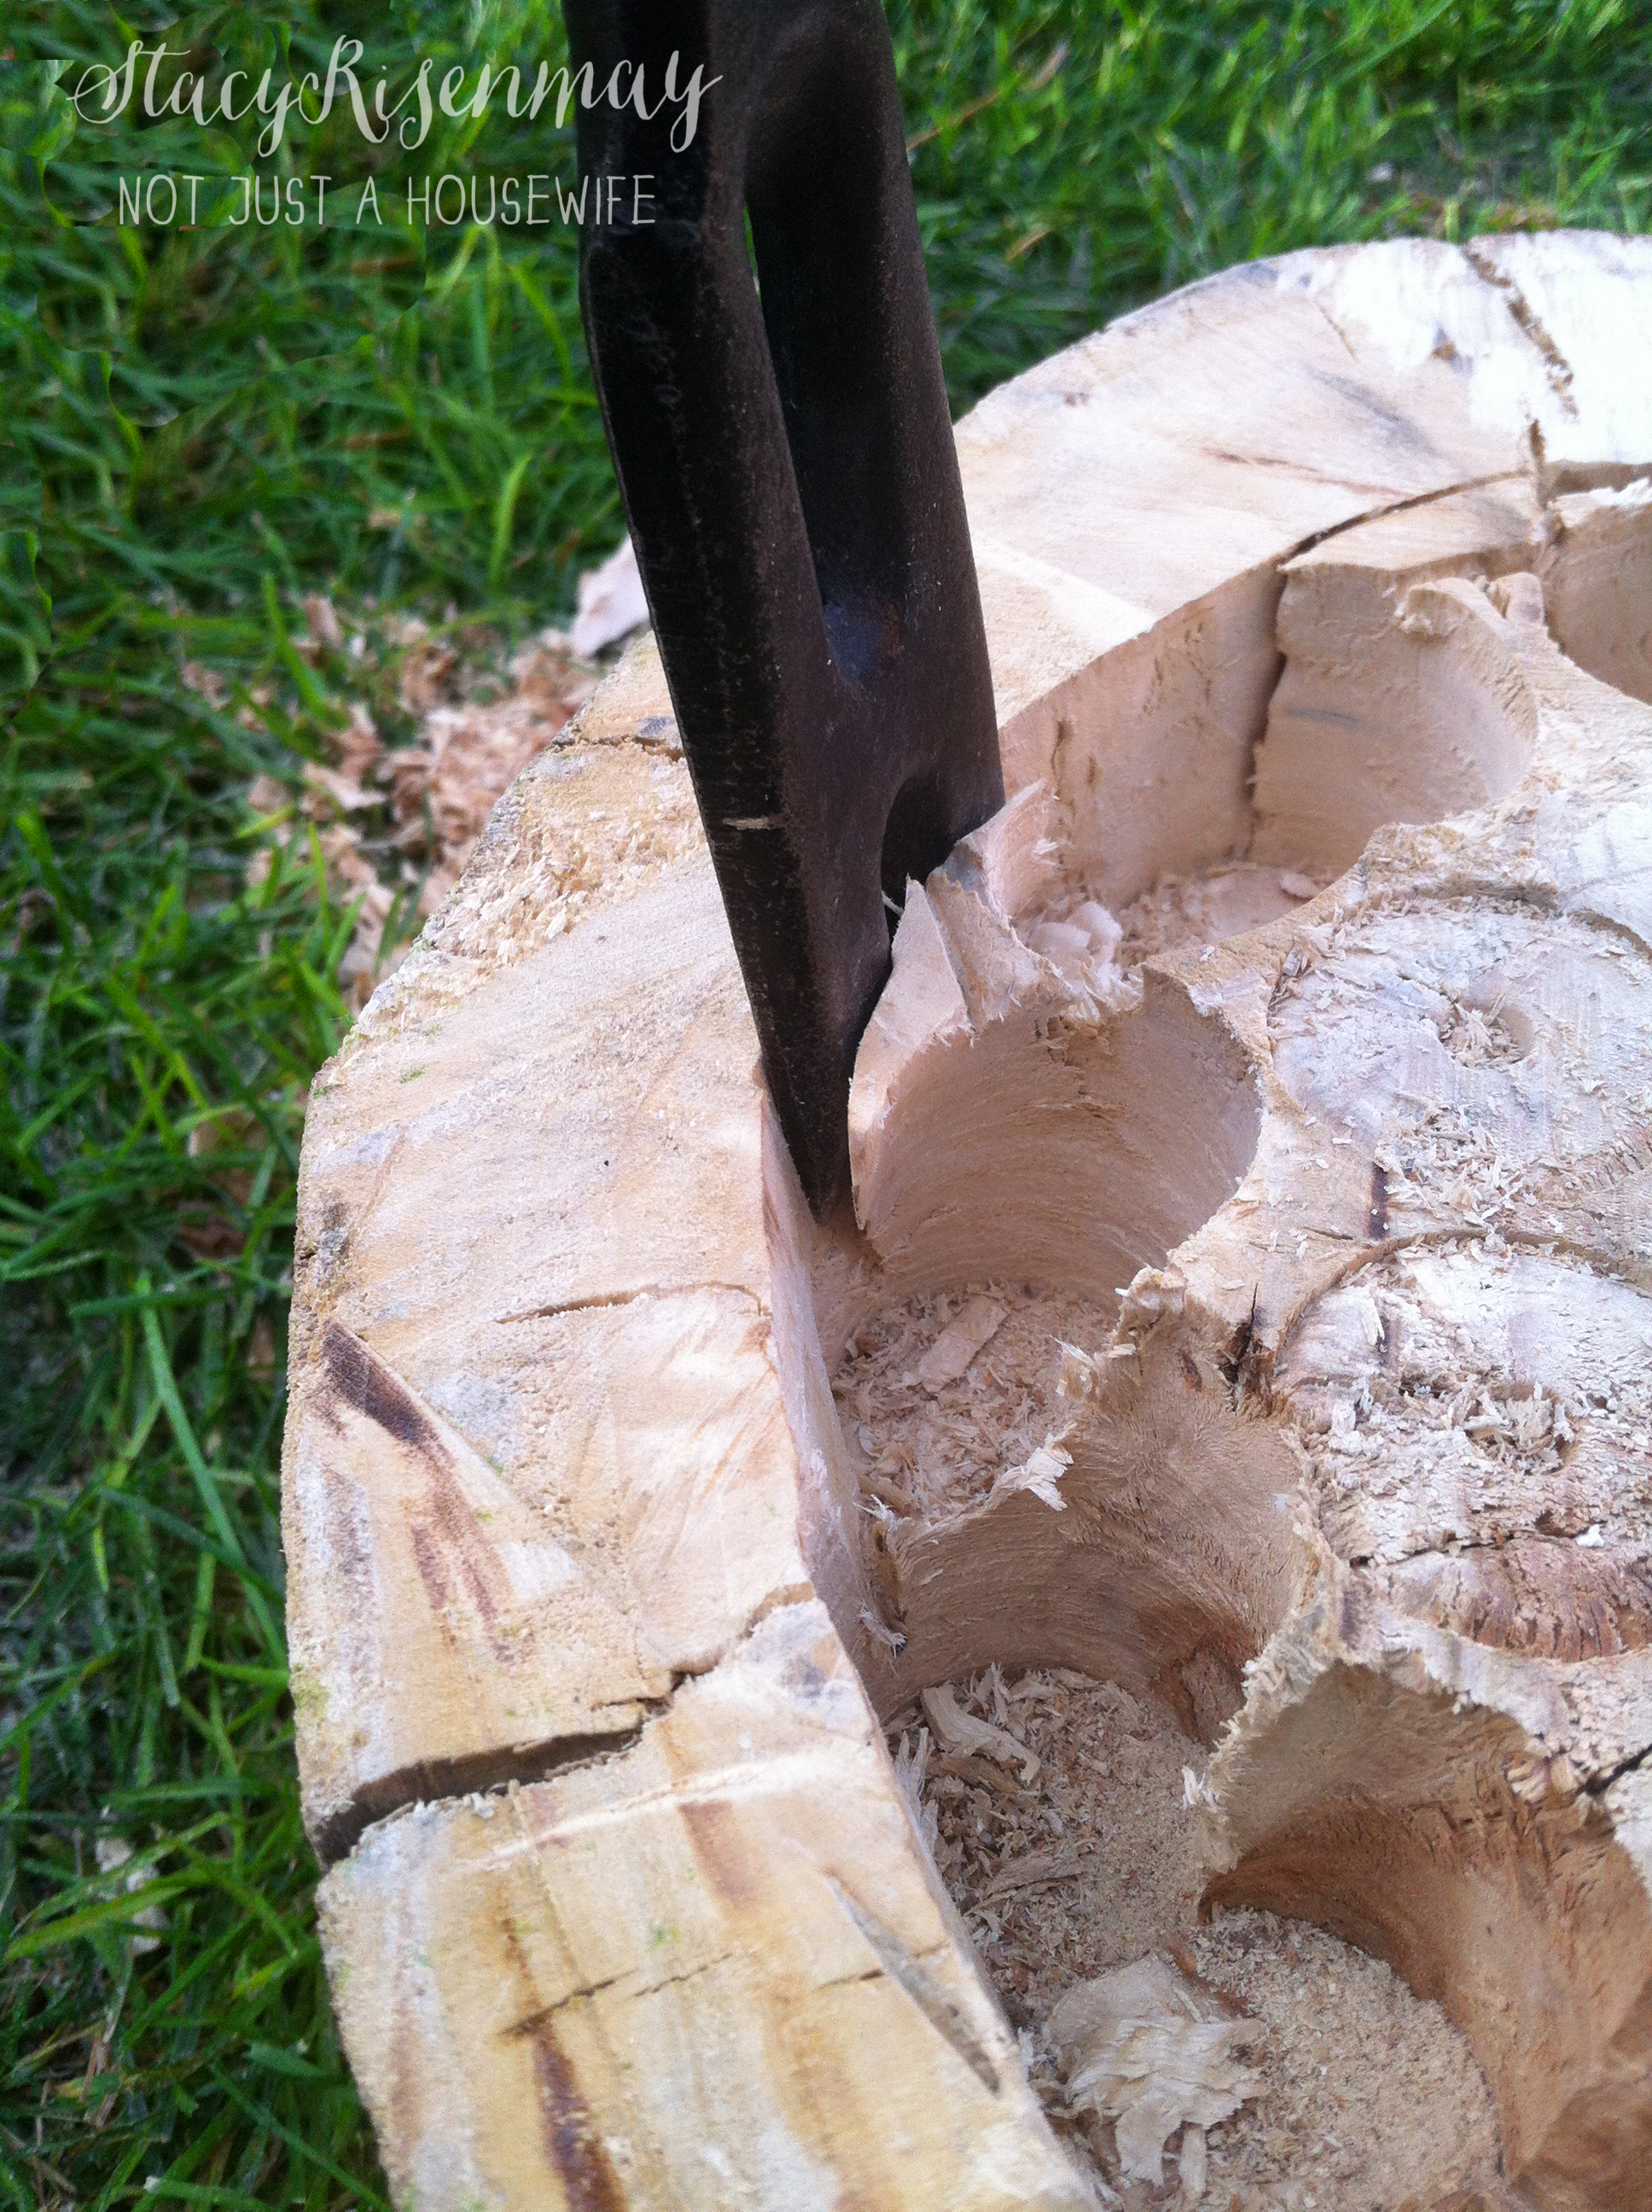
I learned that I should have tried to drill closer together. I ended up using the chisel more than I needed to I think during the first two inches.


The first couple of inches were hard and time consuming. And lets just say you could skip the arms at the gym and just focus on legs for a few days. After that it seemed to go faster. It ended up being 6 inches deep.


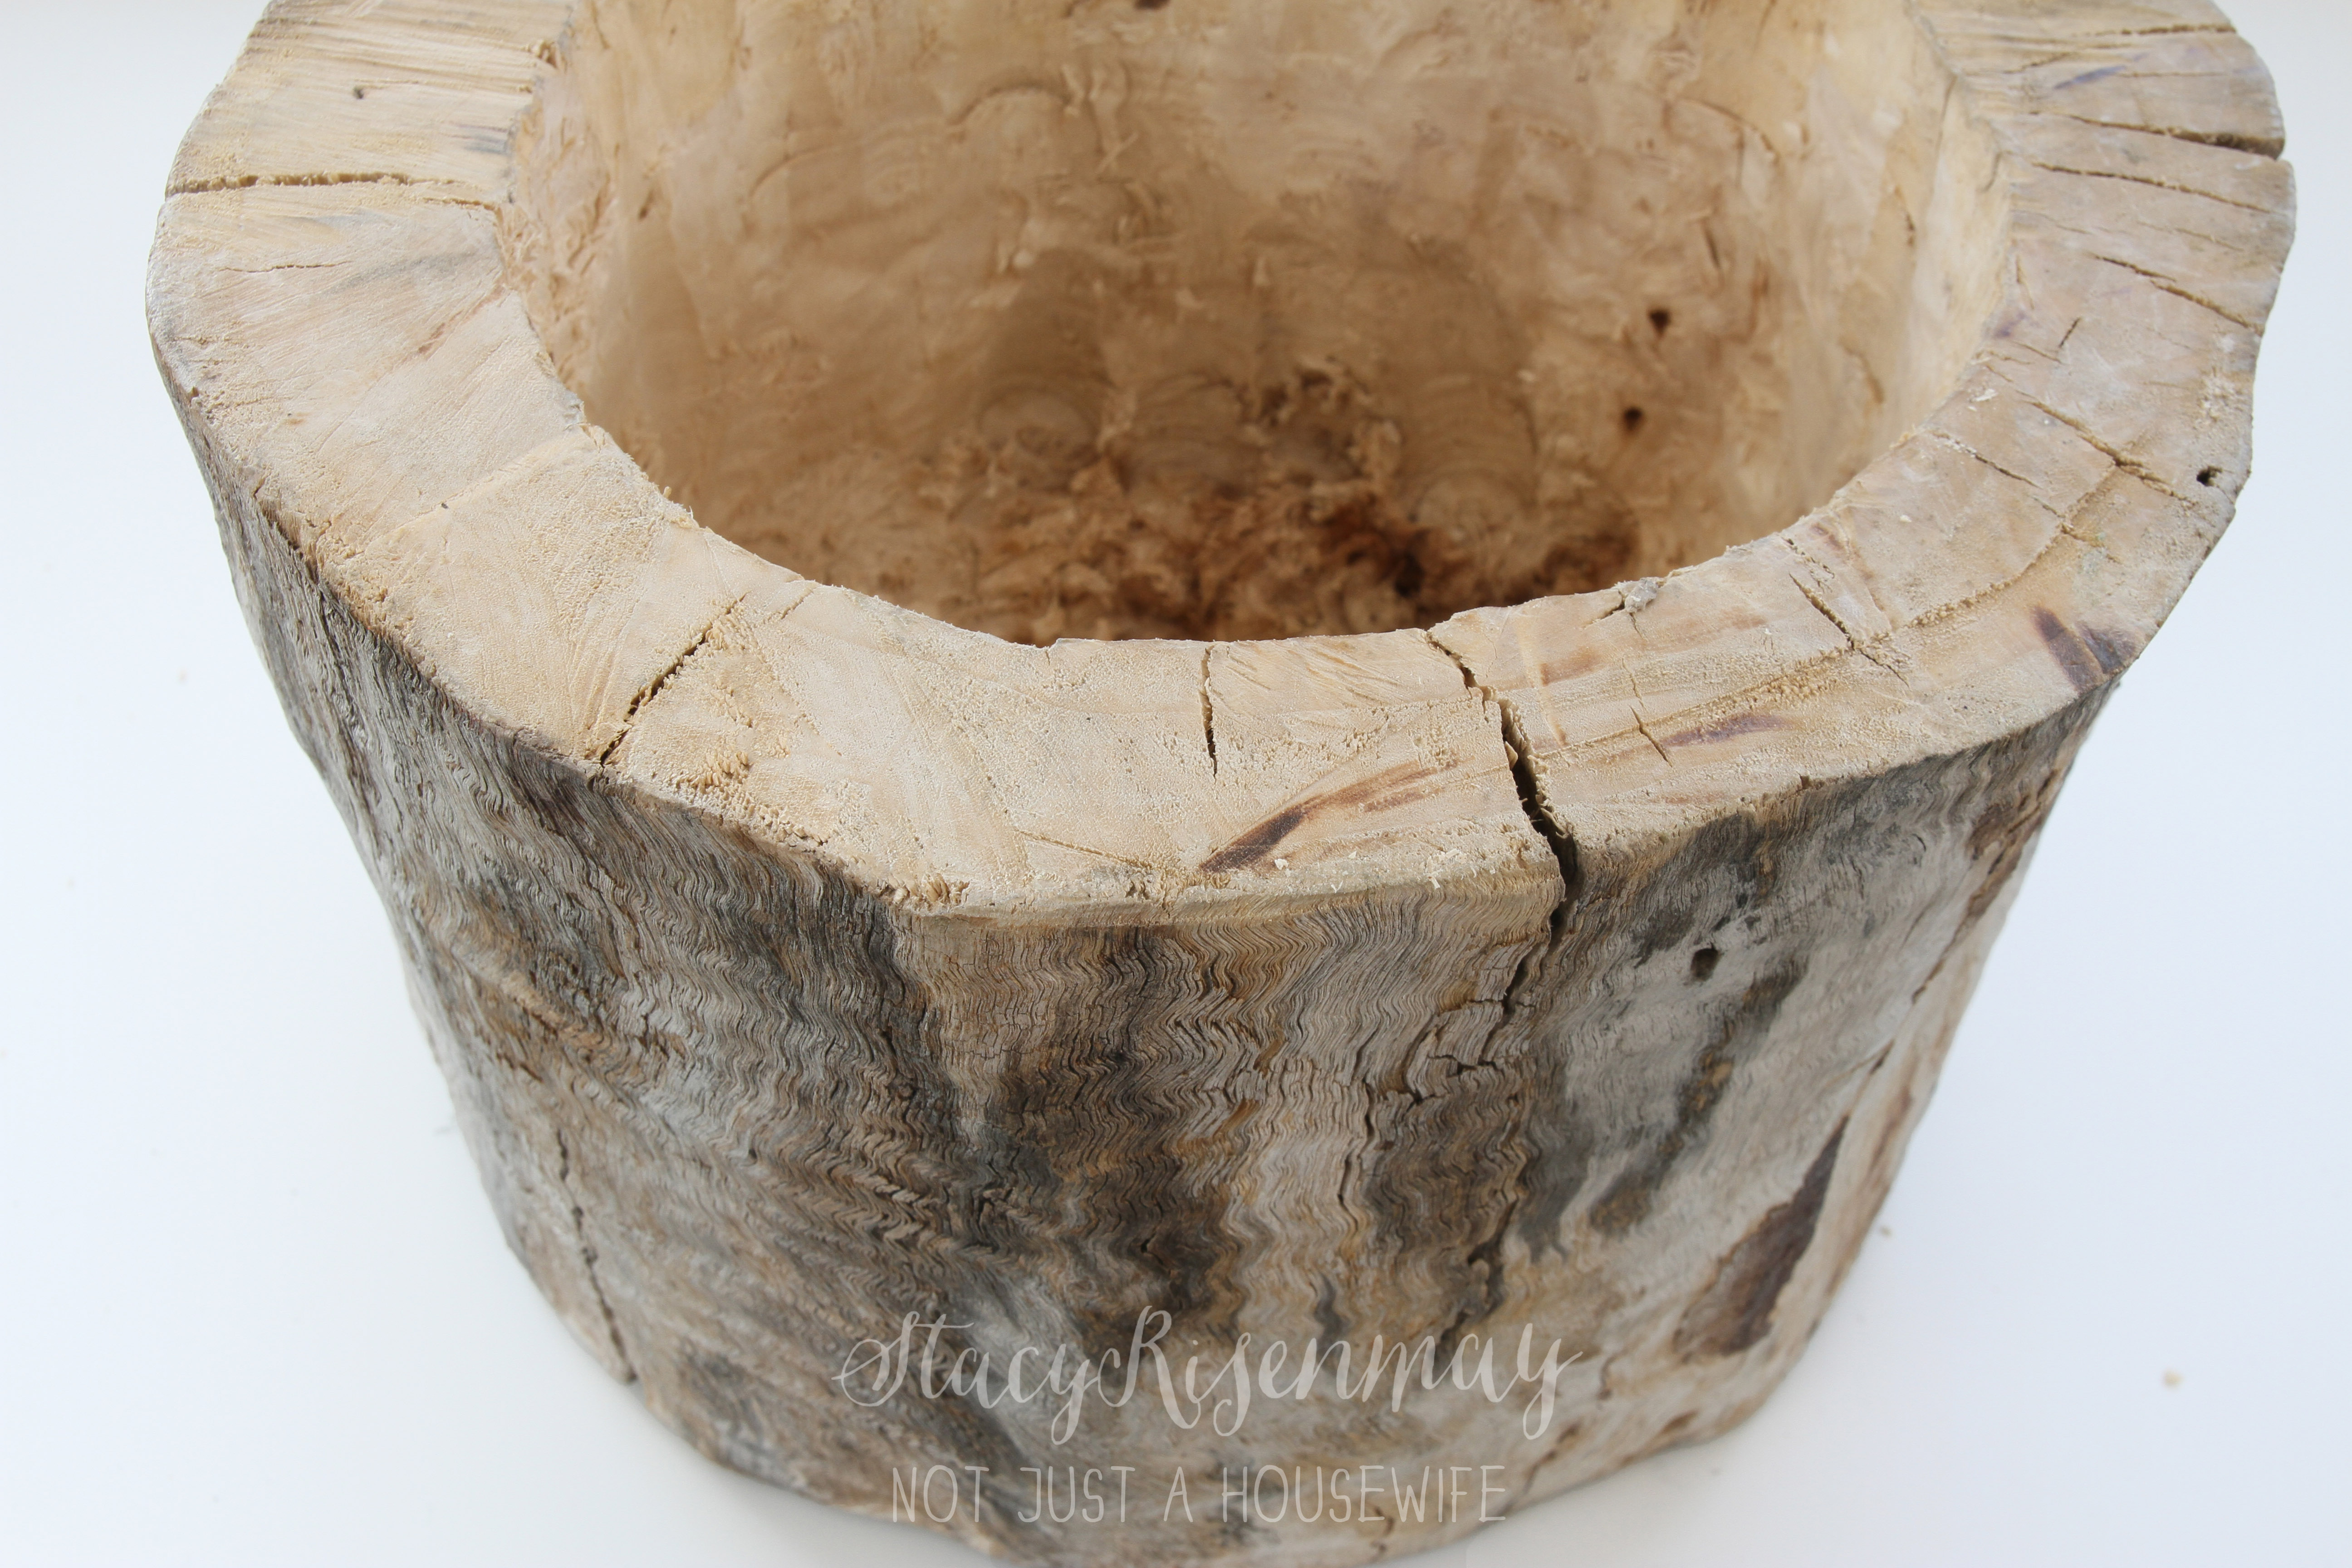
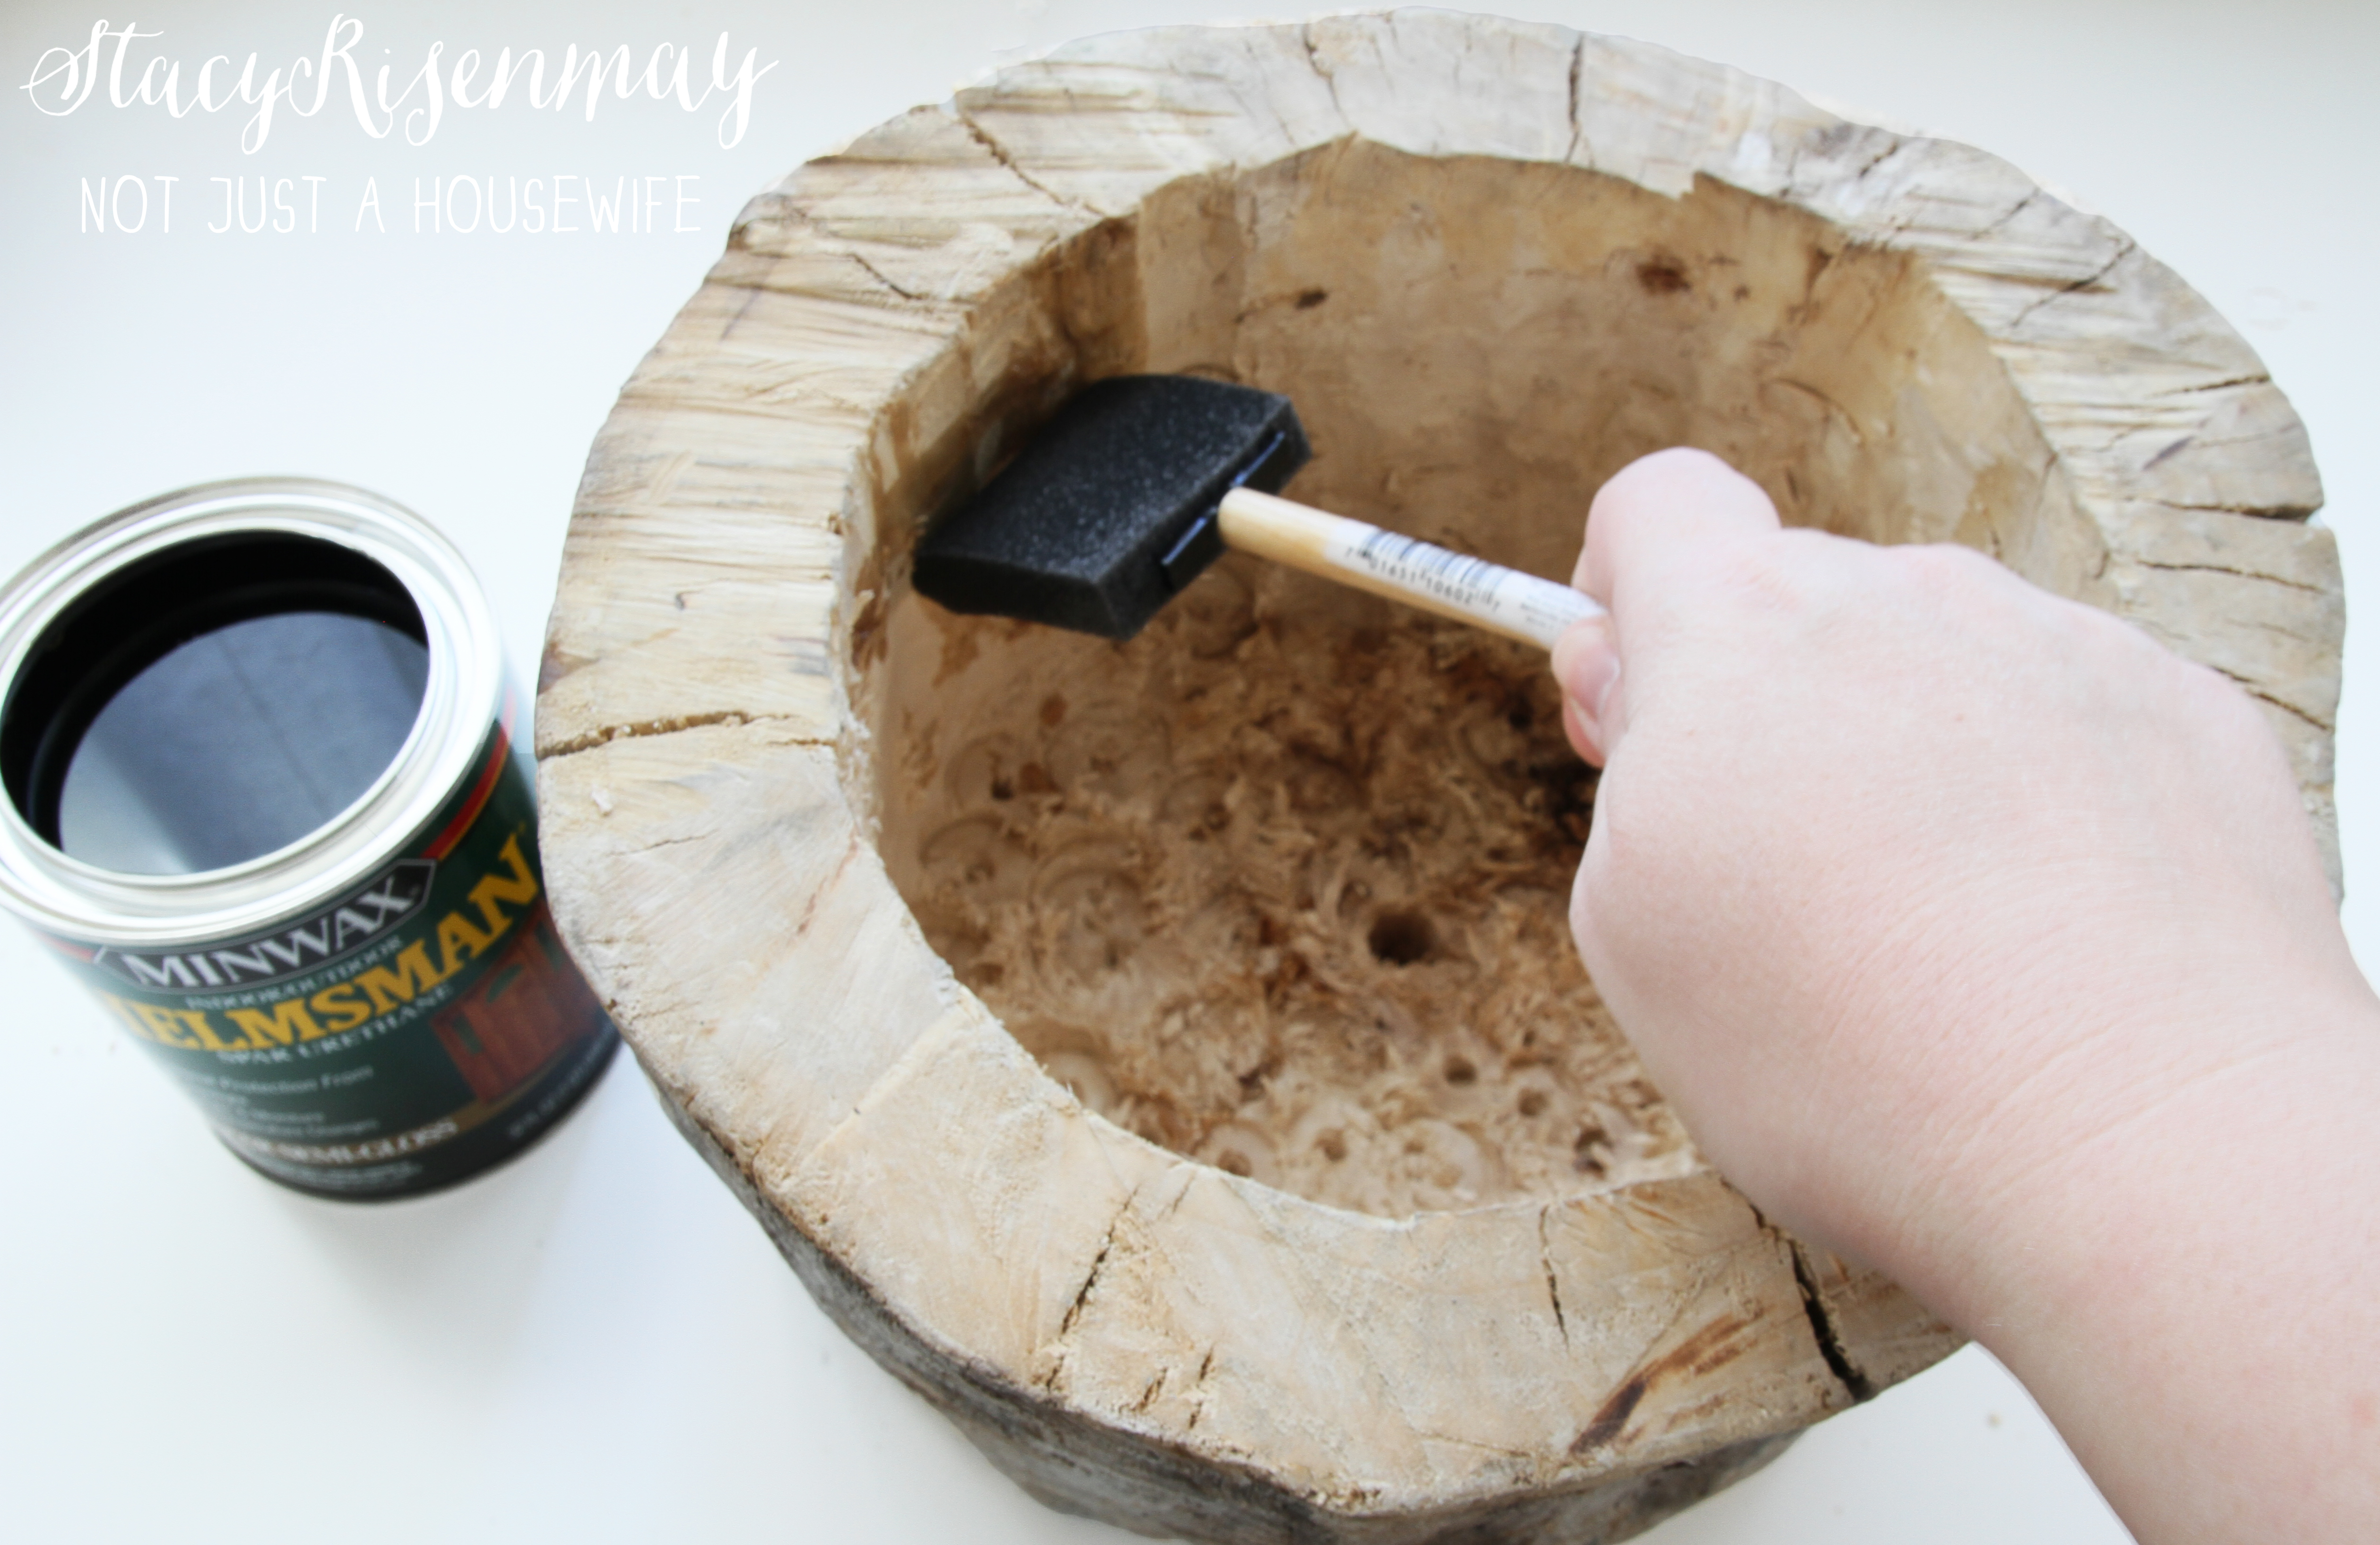
You can see the bottom is all gray from being weathered. It is not as smooth as the top was since it was cut with a different chainsaw.
Then I sealed the inside of it with Helmsman.

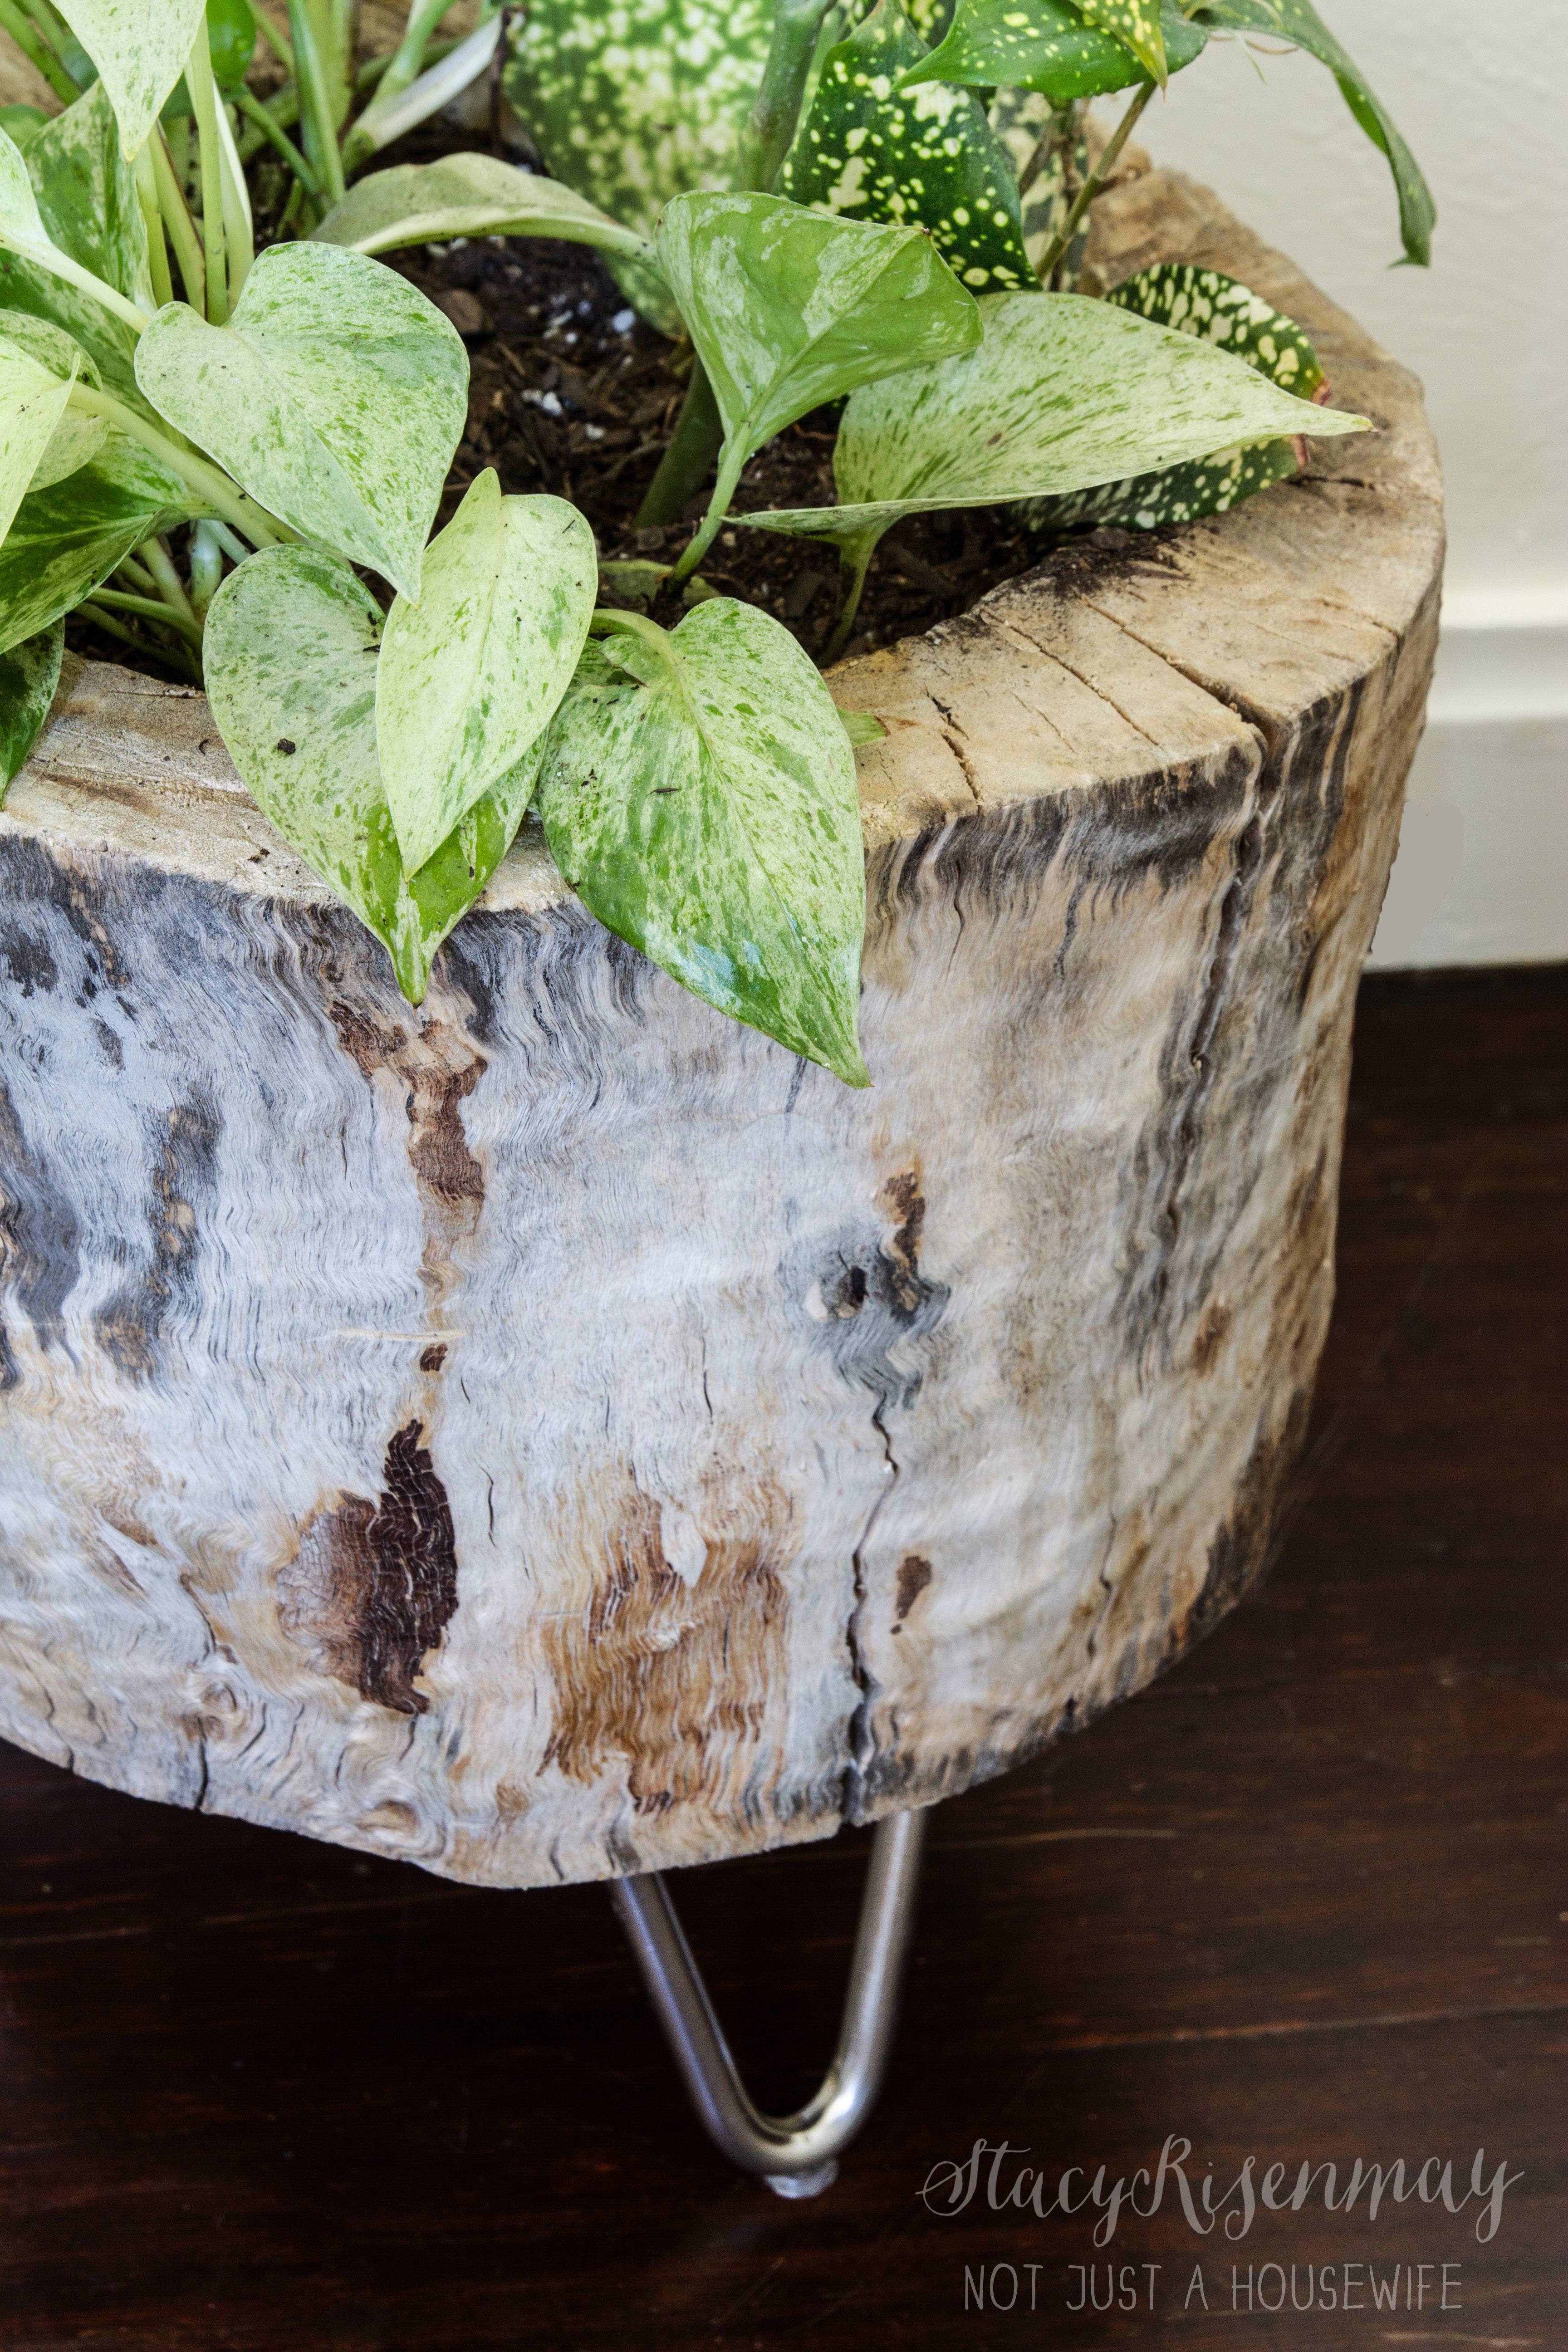
I also sealed the bottom since it would get wet as water drains out. Once it was dry I added the legs.
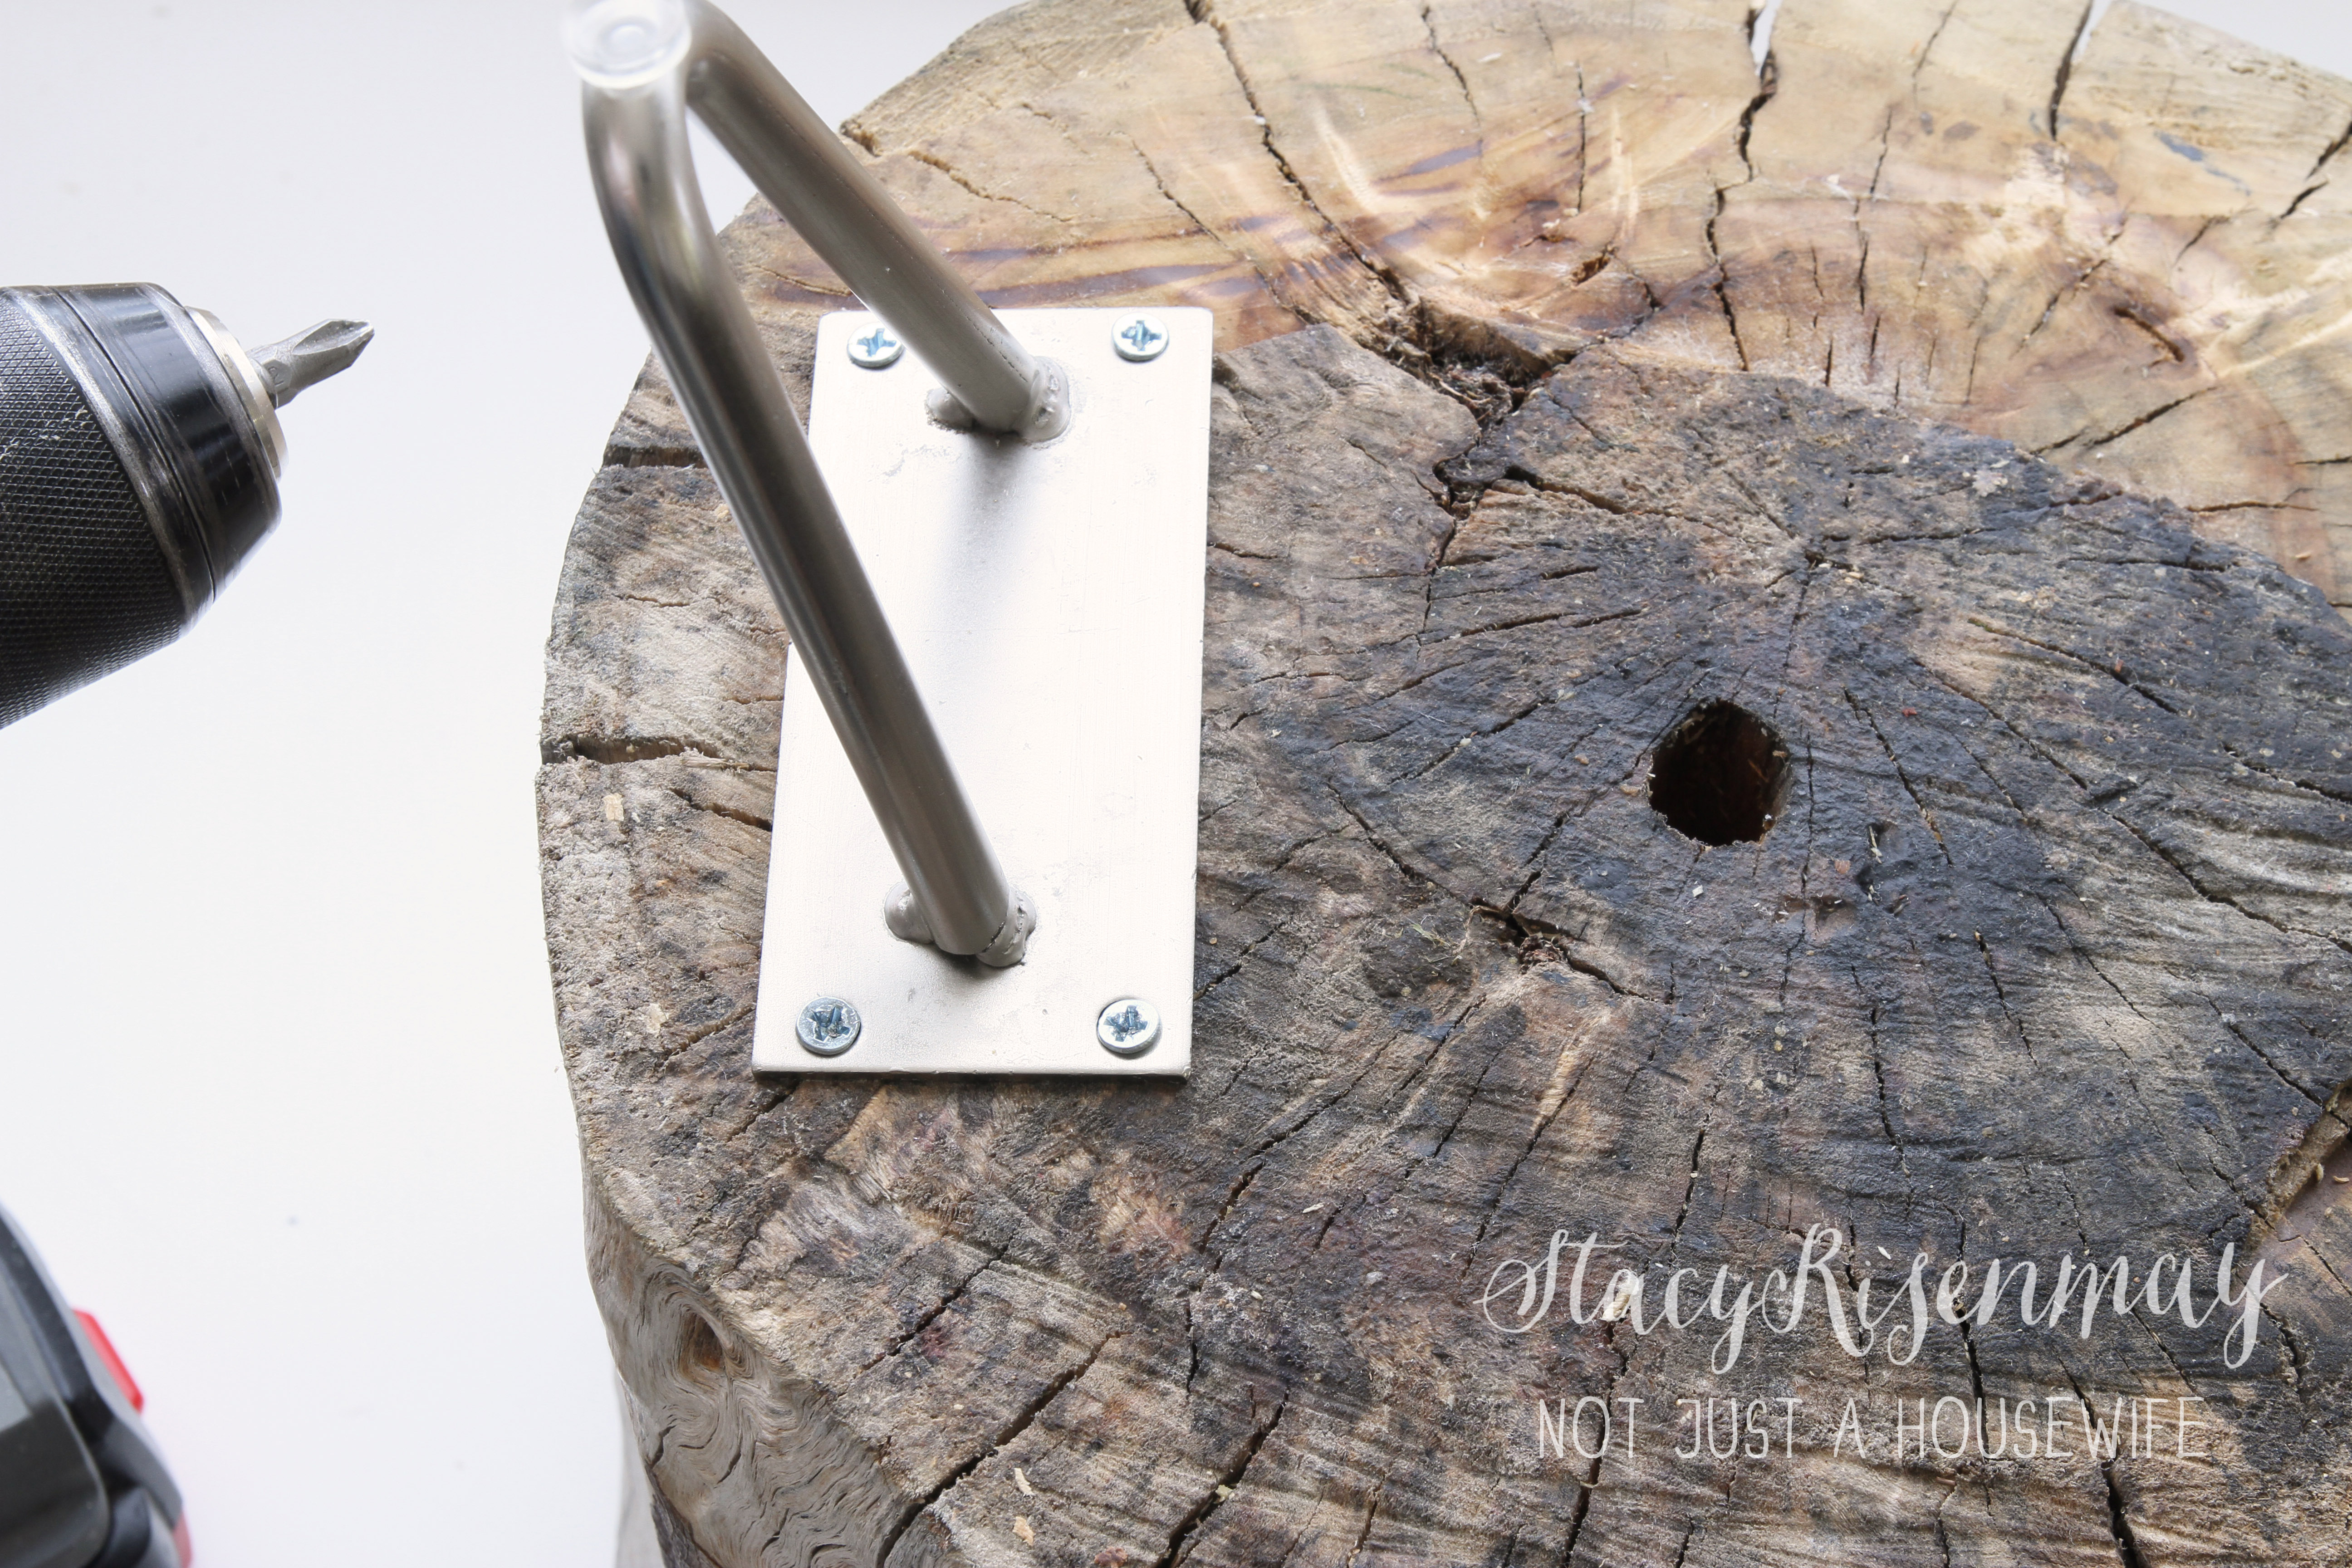

Three legs worked perfectly! I transplanted the planted that were in my mason jar wall planter into this planter. One of them was an original plant. And a couple had been in the jars for a year and a half or more and were ready for a new home.
I have been making even more tree stump projects for my book. And it is killing me not to share. But I love organic and rusticness of stumps and logs. What kind of fun things have you seen made out of tree stumps?

*I was given a Ryobi 40 volt Brushless chainsaw to use and review but the thoughts and project idea are all my own.