
Functional Friday: BEST TIP EVER for DELICATE DIE CUTS!

Eeek! I'm SO EXCITED to share this amazing die cutting tip with you, I can hardly stand it!! First I'll share my card for another Functional Friday installment. In case you missed this post, I'm featuring one die from Top Dog Dies each month, and each Friday I'm sharing a different way to use the die. My hope is that even if you don't own that exact die, the ideas will translate to similar dies you do own.


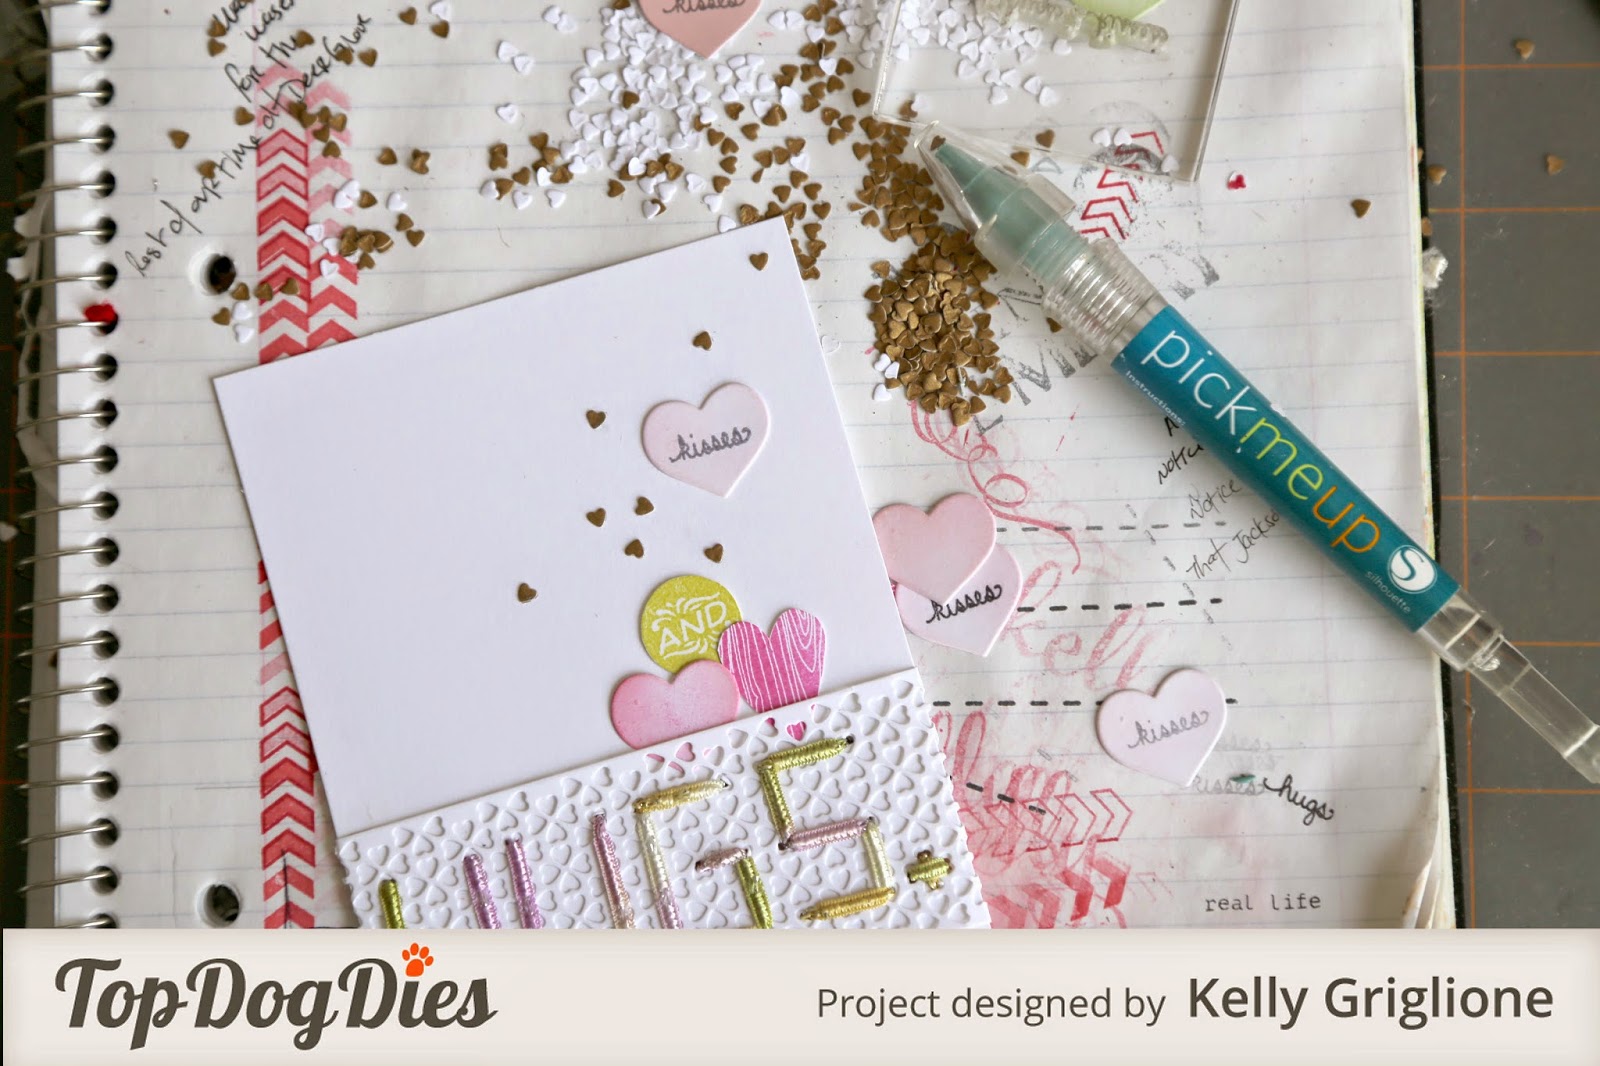
This technique the tiny dies cuts as embellishments. Think of them like sequins or enamel dots. They make great filler, and in this case bridge the gap between the upper and lower sentiment. Let's take a look ...


I dislike using tweezers for fear of bending or marking the paper, so I instead use the Silhouette Pick Me Up tool (note: the best tip ever is still to come, it's not this!) The Pick Me Up tool is wonderful for this type of job. The end has a sticky, gum-like substance that picks up the dies for you. While the tiny die is on the tool, I apply the adhesive and press it onto the card base.

The white Heart Border Die is used as a base for stitching. It goes so quickly since the stitches are as large as can be.

I think it would also be fun to spell out someone's name, make a design, or even just place random stitches across the strip. So many possibilities. In this example, the die is the same color as the background to make the stitched letters more readable, but if you're stitching designs you could also use a different colored die for greater contrast.
OK, now for the BEST TIP EVER for DELICATE DIE CUTS.
If you've heard the one about dryer sheets, you can move on. But if not, you've gotta see what I learned from my crafty friends Helen & Brenda (thanks guys!!)
OK, now for the BEST TIP EVER for DELICATE DIE CUTS.
If you've heard the one about dryer sheets, you can move on. But if not, you've gotta see what I learned from my crafty friends Helen & Brenda (thanks guys!!)

To start out with, it's crucial to use a Metal Adapter Plate with any intricate die, otherwise you run the risk of the cuts not being made. Here you can see the sandwich is the same as usual, except for the metal adapter plate being under the paper.

I'm guessing you've run into this scene before. The die comes out of the machine with all the paper still stuck inside the die. Ugh. When I remove the paper from the die (usually pull it out with a piece of tape) it's all in one piece and I need to run my fingers up and down the strip 7-8 times before all the tiny hearts fall out. Not the worst thing in the world, but it still takes a minute or so, and that can add up if you're making more than one card.

Here's where the dryer sheets come in. You want to layer 4 of them right on top of each other. These have already been used so you see the cuts on them. Yours, of course, will look like new dryer sheets.

Now run the die (with the paper still in it) through the die cutter again, placing the stack of dryer sheets under the die and on top of the metal adapter plate. In other words, the dryer sheets will go where your paper normally goes.
Then prepare to be amazed.
Seriously.
When you lift the die from the dryer sheets ...


I know I did the first time! It is so satisfying to look at all those pieces trapped on the dryer sheet that don't need to be coaxed out of the die.

I don't know how it does that, or who the mastermind is that figured this out, but it's a life-changer for anyone who uses delicate die cuts!

If you're only using the strip part of the die, it's also nice that all the pieces are trapped on the dryer sheets, and not invading all the nooks and crannies of your work space. Clean-up is a breeze!
Anyway, thanks so much for looking! I hope you get a chance to try this out soon if you haven't already. You may be monkey clapping in your craft space all weekend : )
-Kelly
More posts from Kelly Griglione