
Tulip Time Quilt {Pattern}


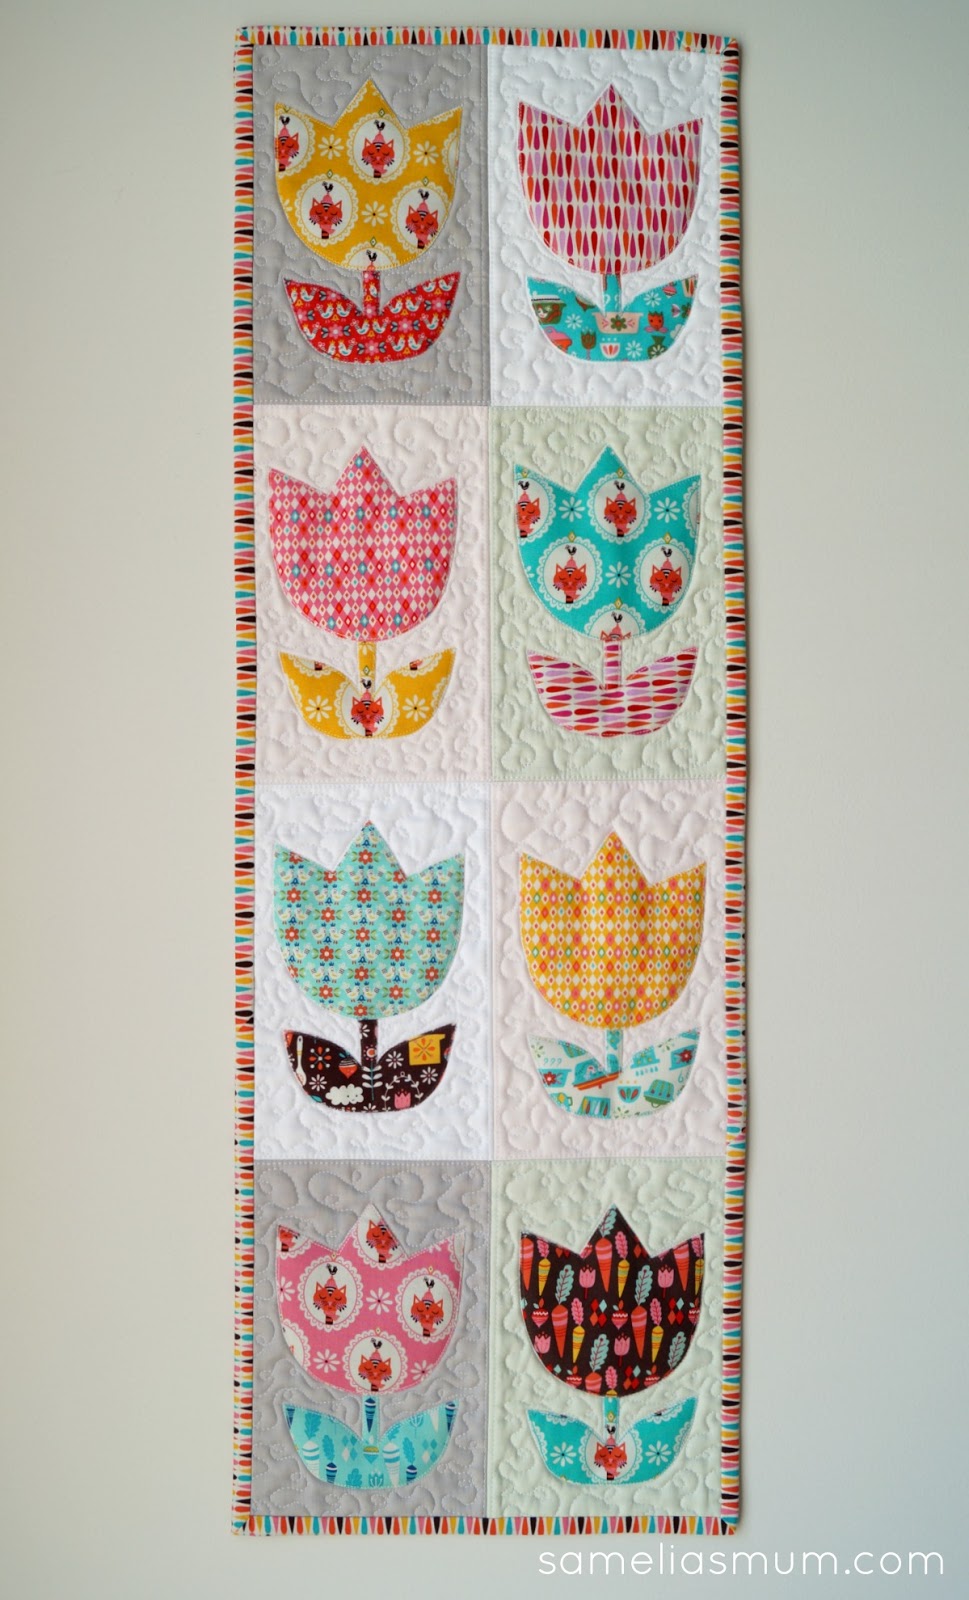
Tulip Time is a long thin wall quilt and is the latest free quilt project which I'd like to share with you.
It's perfect for a small wall space... and to use up some favourite scrap fabrics. Once again, I've been playing with the fun Vintage Kitchen fabric by Andrea Mueller for Riley Blake Designs.
If you don't have time to create this quilt right now, feel free to download and print the pattern, which I've made available at the end of this post.

Requirements (based on 8 blocks - but this can be made to any length you like):
Bonding paper (eg Vliesofix or Heat n Bond etc) Assorted print fabrics - each tulip requires 2 different prints/colours (8) 6" x 9" background fabric (I used 4 different light solid fabrics) 1/2 yard coordinating print - backing fabric Batting to measure 15" x 38" (this project is perfect to piece scrap batting) Cotton thread to match the applique fabric - I used Aurifil 50wt Cotton thread in a neutral colour for the quilting Strip of fabric for binding (I use single binding cut at 1 3/4" wide) Iron, board, sewing machine, general sewing supplies
** Optional: fusible stabiliser (parlan) to back the rectangles for applique
Download the tulip template/pattern here

1. Begin by printing out the template. Trace out 8 flower tops and 8 stem/leaf sections. Roughly cut these shapes approximately 1/4" outside of the drawn line.
2. With the glue side down, press the shapes to the back of the assorted print fabrics. Once cool, cut these shapes out, directly on the drawn line and remove the backing papers.
3. Fold the background fabric across both diagonals and finger press slightly. This slight crease will be a good guide to centre the tulip shapes. Centre the shapes on the background rectangles. Press the applique shapes in place. ** Fuse the stabiliser at this stage if using this option **
4. Using the matching thread on your machine, applique these shapes in place. I used a straight stitch, but a zig zag or blanket or any other fancy stitch is fine too.
5. Sandwich the backing, batting and linen top. Baste with your preferred method (I like to spray baste for little projects like this).
6. Quilt as desired. I stitched in the ditch and 1/8" along each seam line. I then loopy quilted within each rectangle. Trim and square the quilt.
7. Attach the binding as you would a quilt.
Now go forth and make a Tulip Time Quilt for an empty wall in your home. Or perhaps make one for a friend.
DOWNLOAD and print the Tulip Time pattern here

If you liked my pattern and use it to create your own Tulip Time Quilt then I would love to see your creations. Please email a picture to [email protected] or tag me on social media with my handle @SameliasMum or hashtag #SameliasMum #TulipTimeQuilt
More posts from Anorina Morris