
DIY Donut Nail Decals

Did you know that our resident mani master, Alex, and I first bonded over the idea of a donut mani? We’ve been saving it for Donut Week ever since and it’s FINALLY HERE! I’ve been dying to DIY some nail decals and no better way to kick off a new LEVEL of DIY manis than with donuts! Yep, they’re like tattoos for your nails, so even those of you with zero to no nail painting skillz (like myself!) can dip your nails donuts.


Printable Donut Decal Graphics (Click HERE to download!)
Tattoo Paper
Inkjet Printer
White Nail Polish
Clear Top Coat
Scissors
Pen/Pencil
Wet Paper Towel


1. Print the donut graphics onto tattoo paper according to package instructions.
2. Peel the backing off the clear adhesive paper and lay it over the decals. Press firmly to squeeze out all air bubbles.
3. Cut out the donuts.
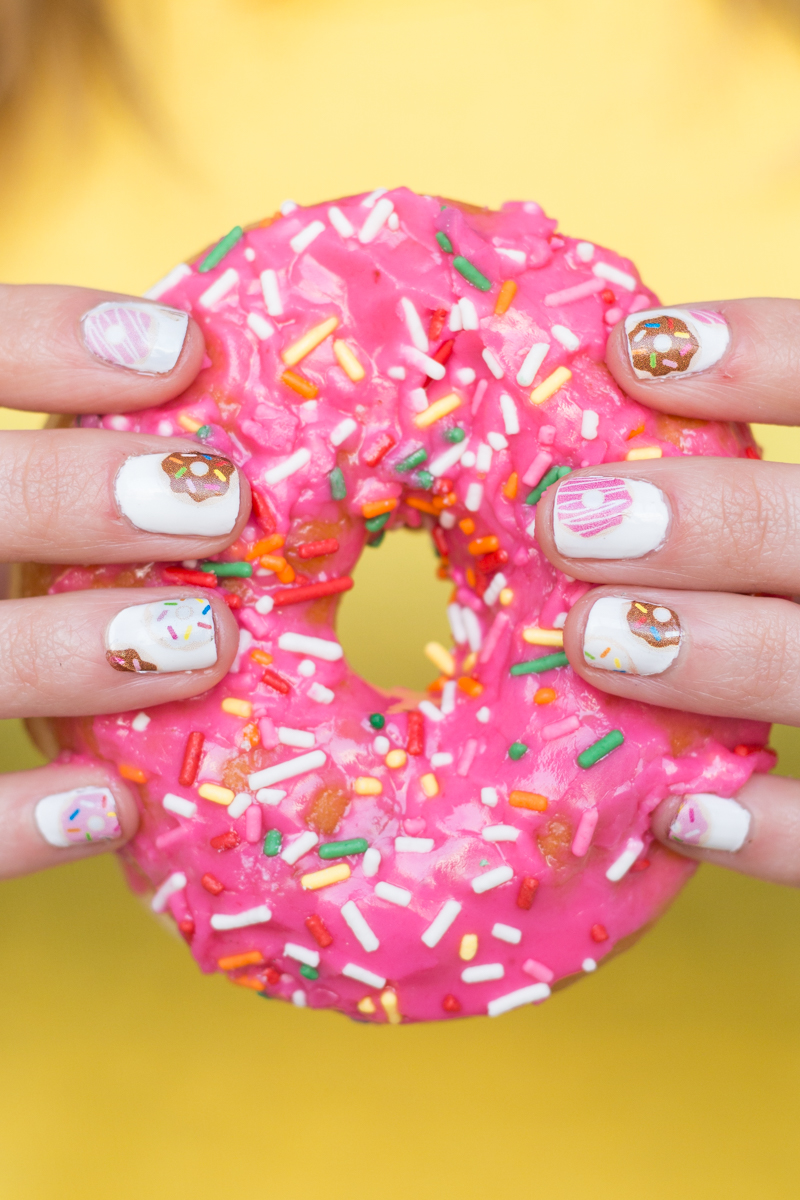
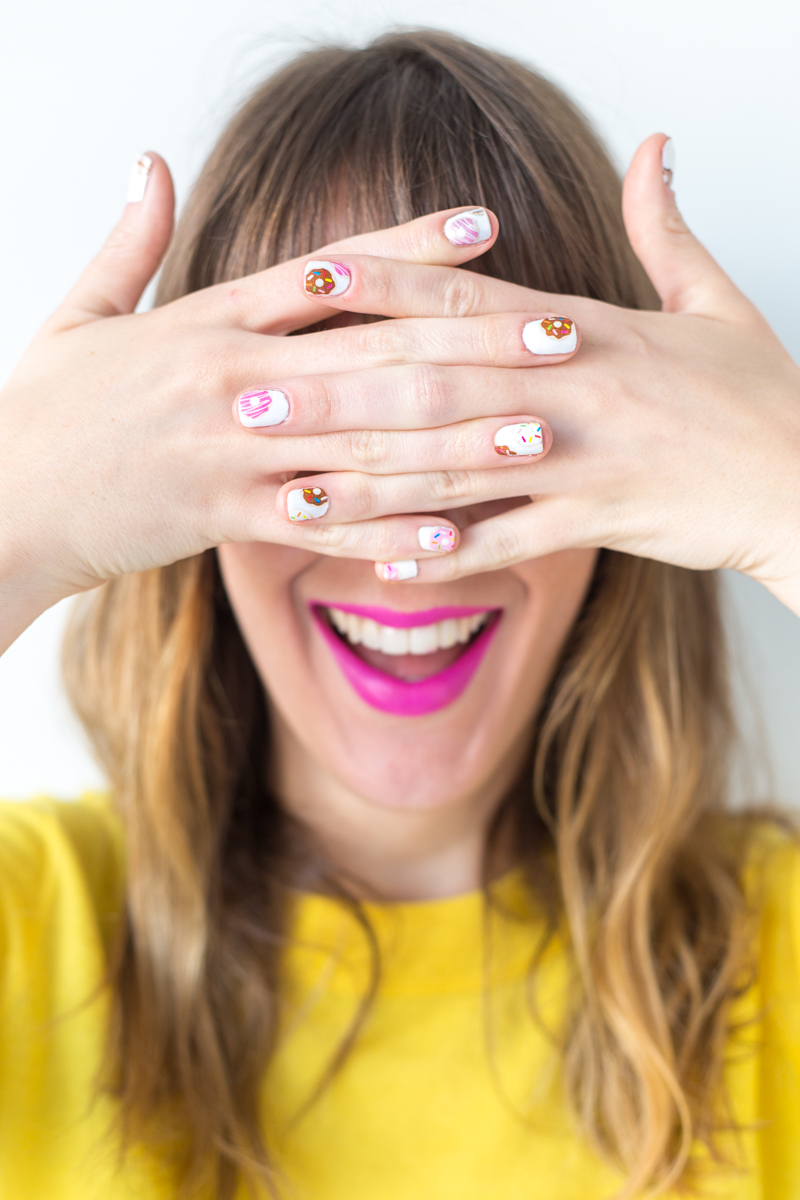
4. Paint your nails white and let dry. We chose to do pieces of donuts all over the nails instead of whole donuts. If you also want to do this, BEFORE peeling the clear film off the decals, lay them over your nail and sketch with a pen around where you want to cut the donut off. Then cut the donuts along the lines.
5. When they are cut and ready to place, peel the clear film off the decal and place onto the nail, rub carefully with a wet paper towel until the paper is see through.
6. Remove the paper and the decal will be on your nail! Top with a clear top coat.


Photos by Jeff Mindell | Manicure by Beautilitarian | Nail Decal Designs Creative Direction by Studio DIY | Awesome Hand Modeling by Samantha
I will now proceed with making everything into nail decals. Carry on!
For more donut projects, click here!
Tweet