
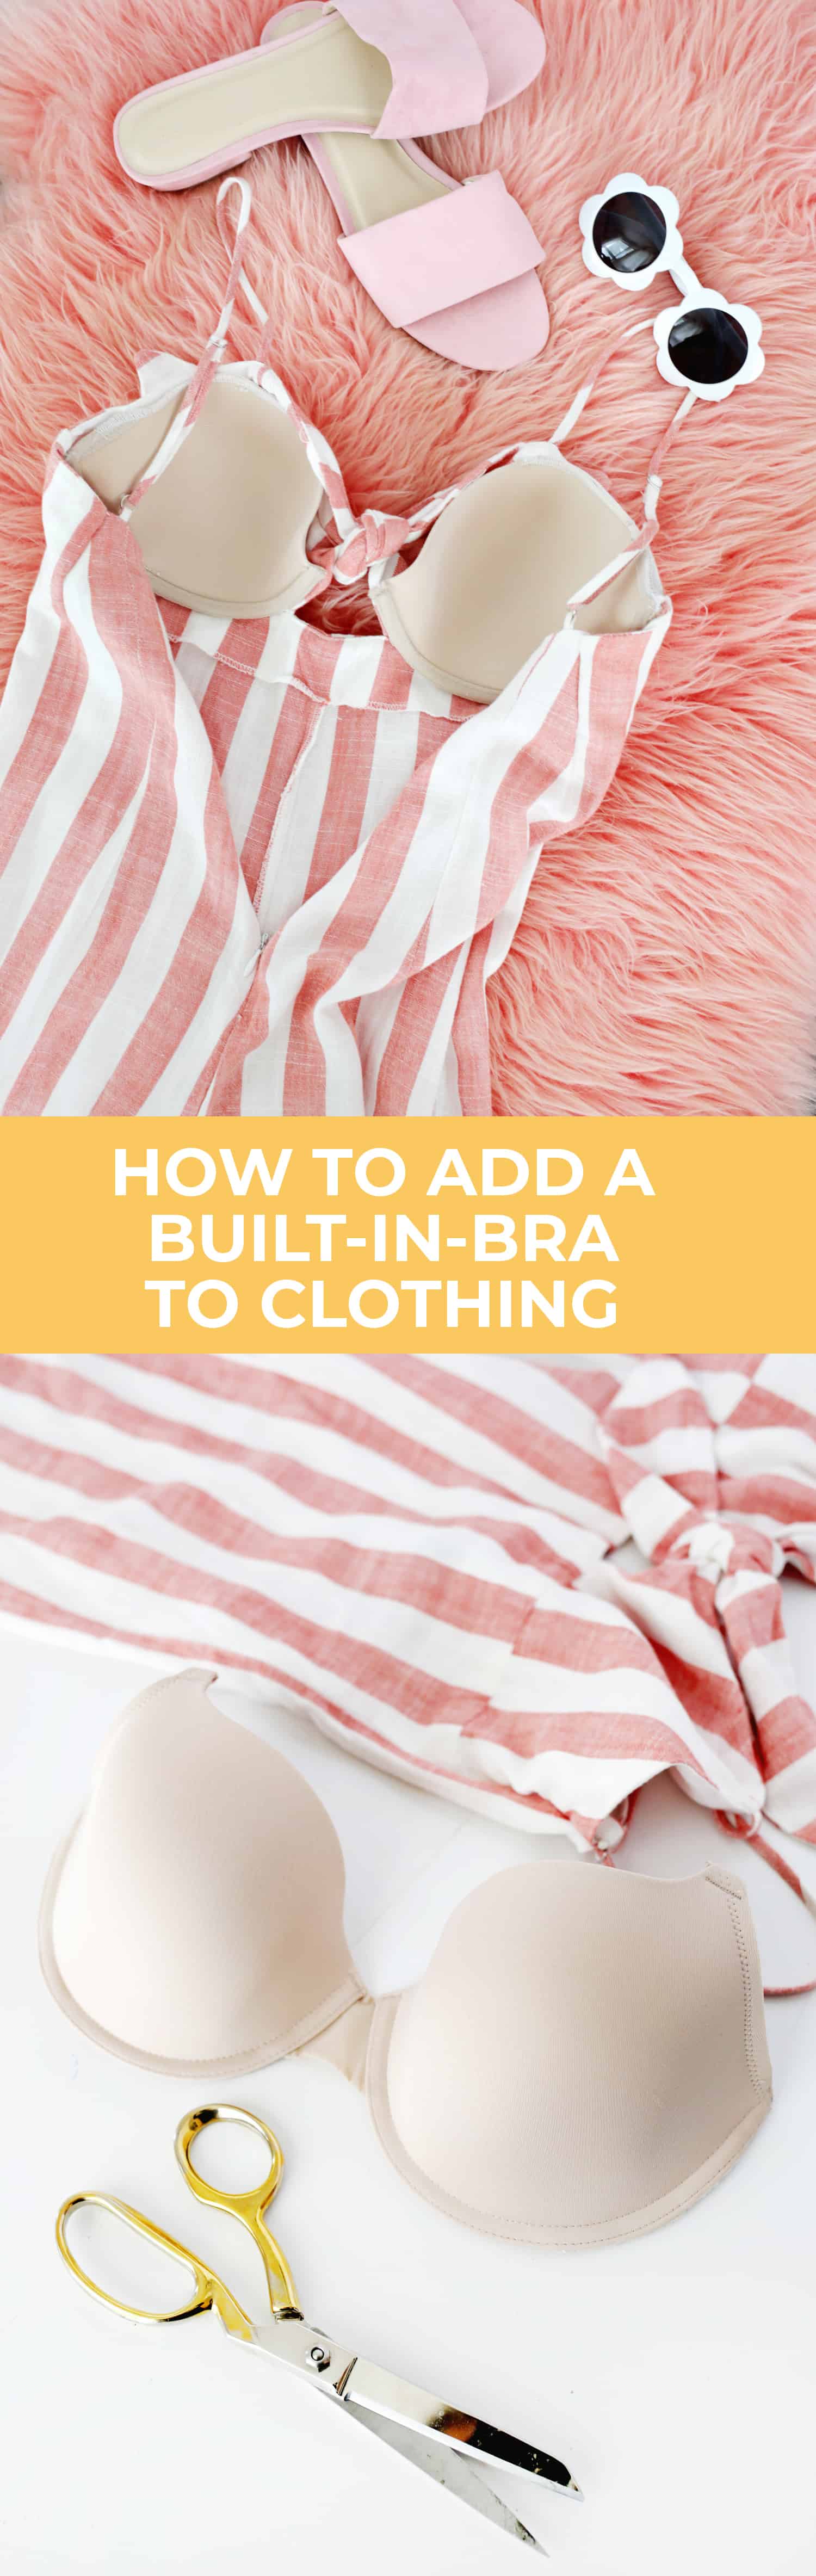
How To Add A Built-In-Bra To Clothing

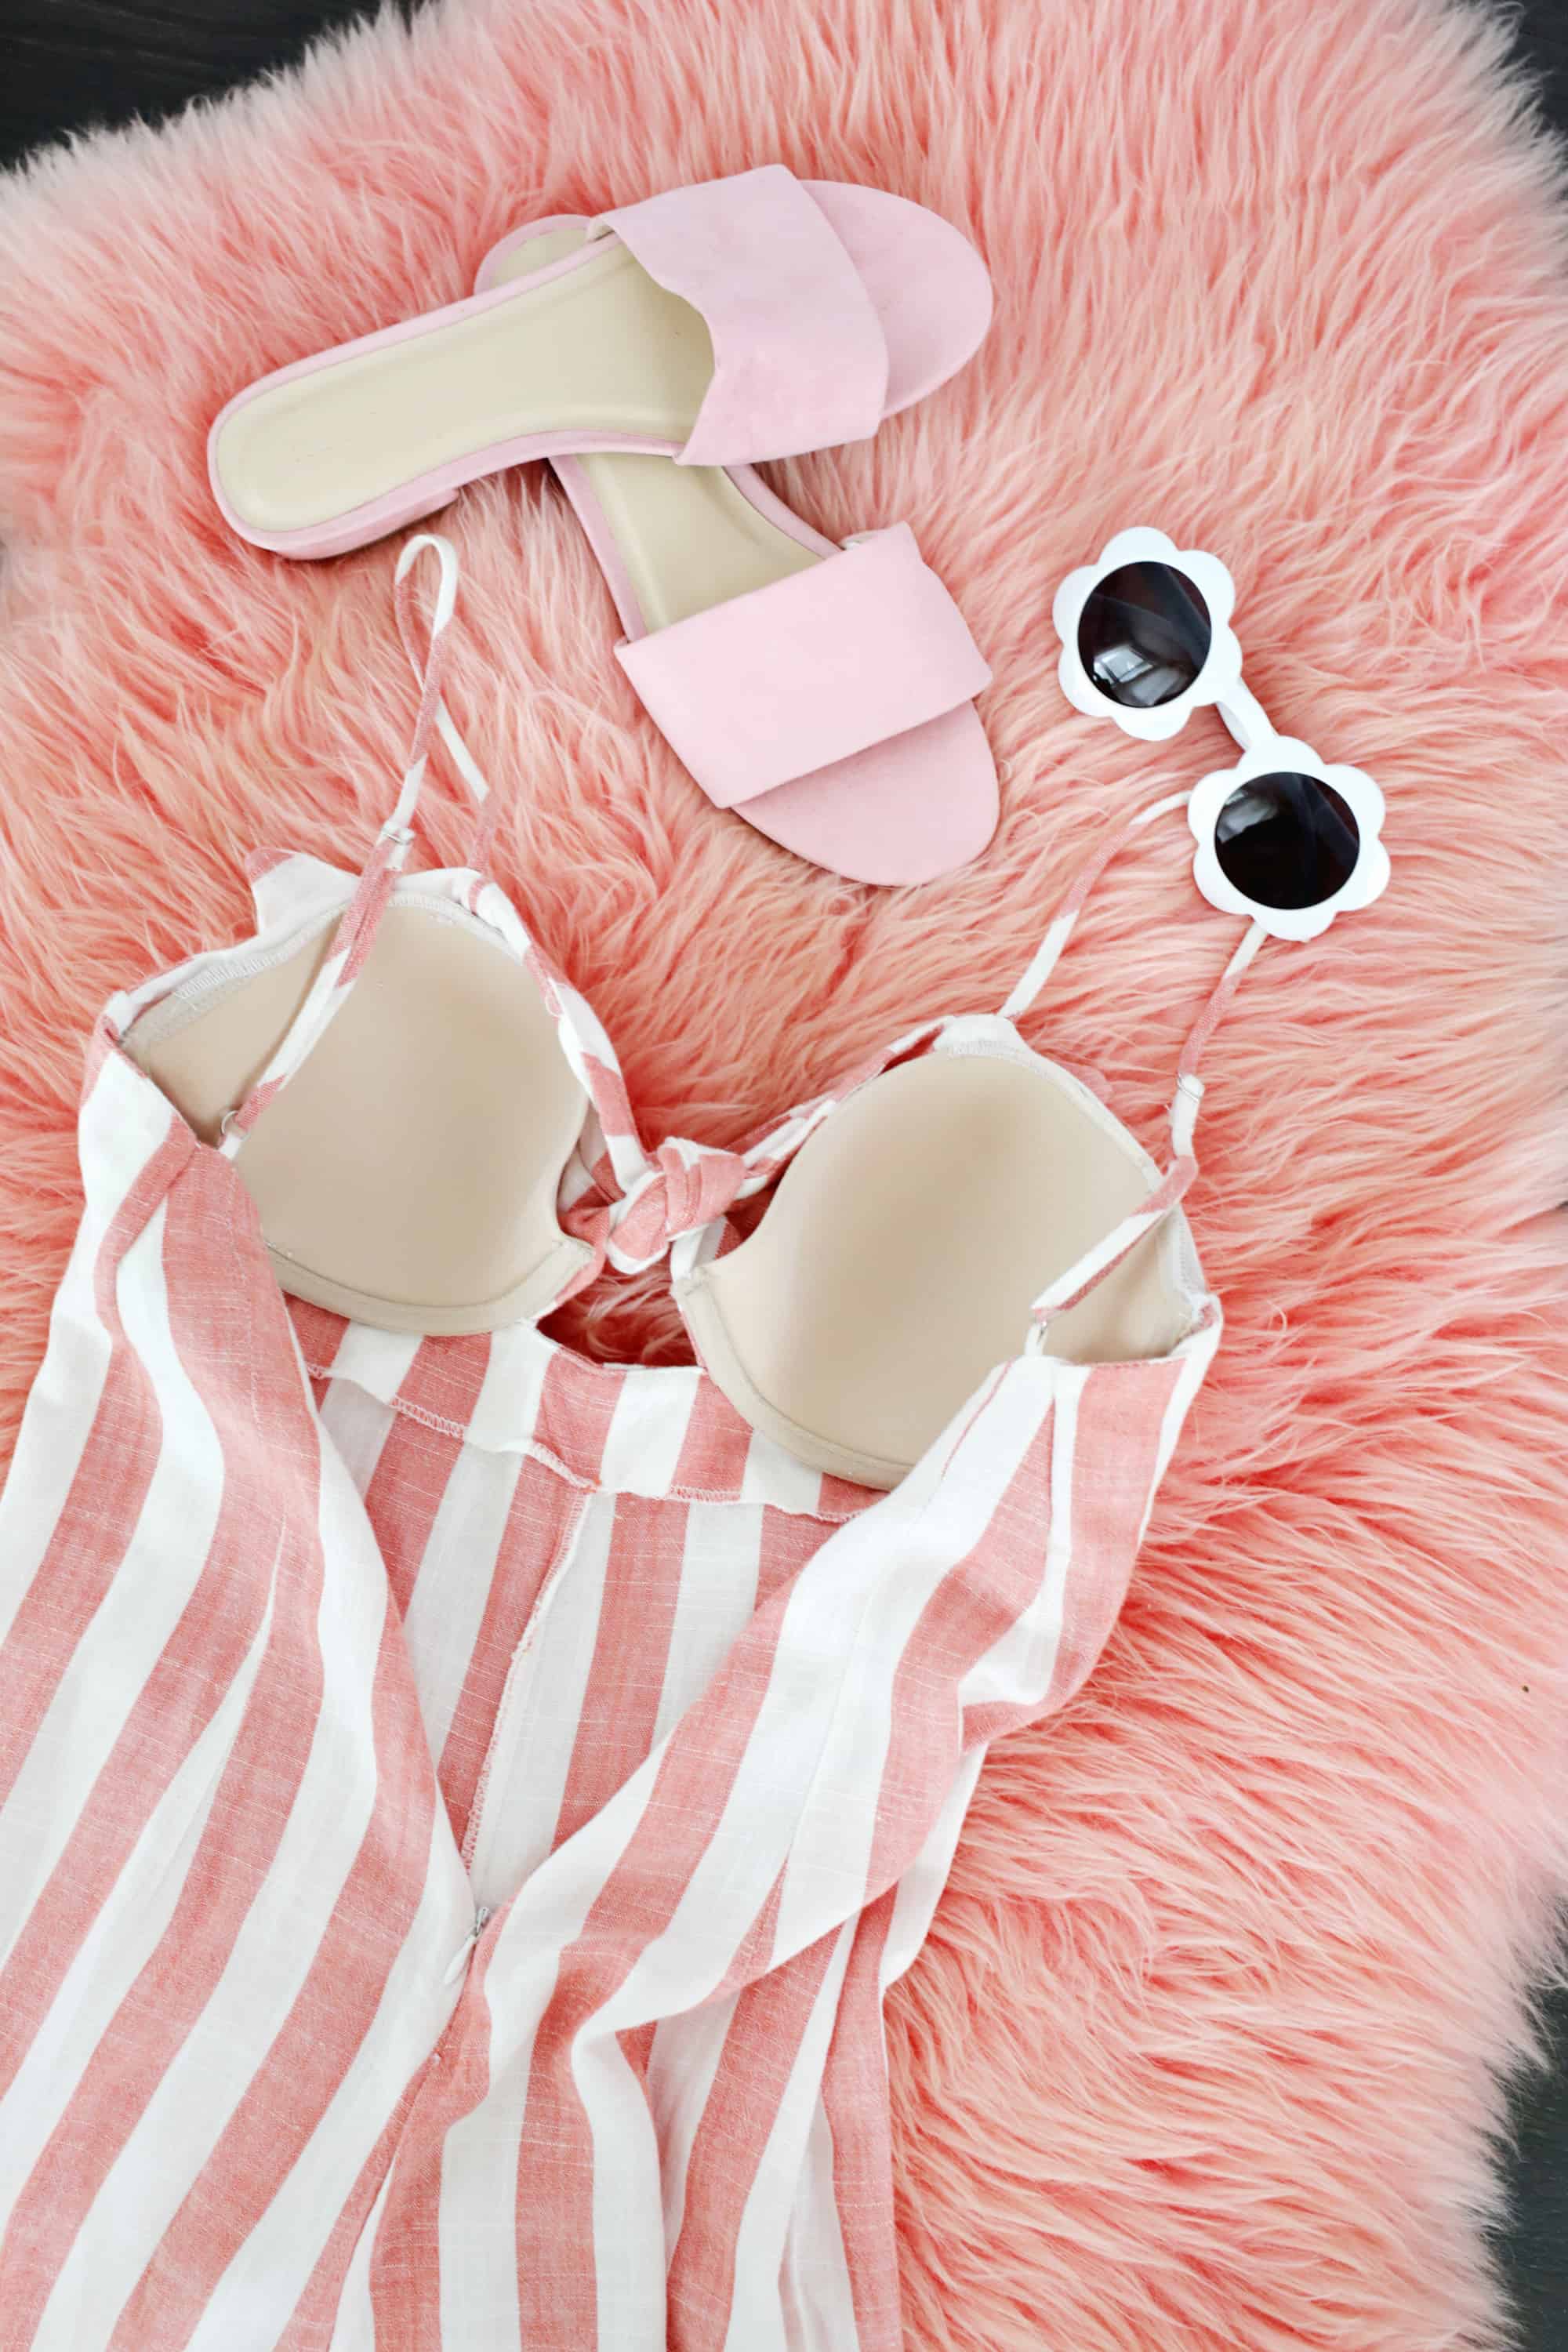
So, I have a feeling that you saw the title of this post and said either, “Why would I want that?” or, “Oh, dear Lord, YES!” I’m always astounded by the amount of clothing items in stores (especially in summer) that it would be impossible to wear a bra with based on the low back/skinny straps/no straps/cutout designs—and as someone who definitely needs some support in that department, it frustrates me to no end. Thankfully, there’s a way that you can still wear that super cute item and get the support you need with a built-in-bra DIY! Now, this won’t work on every item depending on the construction and what the material is, but my guess is that you’ll be able to open up your options range a lot wider than you would think with this trick. The items that work best with this are ones that are more fitted to the torso/waist, so this method wouldn’t work with a super flowy top or dress. I’ll show you two ways to add some support to your garment based on the level of support that you need:

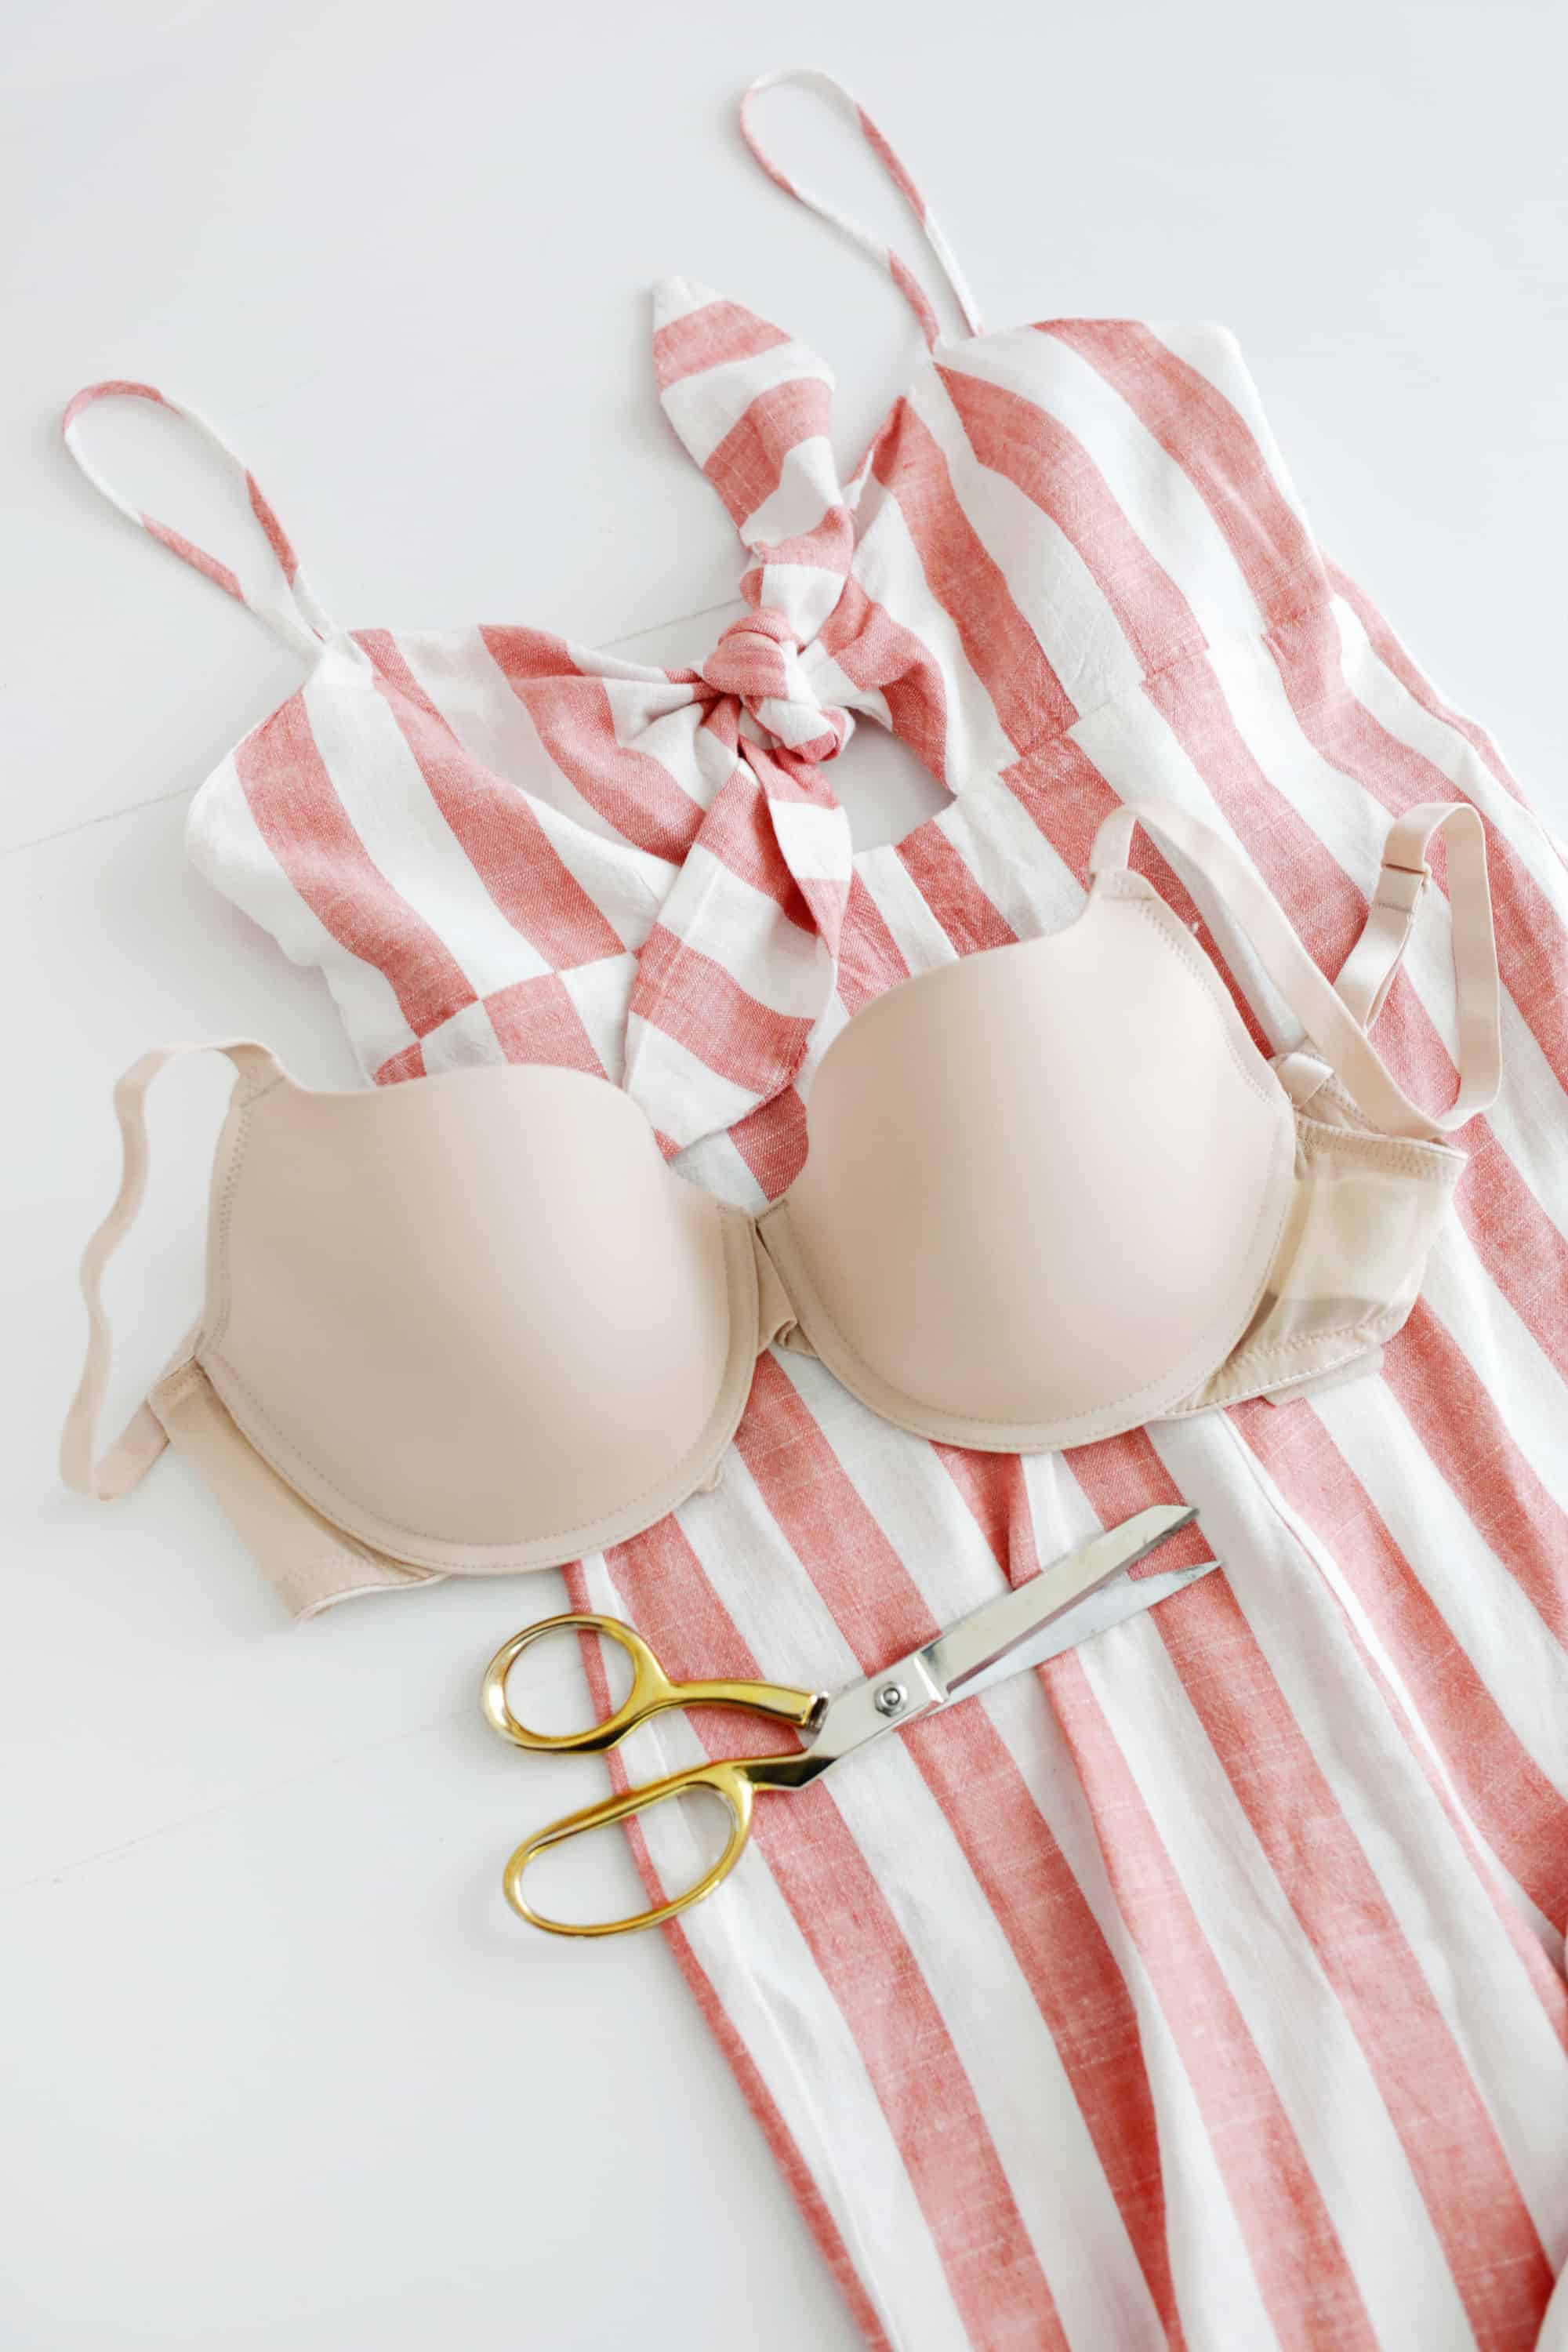
The More Support Method: This method uses an underwire bra instead of loose foam cups as the underwire will help larger busts keep their shape. Since we are going to cut this bra apart it’s a good idea to find a less expensive bra set (something like this) or you can use an old everyday underwire bra that you were about to retire. I found some bras on sale that had a band size that was too large for me, but since the cups fit I got them anyway, since that’s the part I was going to be using.

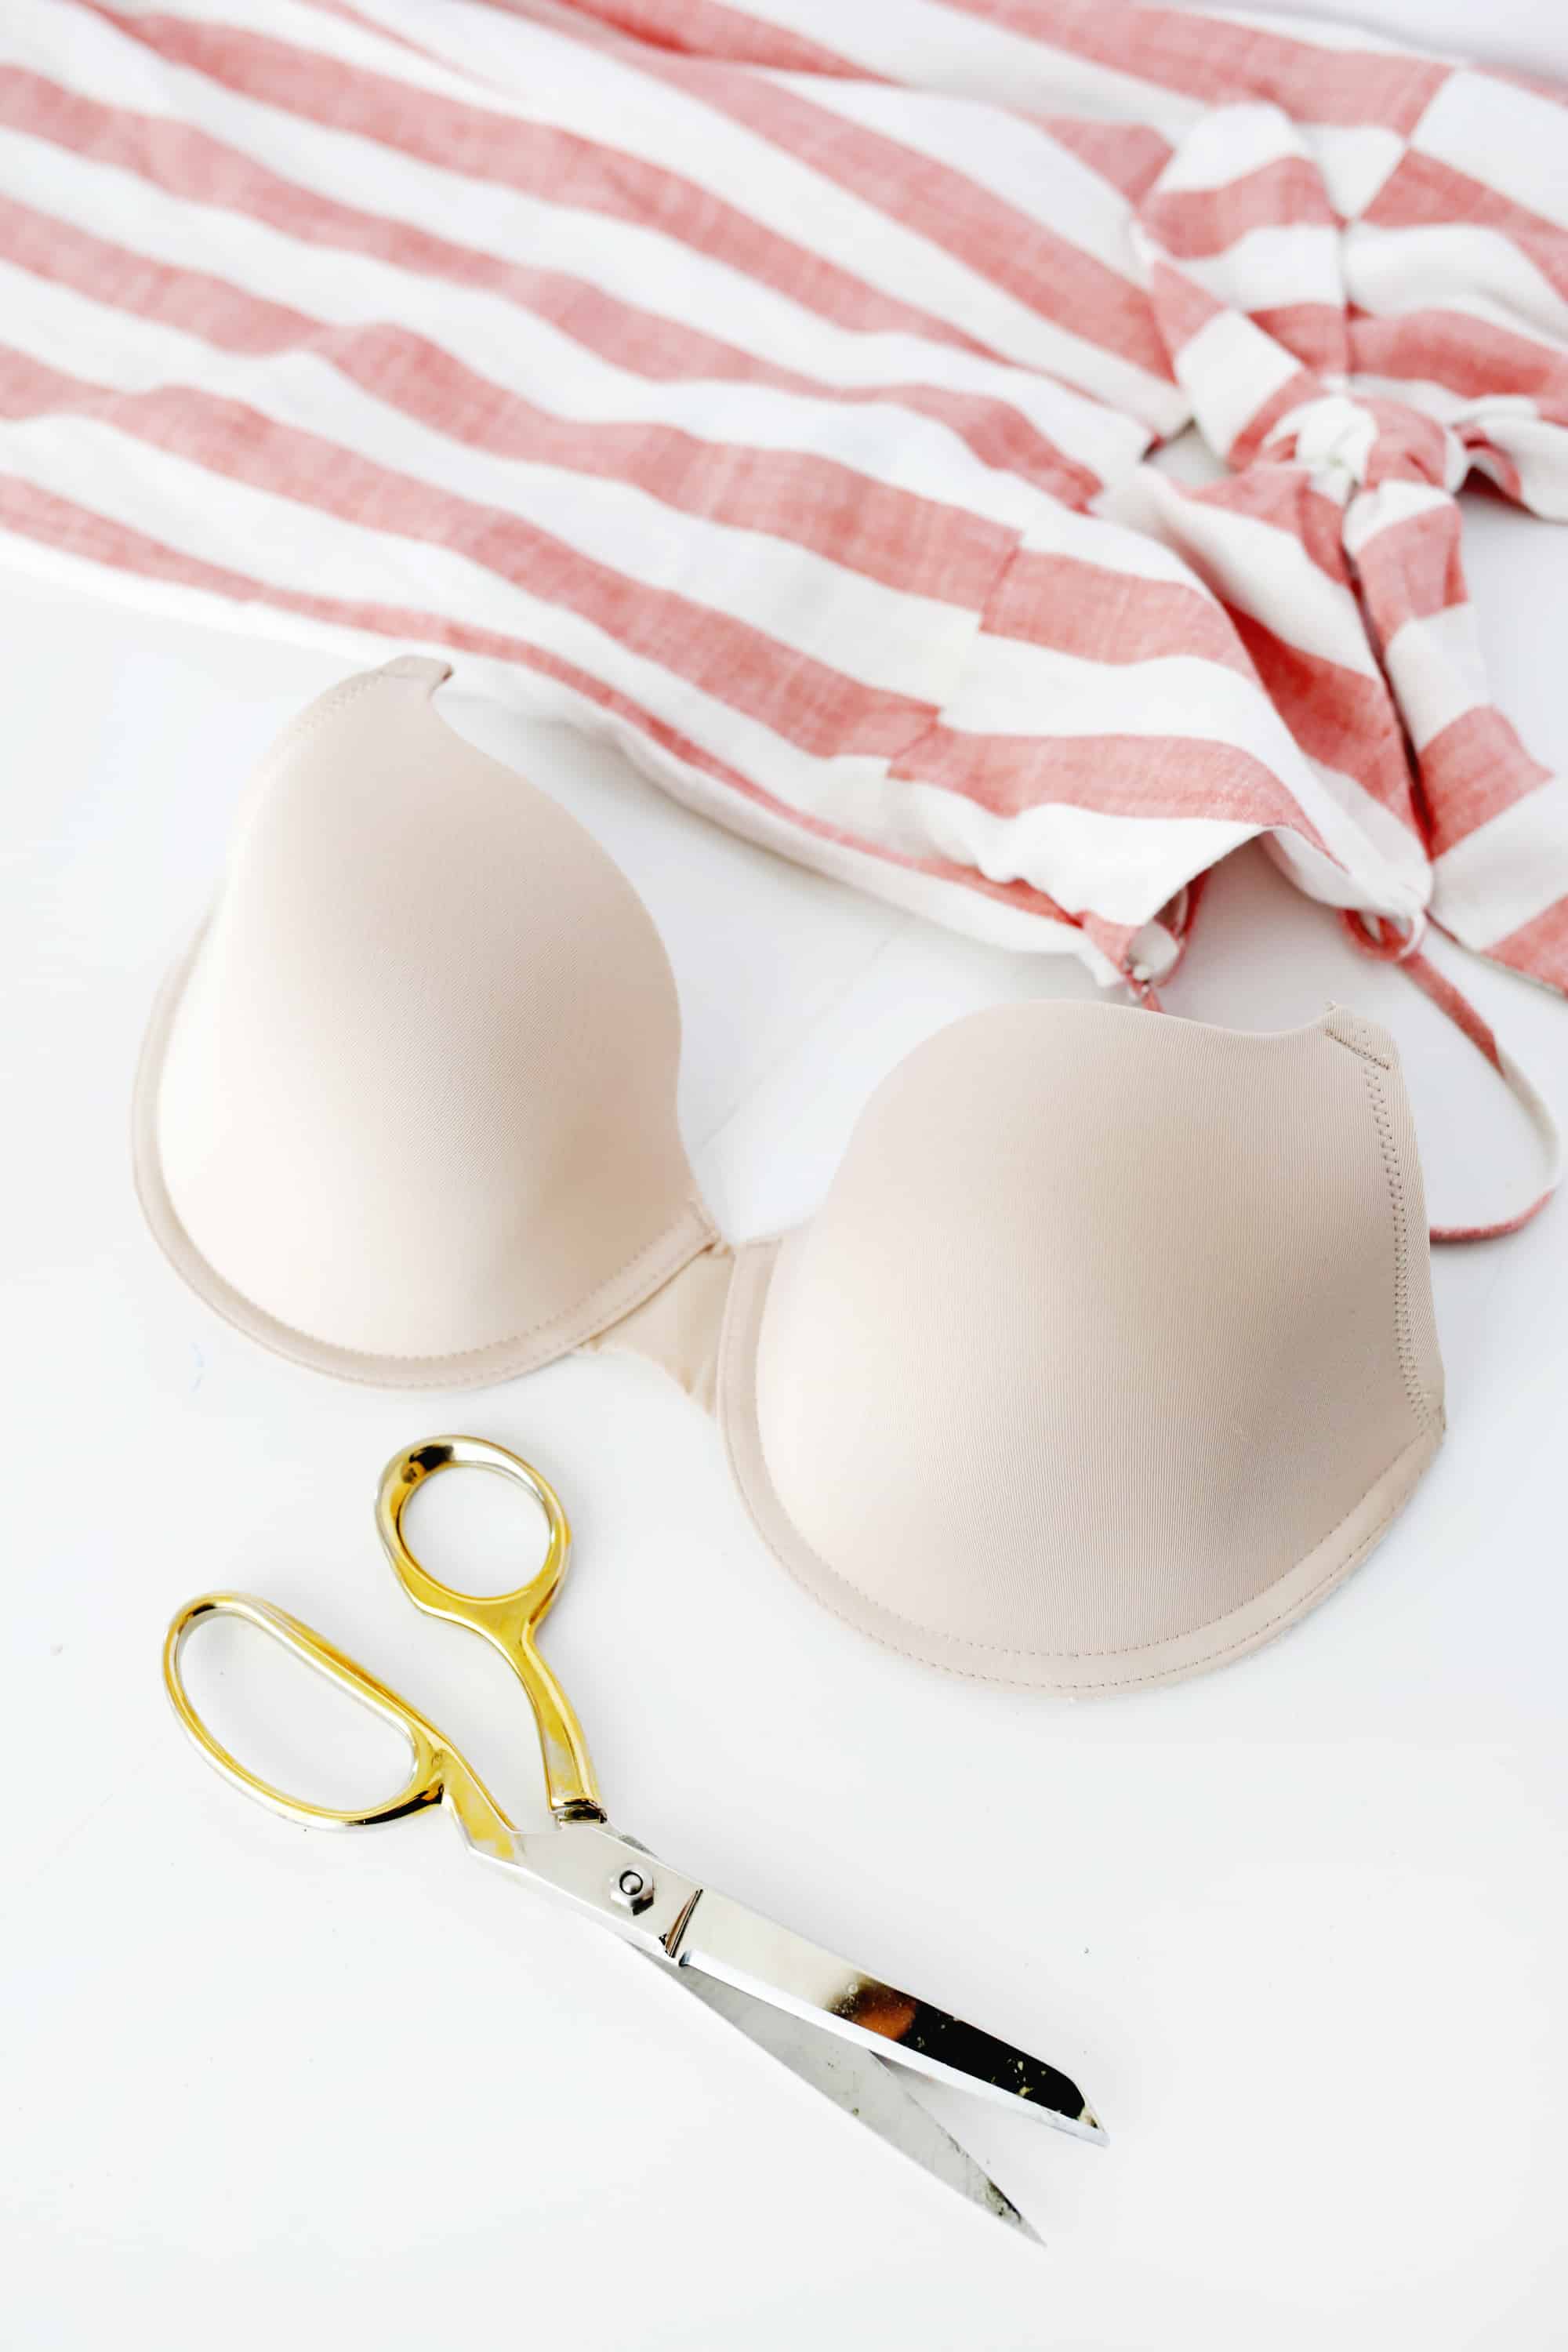
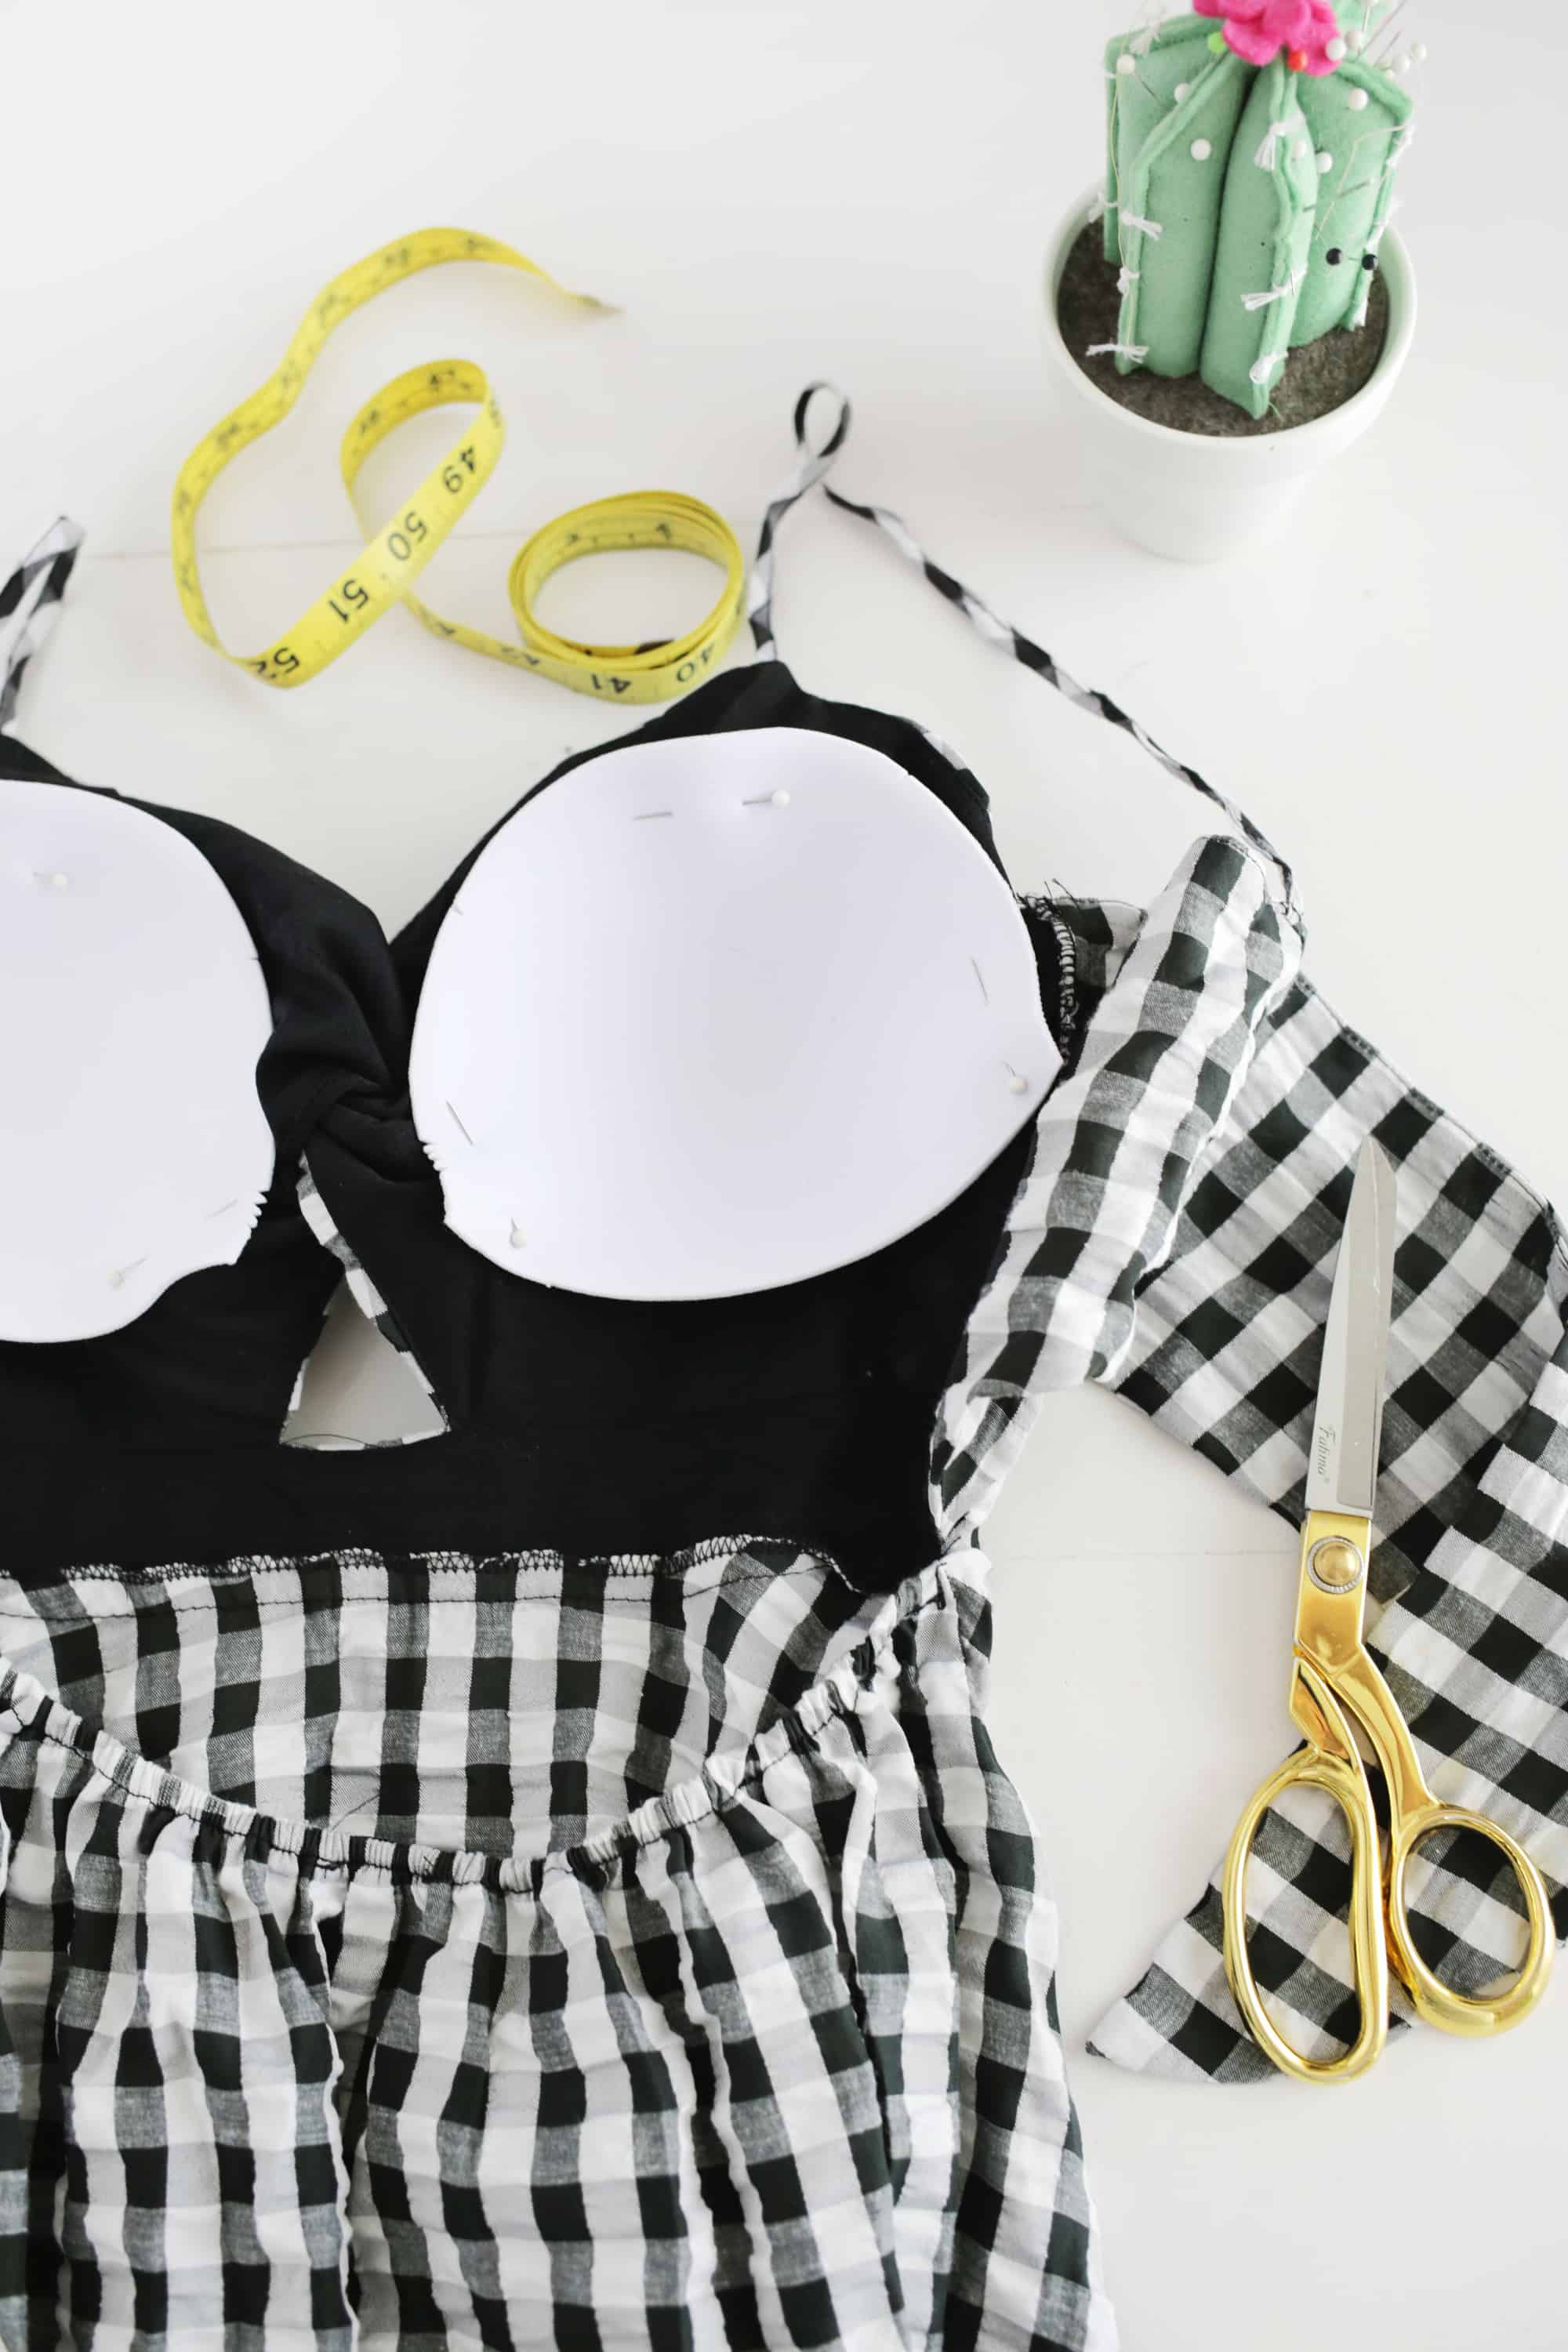
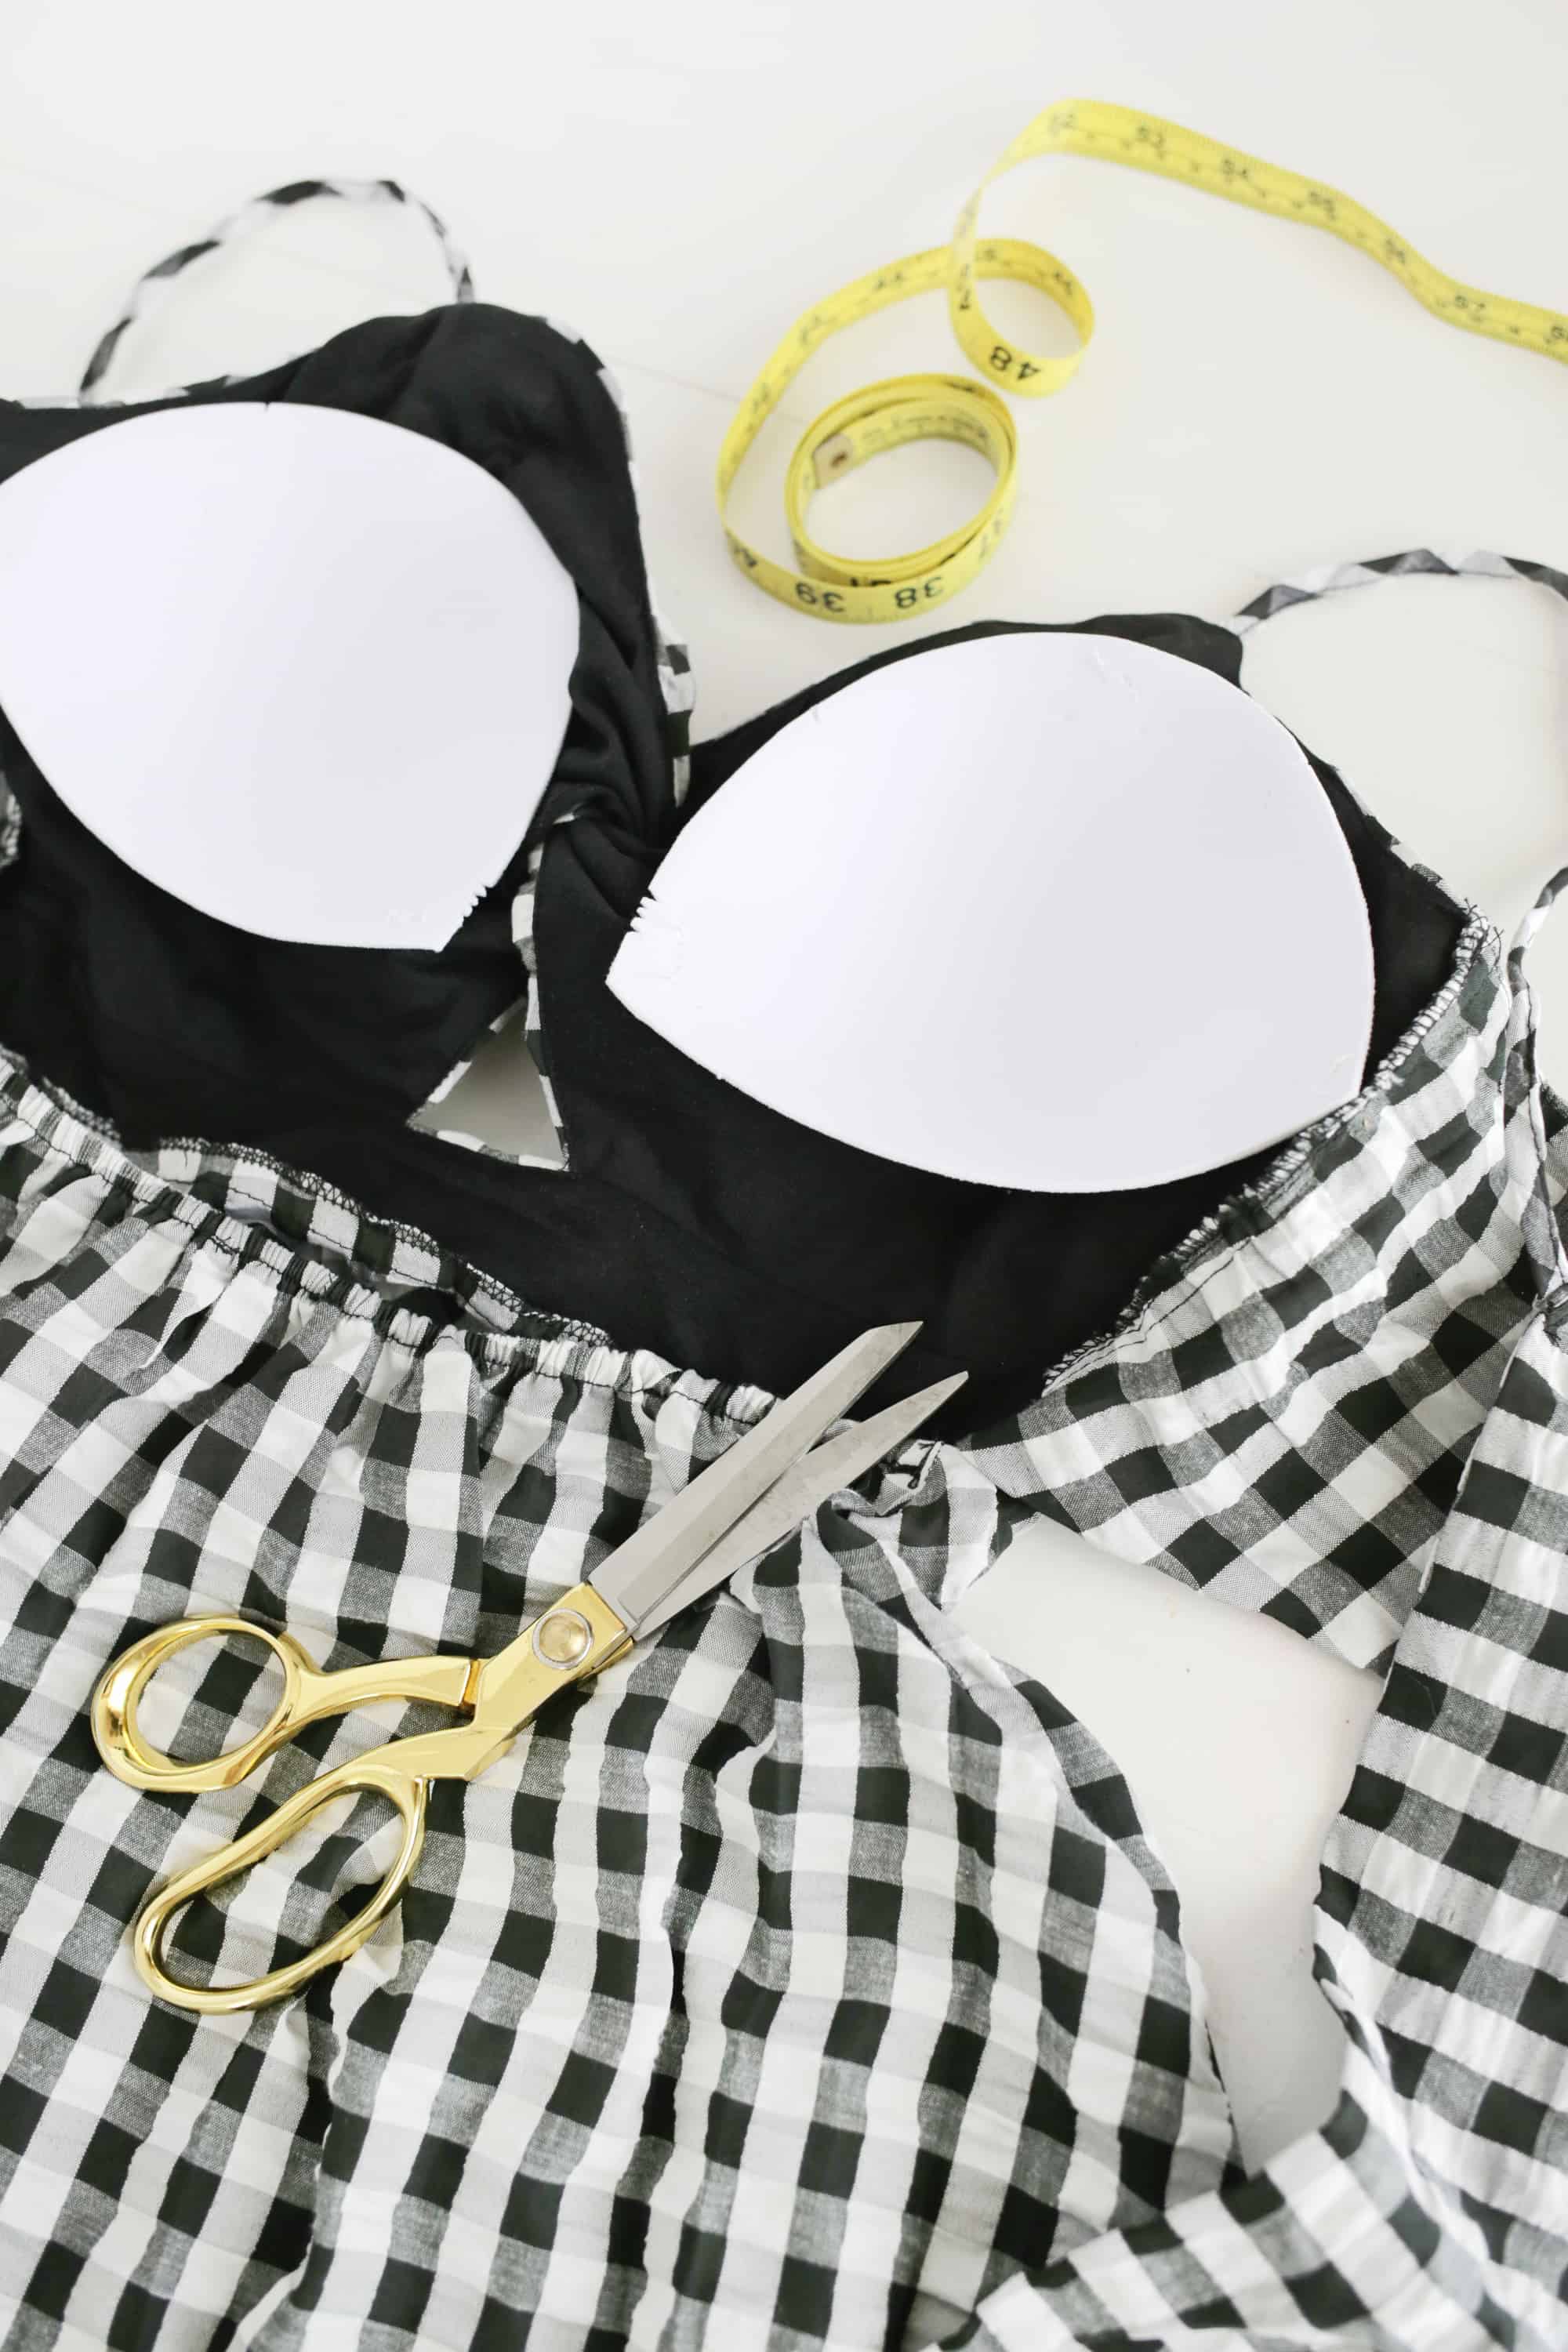
Once you have your bra, assess your garment and decide if you want to cut off the straps and cut out each cup individually, cut the sides off but leave the cups connected at the middle, or leave the middle and most of the sides and just cut off the closure on the back. It really depends on what you would be able to see with your garment, so try and leave as much as possible and cut off the rest.


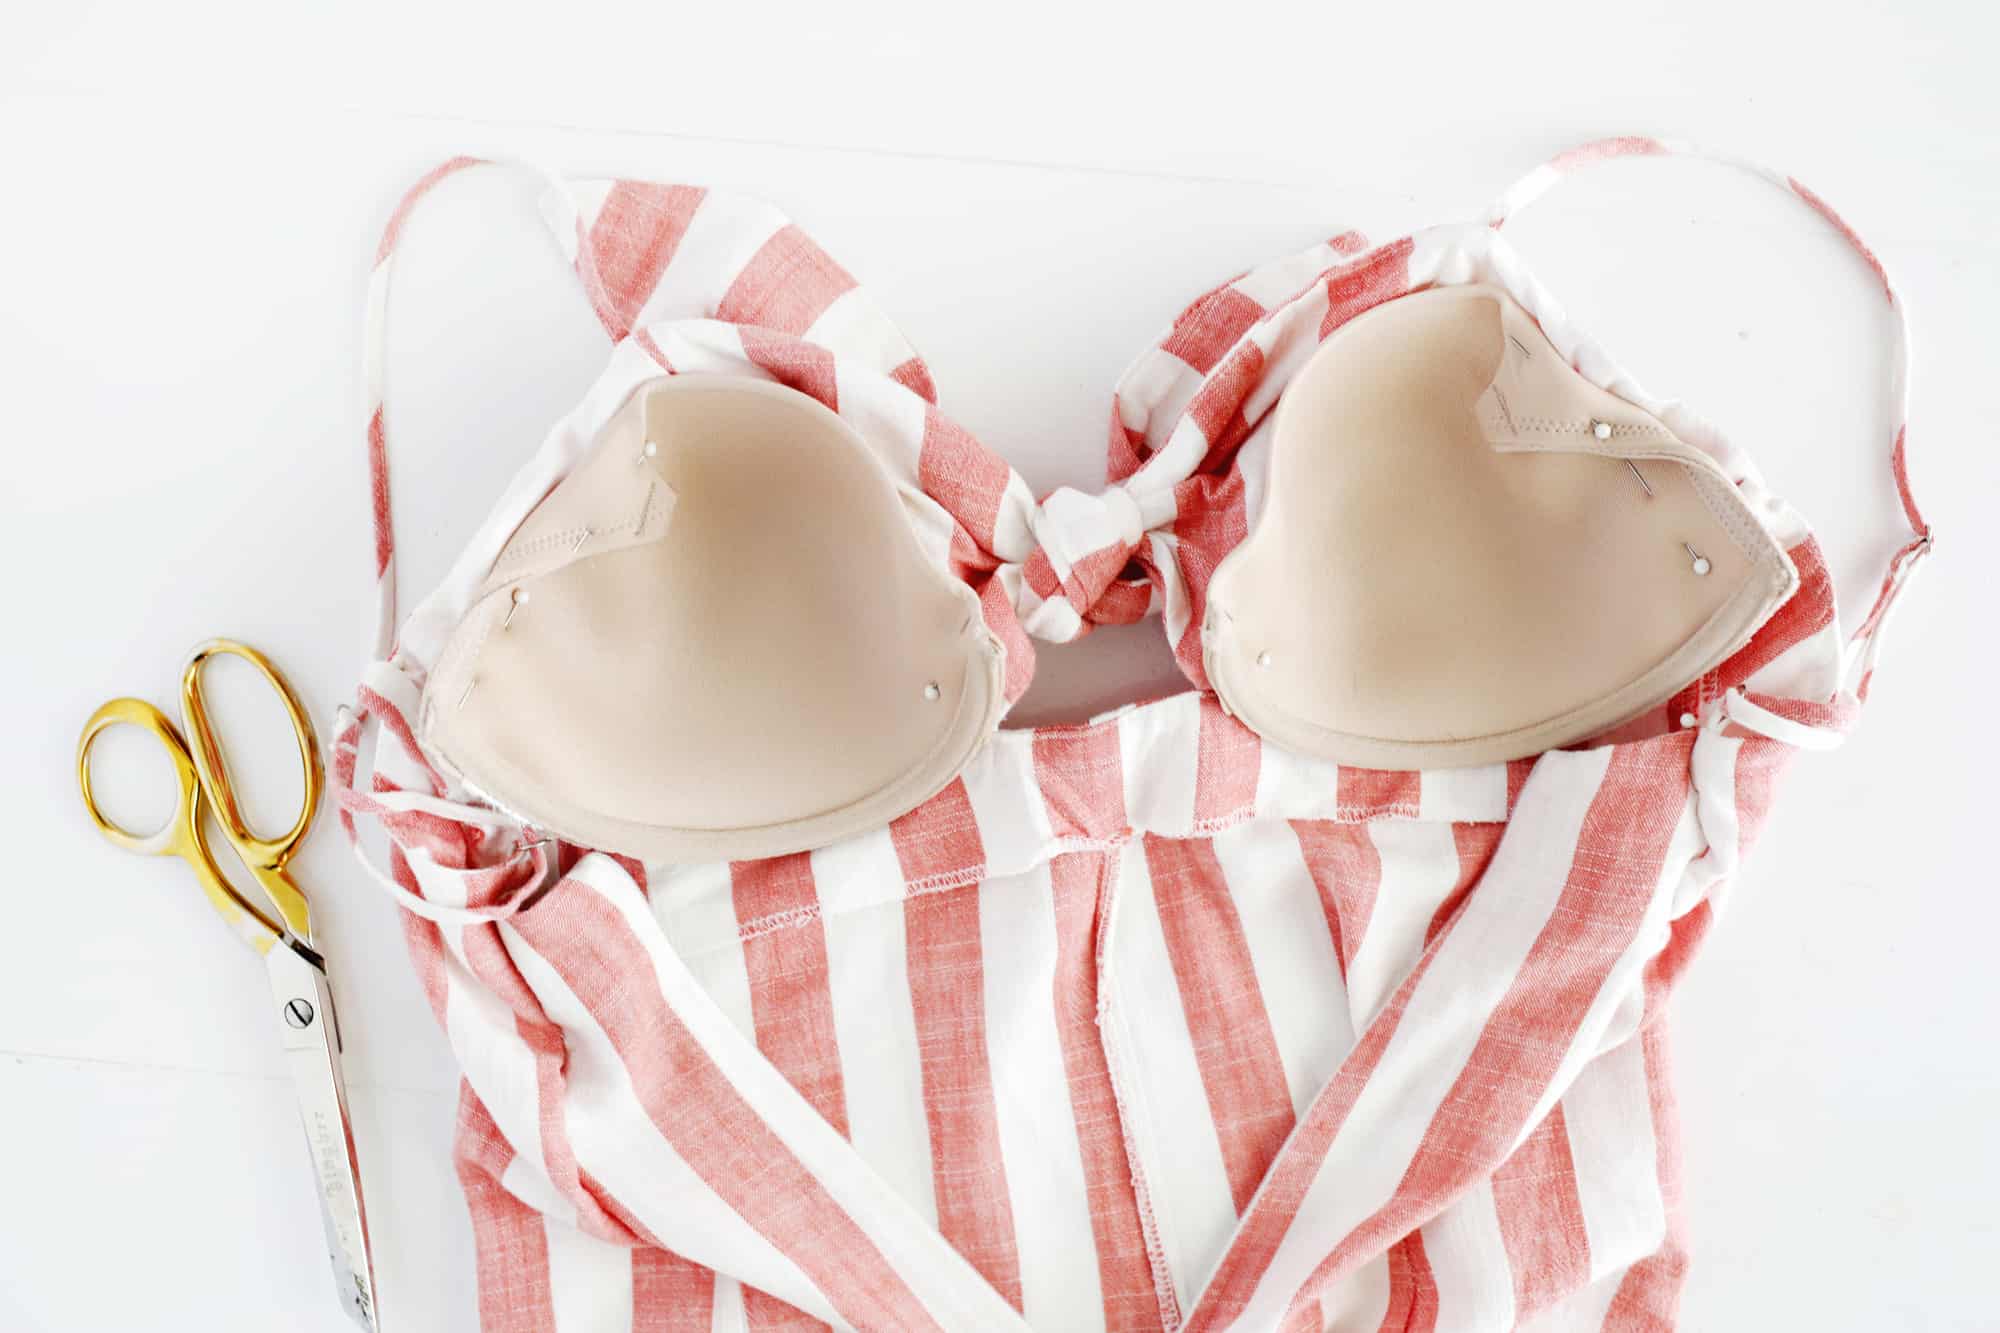
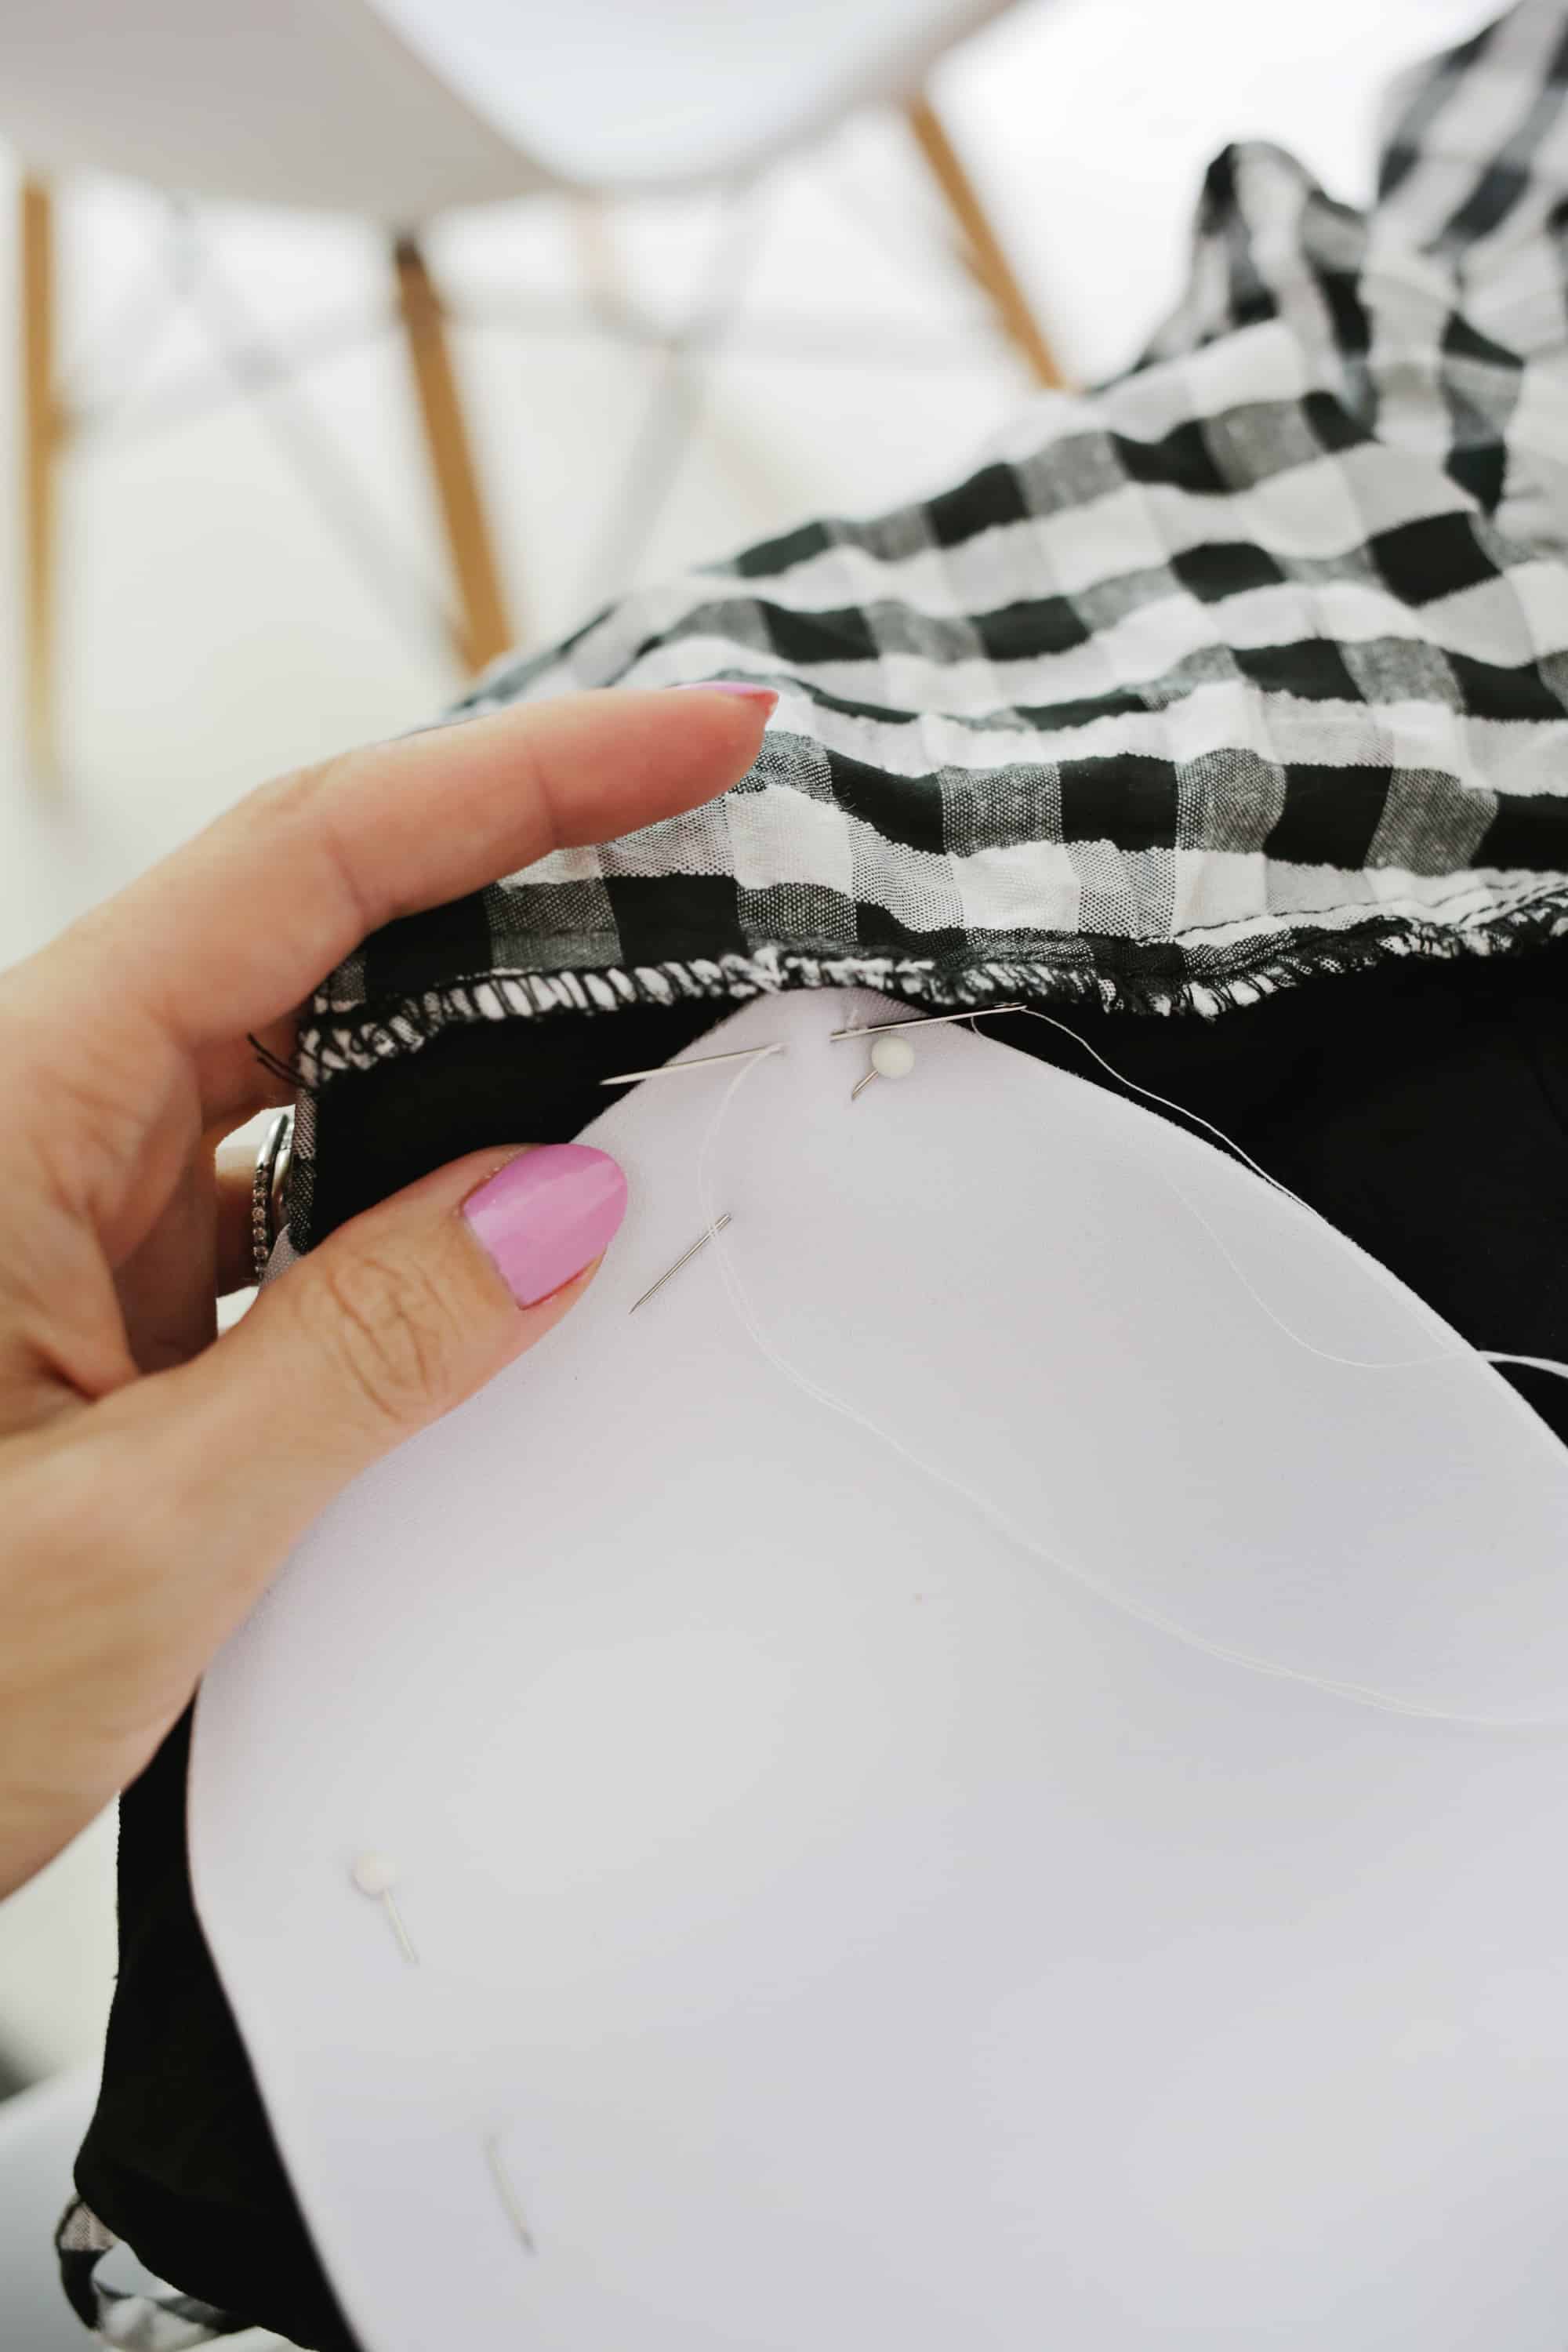
Try your clothing on and pin your bra/cups in place at the location where you want it to be. If the top edge or side of your cup is sticking out to where you can see it, you can either fold over that edge inward and tack it in place with a needle and thread (the folded edge shouldn’t really bother you since it’s soft foam), or you can cut the edge and sew alongside it with a zig zag stitch or a serger if you have one to keep it from unraveling further.
Once your cup is in place, use a needle and thread to attach each cup to the garment in at least four places about 1/4″ away from the cup edge (at each side and top and bottom) and you can do more locations on the cup if you feel like it’s needed. If you left on some of the sides of the bra, you’ll want to tack those areas down as well. When attaching the cup, use a thread color that will be least noticeable on the outside of the garment and either make very small stitches to where you are coming through to the front and going back in almost at the same spot, or if your garment has two layers of fabric in that area, just catch the inside layer so no stitches are noticeable from the outside.


The Less Support Method: So, for this method you’ll want to purchase a pair of these that come in your bra size (and you may also want to get some that match the clothing item color so it’s the least noticeable). Try your garment on and assess where you would want the cups to be. Pin the cups in place and gently try the item back on to make sure you like the cup location.

Follow the advice in the first method about trimming the cup size if needed and how to sew in place.


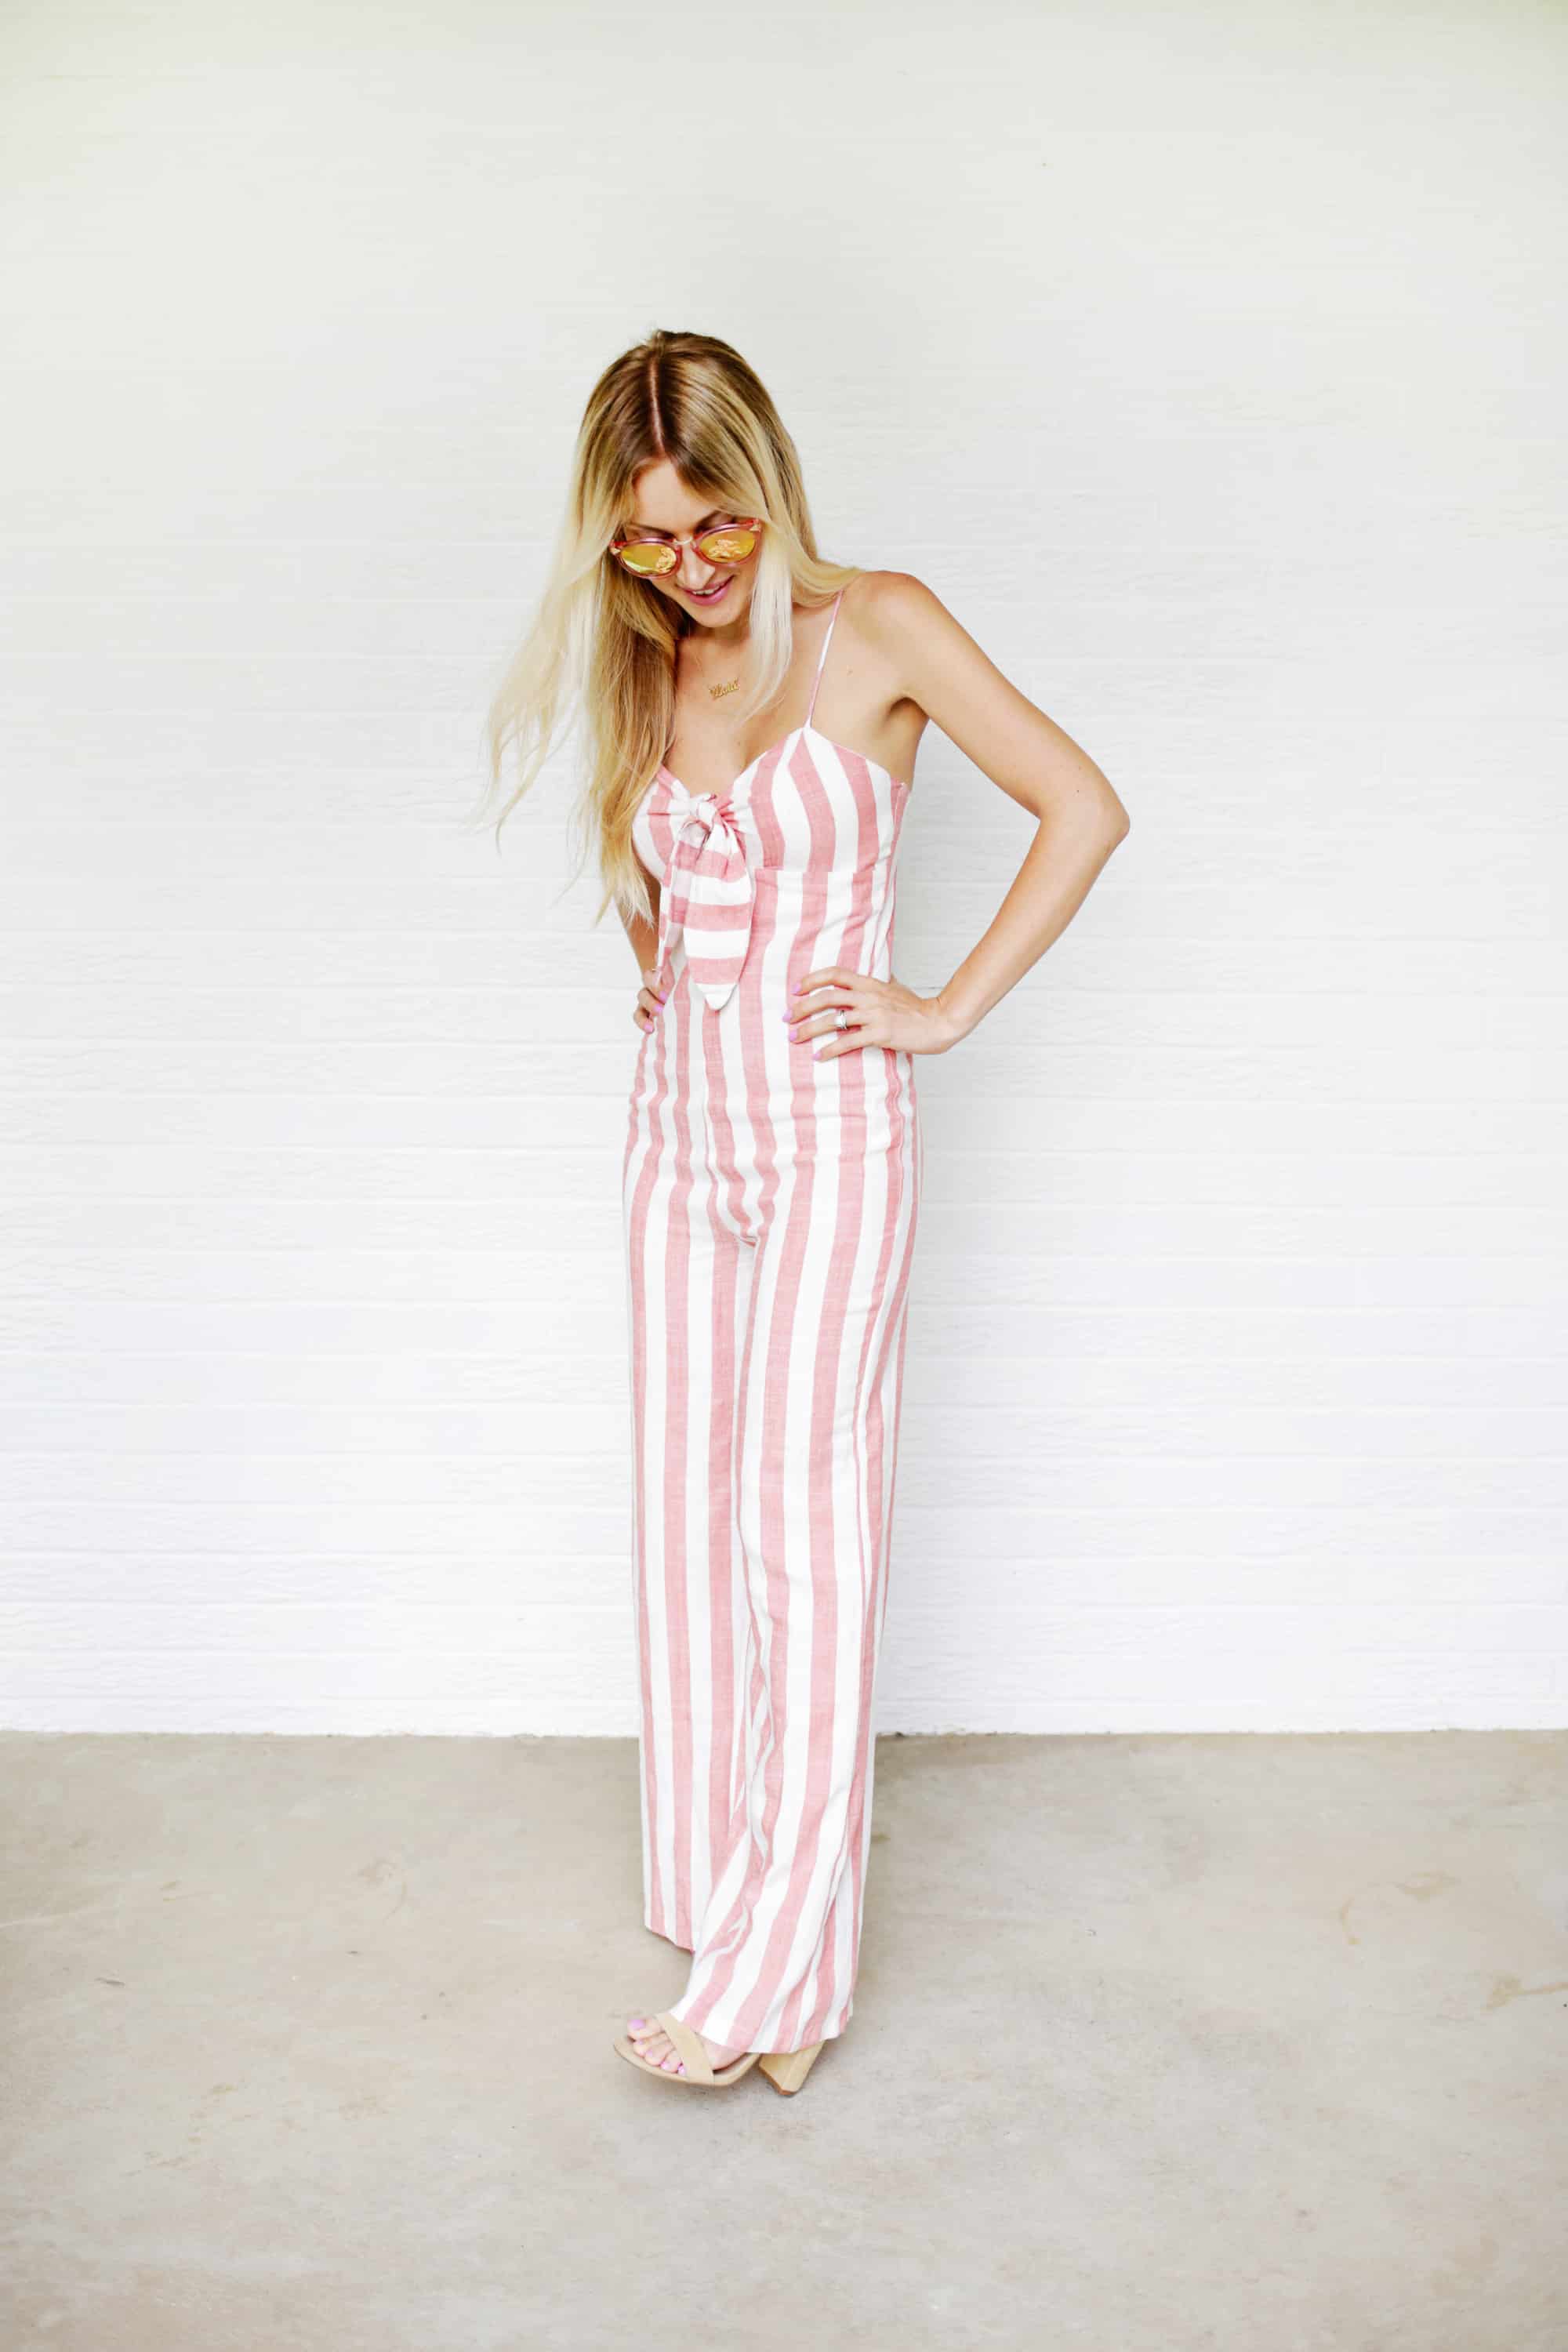
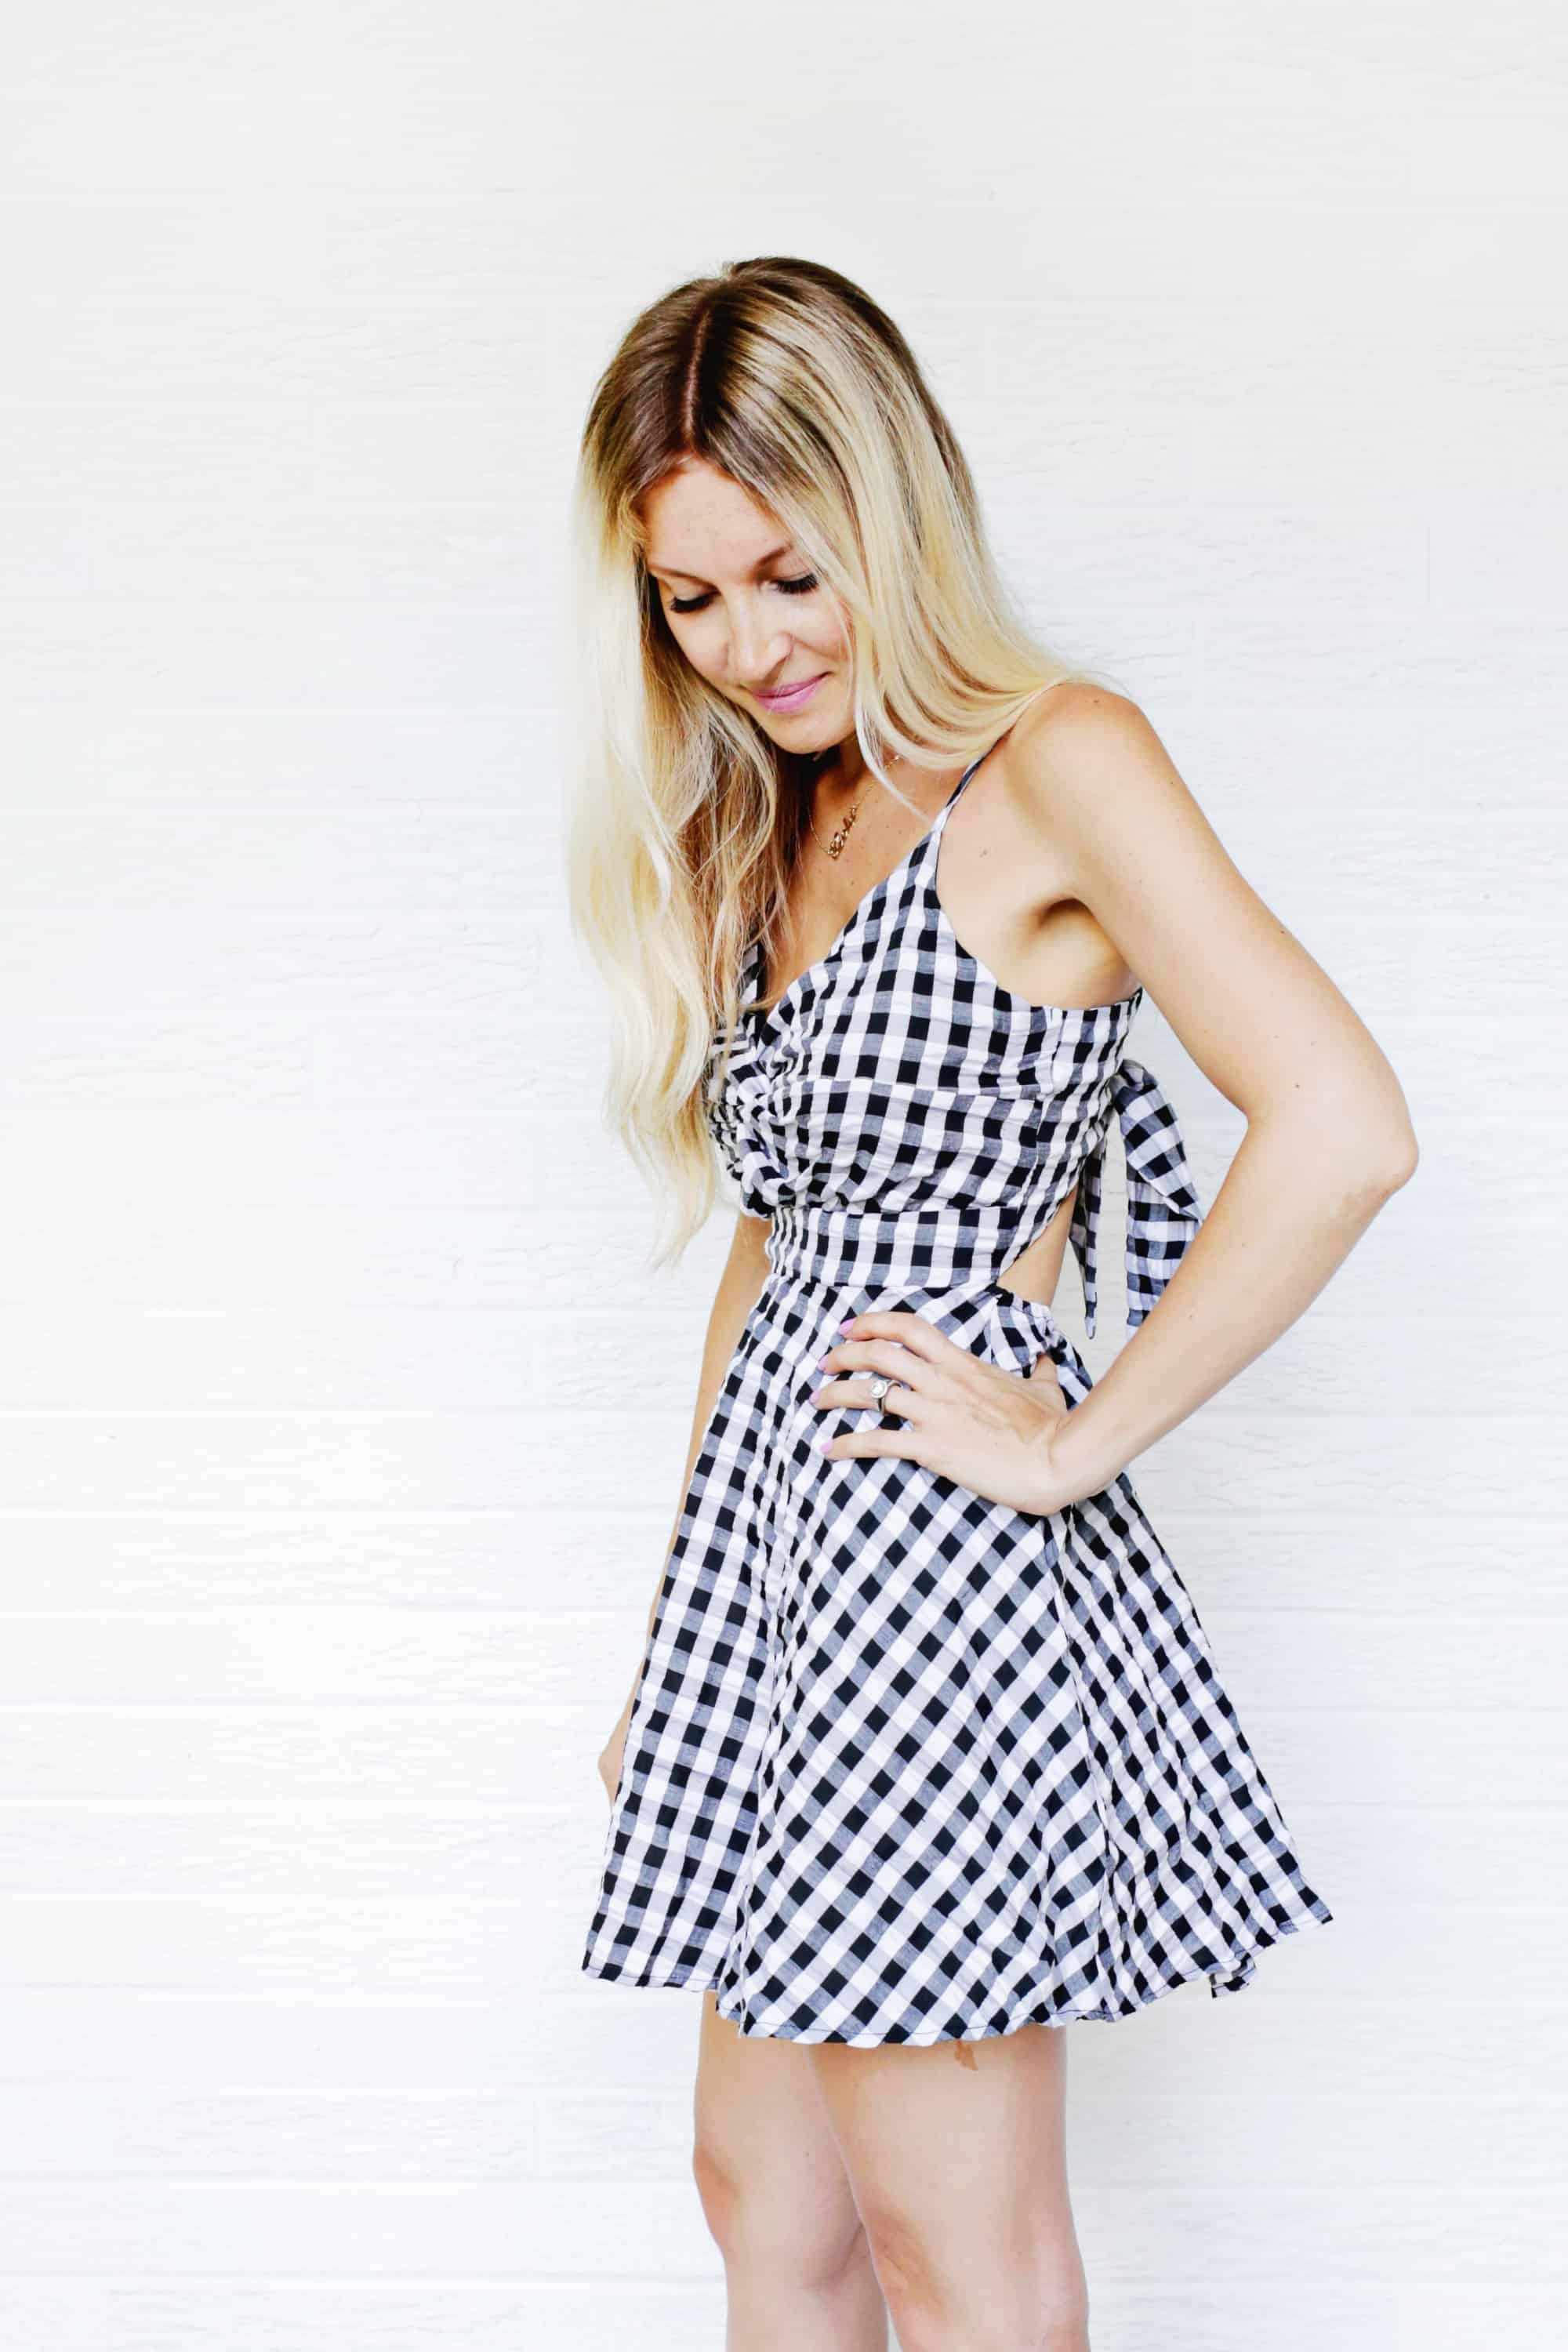
Don’t forget that the better the garment fits you in general, the better this will work. So if the waist or chest area is too loose, consider altering it to fit closer to your body first before adding in the bra. Dresses like this and jumpsuits like this are great because you can tie the back or the front as tight as you need to act as your bra strap, but you still get the peeks of skin that you want. I hope this hack helps you widen your range of options the next time that you go shopping! xo. Laura
Credits // Author and Photography: Laura Gummerman. Photos edited with A Color Story Desktop.

More posts from Elsie Larson