Katy

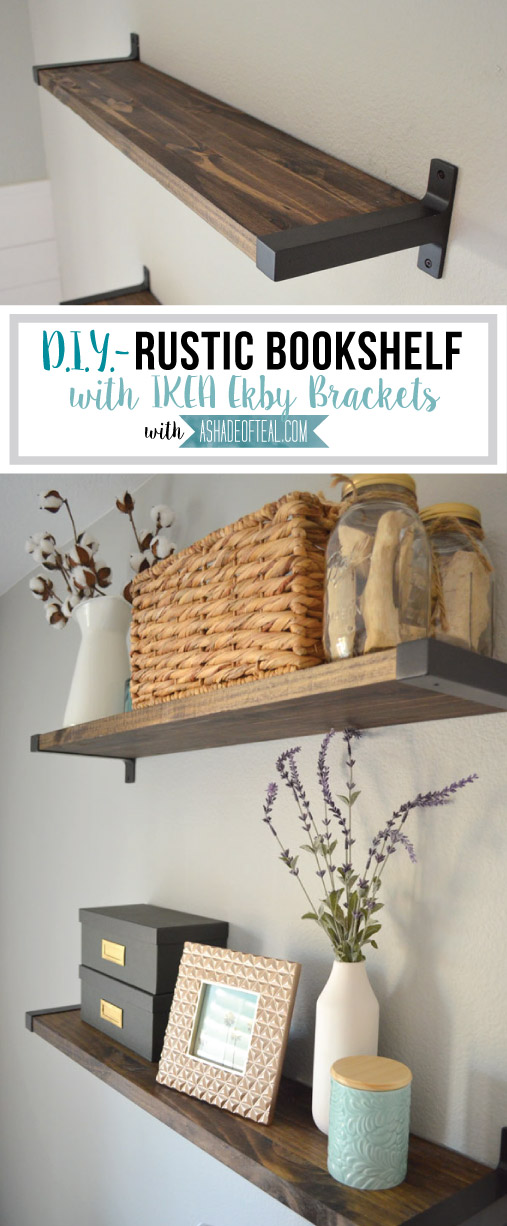
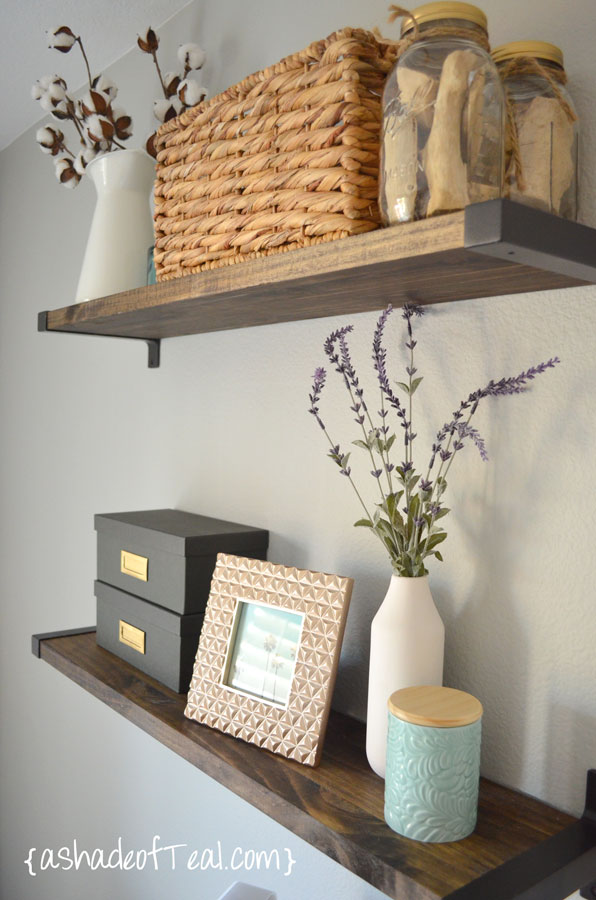
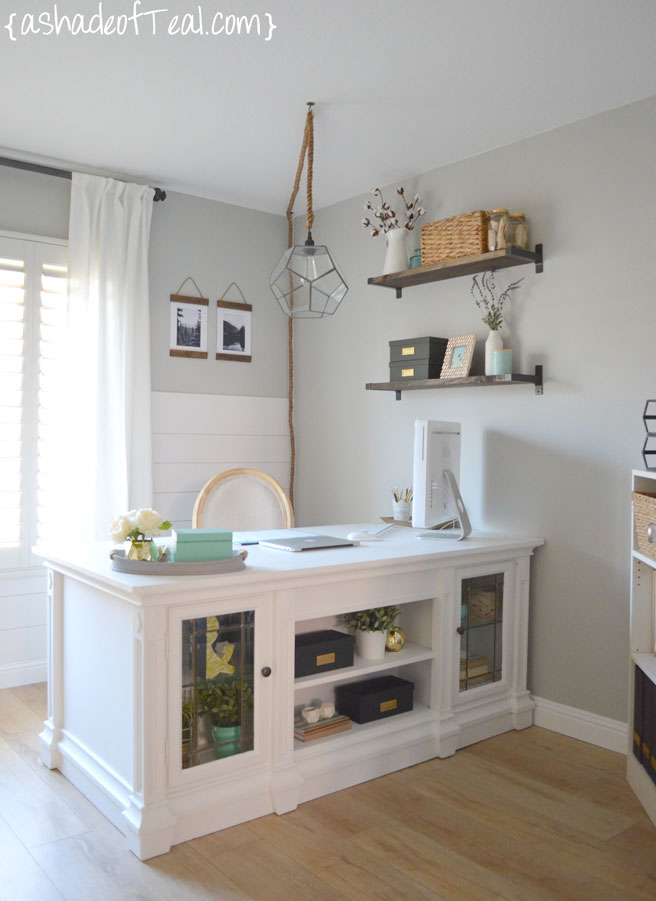
Rustic DIY Bookshelf with IKEA Ekby Brackets

Hello there! I’m so happy its Friday; it’s been one of those weeks that drags on. Today I’m sharing how I made my DIY rustic bookshelves with IKEA brackets.

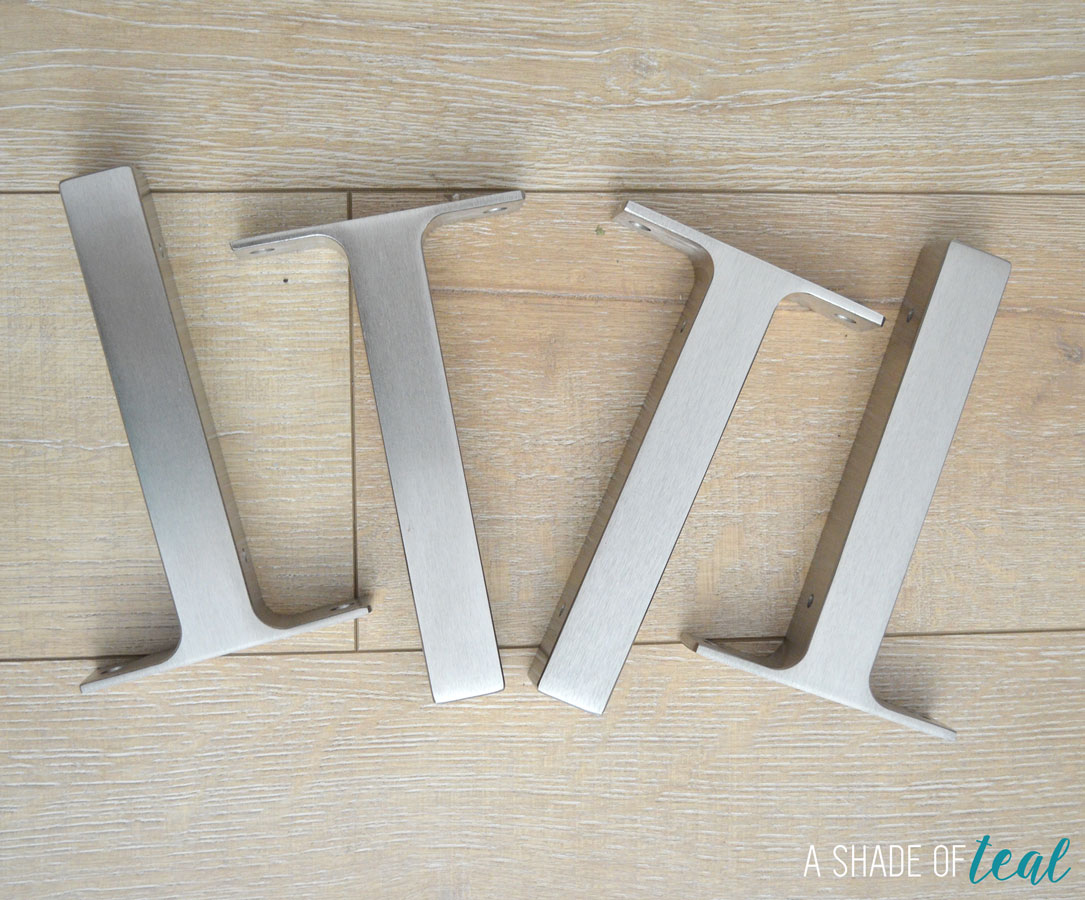
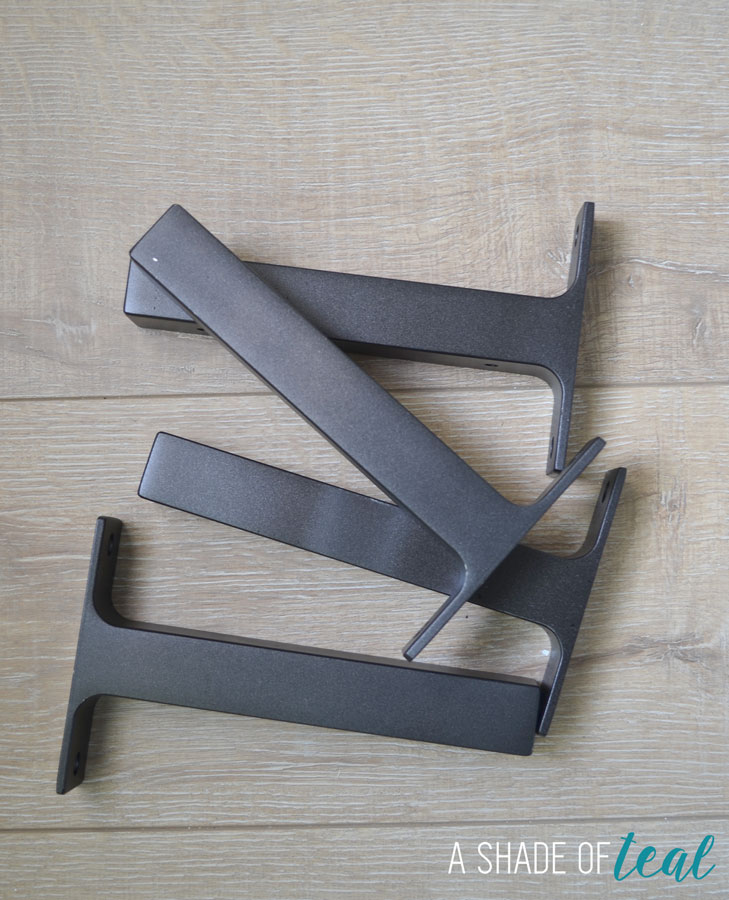
I know so many other bloggers have made these DIY shelves already but mine are a little different. First off I purchased the Ekby brackets from IKEA.

I spray painted them in bronze so they would better match the rustic look I was going for.

Now for the point of difference…These brackets fit a piece of wood that is 1″ thick. So I went to the hardware store and bought 1″ wood thinking everything is great. Well I get home and place the bracket over the wood and there’s a gap. Of course me being OCD and can’t handle the look of this, well I freaked out! It looked soo sloppy and not professional. I then went back to the hardware store thinking I bought the wrong size wood but then I was reminded that when you buy lumber it doesn’t match the dimensions they call out. So if you expect to buy 1″ thick it will most likely always be 3/4″. I really don’t understand why the industry does this. I wish they would call it 3/4″ or just increase the size to 1″ but who am I to change what has been happening for years!

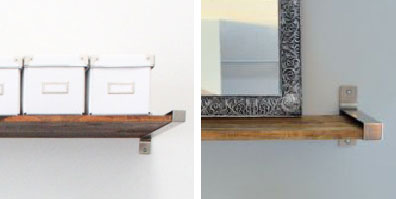
So, I started researching what other bloggers did for this project on Pinterest. I was very disappointed to see they all accepted the 3/4″ thick wood. Here are some pictures of others shelves, I cropped their pictures so not to name names!

This was not gonna work for me so I went back to the hardware store with my bracket in hand to find something, anything that would work.

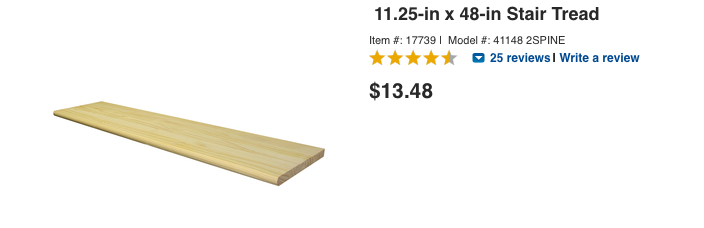
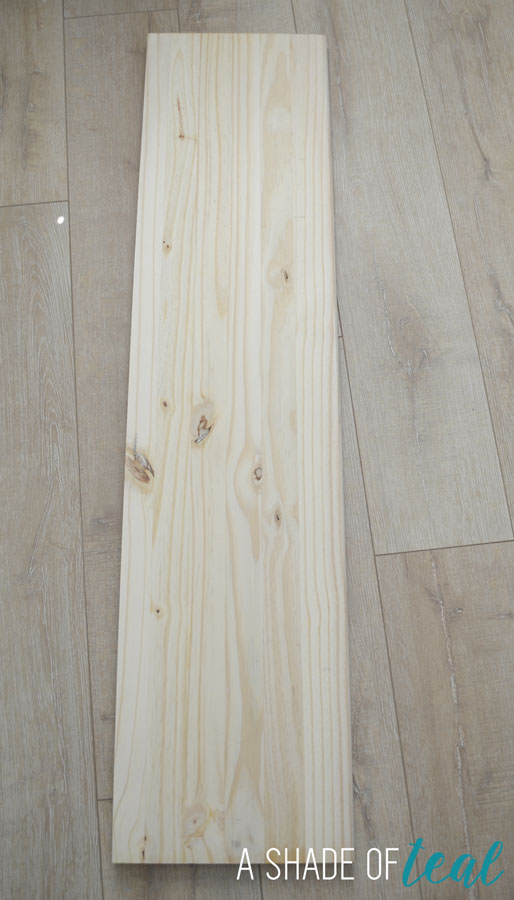
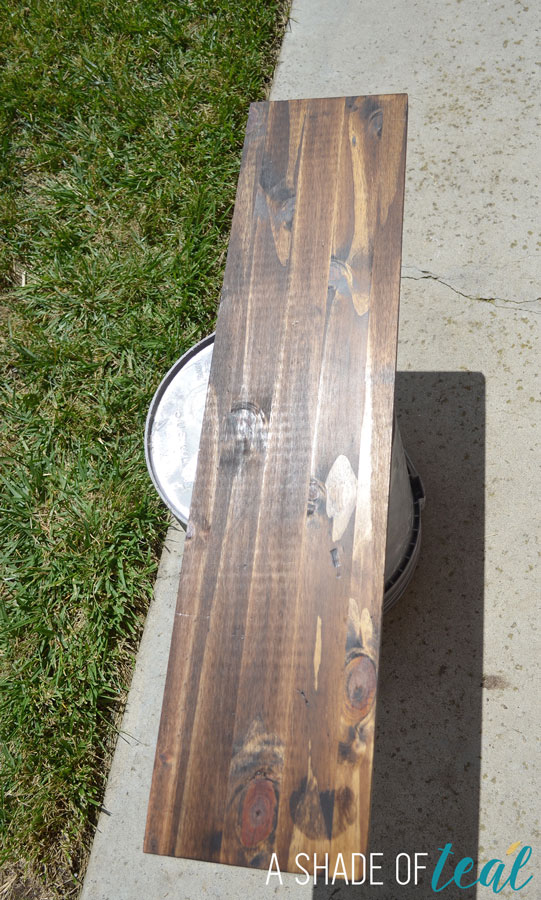
Well I finally did! I was so excited when I stumbled upon the stair threads like these.

They were too wide and long for the shelves but the thickness was exactly 1″ wide. I bought 2 and took them home knowing I would make them work.

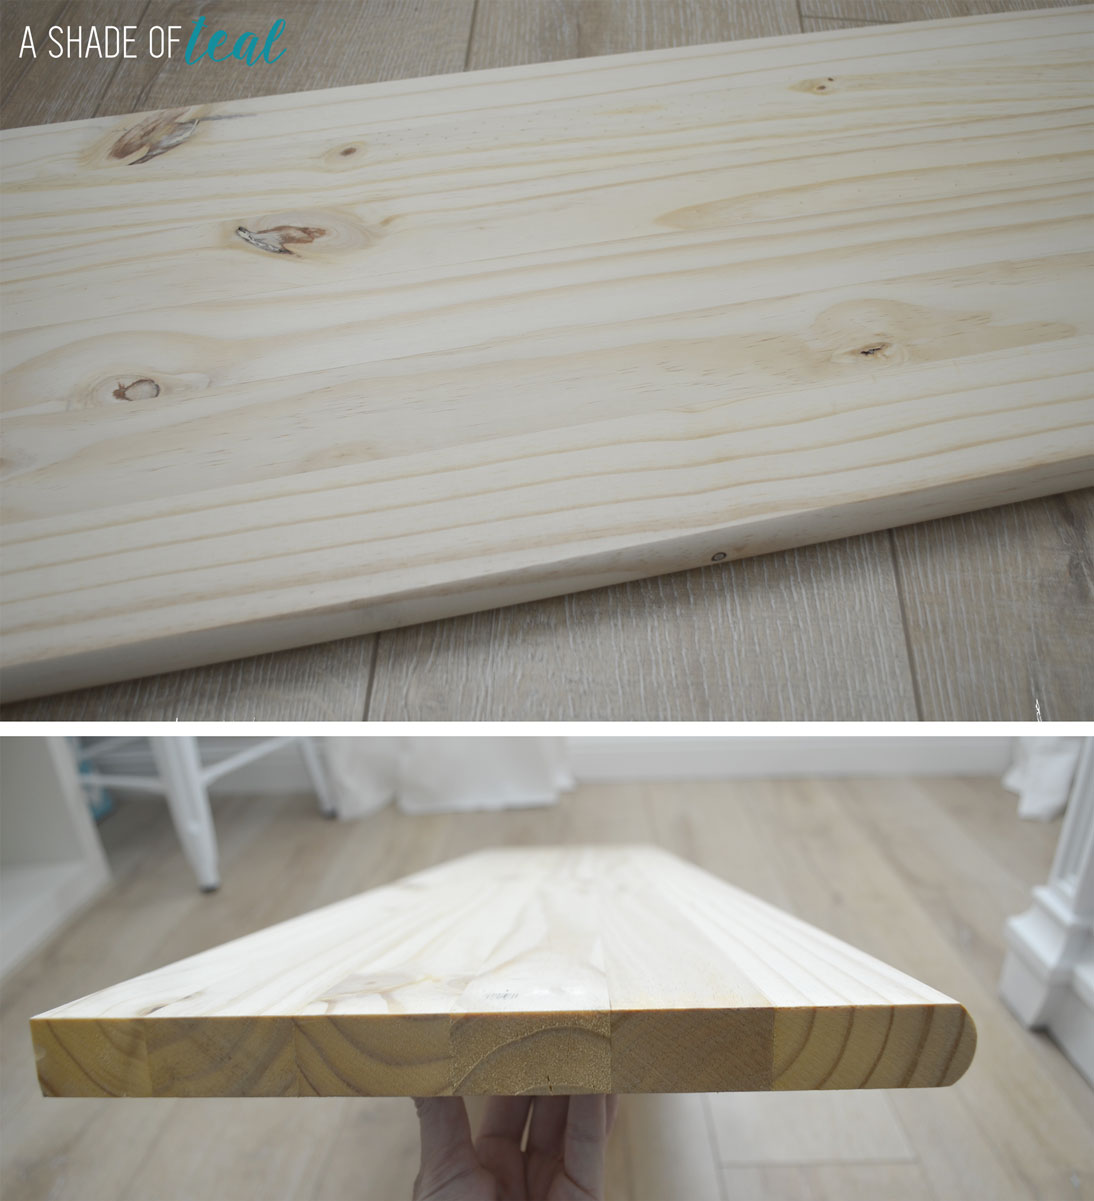
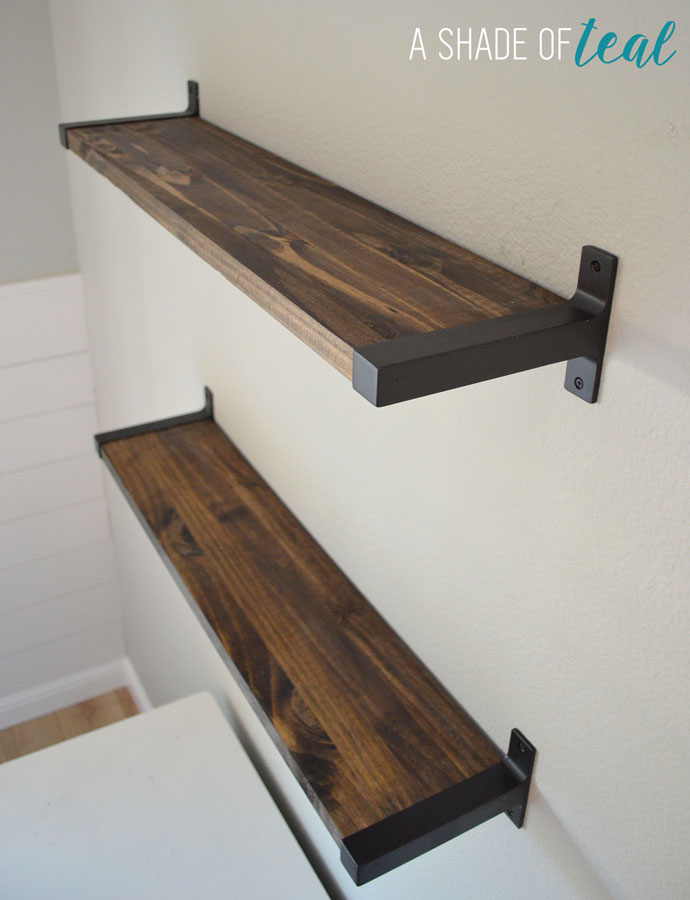
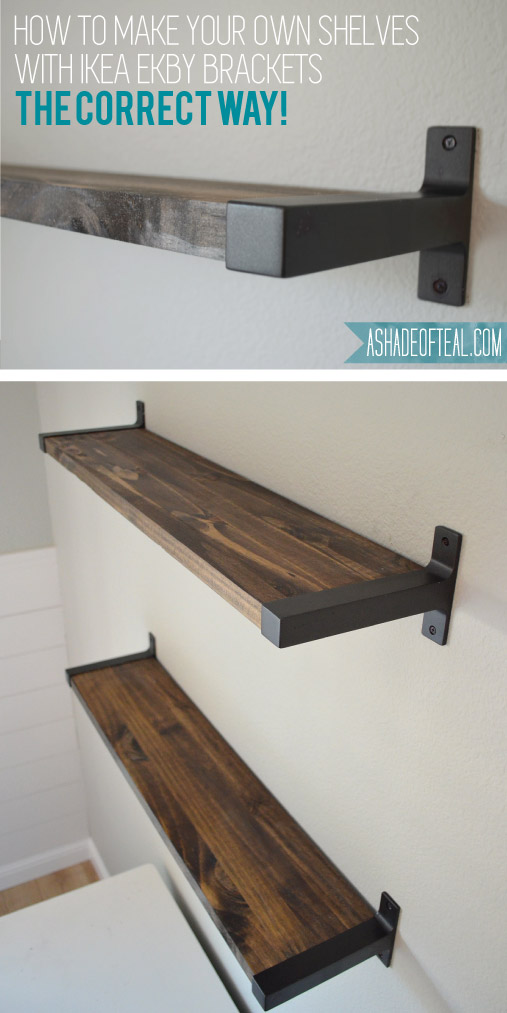
As you can see these have a bull-nose on 1 side which could be a unique feature for a shelf but I liked the idea of clean lines.

So my plan was to rip the stair thread down to the width of the bracket, I think it was 7 1/2″ wide. I also cut off the bull-nose piece.

I then cut the wood to the length of the shelf I wanted. I made mine about 35″ long. Now that the lumber was ready I lightly sanded it and brought it outside for staining.

Once dry I installed it by following IKEA’s instructions for the brackets.

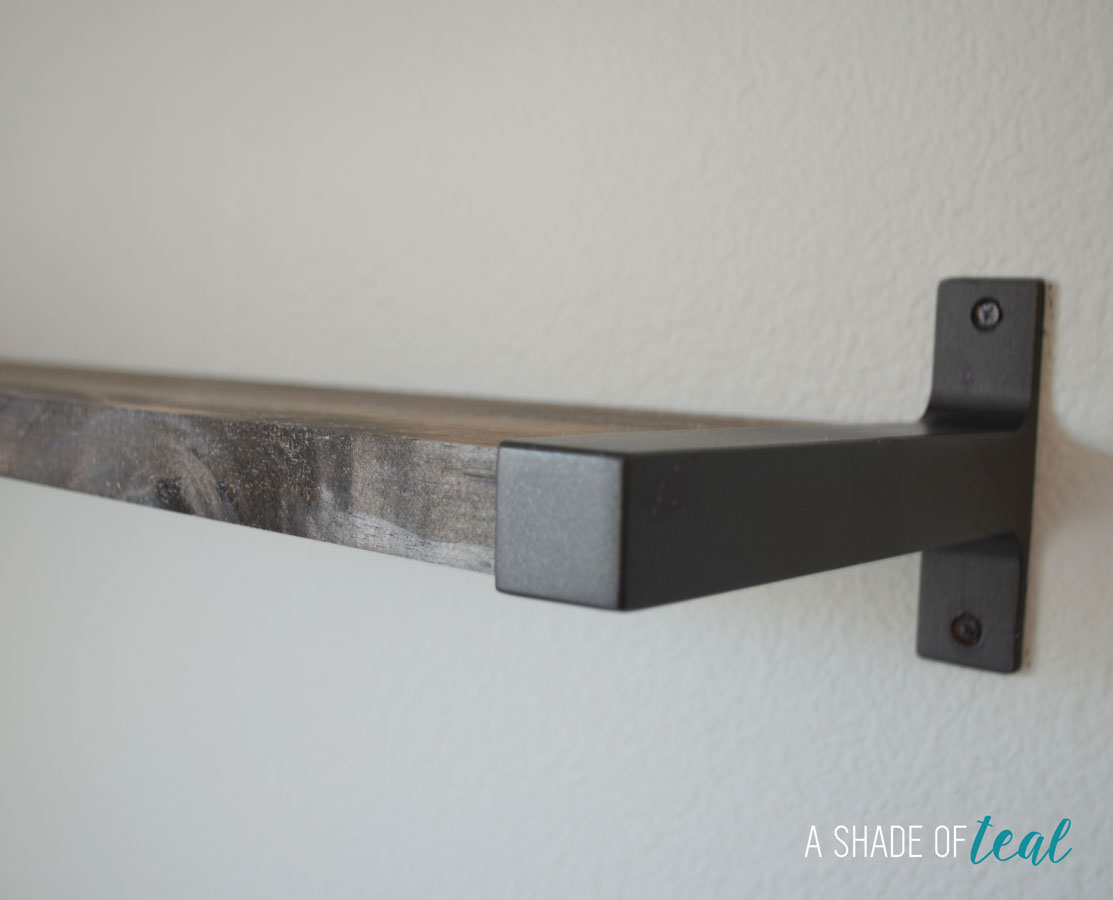
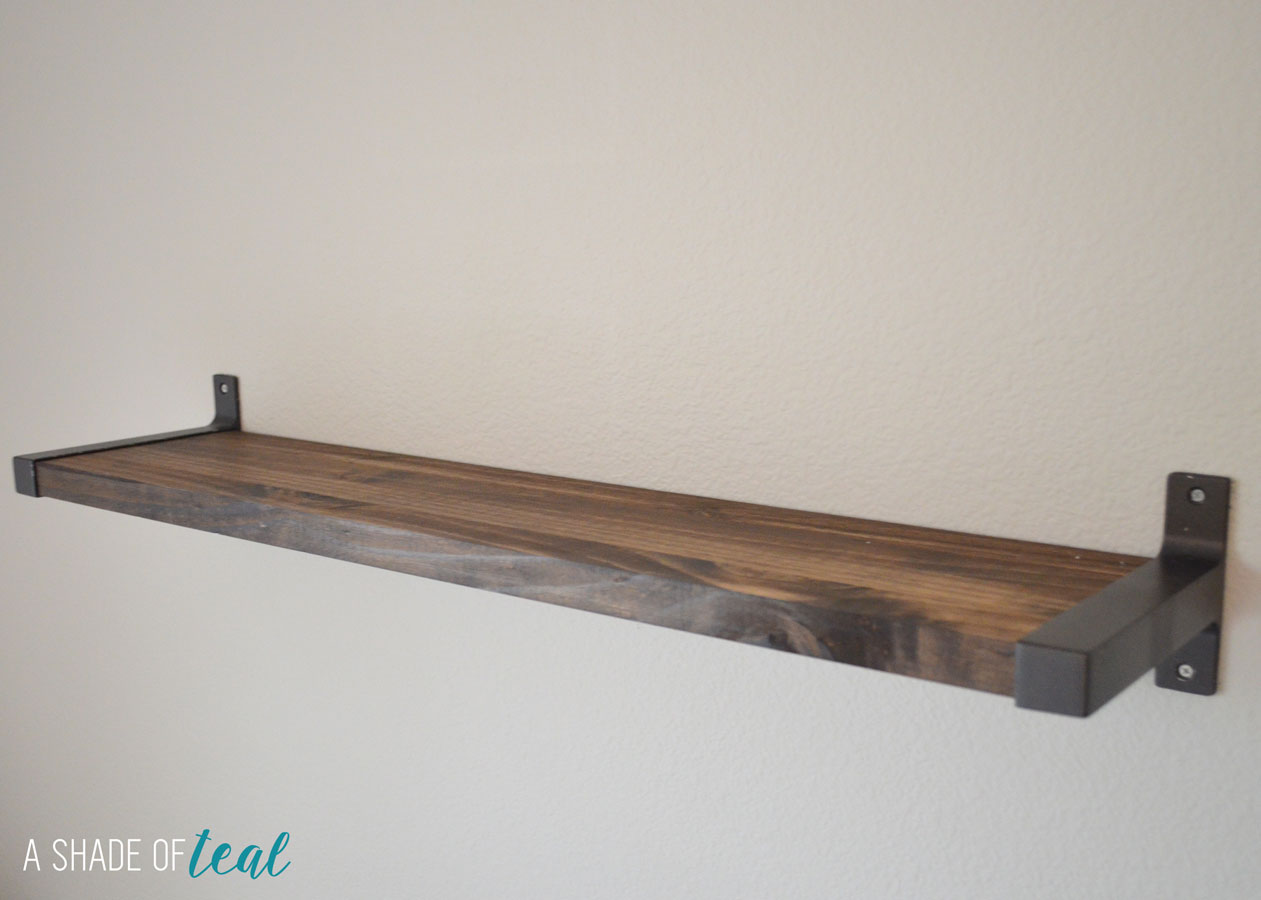
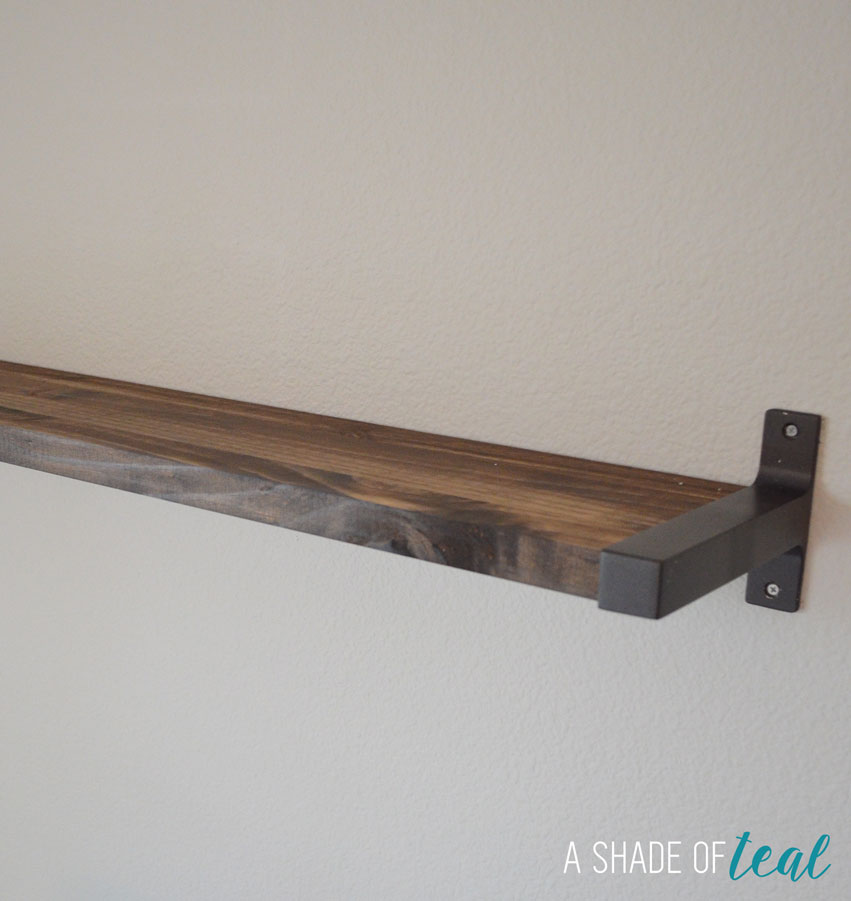
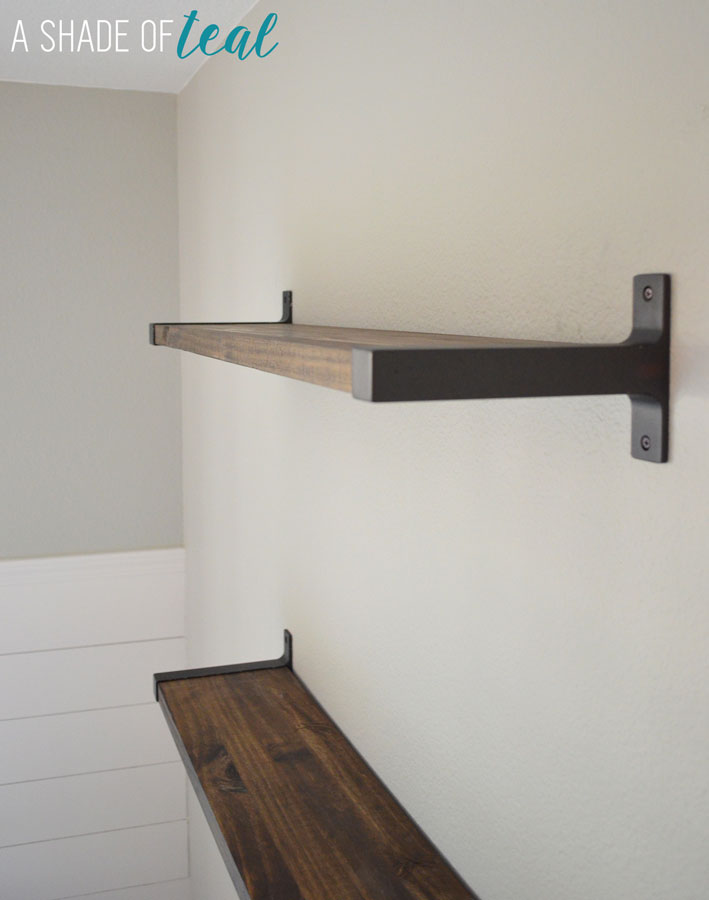
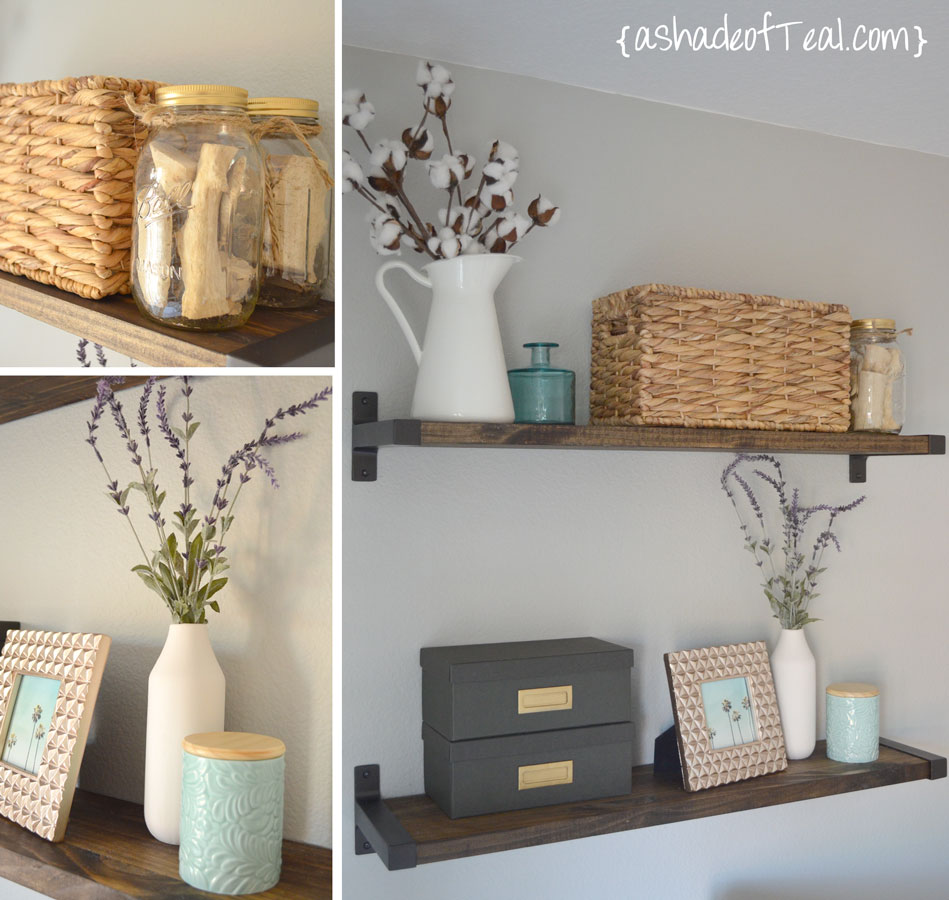
You can see the wood fits the brackets perfectly! It looks so much better don’t you think?

Now I have a custom Rustic bookshelf that looks professional and high end! I love them soo much!

I already have a couple more of these and plan to add these shelves to my bathroom. I hope you learned from my mistake and find lumber that fits the brackets! Now for some styled pictures of the shelves in action!

Check out more pics from my Office along with the entire Office Reveal.
Week-1 // Week-2 // Week-3 // Week-4 // Week-5 // Reveal

Enjoy!

Follow Along:
Bloglovin // Pinterest // Facebook // Etsy // Google

Related posts:


DIY- Wheat grass Crate {Part 3}

1st Easter Basket

Office {One Room Challenge}, Week 3
  • Love
  • Save
    62 loves 7 saves 5 comments
    Add a blog to Bloglovin’
    Enter the full blog address (e.g. https://www.fashionsquad.com)
    We're working on your request. This will take just a minute...