
Holy Matrimony! The Most Epic Wedding Floral DIY
As we’re sure you’ve noticed, photobooths are totally a thing at weddings these days. They’re a chance for people to act silly and enjoy themselves while providing you endless laughter and entertainment while sifting through photos months later. Sure the fake mustaches, silly hats and drunken group snaps may be starting to feel a little….tired, but the perfect place for a photo-opp is not just a trend, it’s a necessity! Your photographer is never going to get to snap candid pics of all your guests and besides – offering up an activity is furn for everyone. But we’ve been feeling ready for a fresh spin on the idea and thought you might be too. So if all those neon boas and oversized plastic sunnies are not really your pinky-in-the-air cup of tea, we’ve got the most epicly chic alternative for you!


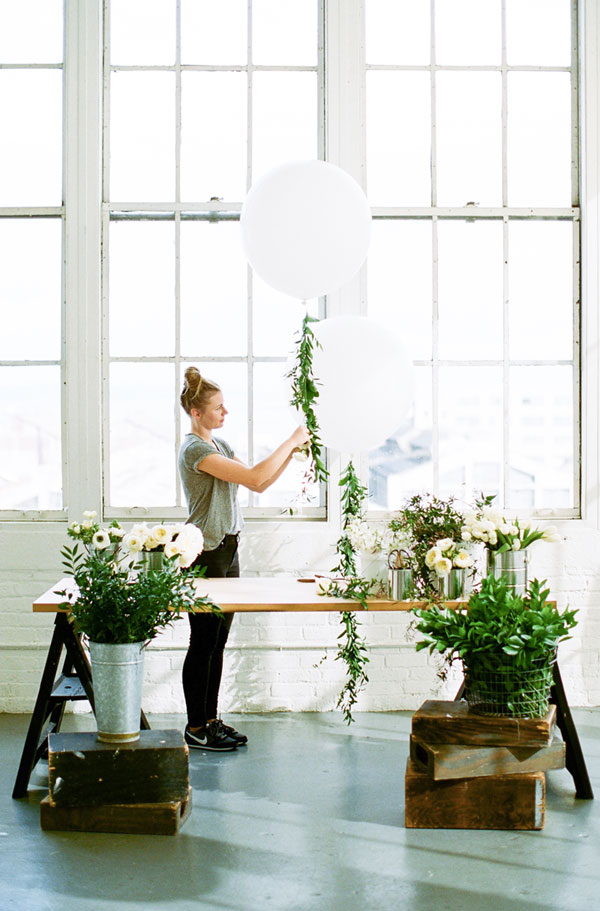
Instead of hiring a company to create a photobooth backdrop for your wedding, or renting a clunky actual booth, we urge you to give this simple DIY a try! A fresh floral garland balloon backdrop is not only gorgeous and sophisticated, it’s SO versatile. Dot these babies throughout the dance floor, position them behind the bride and groom’s reception table, use them to create a stunning alter, the list is endless! You only need a few things to recreate this look – the most important being some gorge blooms – and thankfully florist Natasha Kolenko is here to walk us through mastering the fresh floral garland!


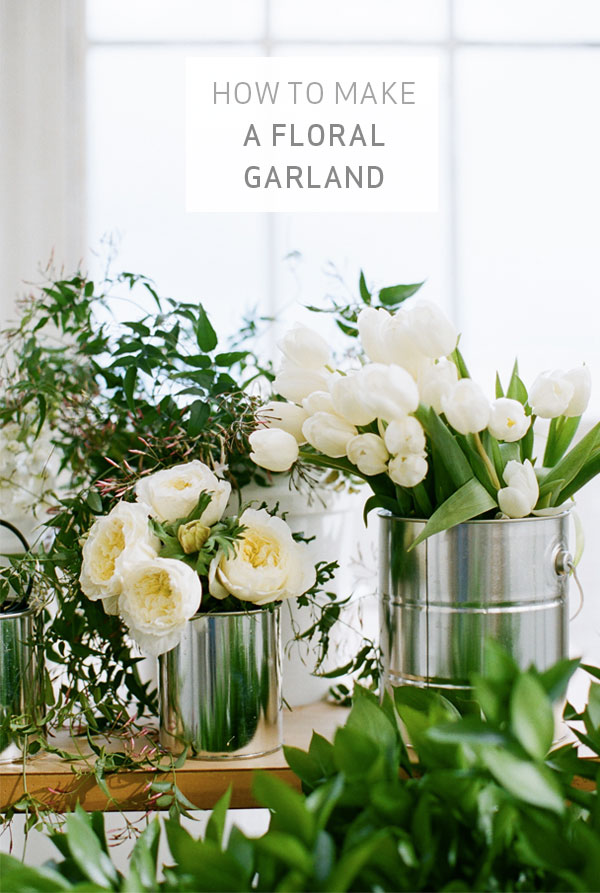
How To Master The Floral Garland
You’ll Need:
> Thin gauge wire
> Pliers floral sheers
> Fresh flowers greens
> 36 inch round balloons

STEP 1: decide how long you’d like your garland to be. Cut a thin gauge wire to your desired length.
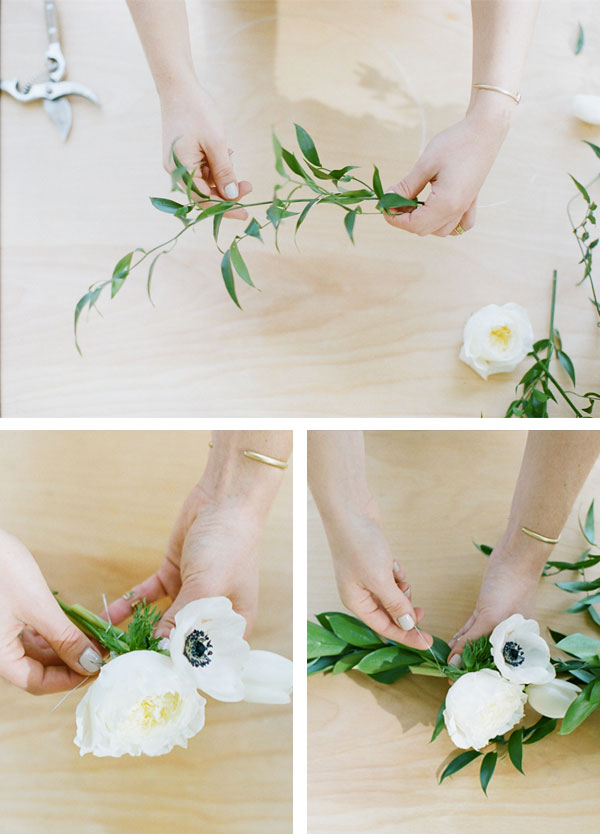
STEP 2: Choose your greens for the base of the garland. We used Ruskus and yummy smelling Jasmine vine as our base for a full, lush look. Trim excess stems from the greens and begin wrapping the stems around the wire until secure.
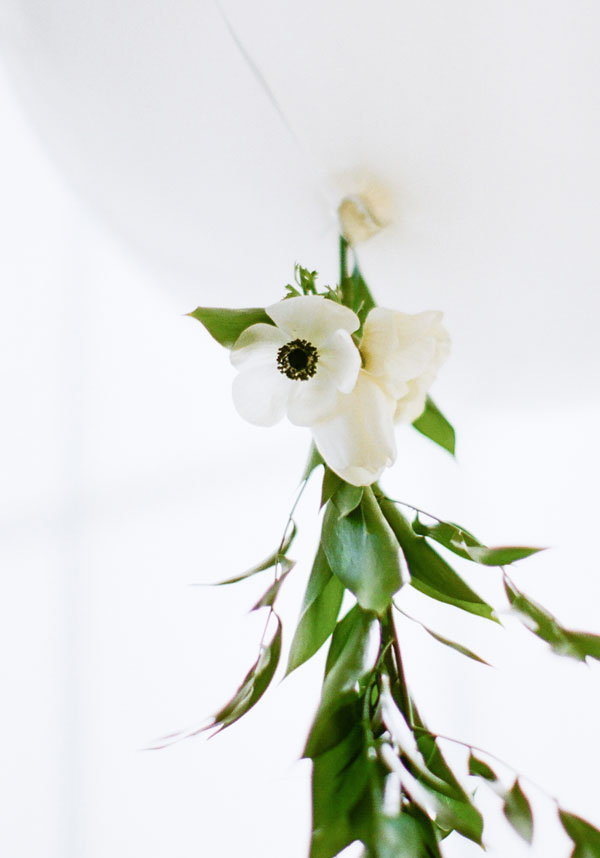
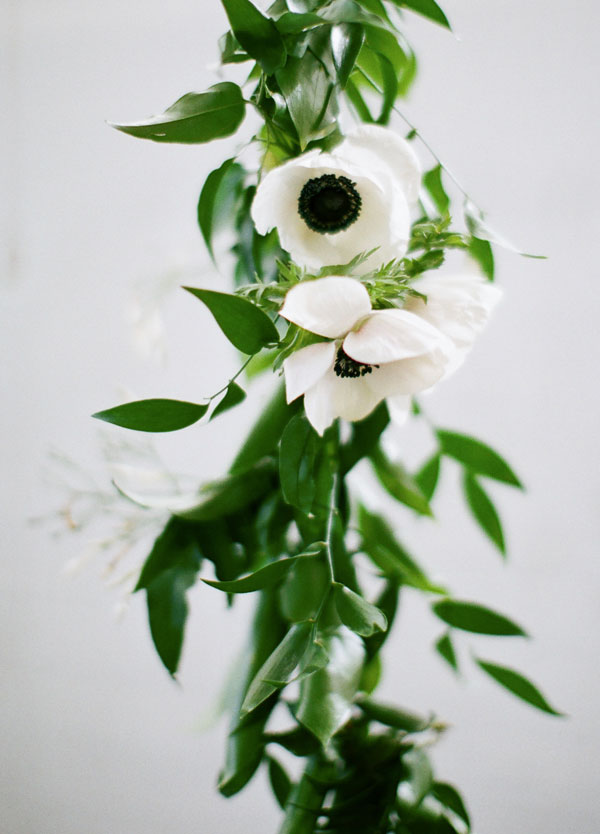
STEP 3: To add blooms to your garland, make bunches of 2-3 and wrap their stems together with wire, leaving approximately two inches of wire at each end. Use the ends of the wire to attach floral bunches to the garland. We used Anemones, white garden roses and white Tulips for a clean, crisp look.


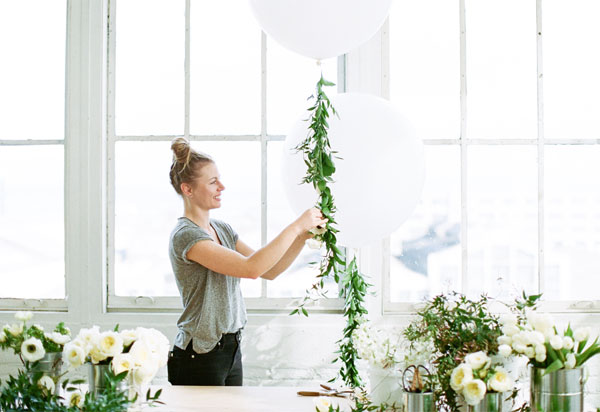
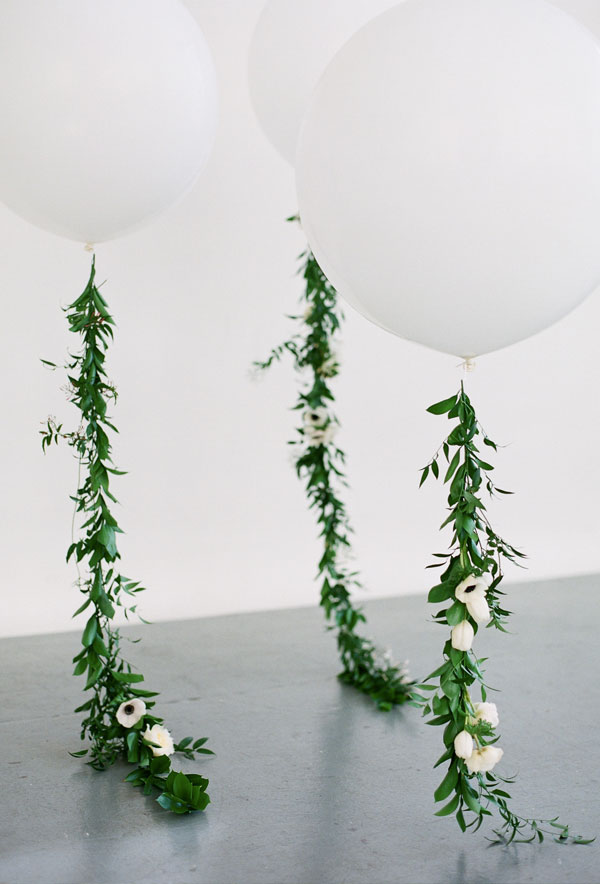
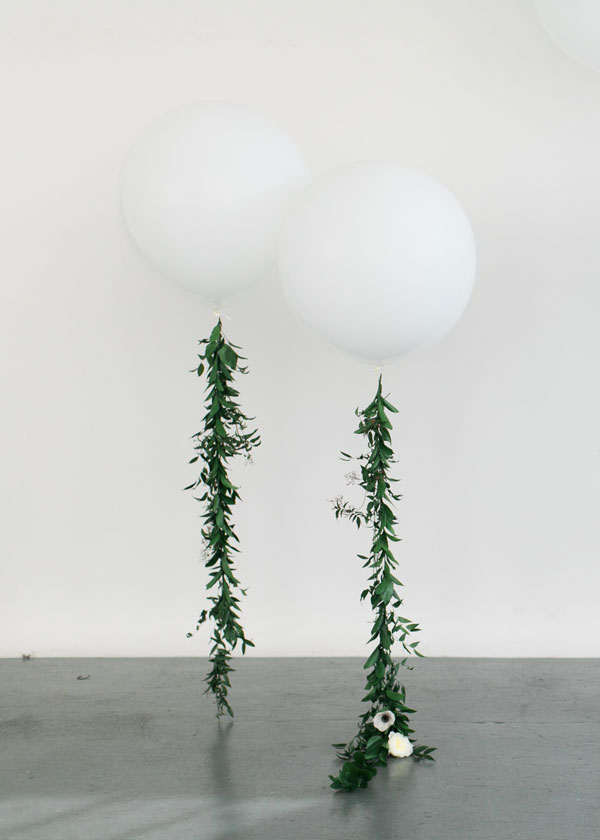
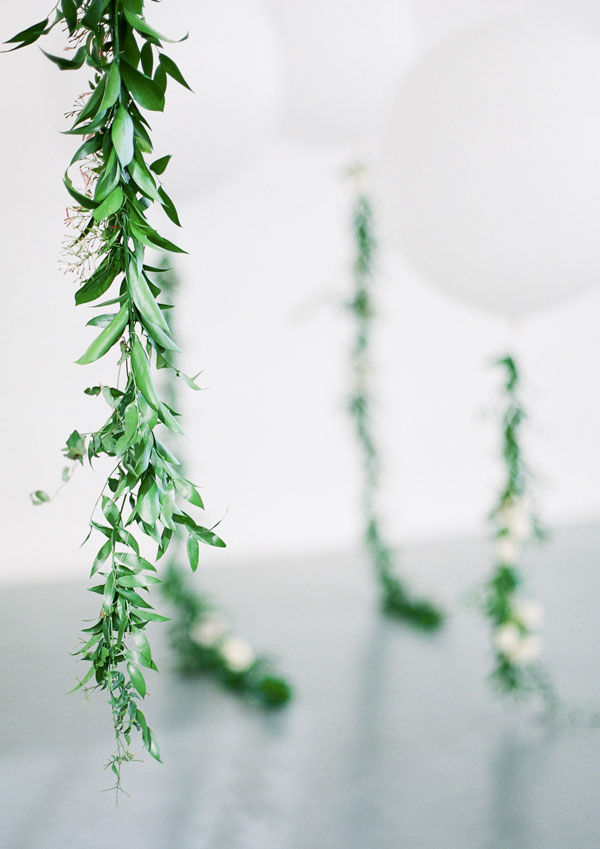
STEP 4: When you are happy with your floral garland, wrap the wire on one end around the knot of the balloon. We used 36 inch round balloons and you can see in the pictures how the varying lengths and weights of the garlands affect the way they float. We love the idea of having some longer garlands draped on the floor with some shorter ones looking like they’re suspended in the air and, quite literally, floating around the room!


These balloons are simple and elegant and we love the way they just float effortlessly and dreamily around the space. Experiment and have fun with these massive balloons. They’re not only great for weddings. We think they’d be perfect for birthday parties, baby showers or any event you’re looking to make a giant statement.
And now that you’ve mastered the floral garland, use your skills to drape a garland across a table or around benches during the ceremony. All that’s left for you to do is to let your creativity soar!
original photography for apartment 34 by emily scott // art direction by bianca sotelo // florals styling by natasha kolenko // florals c/o torchio nursery - visit them in the San Francisco flower mart!