
Glue and Foil Art


This project really makes some very inexpensive supplies (chipboard, glue, aluminum foil and shoe polish) look pretty fabulous.
I was so inspired by this project at “Make It A Wonderful Life” that tried it out today in an after school class.
MATERIALS
• Chipboard
• Black marker, thin
• White glue
• Aluminum foil
• Glue stick
• Wooden stylus
• Shoe polish, black

DIRECTIONS
1. Make a large simple drawing on chipboard with a pencil and trace with a thin marker. Trace all the lines with white glue and let dry for at least 24 hours.

2. Rub the entire drawing with a glue stick. Cover ALL of the cardboard. Any missed spots will not stick to the foil and cannot be “etched” later with the stylus.

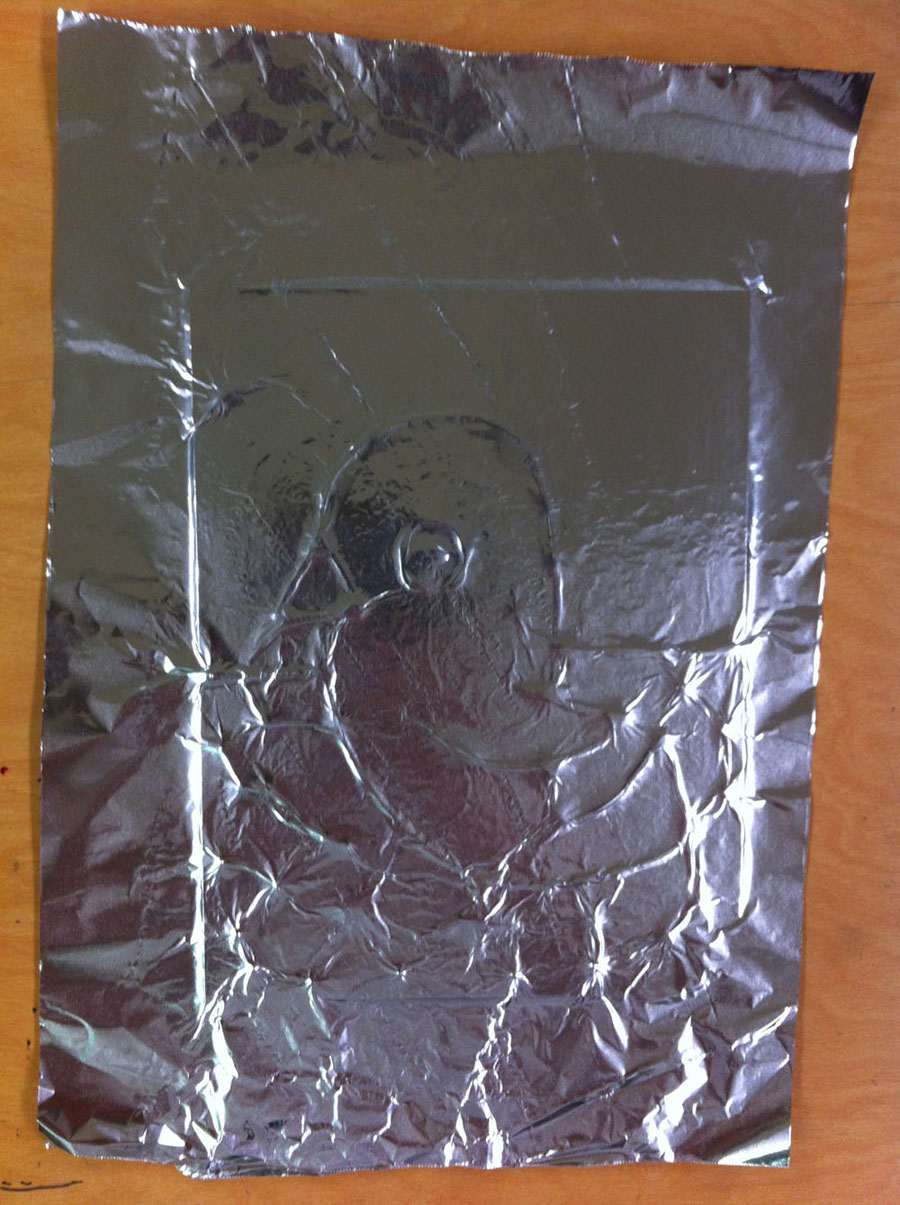
3. Tear a sheet of aluminum foil and press to chipboard, shiny side up. Wrap edges around the sides and glue in place.


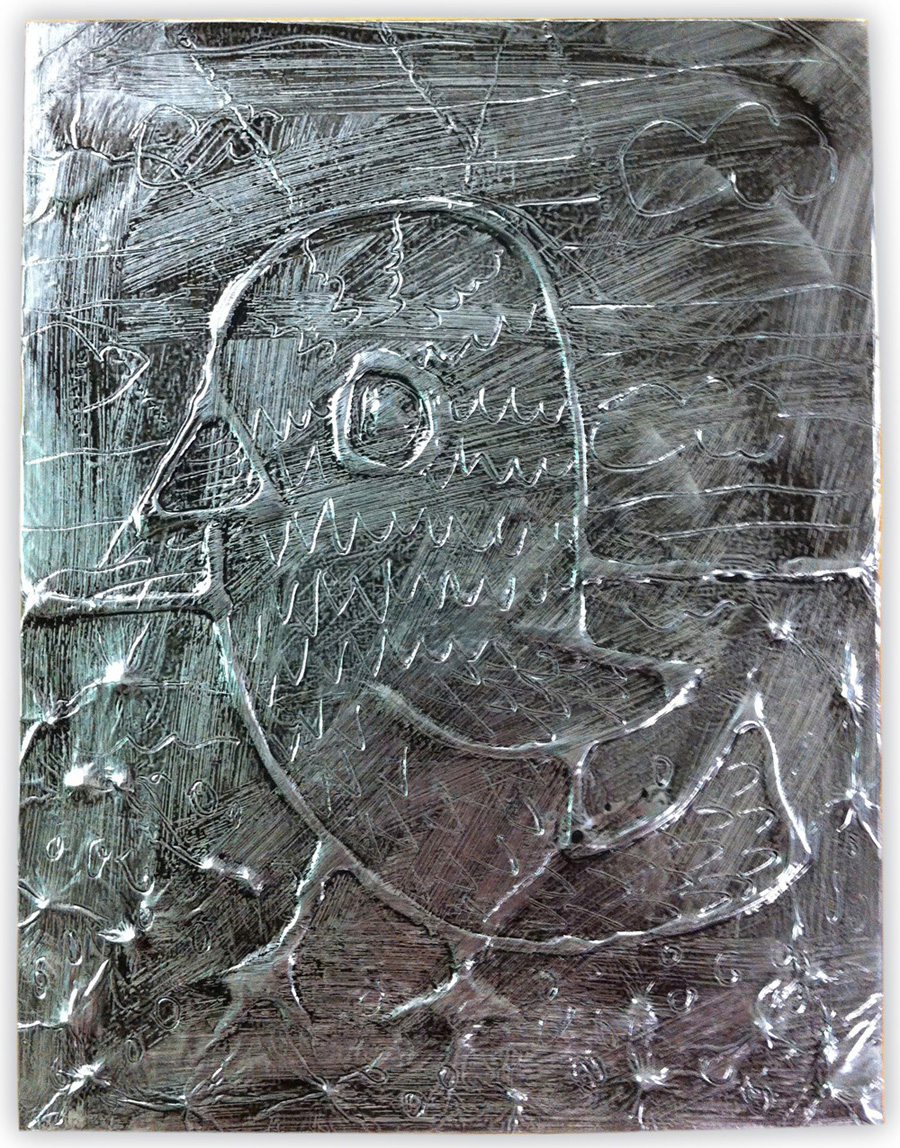
6. Apply black shoe polish to drawing. (Don’t try to substitute black paint, I tried, it rubs off.) Wipe away any extra polish with a paper towel.

7. It’s done. I’m going to try a cowboy boot next spring when a 4th grade class is learning about the wild west. Can’t wait!
The post Glue and Foil Art appeared first on Art Projects for Kids.