
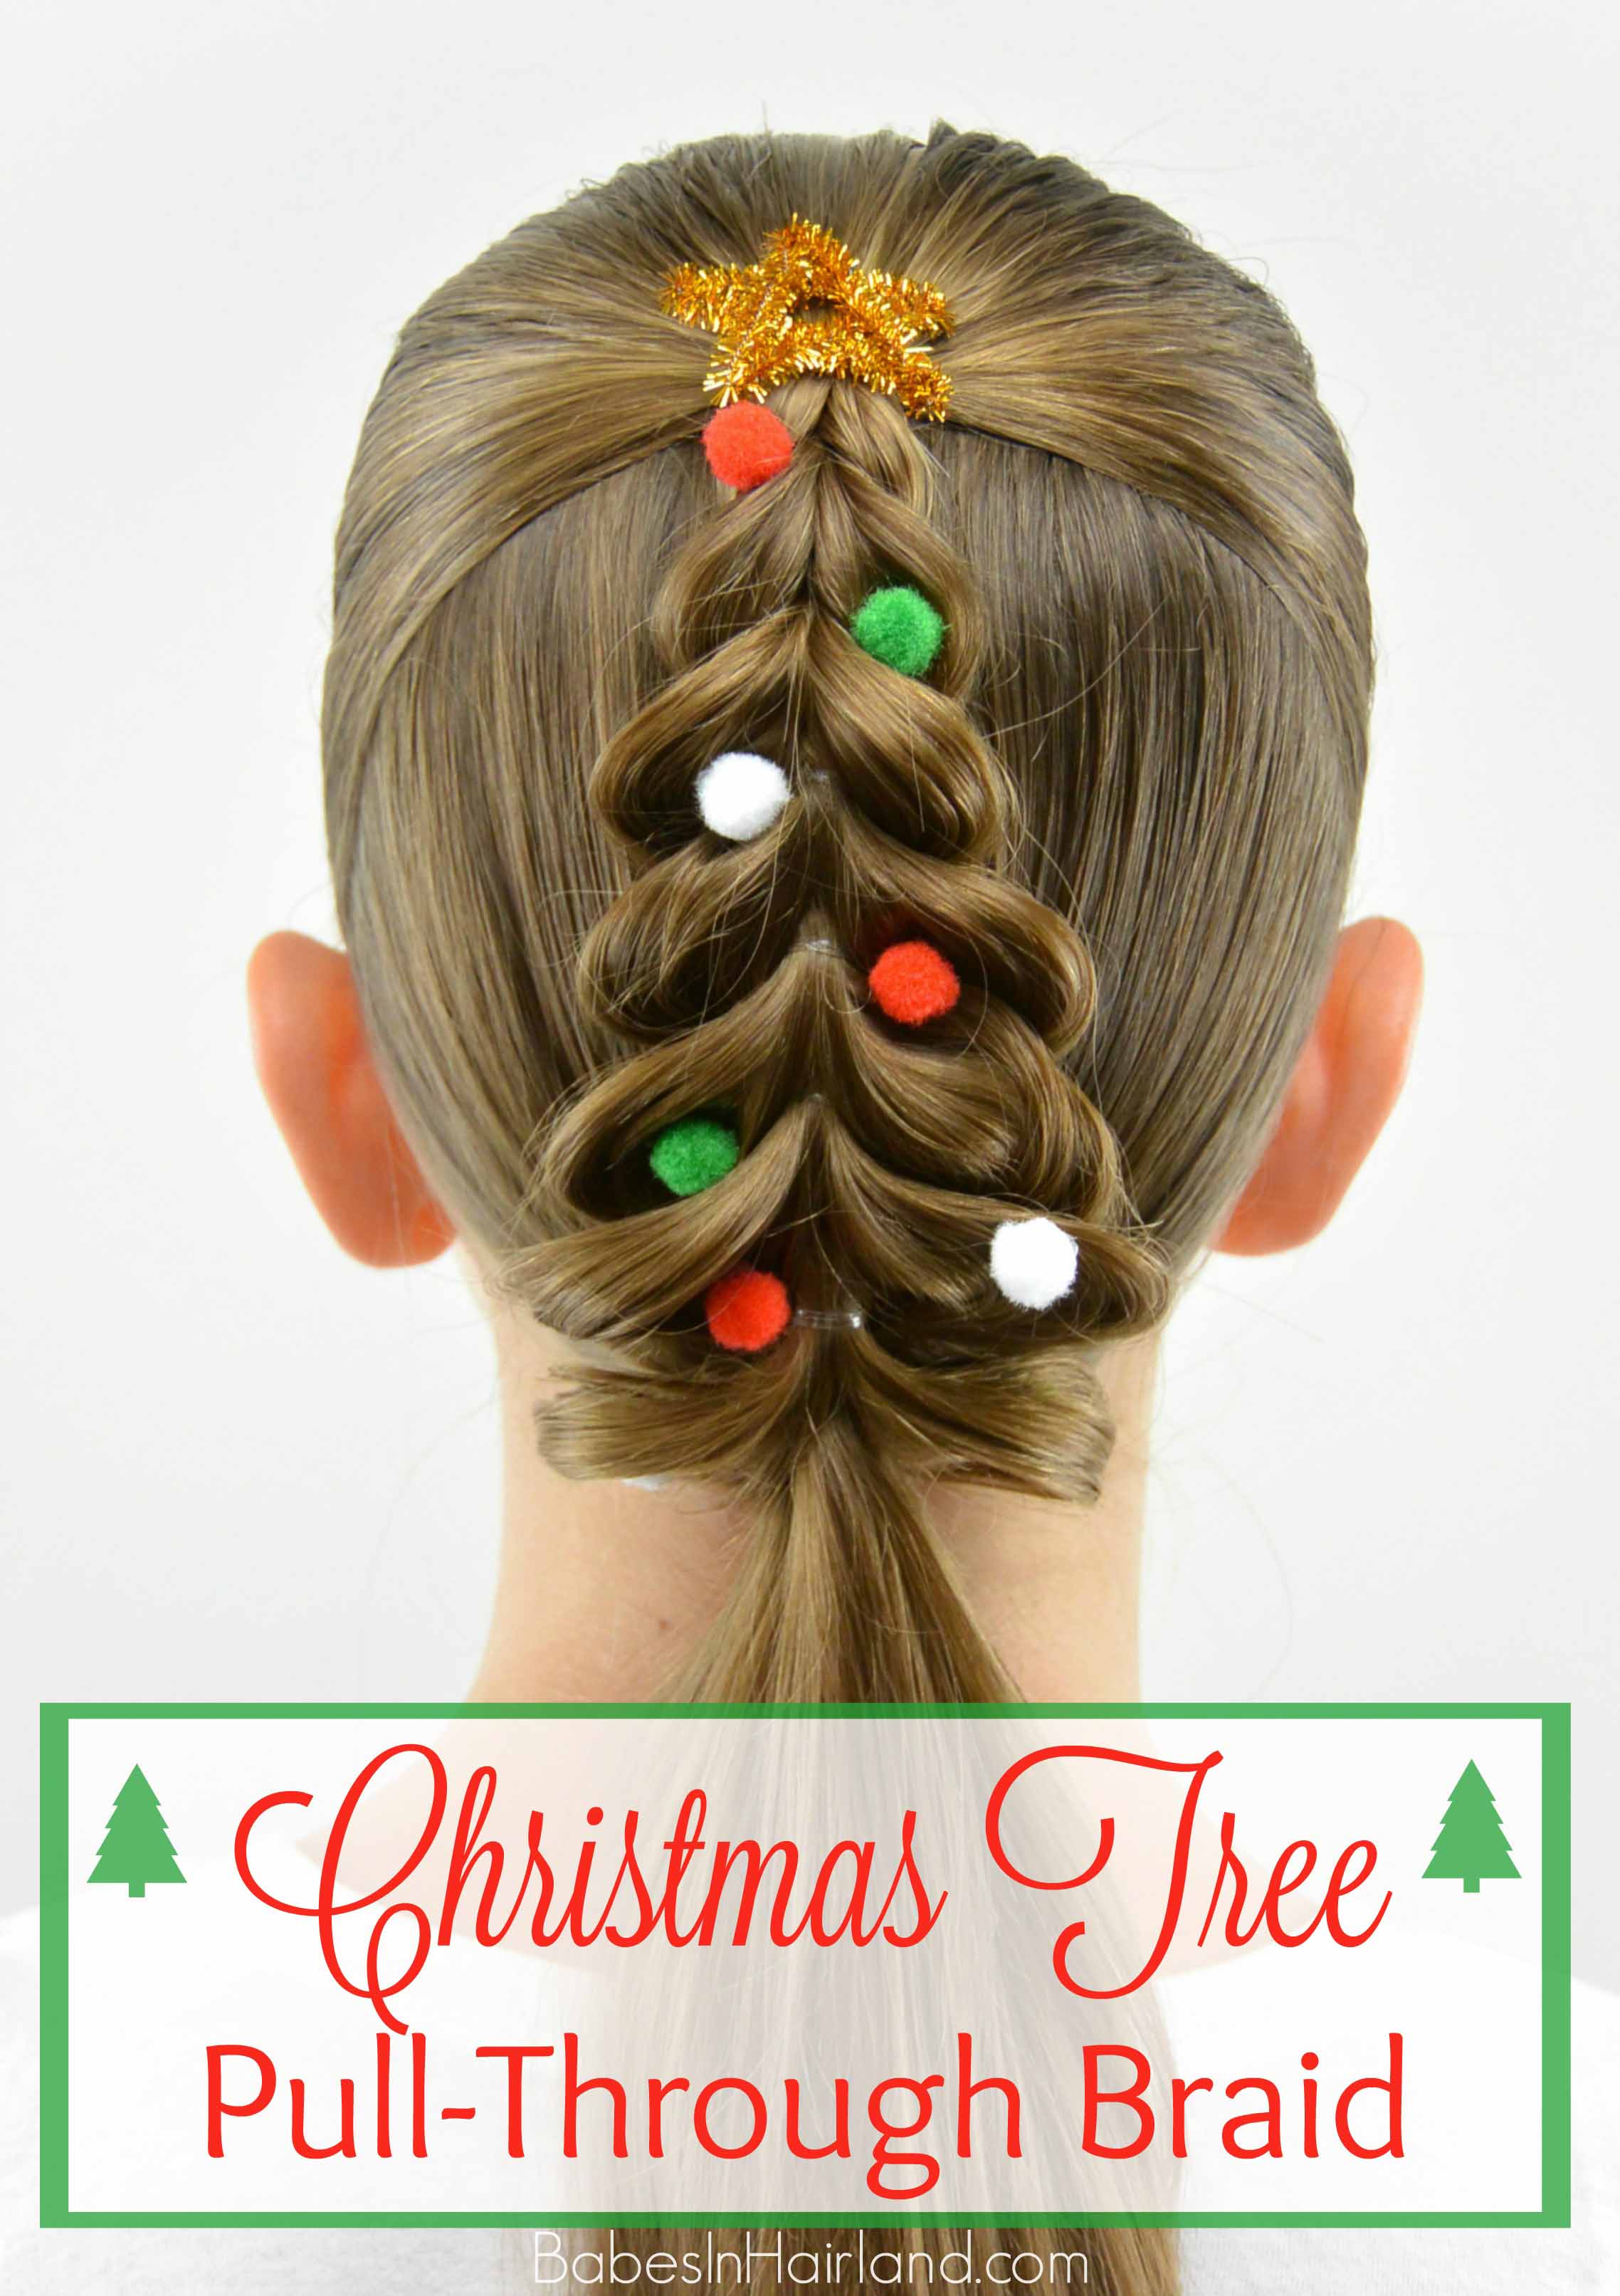
Christmas Tree Pull-Through Braid

I can’t believe it’s the 1st of December! I hope everyone had a wonderful Thanksgiving holiday. Well, we’ve set up our Christmas tree and all the decorations and lights are out, along with the Christmas music being played non-stop here! And now that it’s December, thoughts, gifts and plans for Christmas are in full swing … including Christmas hairstyles! Yay! And speaking of gifts, if you missed it, don’t forget to check out our List of Christmas Gift Ideas for the Hair Lover (or teenage girl) in Your Life!
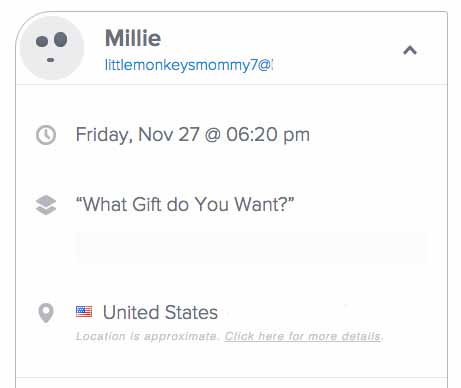
But first really quick – the winner from last week’s giveaway needs to be announced!
Congratulations Millie. Please e-mail me asap & we’ll work out getting you that $50 gift card from Amazon!

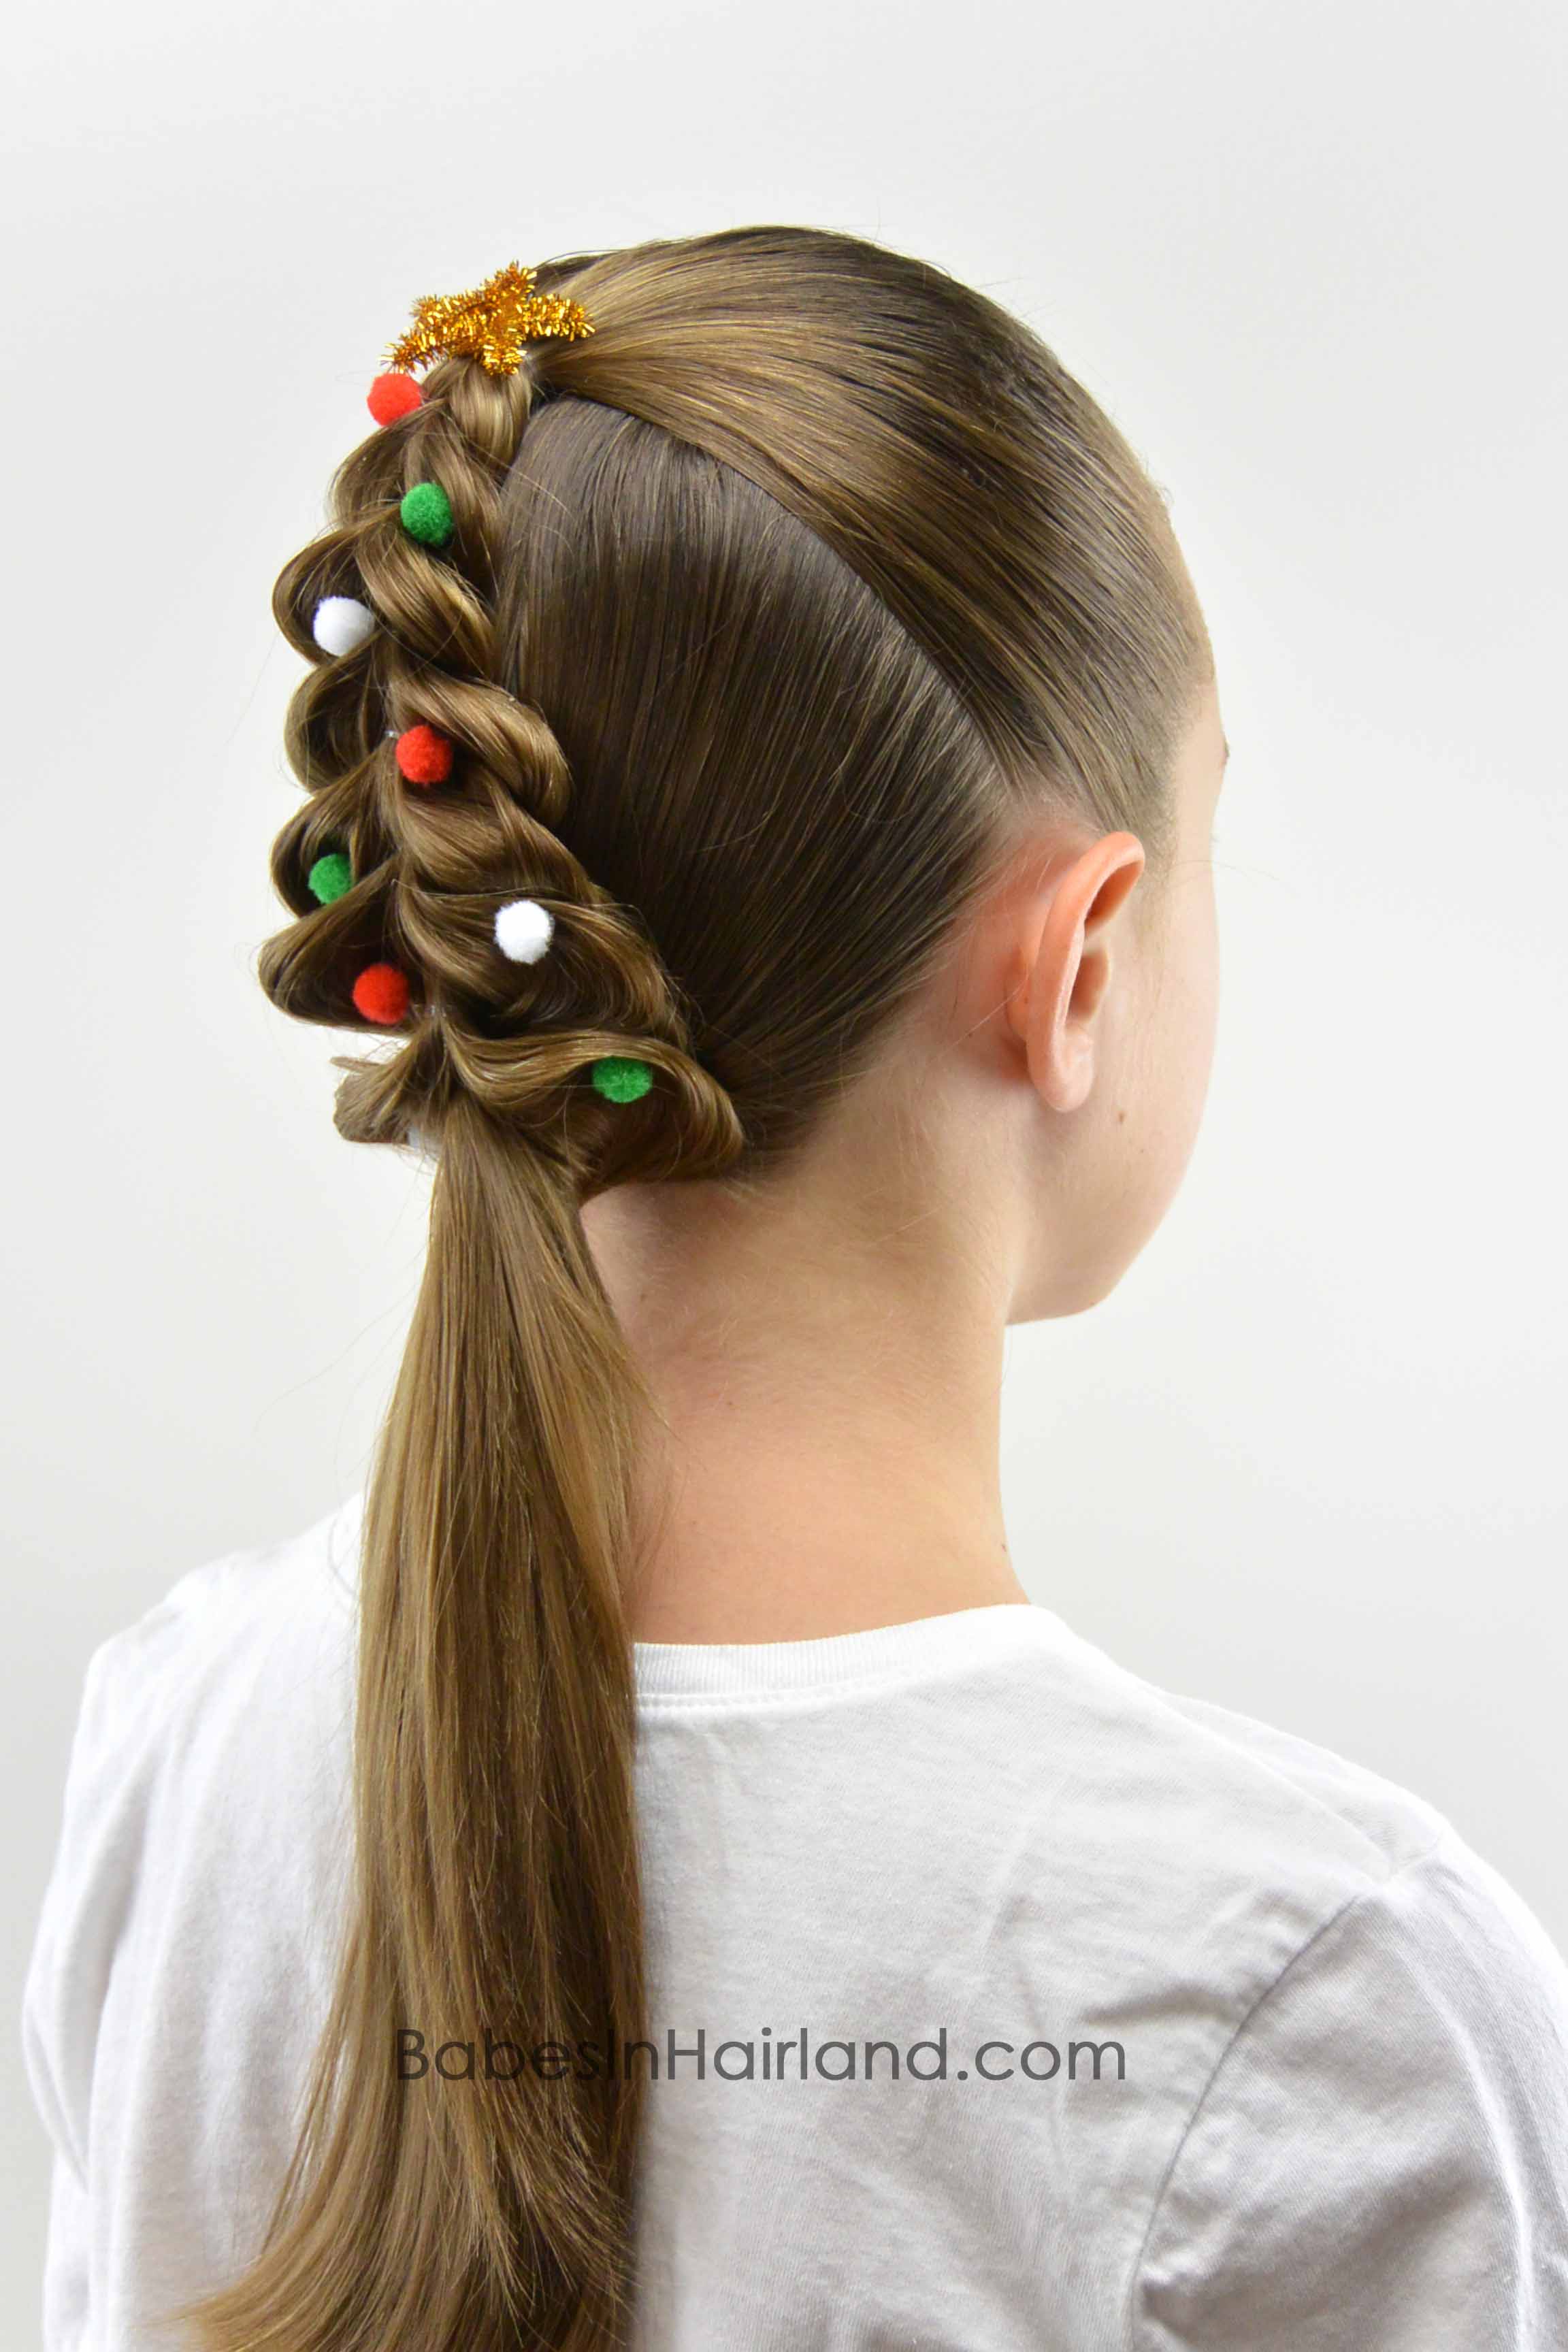
So on with our fun & festive Christmas Tree Pull-Through Braid hairstyle. We assume most of you are familiar with a pull-through braid by now, but we’ve created a video showing how we’ve done this fun one!
Step 1- Part hair from ear to ear
Step 2 – Combine all that hair into a half pony at the crown & secure with a clear elastic
Step 3- Gather remaining hair and secure in a low ponytail at the nape of the neck
Step 4 – Divide the top ponytail in half, creating a top & bottom section
Step 5 – Divide the top section in 2 pieces so there is a left and right section
Step 6 – Bring the bottom half of the ponytail up past the 2 sections of hair from Step 5
Step 7 – Clip (or have your daughter hold) that section up and out of the way
Step 8 – Bring the 2 pieces of hair from Step 5 together underneath the hair from Step 6 and secure with a clear elastic
Step 9 – Flip the hair back down and divide the hair that is now sitting on top of the ponytail into a left and right section
Step 10 – Draw the hair from below up and between those 2 sections of hair and hold up on top of the head (or clip) out of the way
Step 11 – Bring the 2 pieces of hair from Step 9 together underneath the hair from Step 10 and secure with another clear elastic
Step 12 – Gently pull on the outside edges of the right and left section to make them a bit wider than the top one
Step 13 – Continue the “pull-through braid” steps as listed above, and with each section you secure, make each one a bit wider as you work your way down the head
Step 14 – Once you reach the ponytail at the base of the neck, stop the process
Step 15 – Take the section of hair on top and divide it into a left and right section. Pull them underneath the ponytail at the base of the neck and secure with a clear elastic
We use THESE Goody Clear Elastics

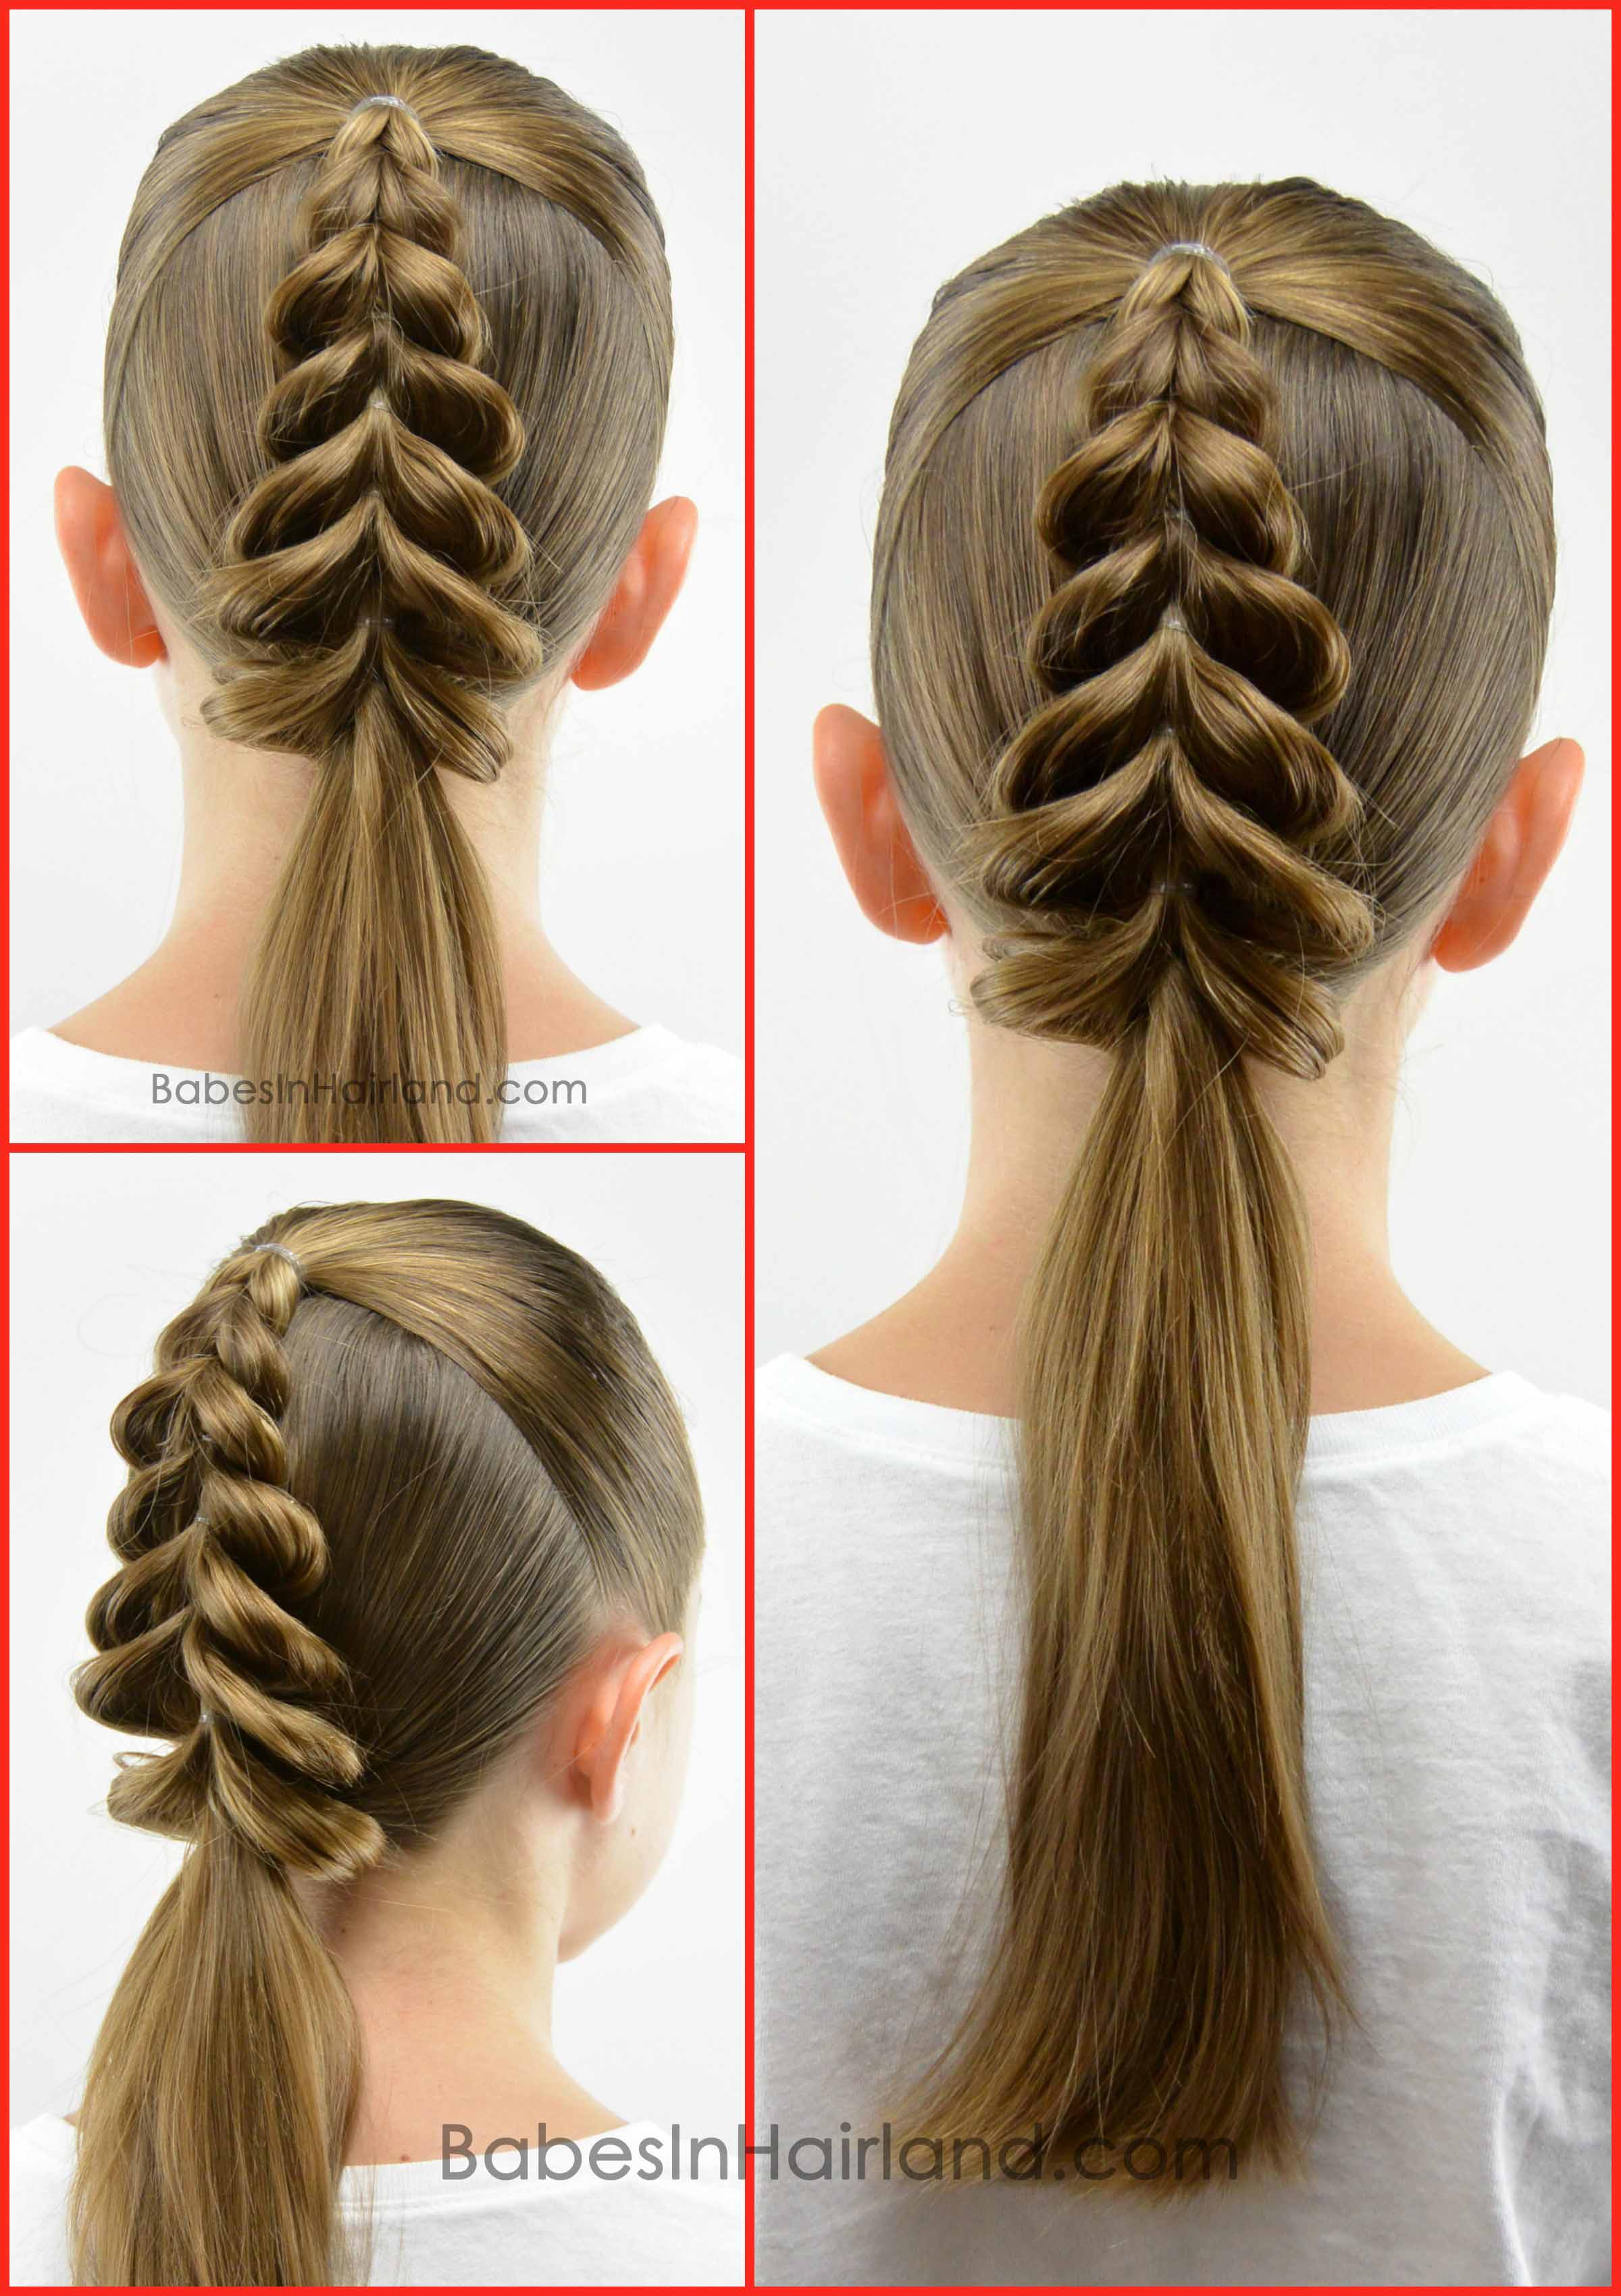
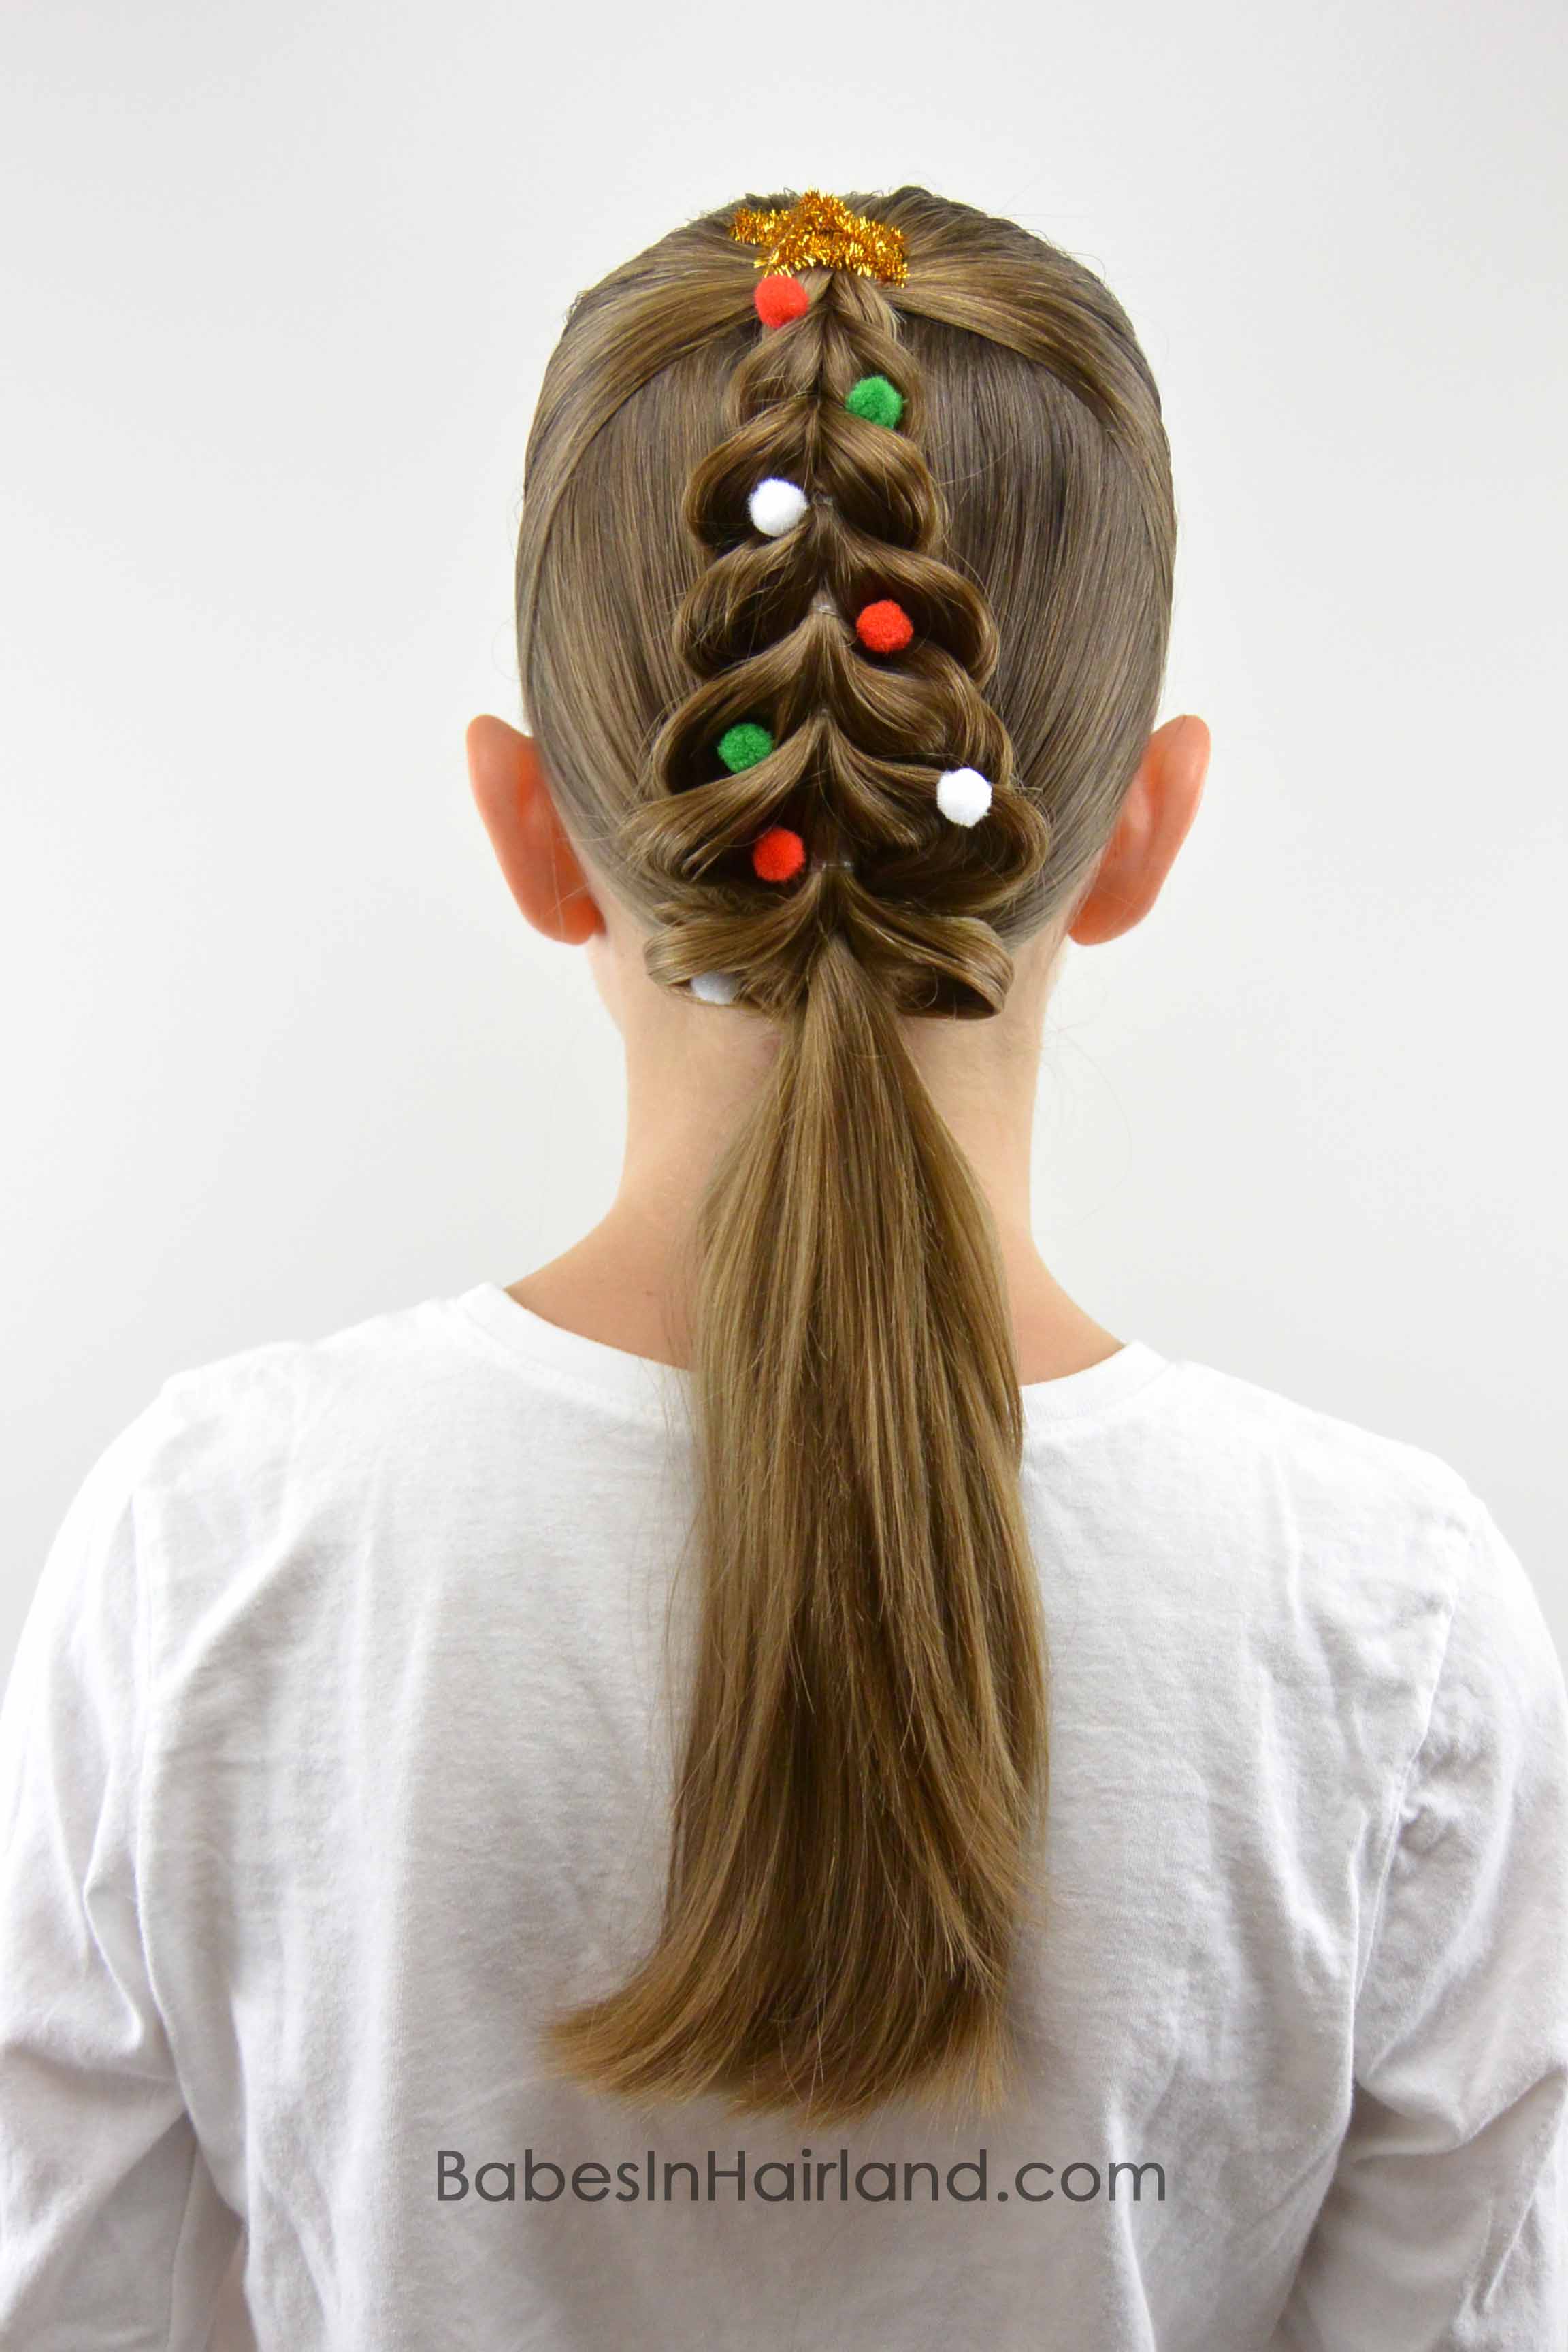
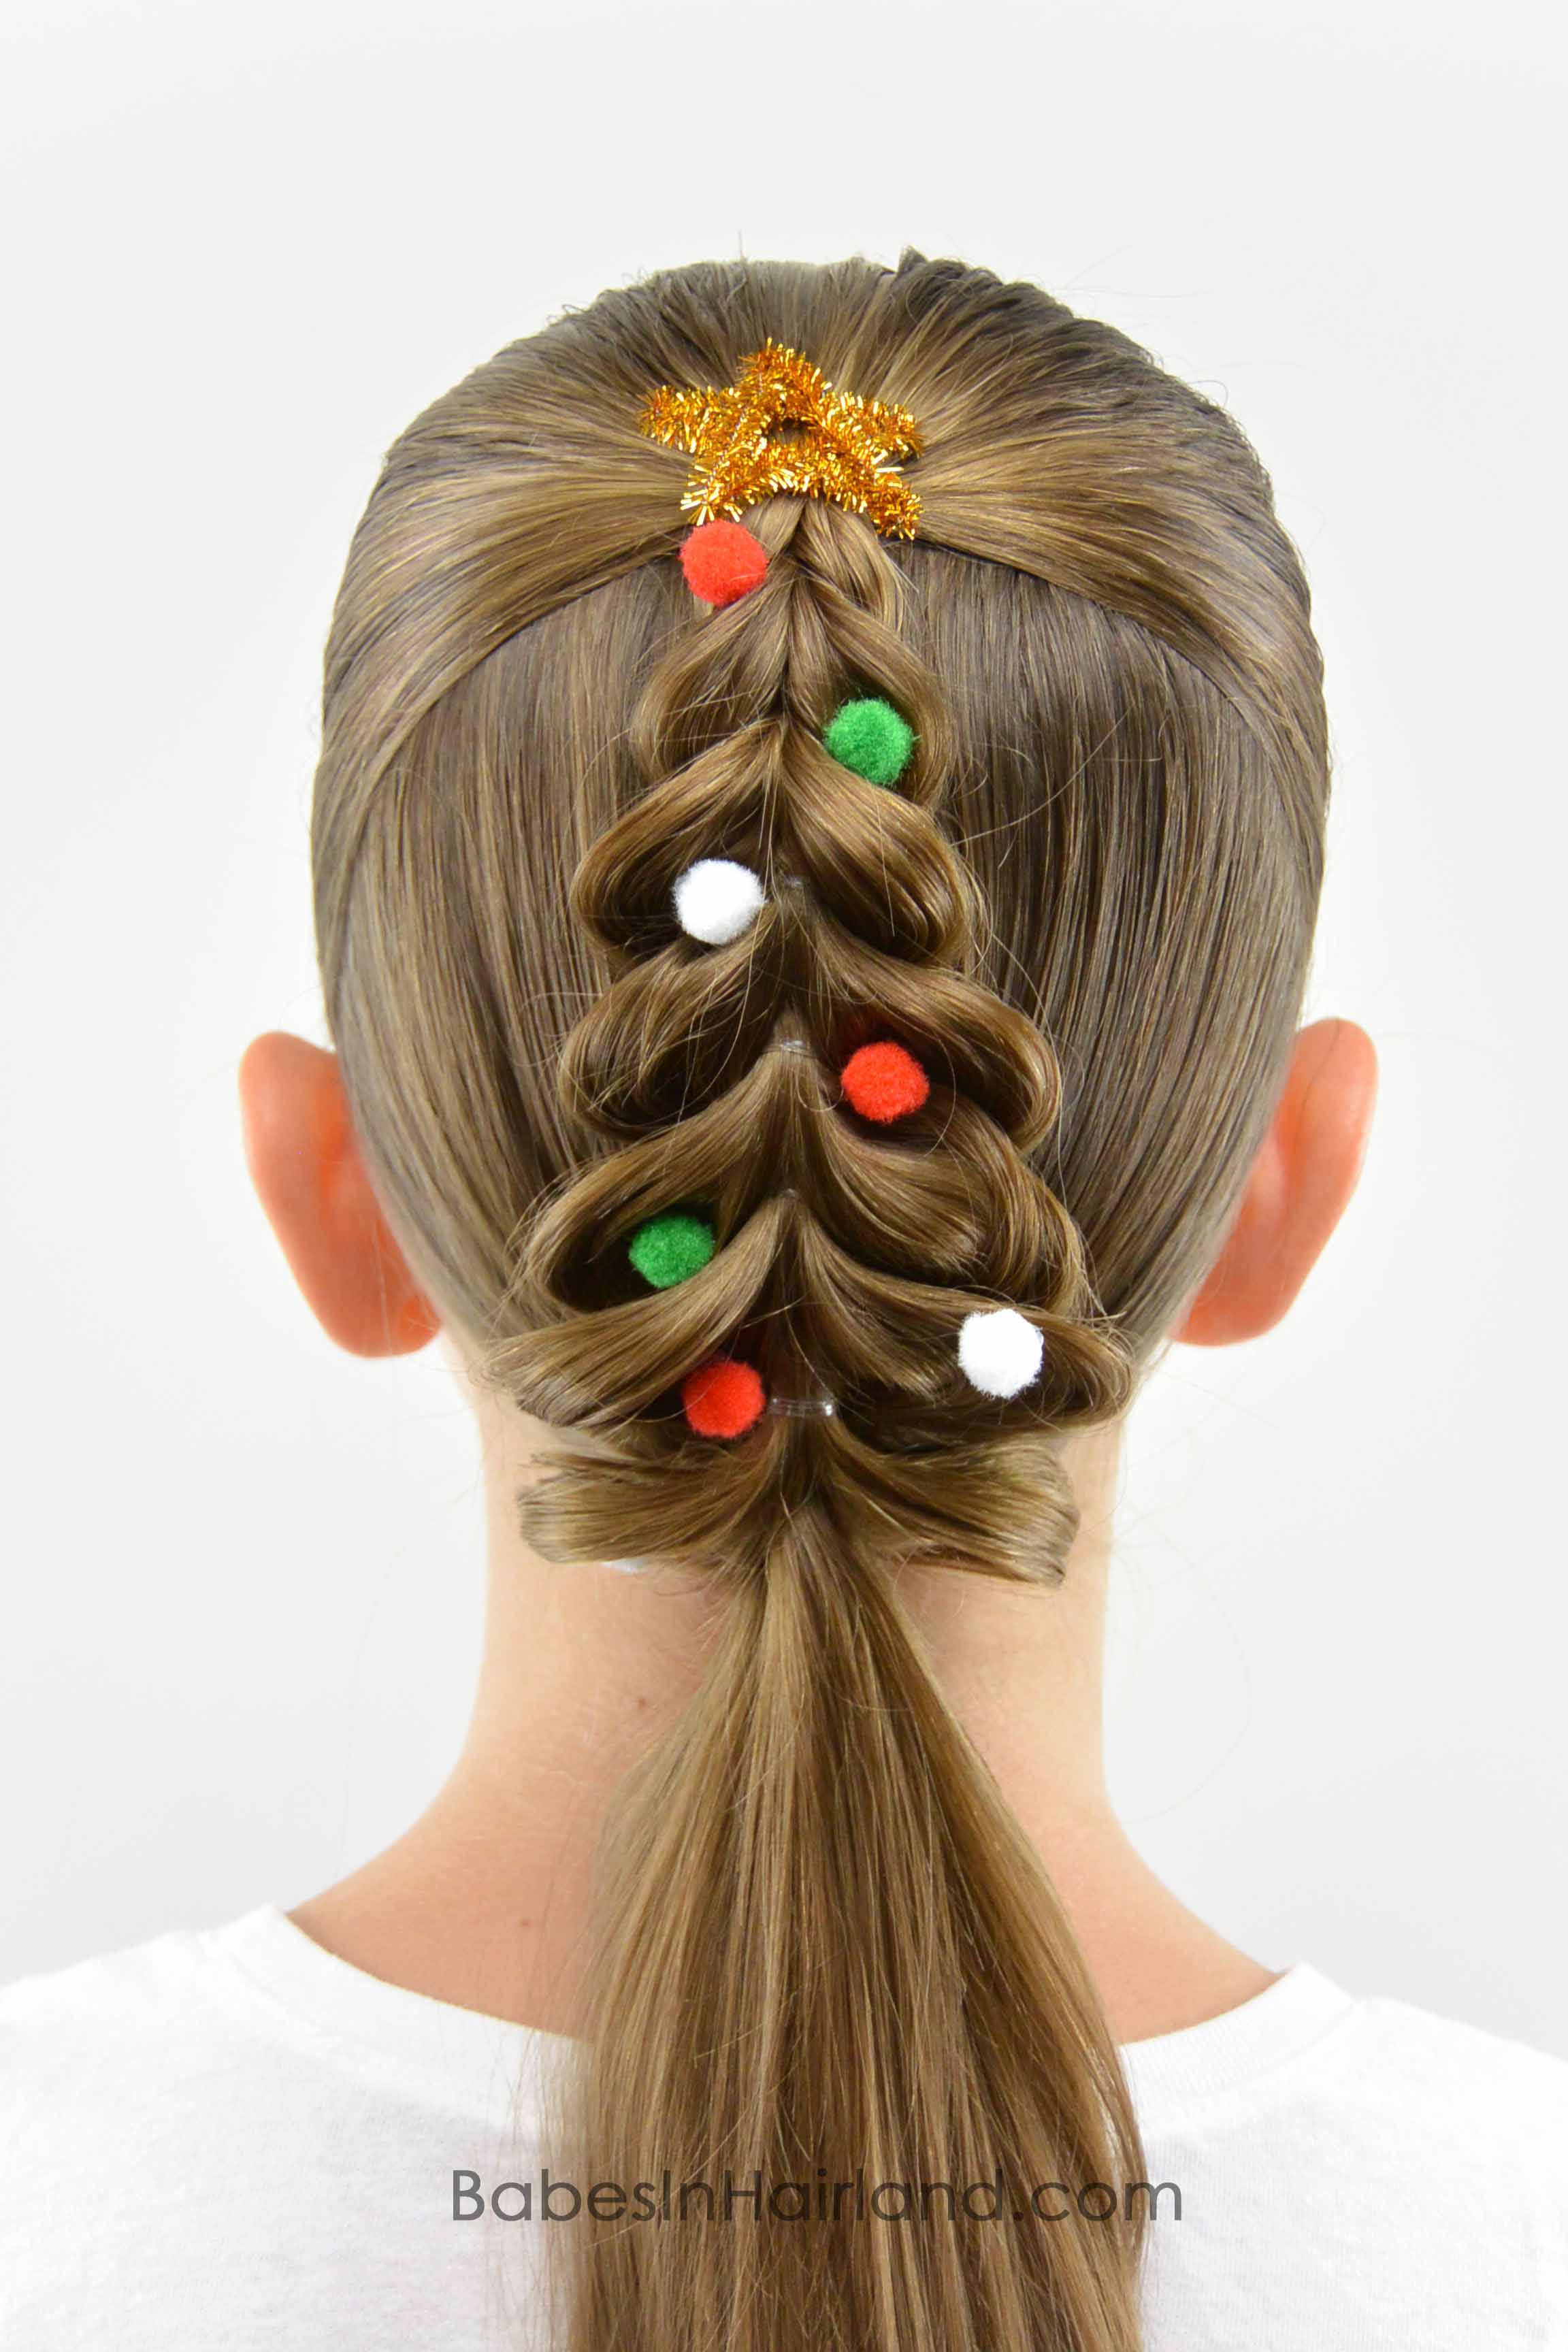
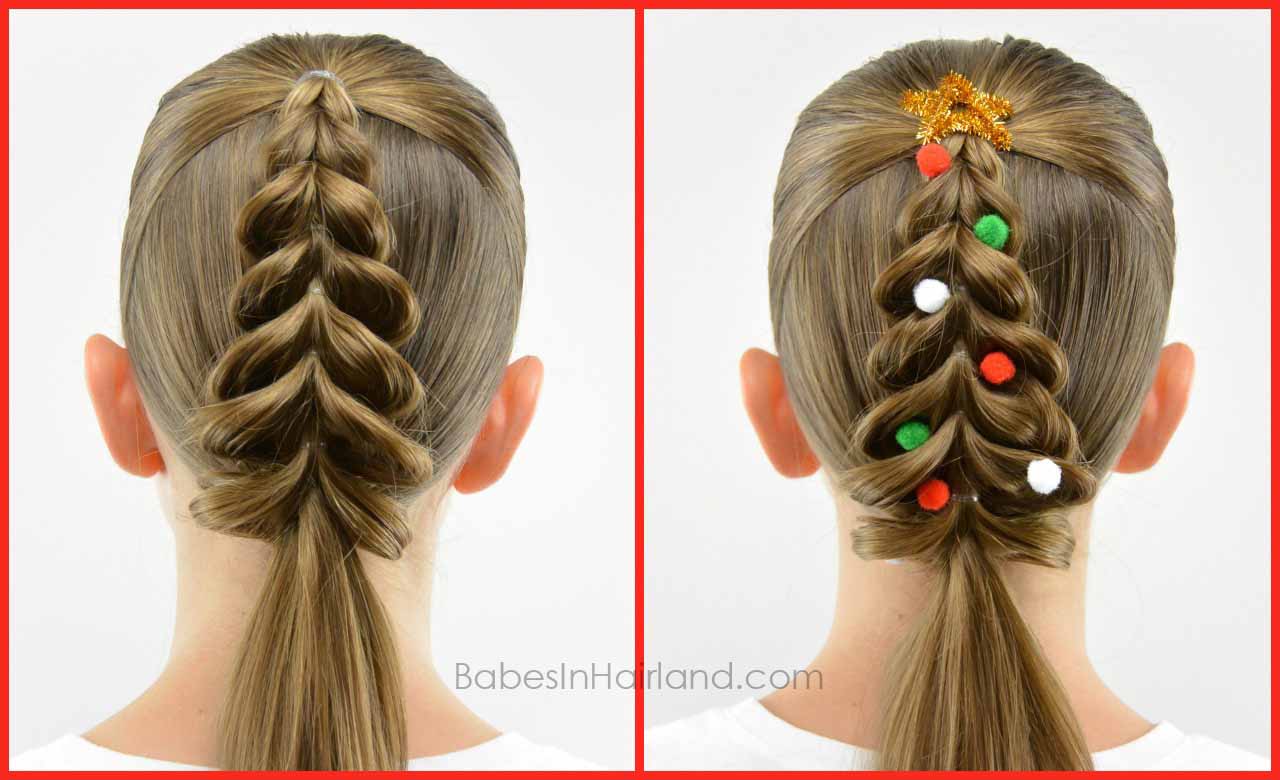
Step 16 – Adjust the “Christmas tree” as needed so the bottom of your tree is the widest and that it gradually gets smaller until you reach the top
Your “Christmas tree” will should look something like this. It’s a pretty style all on it’s own, so if you prefer to leave the decorations off, feel free!


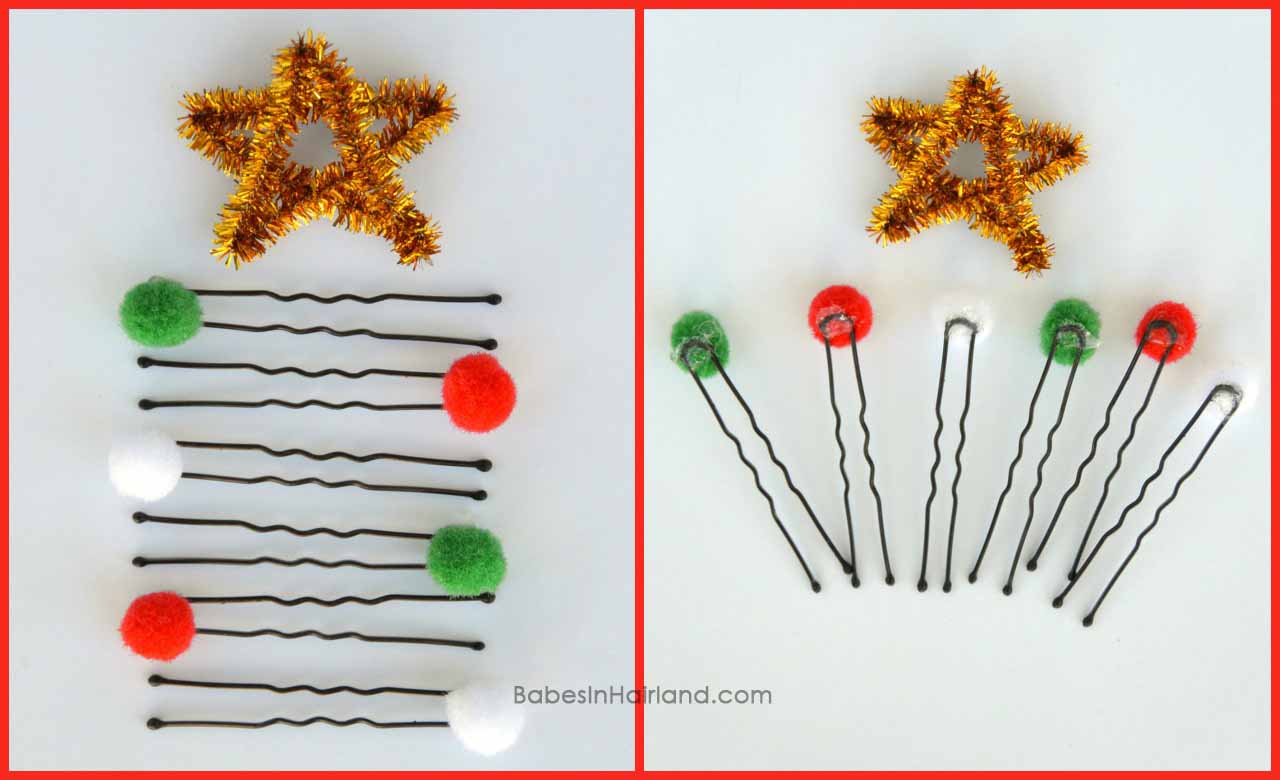
We used hair pins like THESE

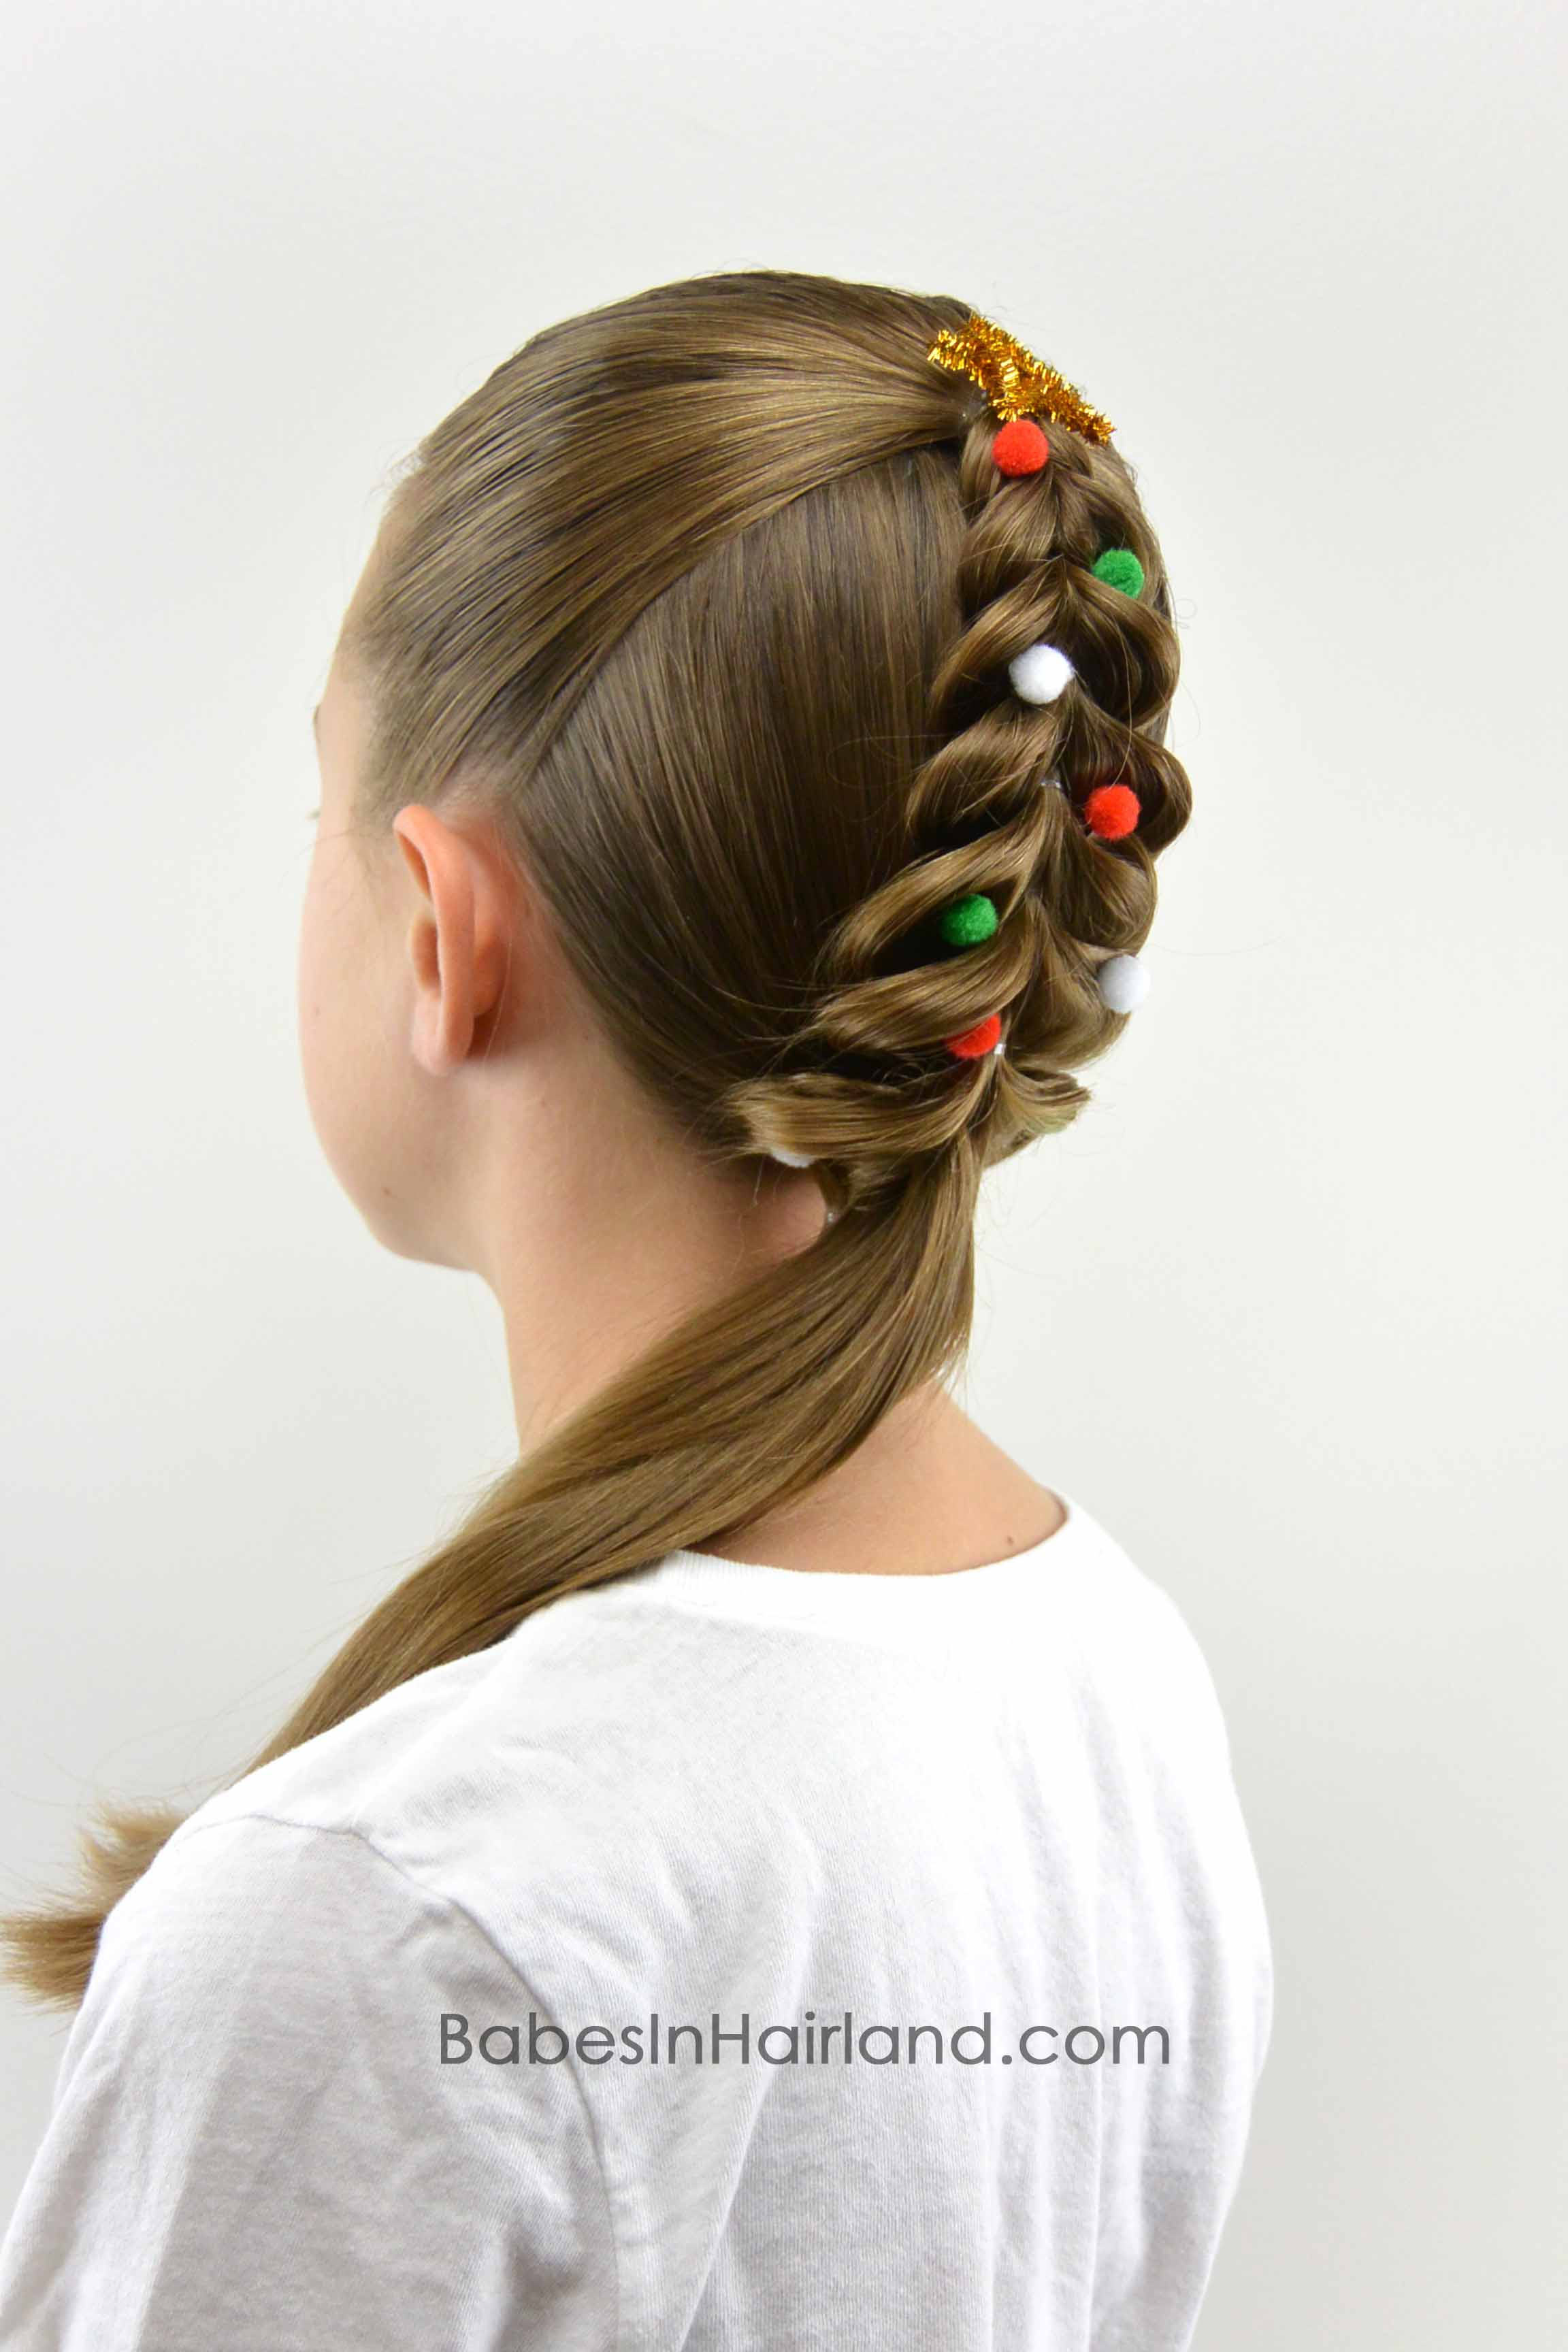
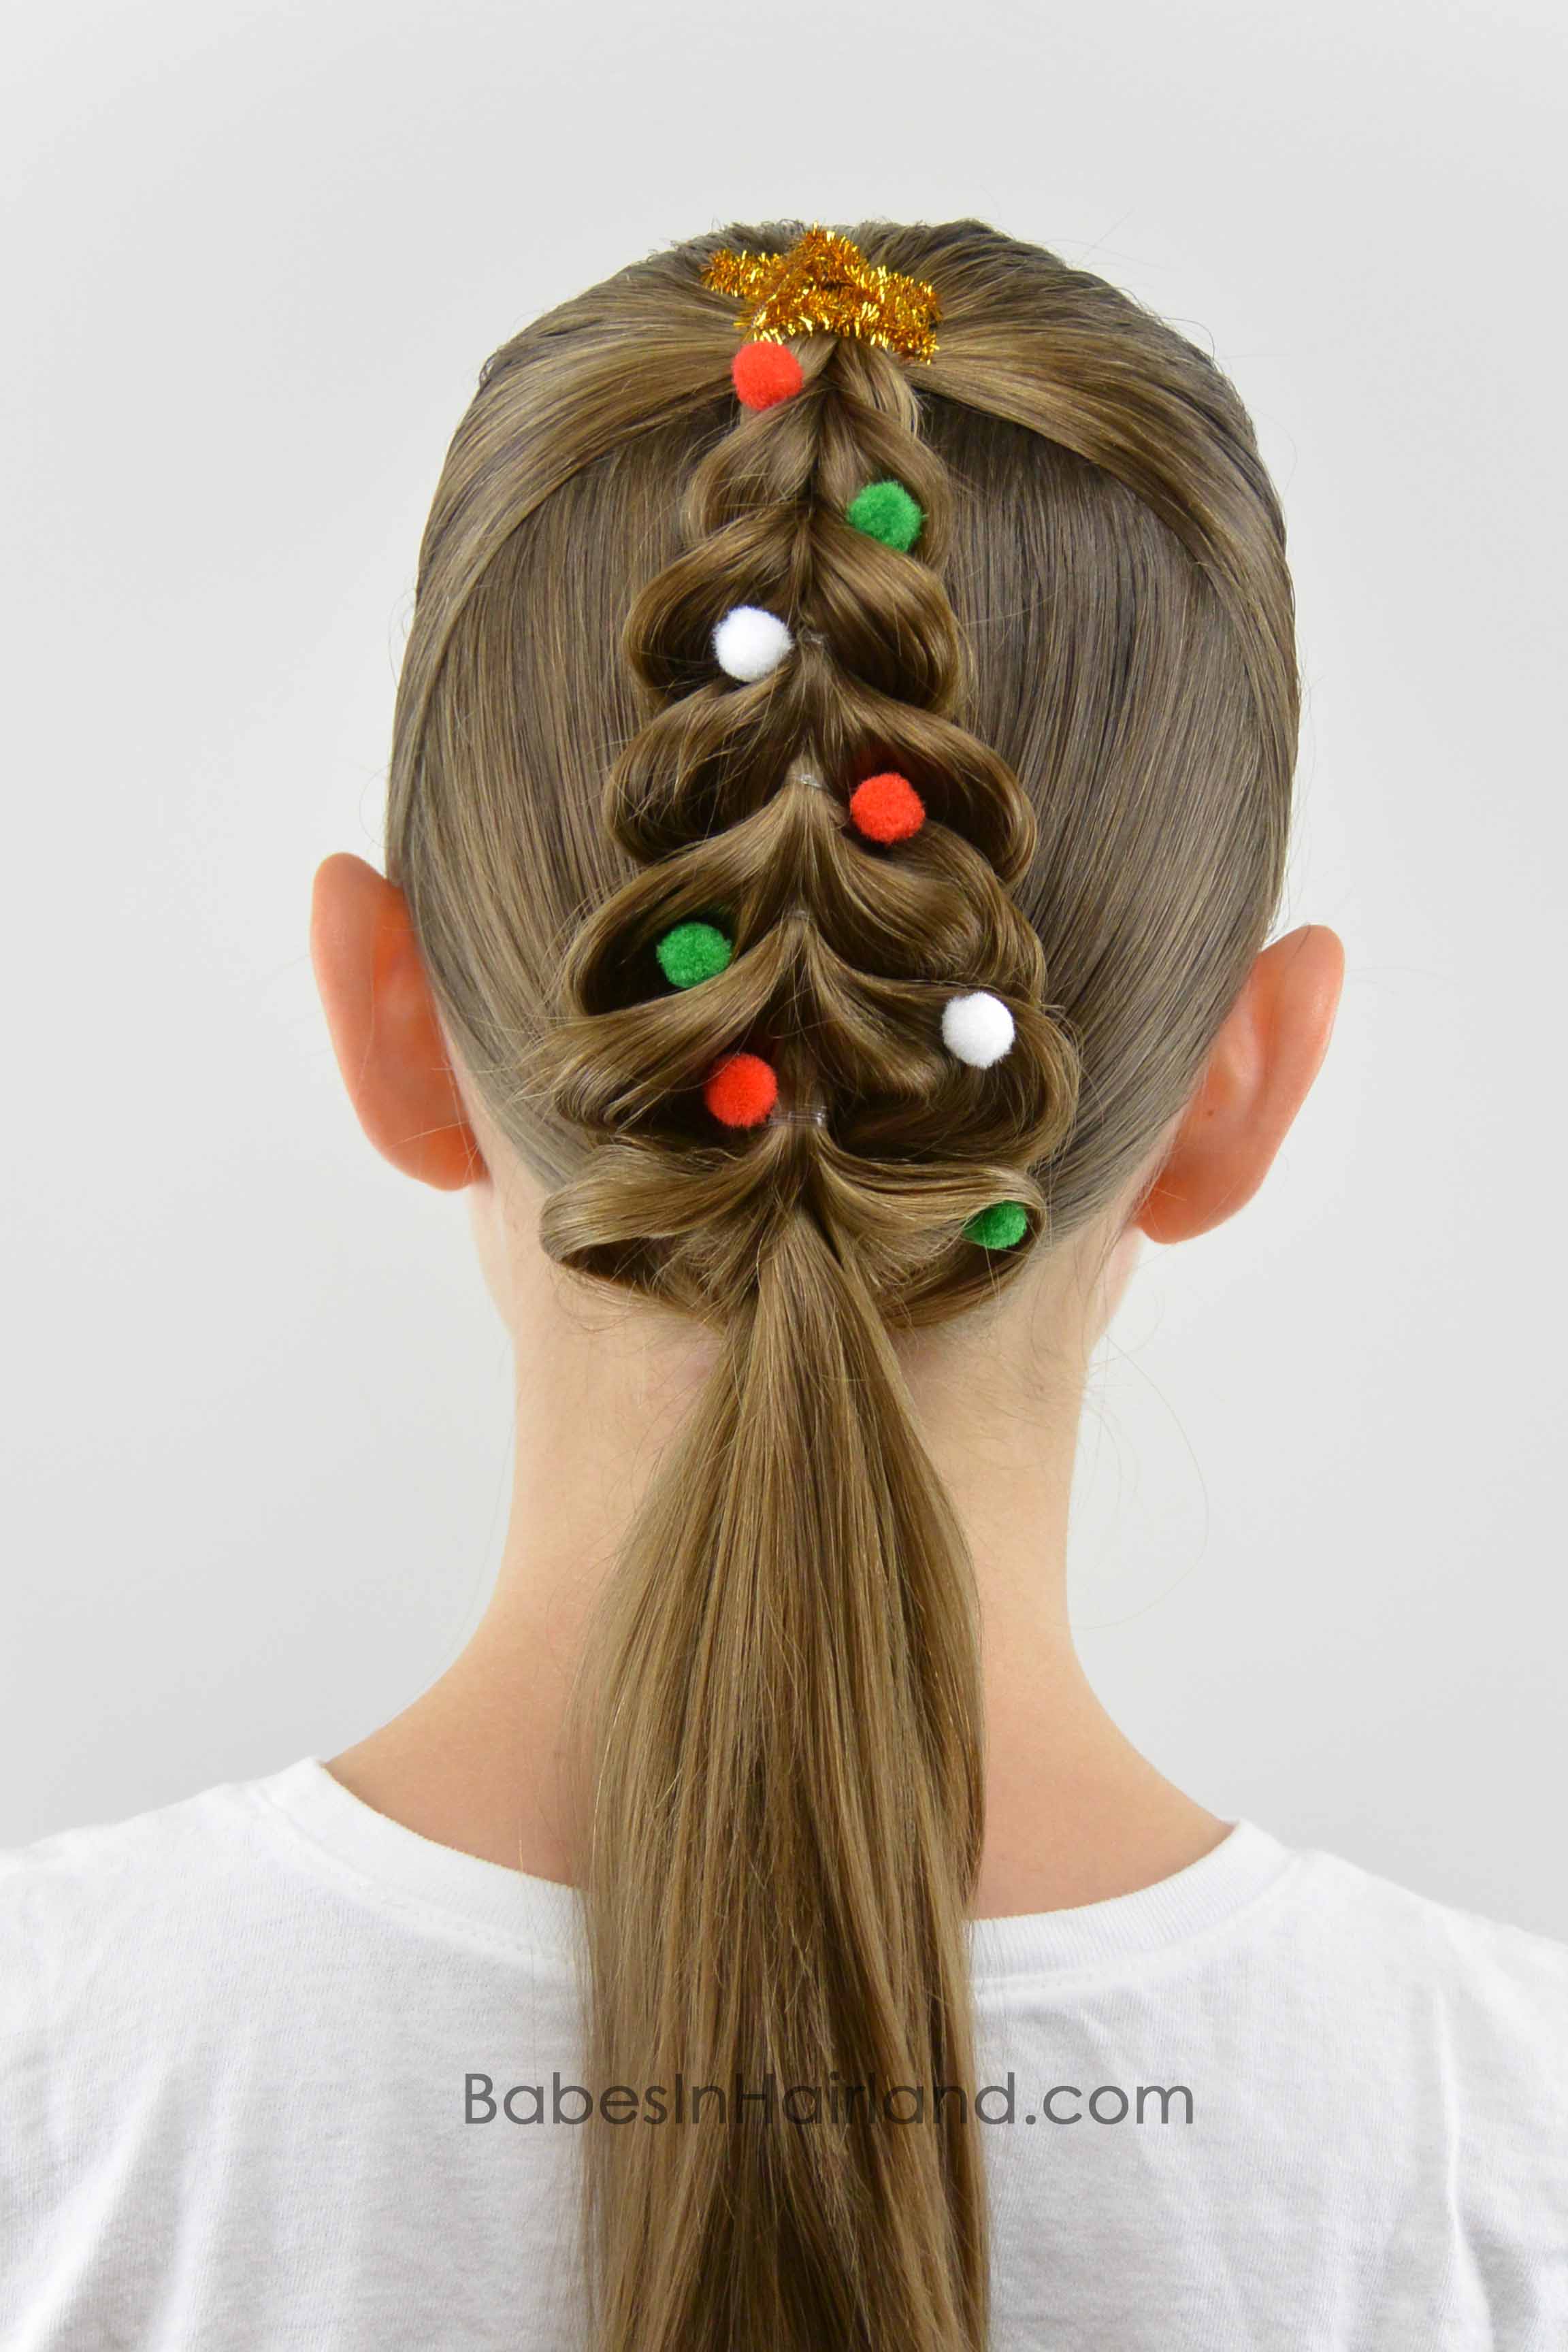
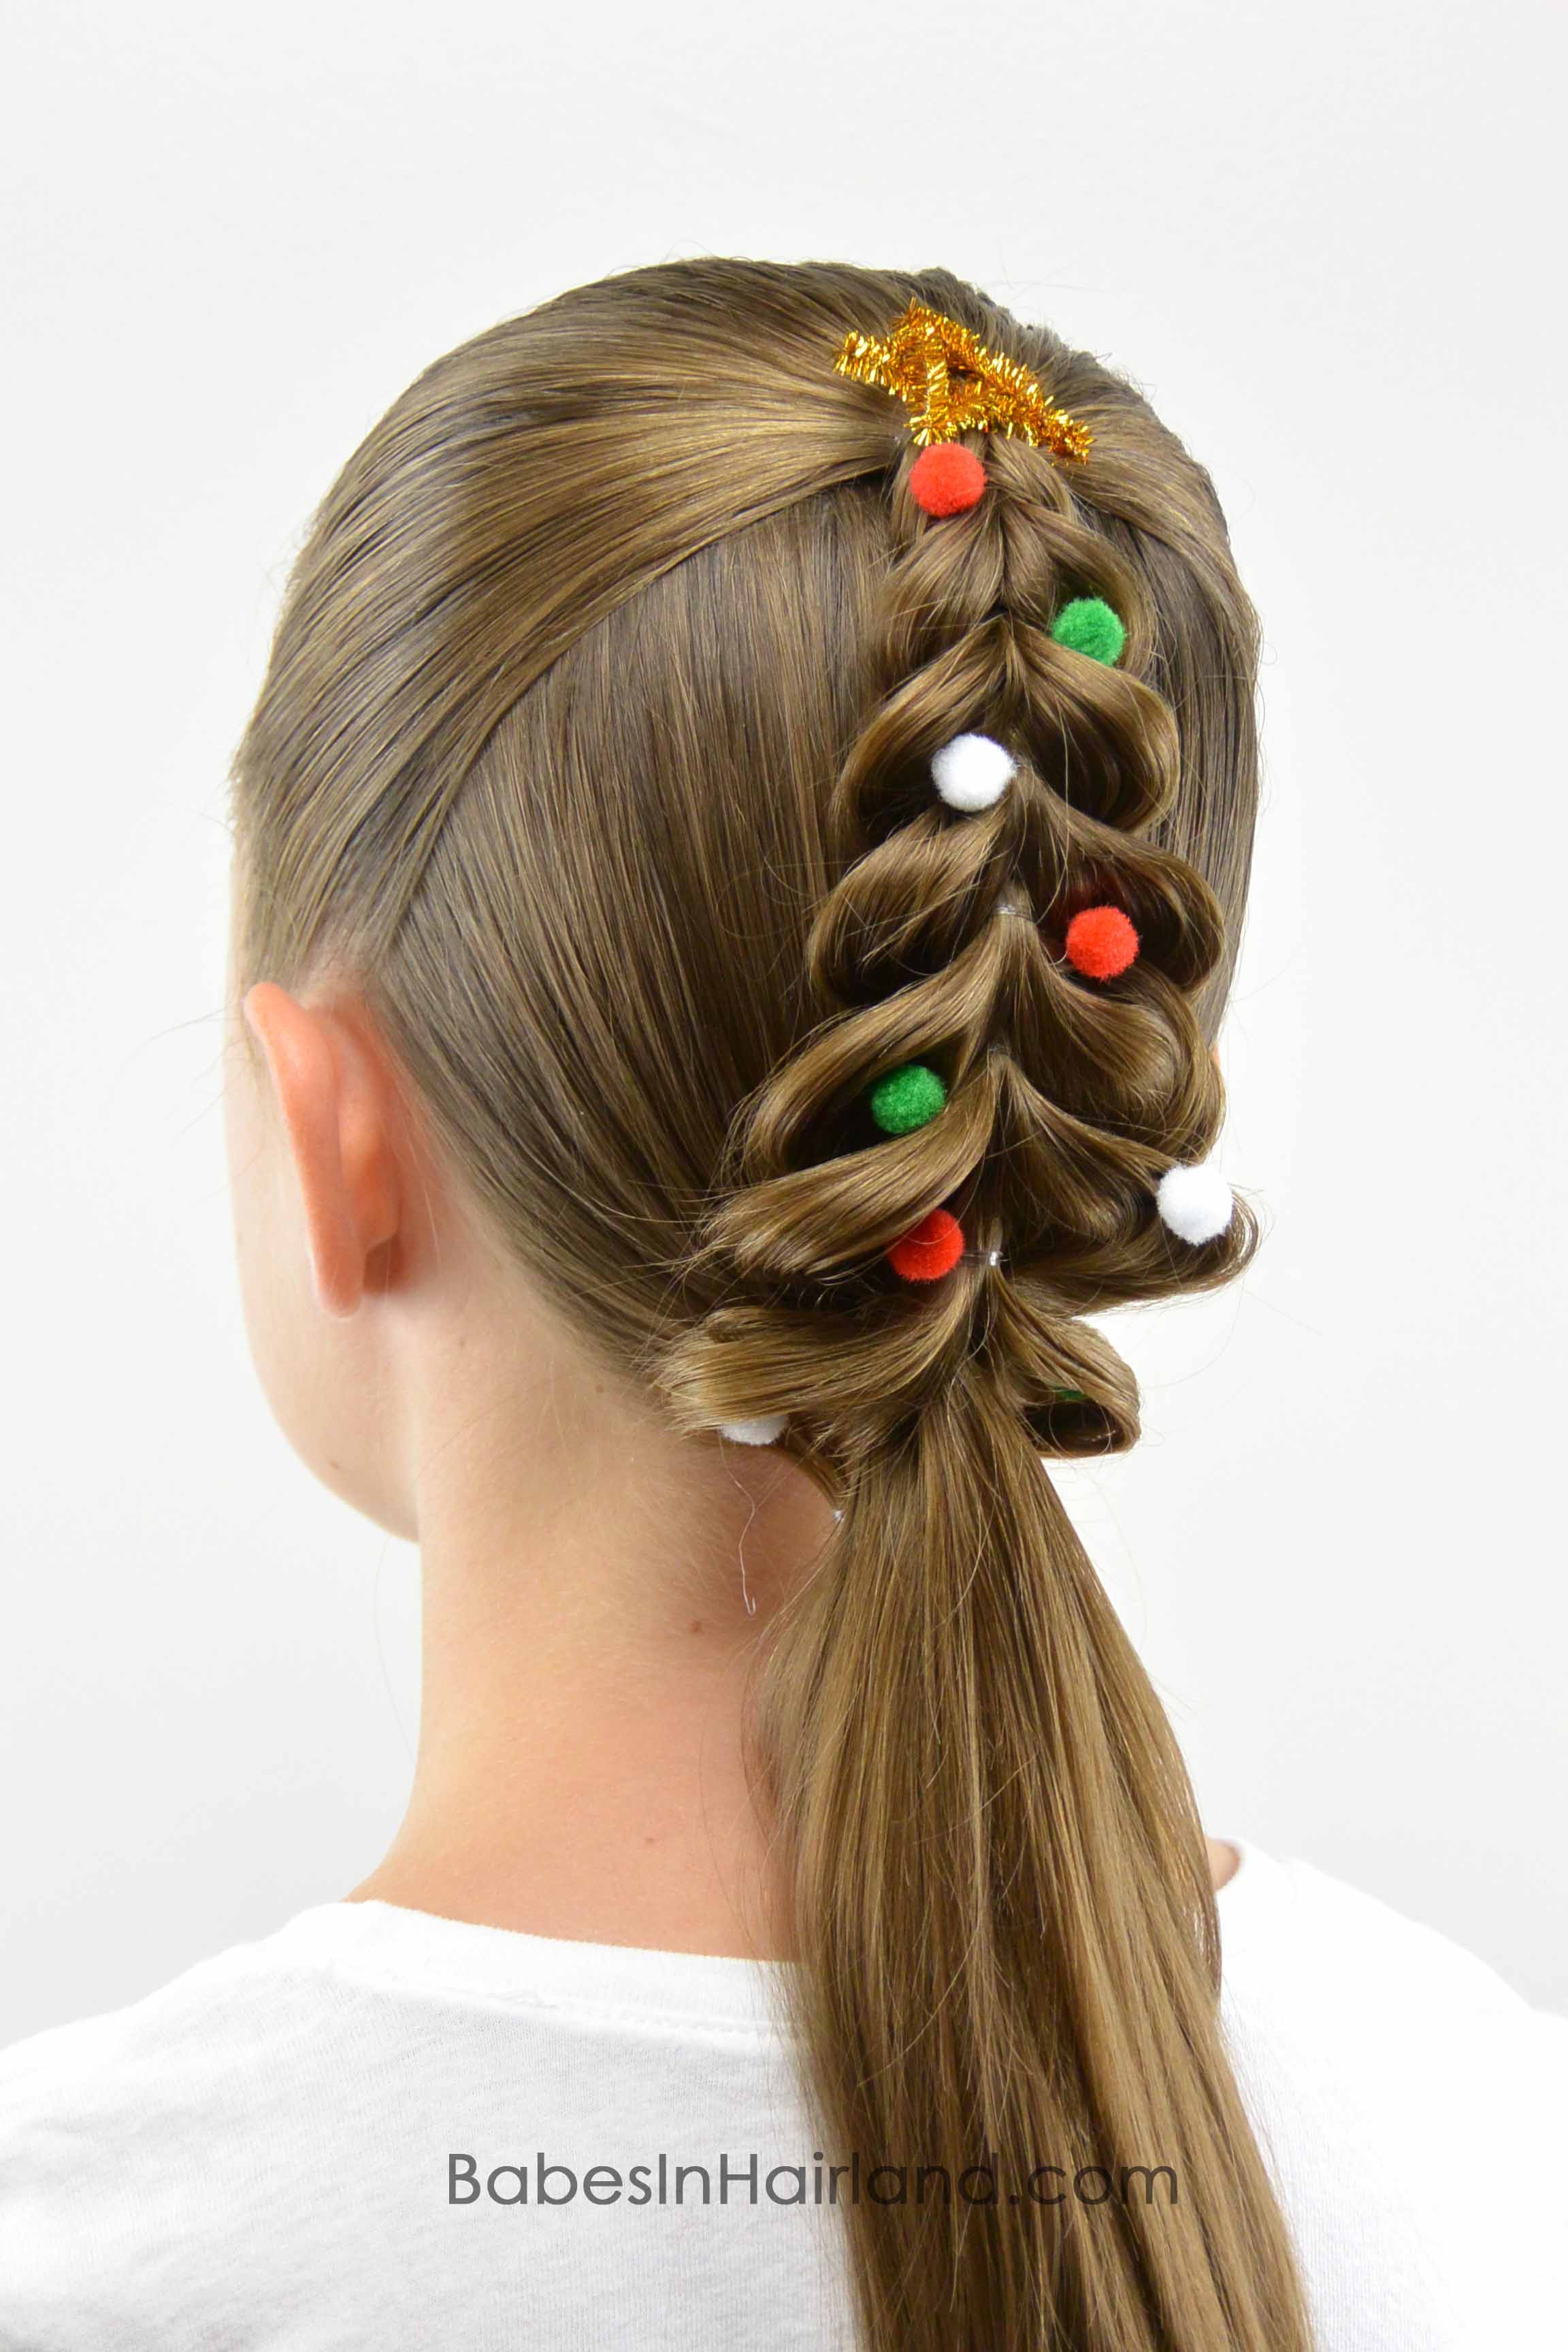
FINISHED!


Don’t forget to share this and pin it for later! We love you when you take the time to share and comment!