
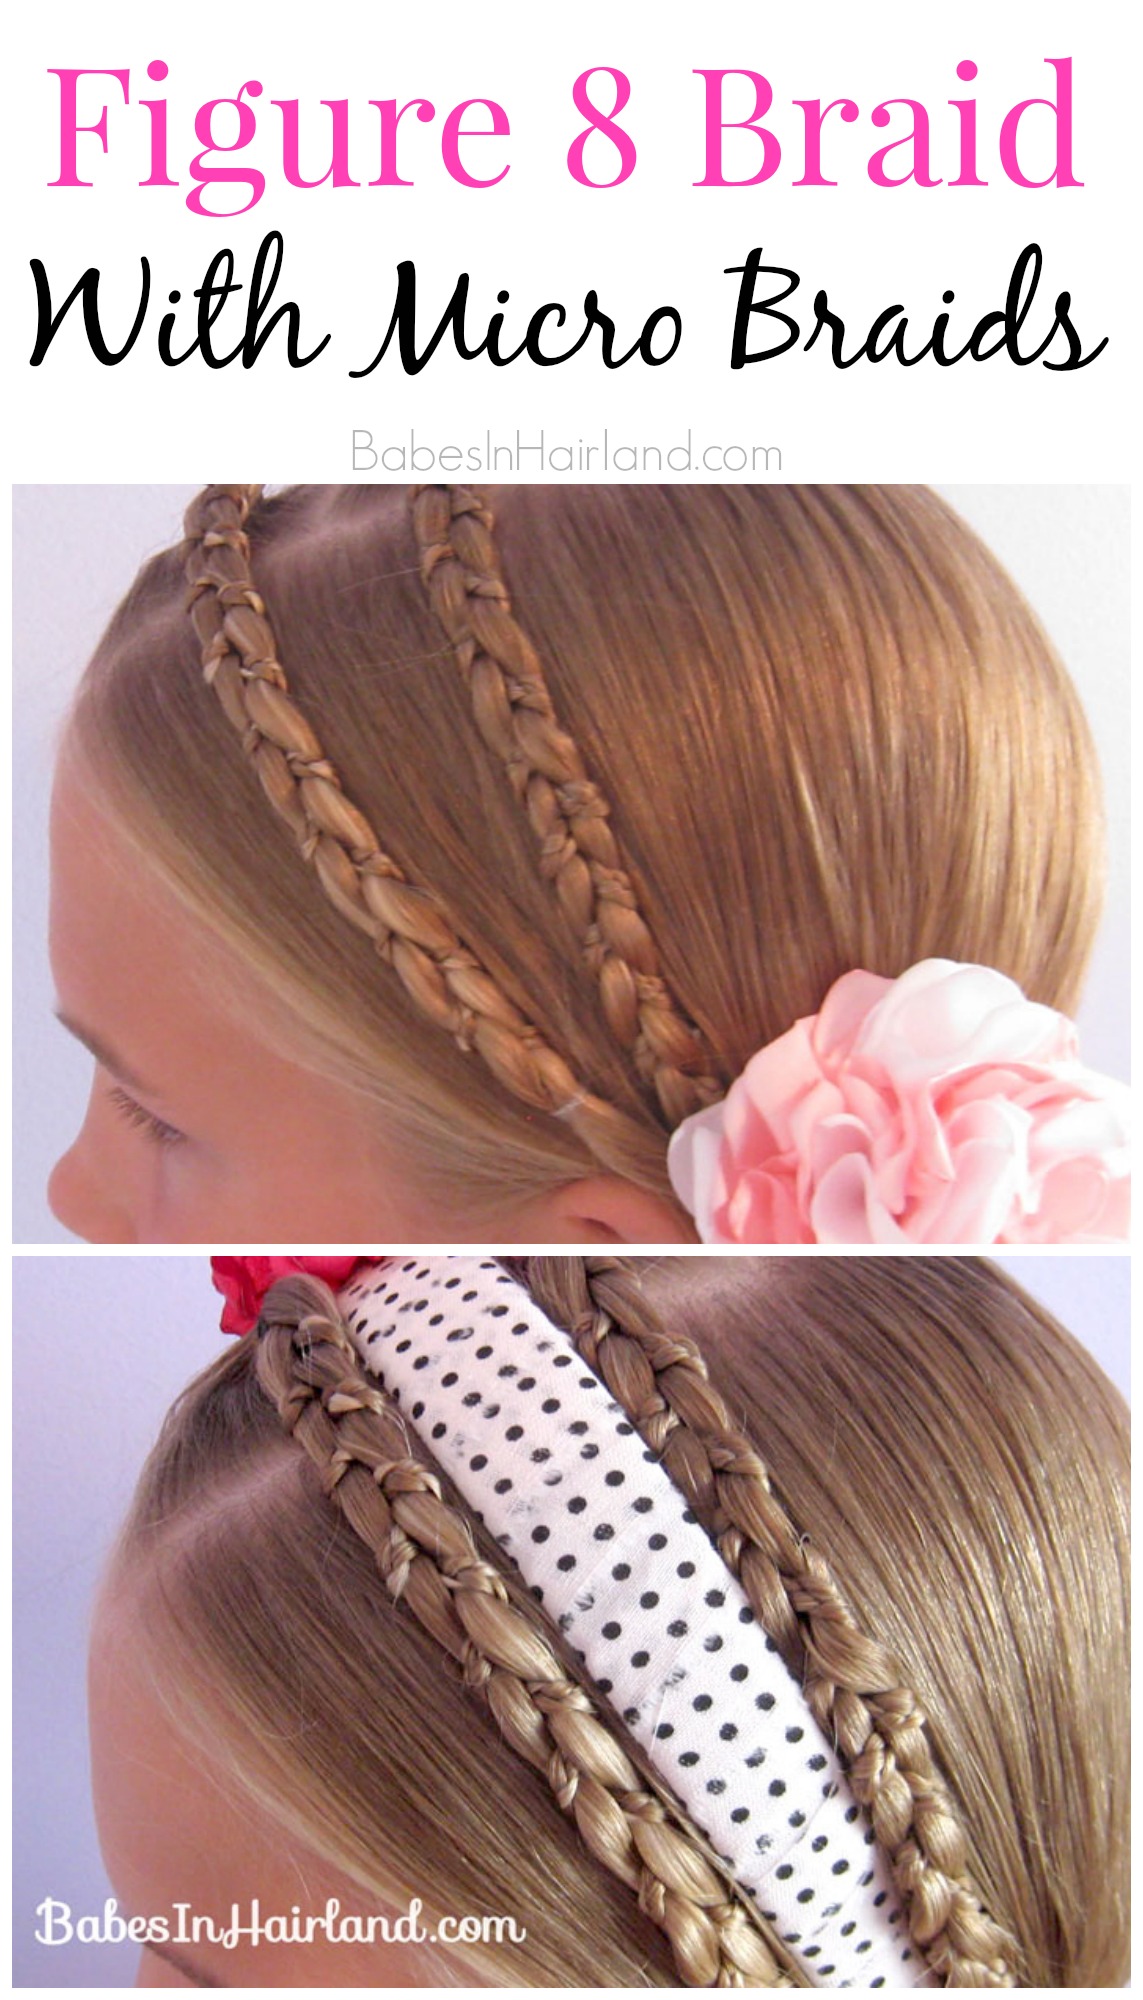
French Figure 8 Braid
Before we get to our tutorial, I just wanted to remind you that Pinners Conference is right around the corner. It’s not this coming weekend, but the following (Nov. 7th & 8th) and I am SO excited. If you are in the area, or can swing making a trip to SLC, you don’t want to miss this year’s conference. The conference was great last year, but it’s going to have so many more amazing things this year that you won’t want to miss – including a VIP/Meet the Bloggers night. So if you haven’t yet, get your tickets and don’t forget to use our code “babesinhairland” to save yourself $5 off your ticket price. Head over HERE to register & buy tickets. My class will be on Saturday, Nov. 8. at 11 a.m. and I hope to see you there. PLUS – We’ll have our book – hot off the presses to sell, along with some great swag.


Also, if you are local, we are scheduled to be on TV next Monday during Ch. 2′s “Fresh Living,” so be sure to tune in for that! We’ll be talking Pinners Conference as well as our new book. We can’t wait!
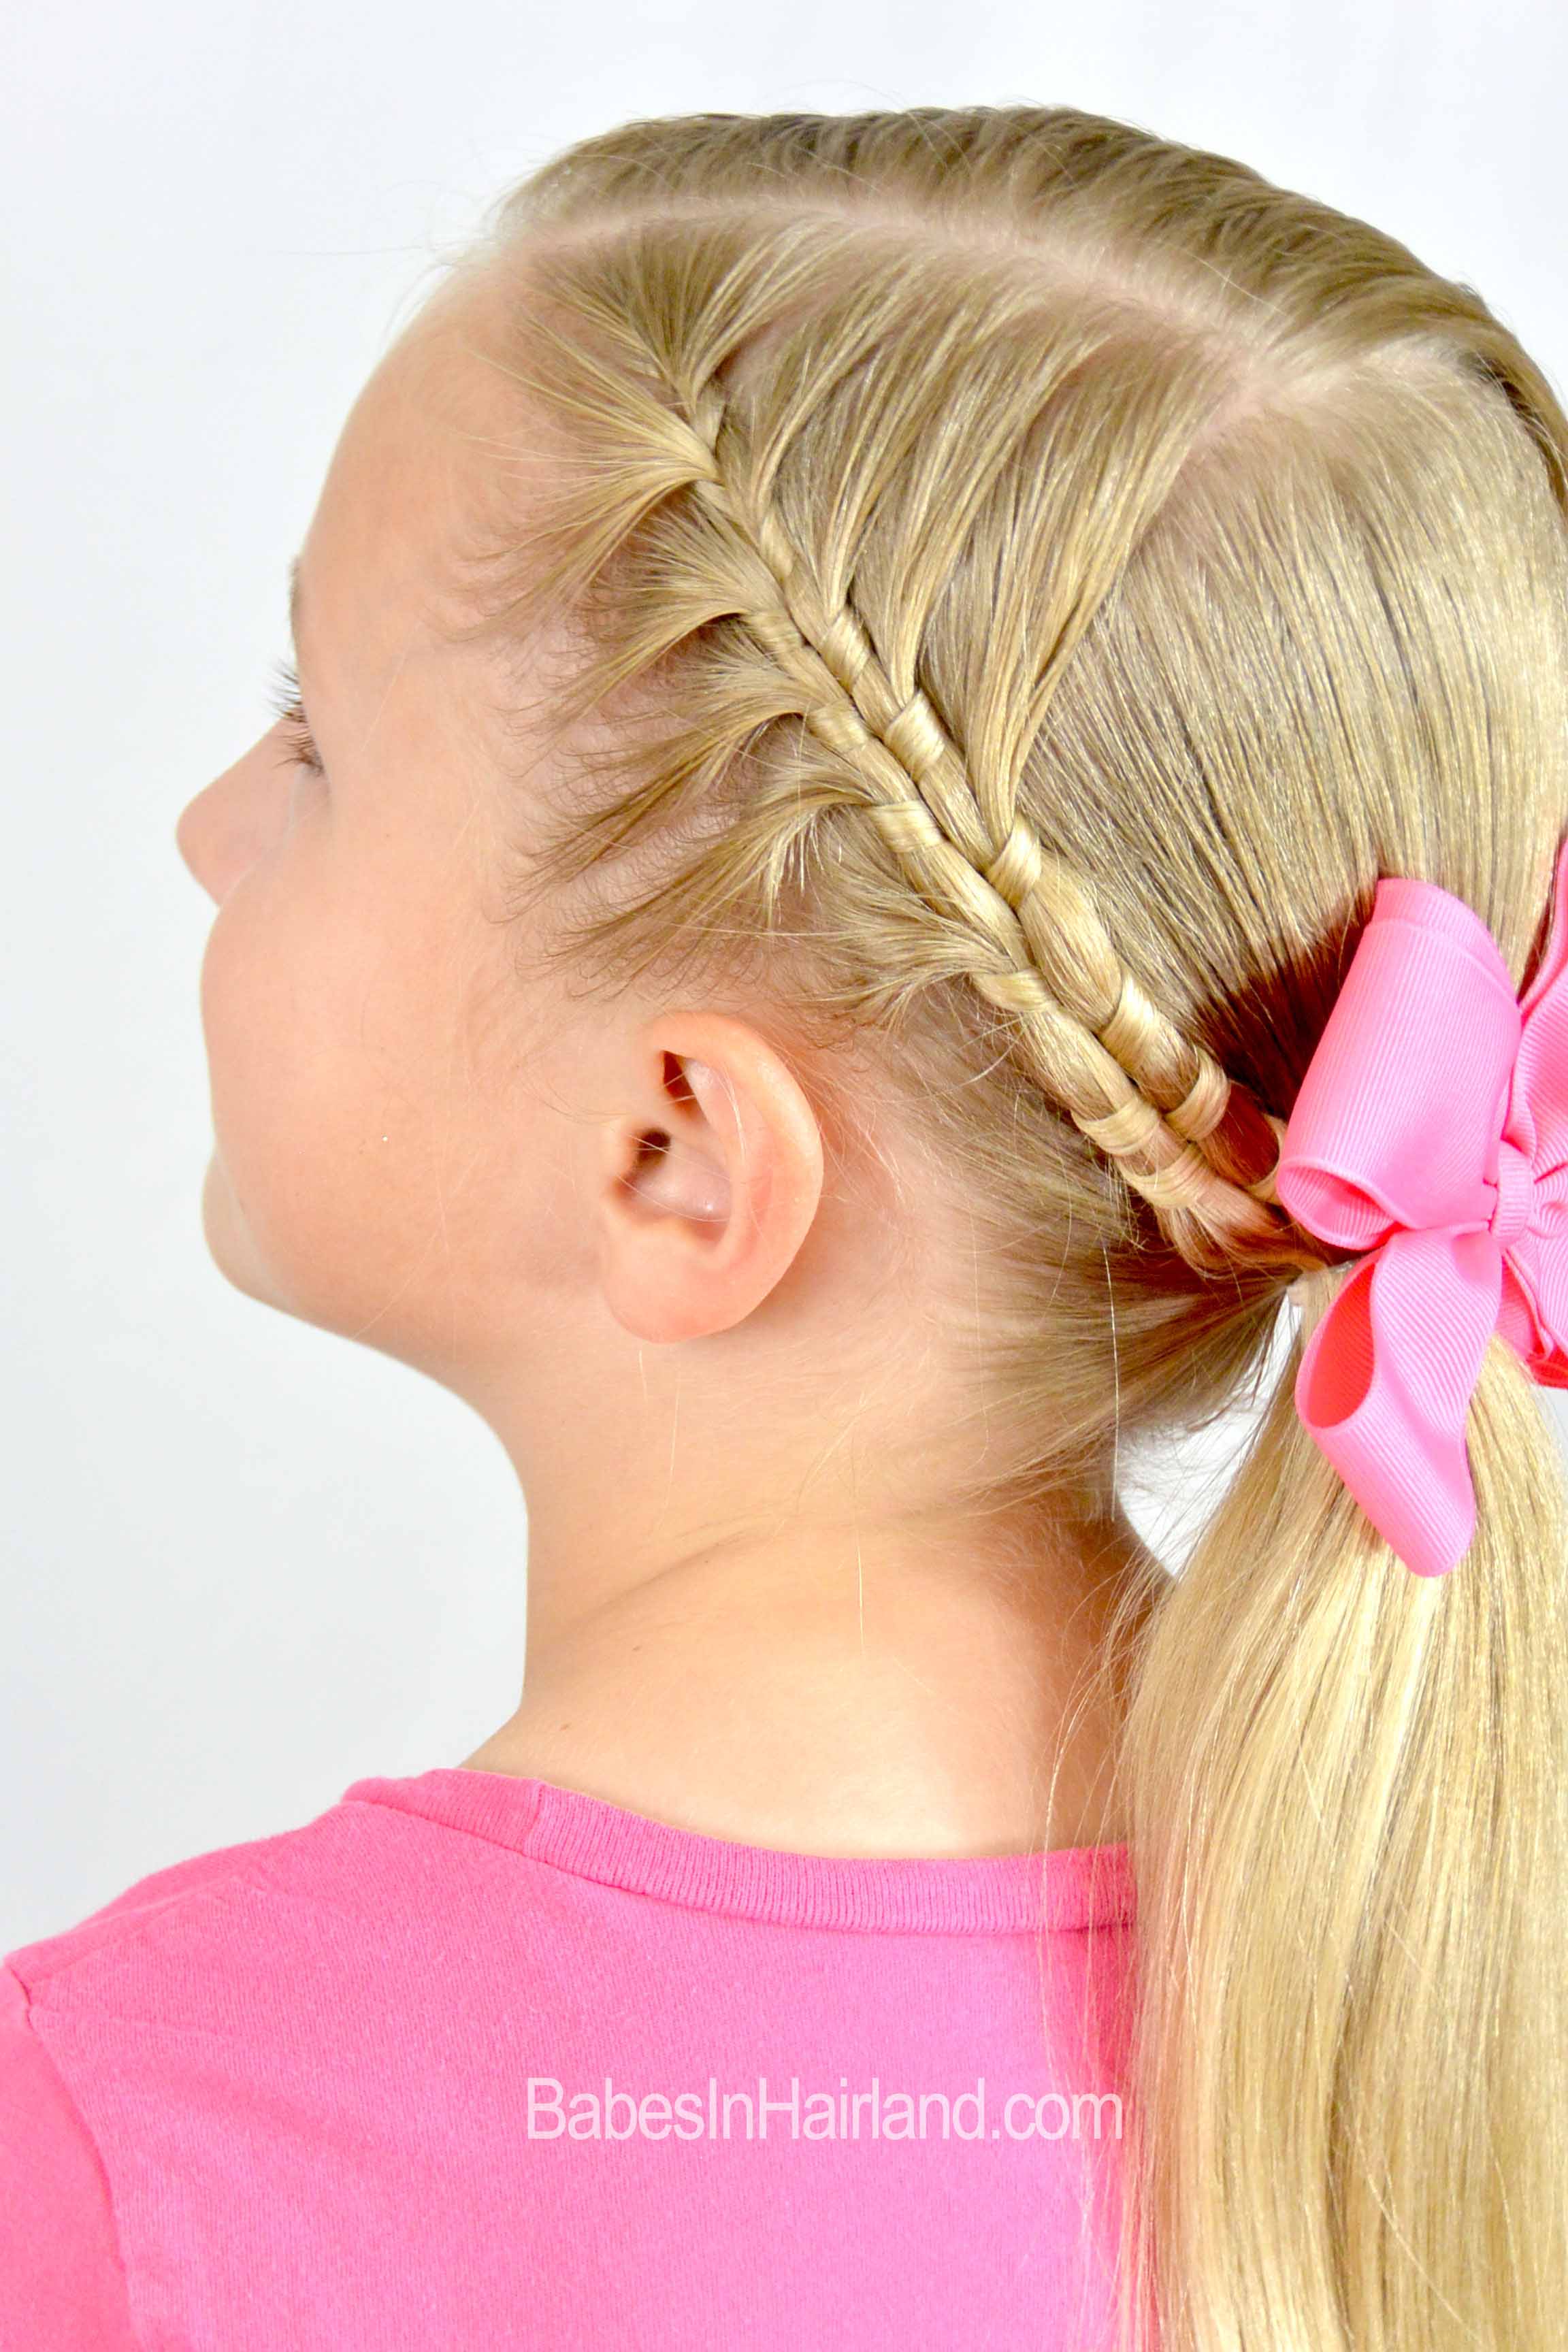
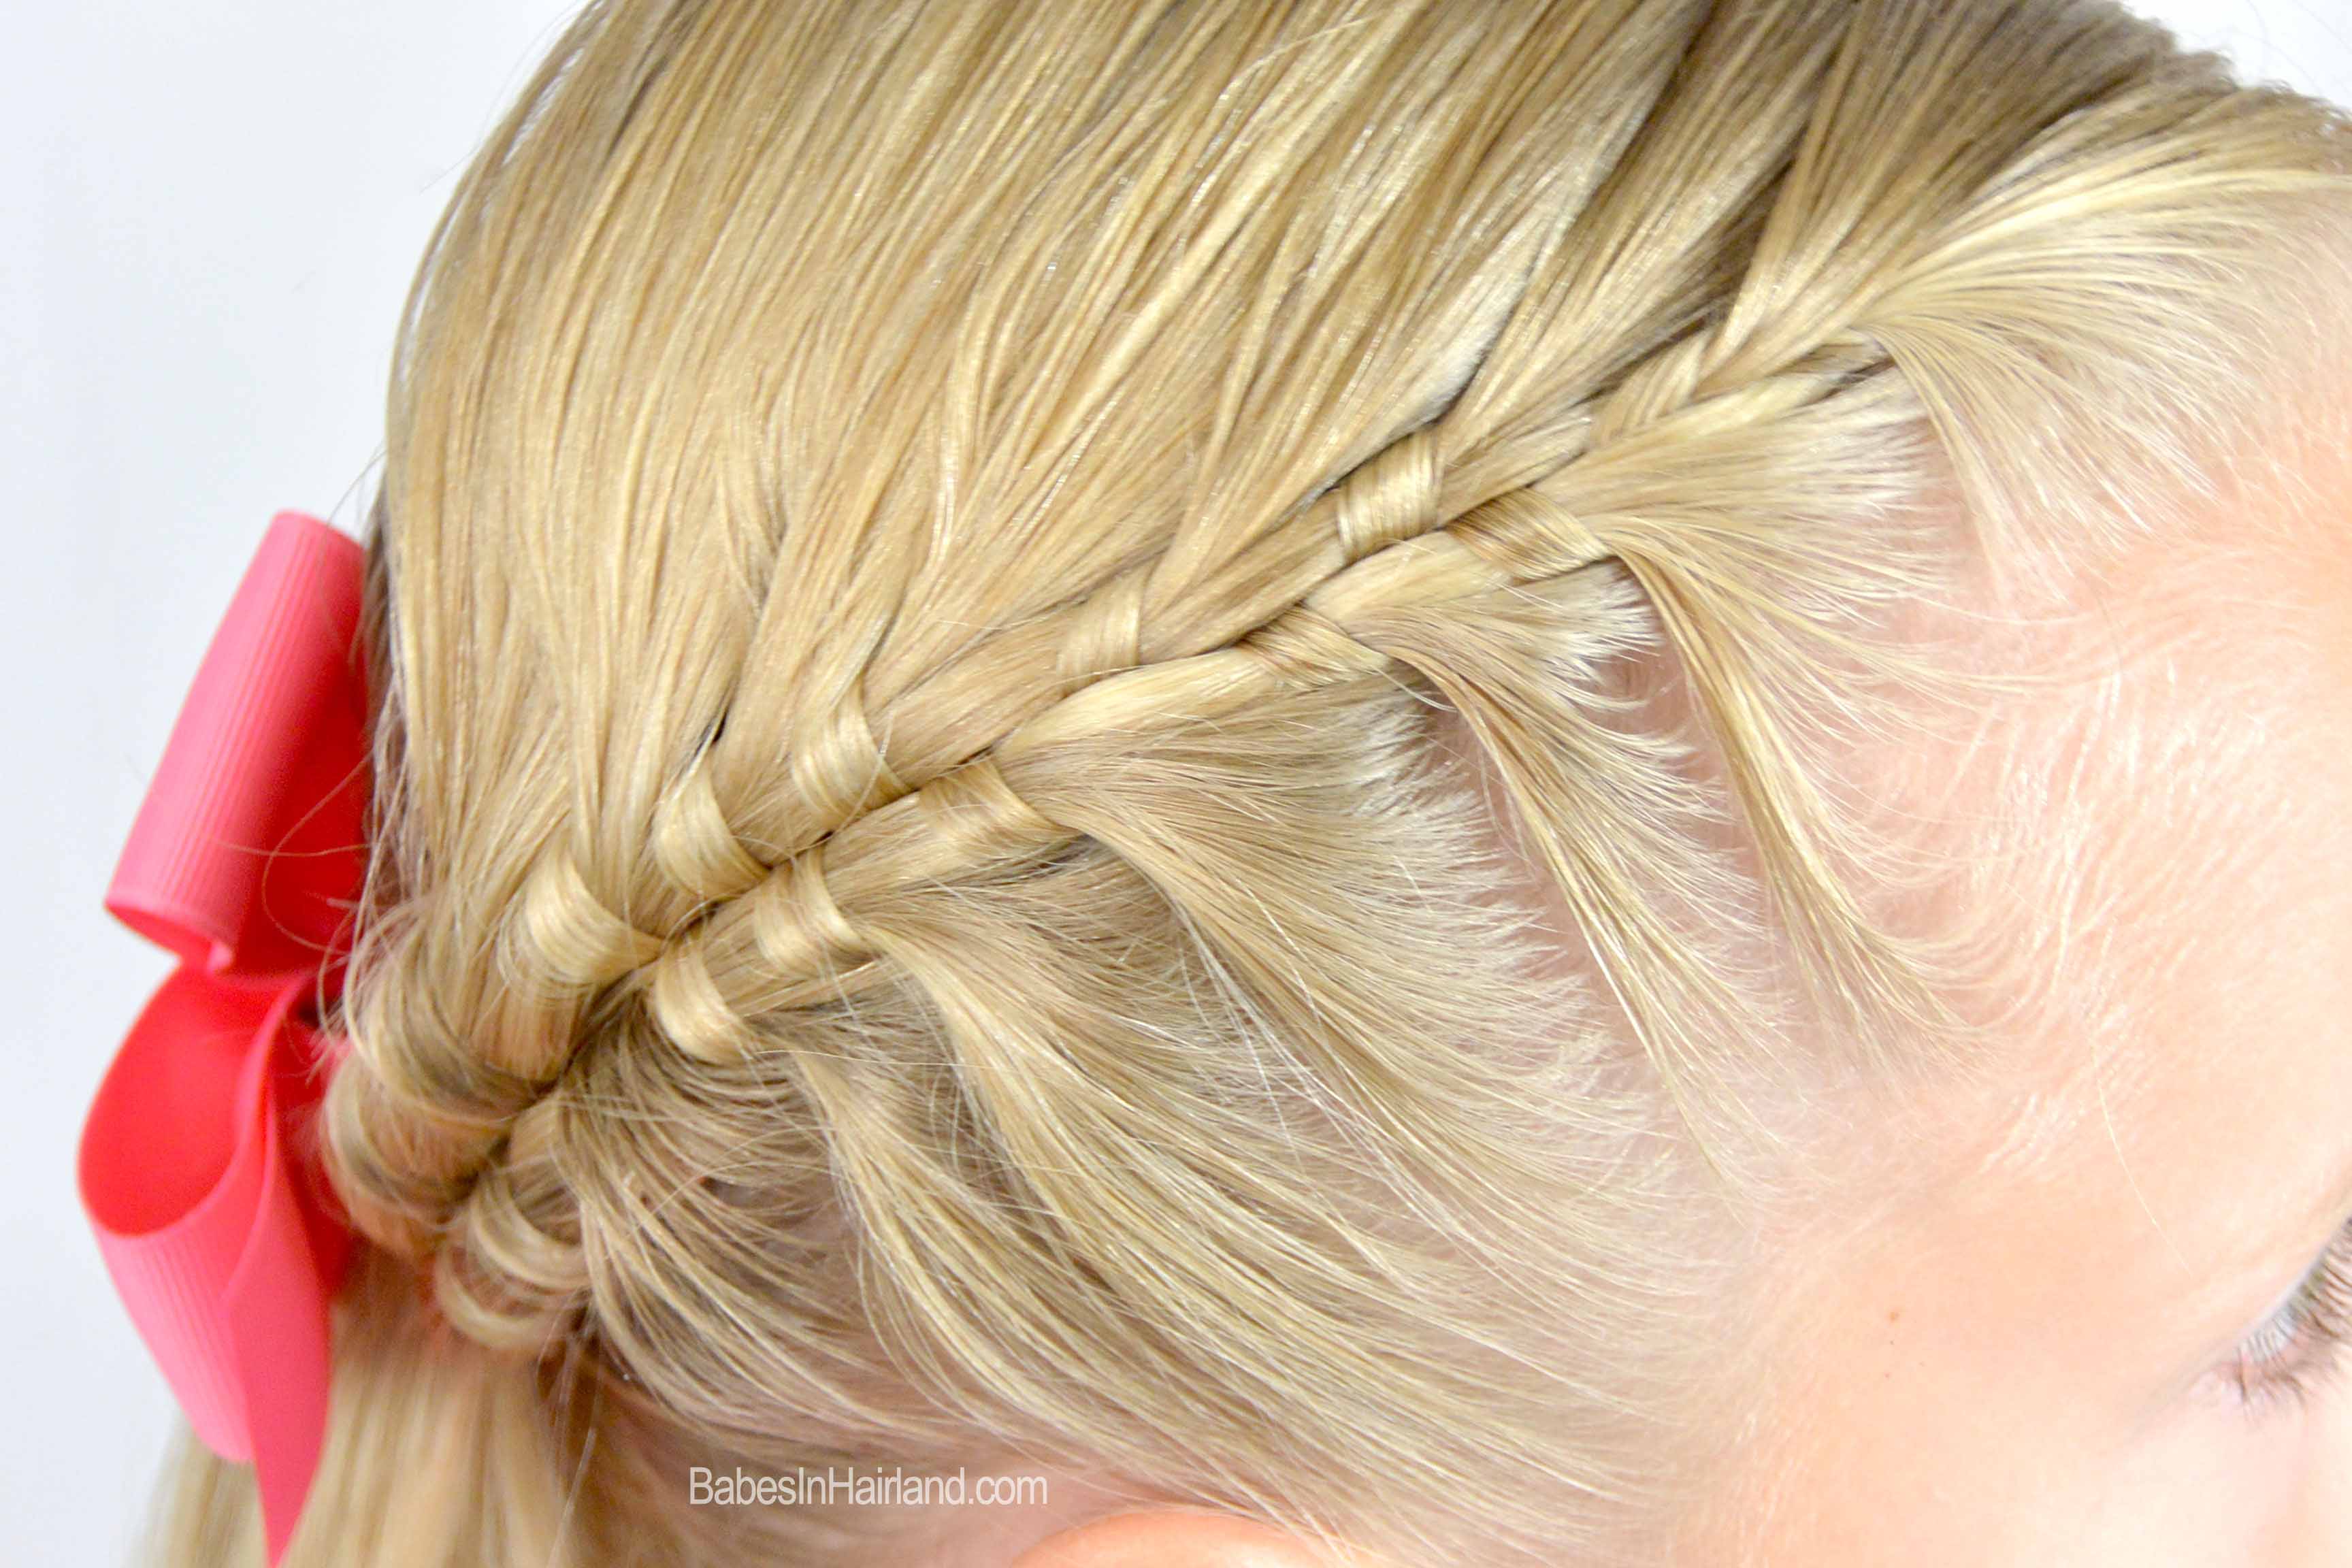
So, with that said, on with today’s hairstyle. This pretty style is one that stems off our Figure 8 Braid we did years ago. Every time we do that braid people stop and ask how we did it. So for today’s braid, we just took things a step further and turned it into a “French” version where you add hair to the braid.

Step 1 – Part hair from ear to ear and then make a side part on top
Step 2 – On the right, section out a small section of hair near the forehead and divide it into 3 sections
Step 3 – Take the middle section and pass it under the right section
Step 4 – Bring that same section of hair around and over the right section of hair
Step 5 – Take that same section of hair and pass it under the left section of hair
Step 6 – Now bring that same section of hair up and over the left section of hair
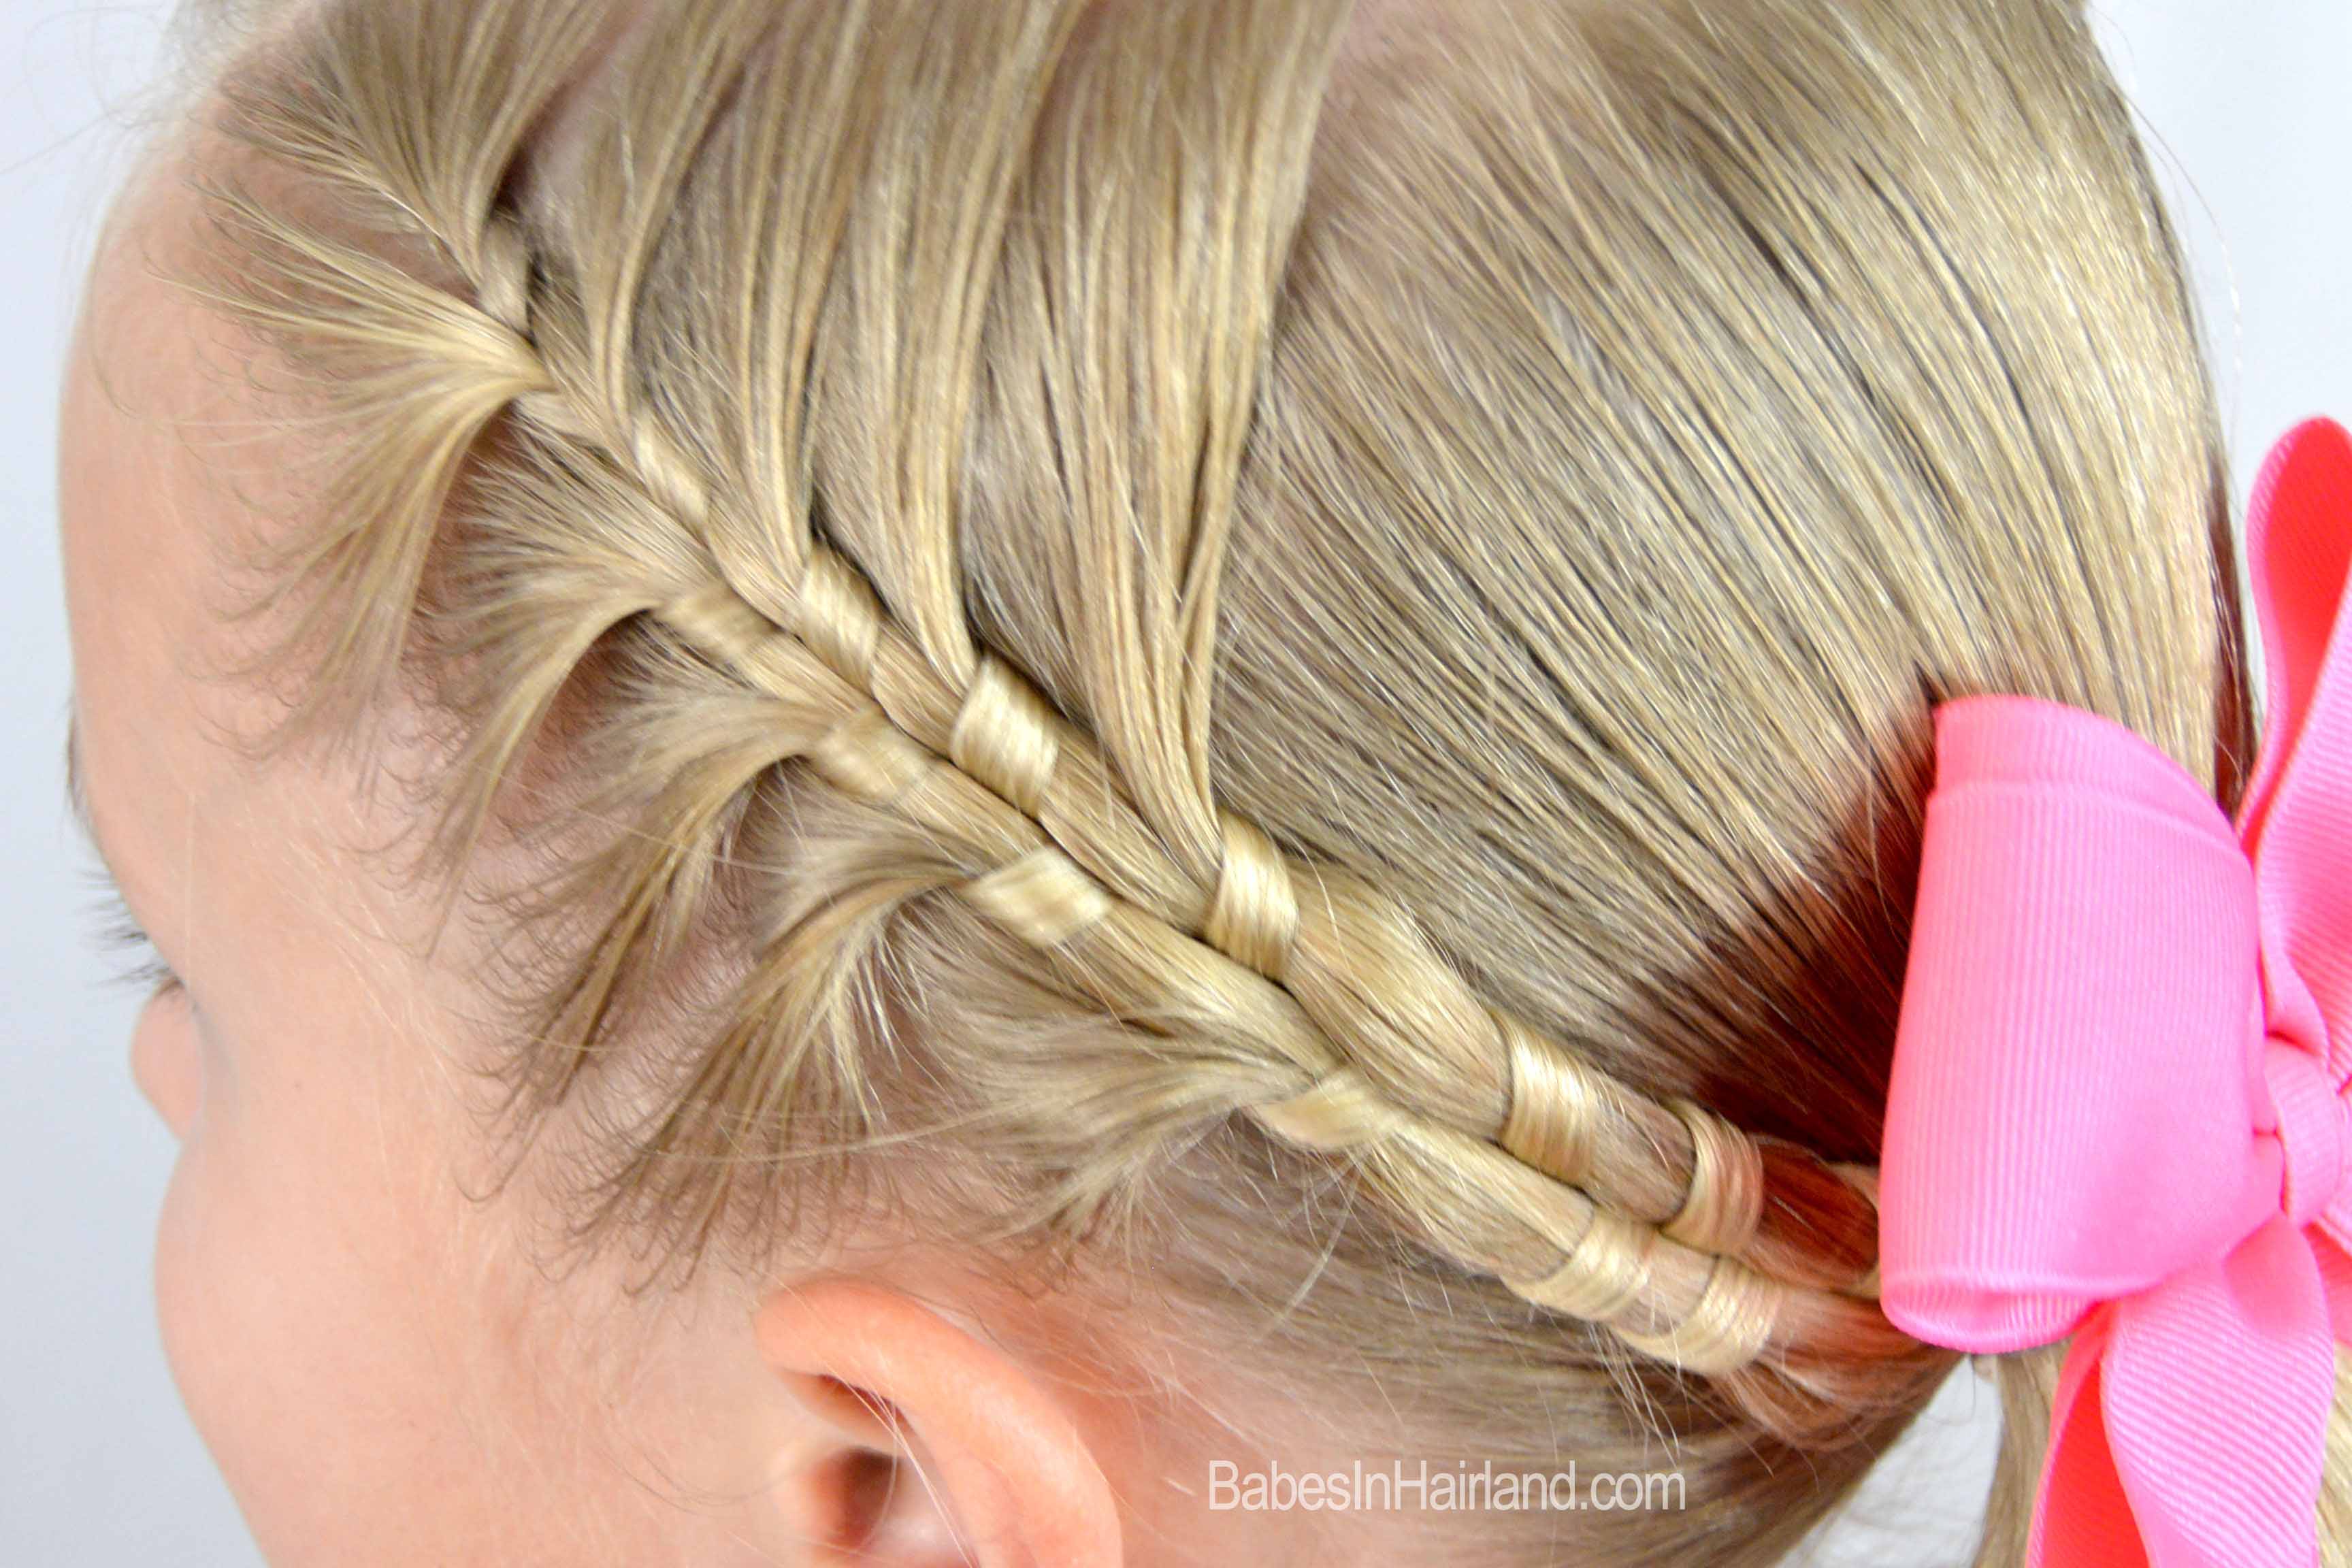
This completes one rotation of the “figure 8″ pattern. You will be weaving that same middle section of hair that you start with in Step 3, the whole time in a “figure 8″ or infinity shape motion.
Step 7 – Draw that same section of hair under the right section of hair
Step 8 – With a comb or your fingers, grab some hair from below and add it to the section of hair on the right
Step 9 – Now wrap that same section of hair from Step 3 around and draw it over the top
Step 10 – Pass that same small section of hair under the hair on the left
Step 11- With a comb or your fingers grab hair from the top of the head and add it into the section of hair on the left
Step 12 – Now wrap that small section of hair around and over the top of the left section of hair
Step 13 – Continue adding hair to the left and right sides and wrapping the same small piece of hair around in a figure 8 pattern
Step 14 – Repeat Steps 2-13 on the left side of the head
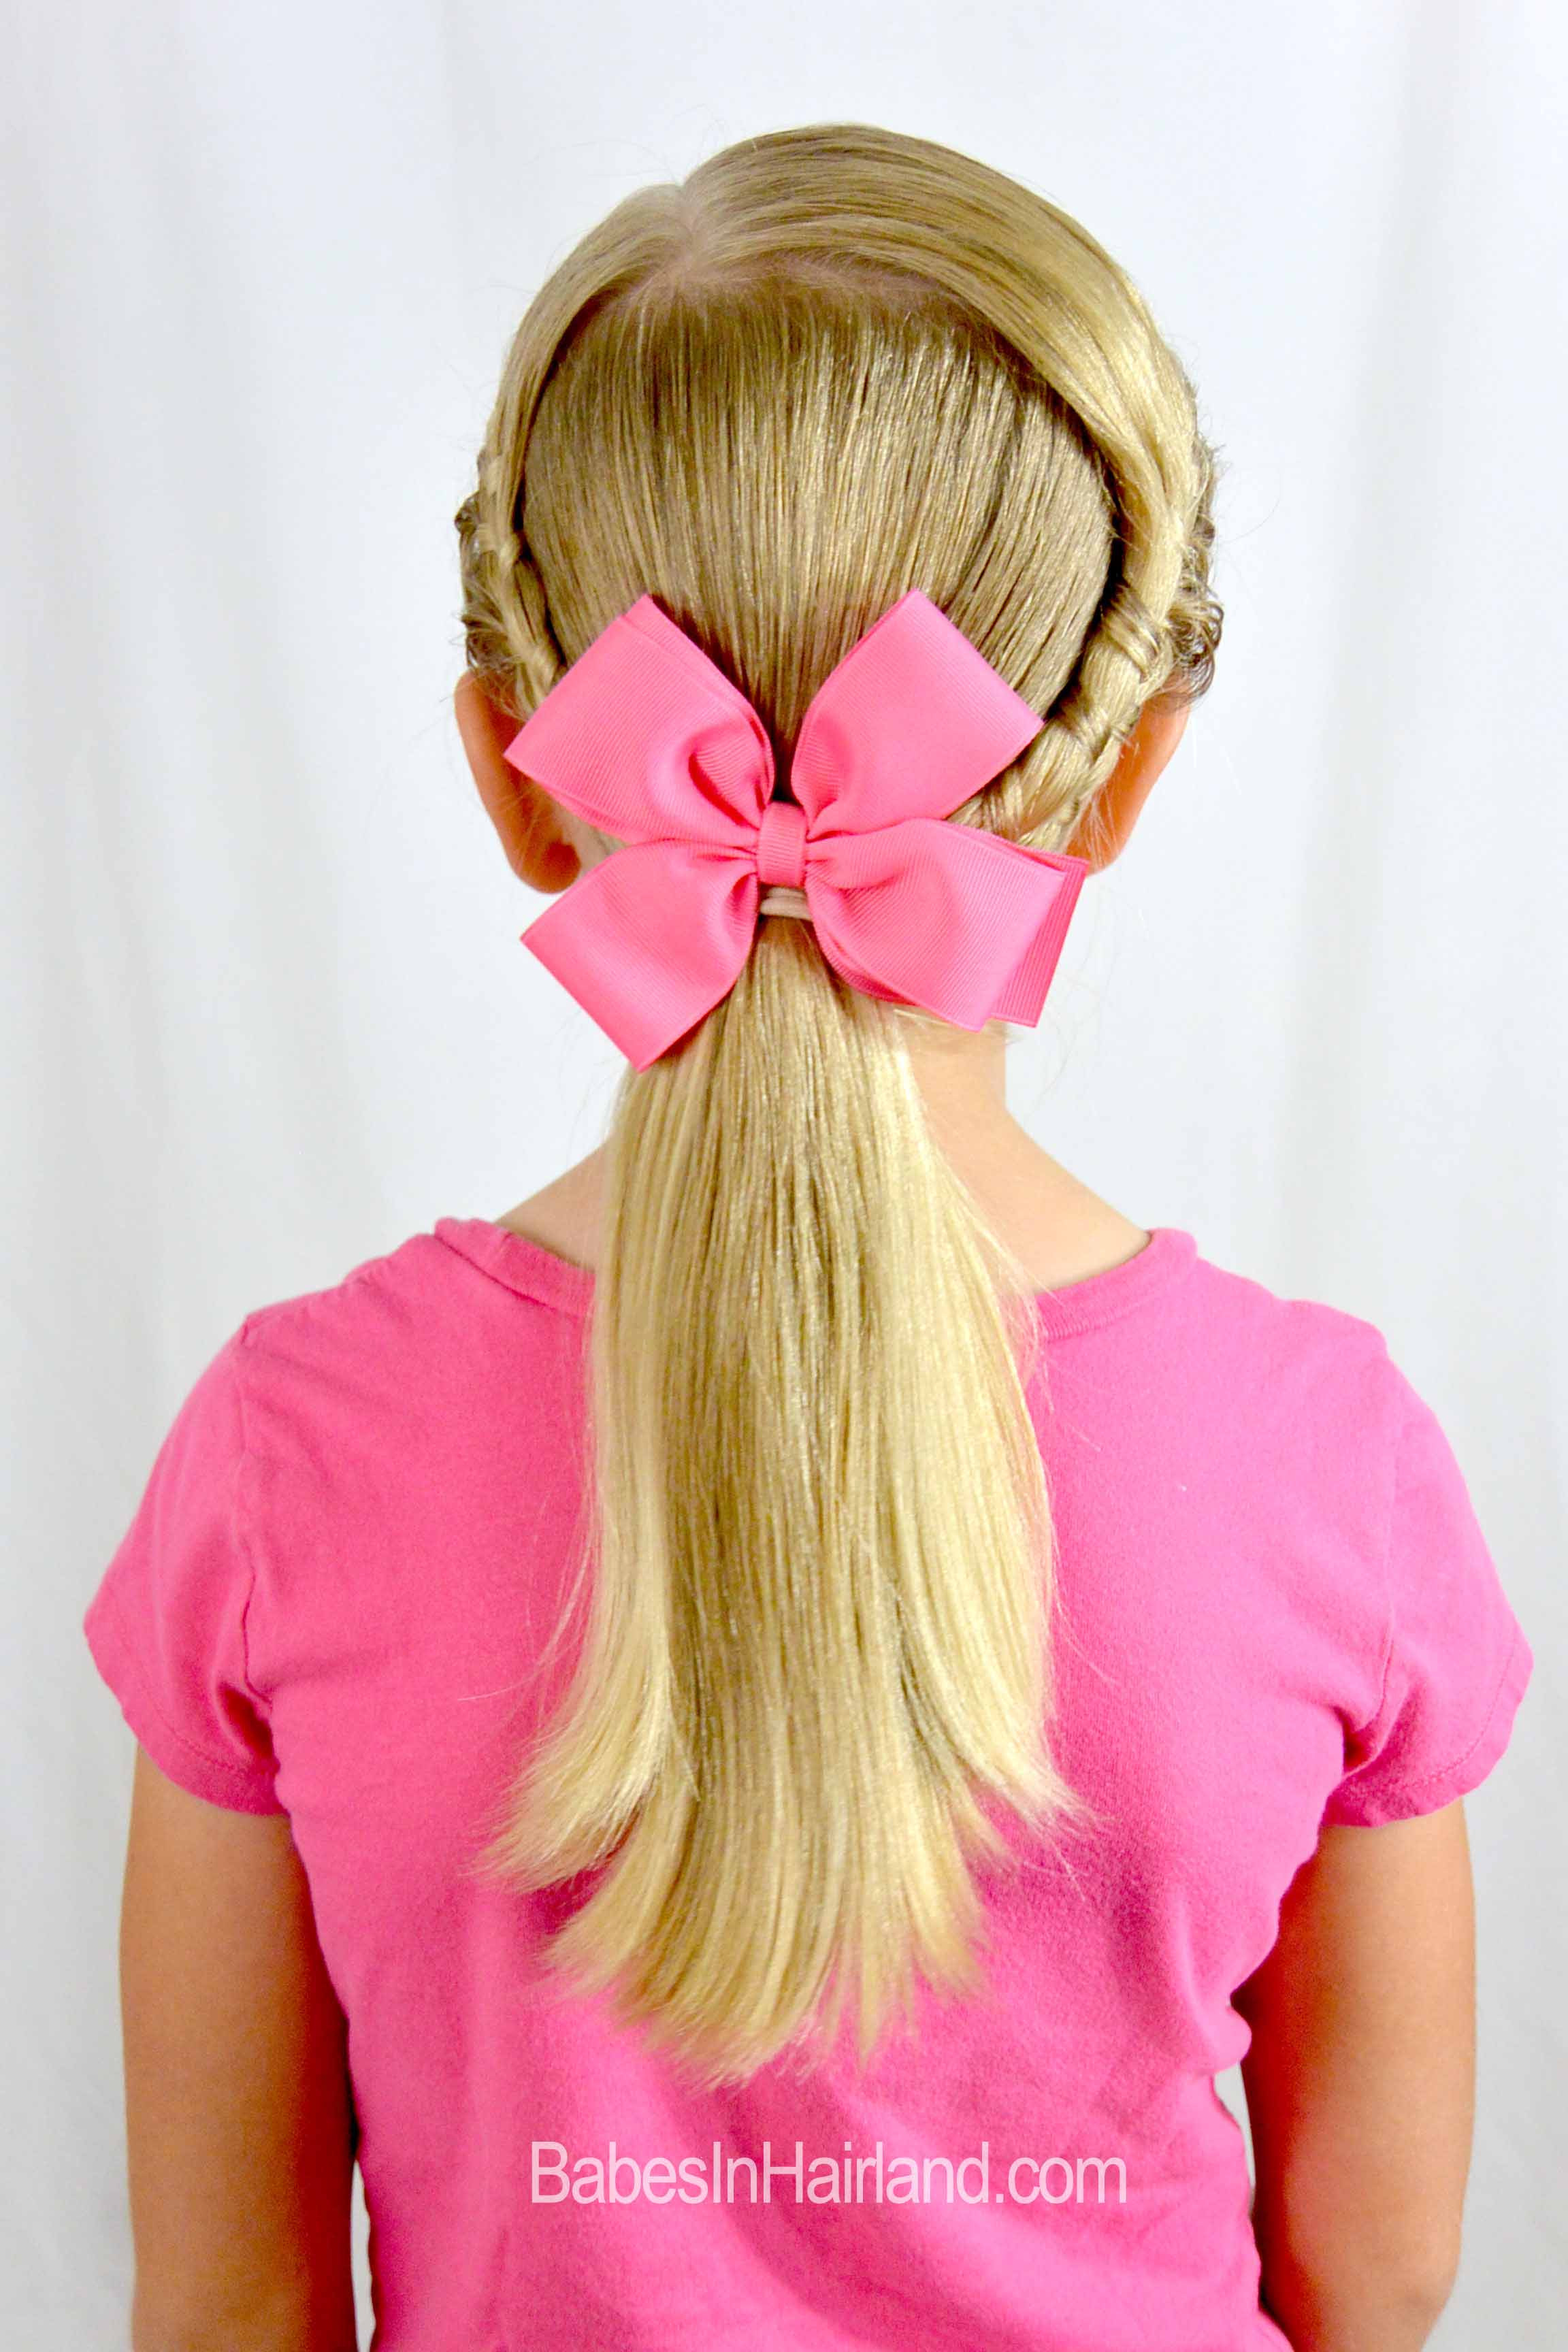
Step 15 – With all remaining hair in the back create a ponytail
Step 16 – With another elastic, secure the figure 8 braids to the base of the ponytail
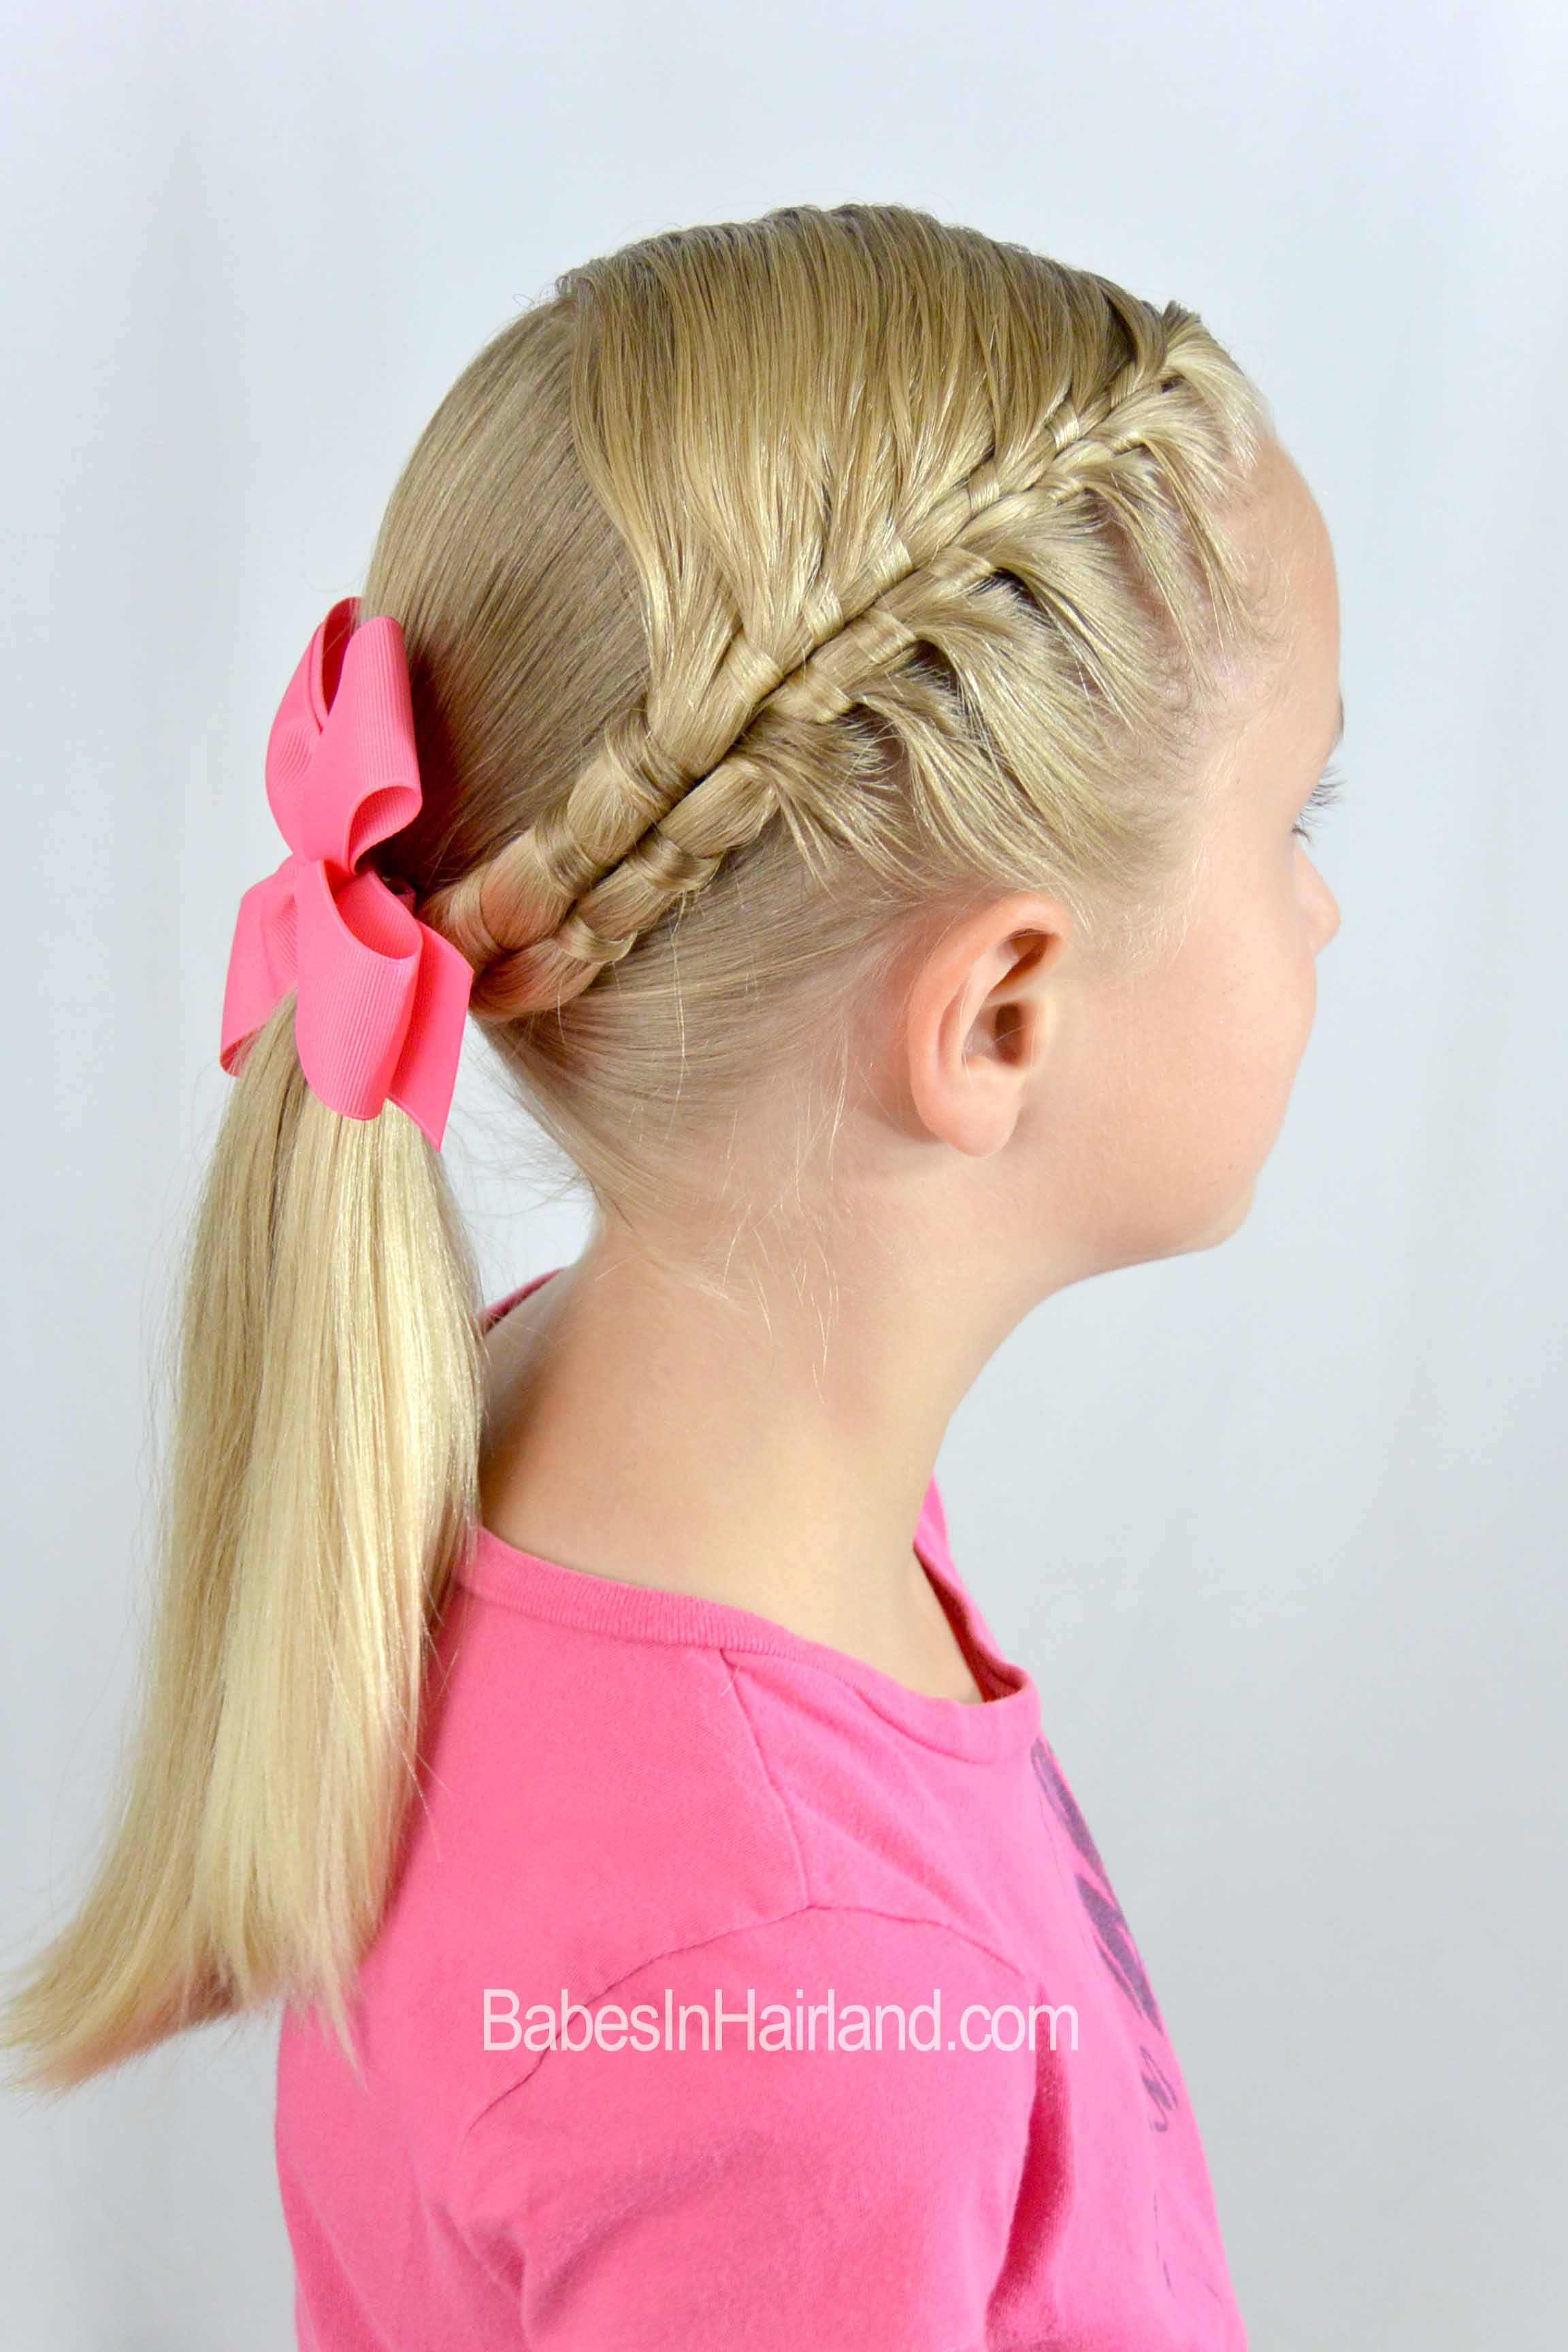
Step 17 – Optional – add a bow or other accessory
Our cute pink bow comes from All Things Ribbon.com. We just LOVE her creations!
FINISHED!!


If you like our Figure 8 Braids, be sure to check out the “Regular Figure 8″ braid by clicking HERE.

Our for our 2nd version of The Figure 8 Braid click HERE.

Thanks for checking out today’s tutorial! Be sure to share it by using the social media buttons below! And don’t forget to register for Pinners Conference and be sure to tune in on Monday to see our TV Segment on “Fresh Living!”