
Meadow (a quilt tutorial)
The 1st of September is considered the first day of Spring here in Australia (regardless of what the weather is doing, Australians are stubborn like that). What better way to celebrate spring than with a quilt-full of flowers?

This lap sized (51.5″ x 65.5″) quilt is a busy mix of nine-patch blocks and appliqué and is a great scrap buster. I’ve called it Meadow for obvious reasons.


The amount of green in each nine-patch group also changes – the small blocks are heavy on the green, the medium less so, and the largest blocks have the least amount of green.


Then you can have fun mixing up their orientation and sewing them all back together again!
The large blocks are sewn into a 6 x 2 block formation.
The medium blocks are sewn into a 9 x 4 block formation
The small blocks are sewn into a 12 x 6 block formation
The three block formations are then sewn together – small at one end, medium in the middle, large at the other end. Now, they are not exactly the same width – so don’t try and make seams meet when you bring them together, rejoice in the lack of seam matching! You will need to square up a little once the top is sewn, trimming down the overhang.

You now have your canvas ready for flowers.
I went through my scraps and my stash to find any floral fabrics I had on hand. I sorted them into rainbow order and tried to keep a somewhat even distribution of the colours.

Small pieces of double-sided interfacing were ironed onto the back of each flower, which were then cut out with scissors. Once I had all my flowers prepped I spread out three bed sheets on my tiled floor and lay out my quilt on top. I arranged my flowers as I wanted them and then went through and peeled the backing paper off each one. I gently pressed each flower down with a not-too-hot iron (hence the bed sheets, to protect my floor). Once done I could move the top to my ironing board and give it a thorough press without fear of my flowers moving.

With all the flowers fixed it was time to machine appliqué! My method of choice was raw edge.
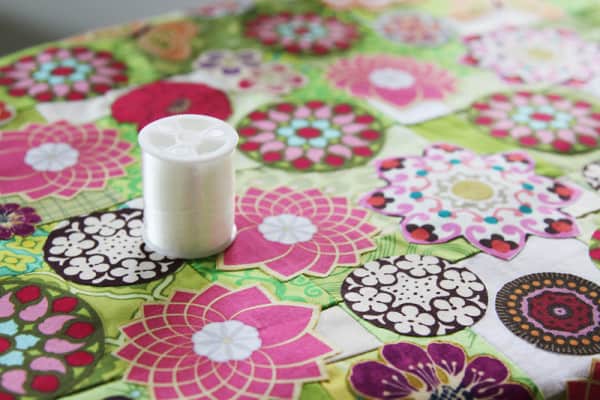
I used transparent filament to sew the flowers down with my FMQ foot – two firsts for me.

Lucky that filament is clear because my FMQ was pretty much all over the place. Fortunately, that can’t be noticed and, hey, those flowers are not going anywhere as I often needed 2 or 3 round trips to ensure I got close to all the edges.
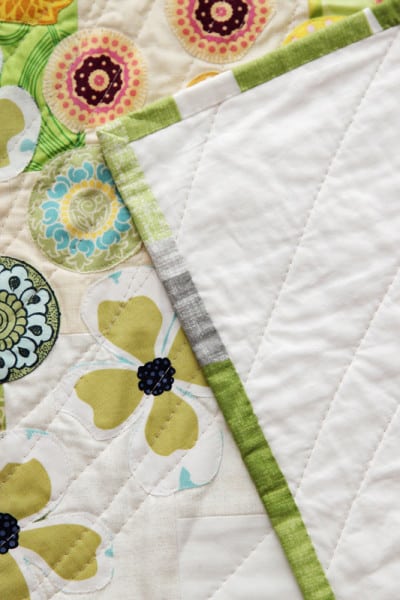
When all the flowers were appliquéd down I basted the quilt as normal and quilted with a loose wave pattern. The waves are more dense over the flowers and open up out towards the edges of the quilt.

For backing I was lucky enough to find a duvet cover with the exact colours and wavy shapes I needed. There was even a European pillow cover included which yielded enough fabric for the binding.

There’s no denying this quilt was a lot of work, but it felt good to make something new just from stash.
I hope you’ve had the chance to do some sewing, too!
