
Scrap Wood & Pallet Baseball Hat Rack
Welcome to the Scrap Wood Challenge! My friend Jen invited me to participate in her fun challenge where we have to make some scraptastic and I was so excited. Honestly – I probably didn’t do exactly what she thought I would do because literally I made stuff out of trash instead of all wood. That’s scrappy right?! The project I made was a Baseball Hat Rack and all the boys are obsessed!

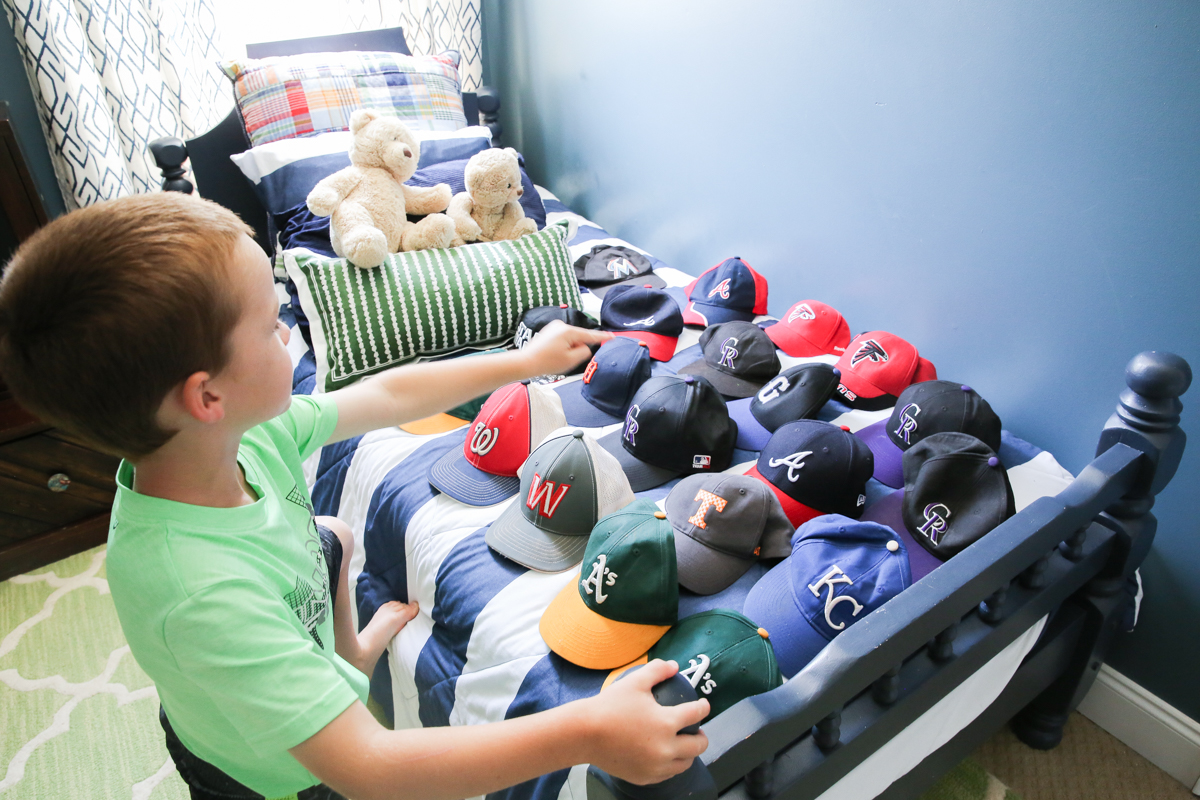
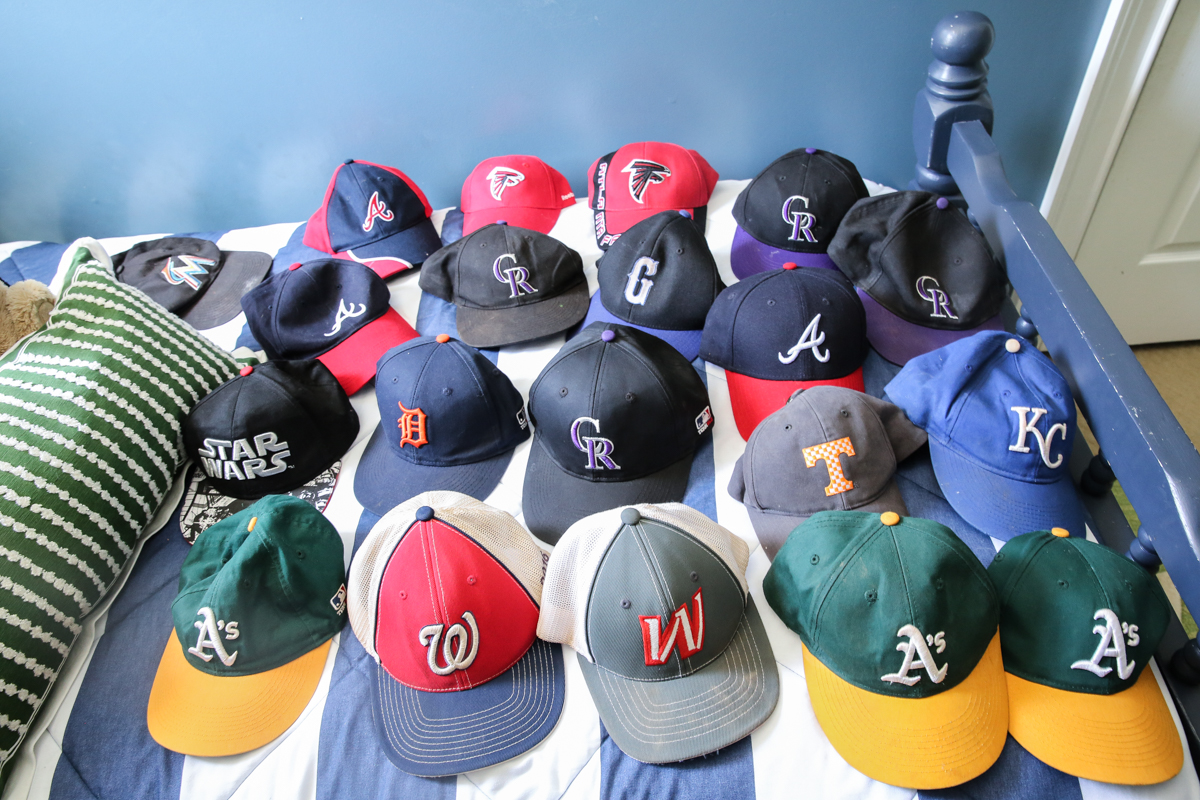
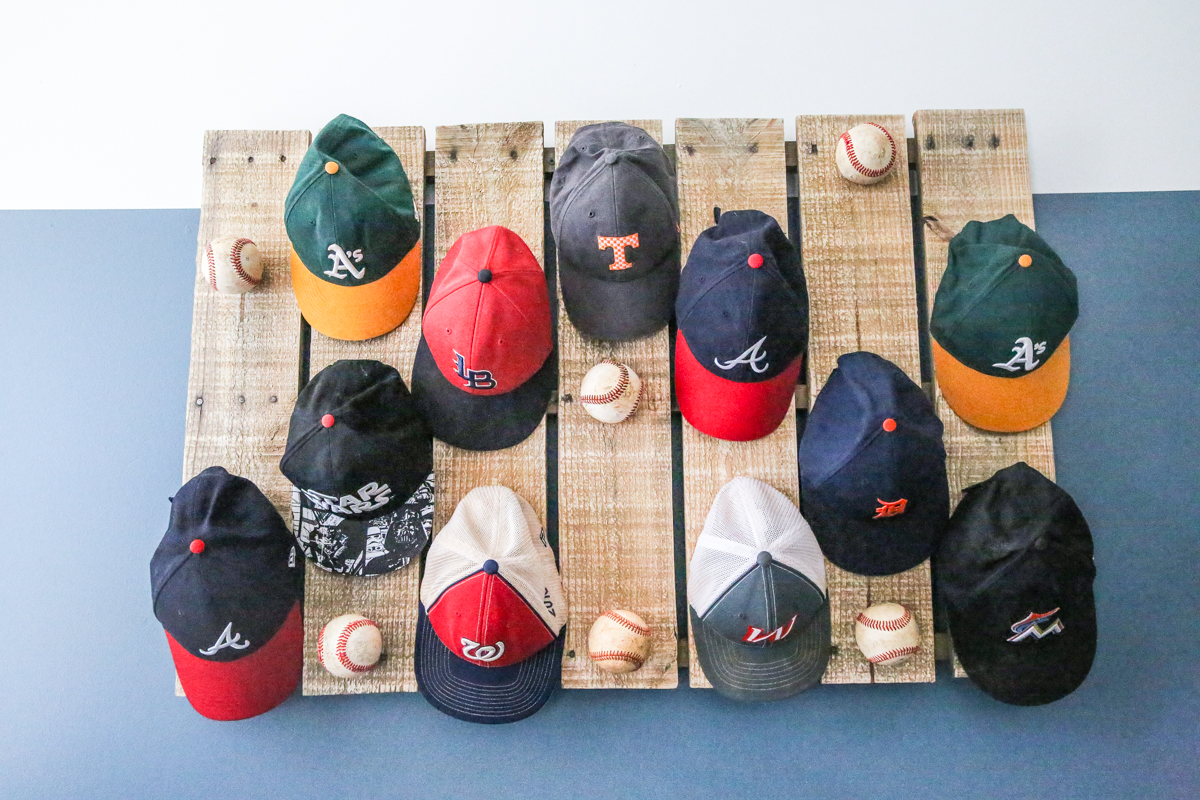
First let me explain. The boys have played quite a few seasons of baseball now and their little hat collection has been expanding.

Weston in particular is a big fan of organization. I always tell him that he is my best cleaner ever and he loves when things are neat and tidy. In fact, he can clean our playroom faster than I can. Bless you Lord for giving me Weston! Anyhoo….my favorite type of projects are filling a need and the hat collection was definitely needing a place to go.

Well knowing that I had that need….I also had this challenge. So I figured to combine the two. (Look at me, it’s like I am a master of my own universe or something!) I had a pallet of tile delivered to our house ages ago and the pallet itself lived in my scrap wood pile for years. And I had some old baseballs that we couldn’t use anymore at practice because they were ones that got waterlogged (that’s what happens when they get hit into the woods or hidden in overgrown bushes), the stitches get torn or the leather got too worn.

Combining the two would be perfect for a bit of baseball decor and it would double as storage! #livingthatmomdream
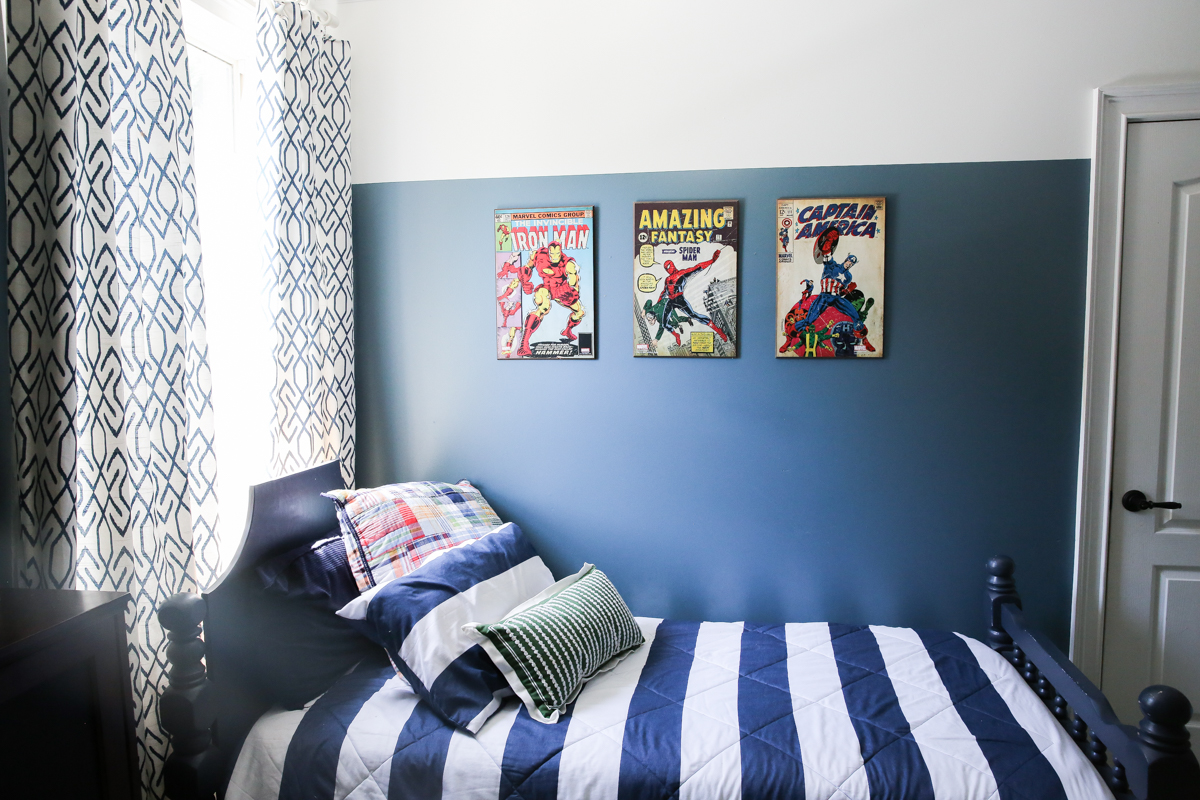
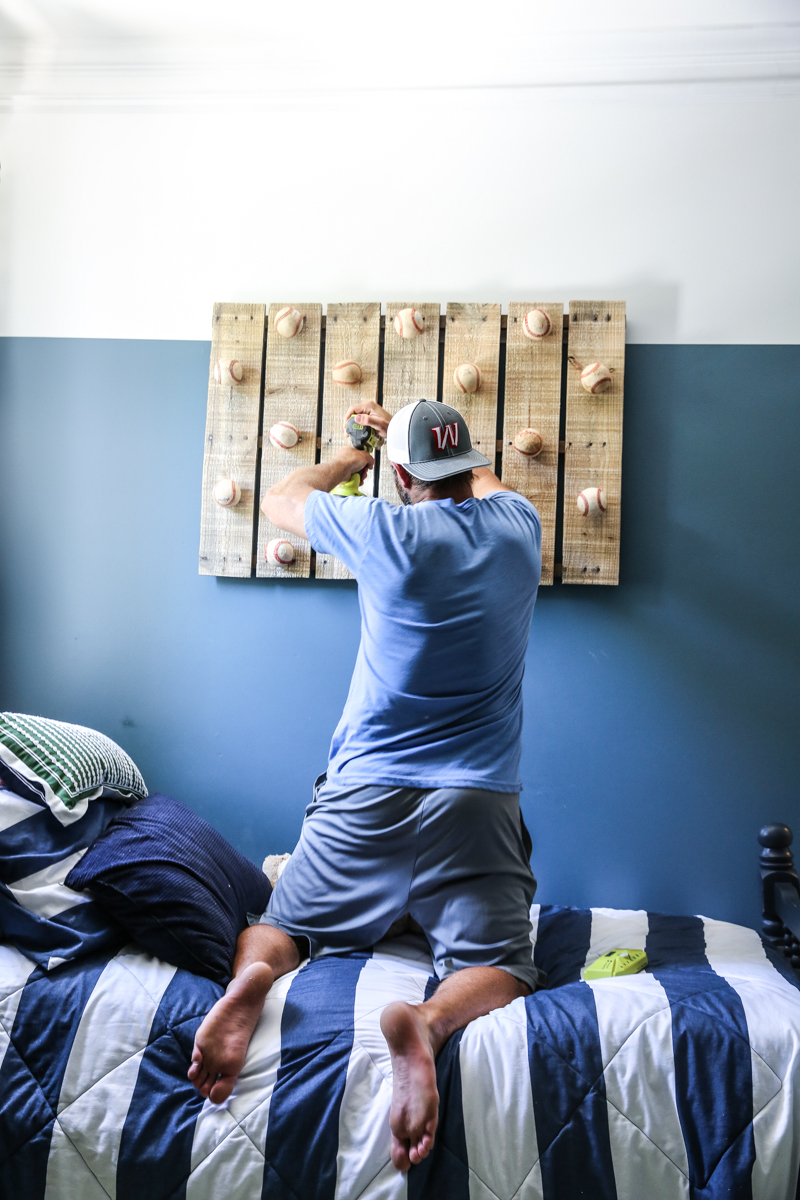
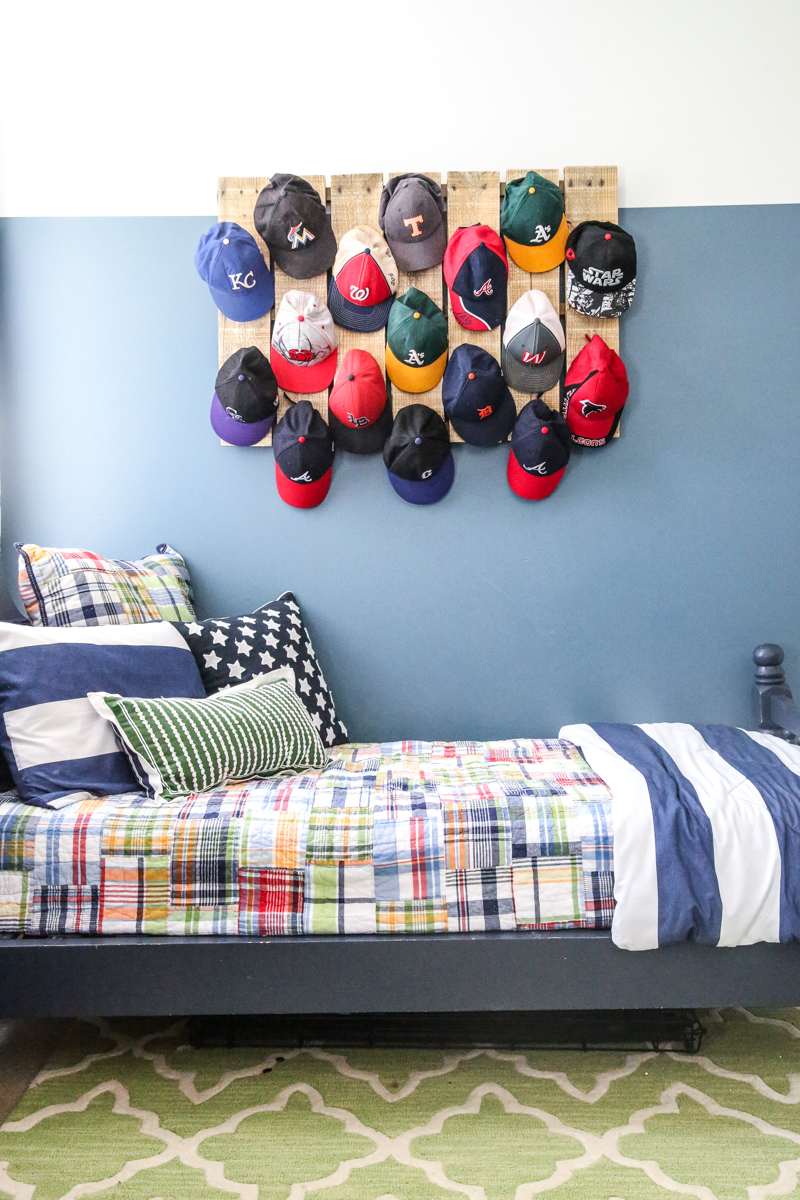
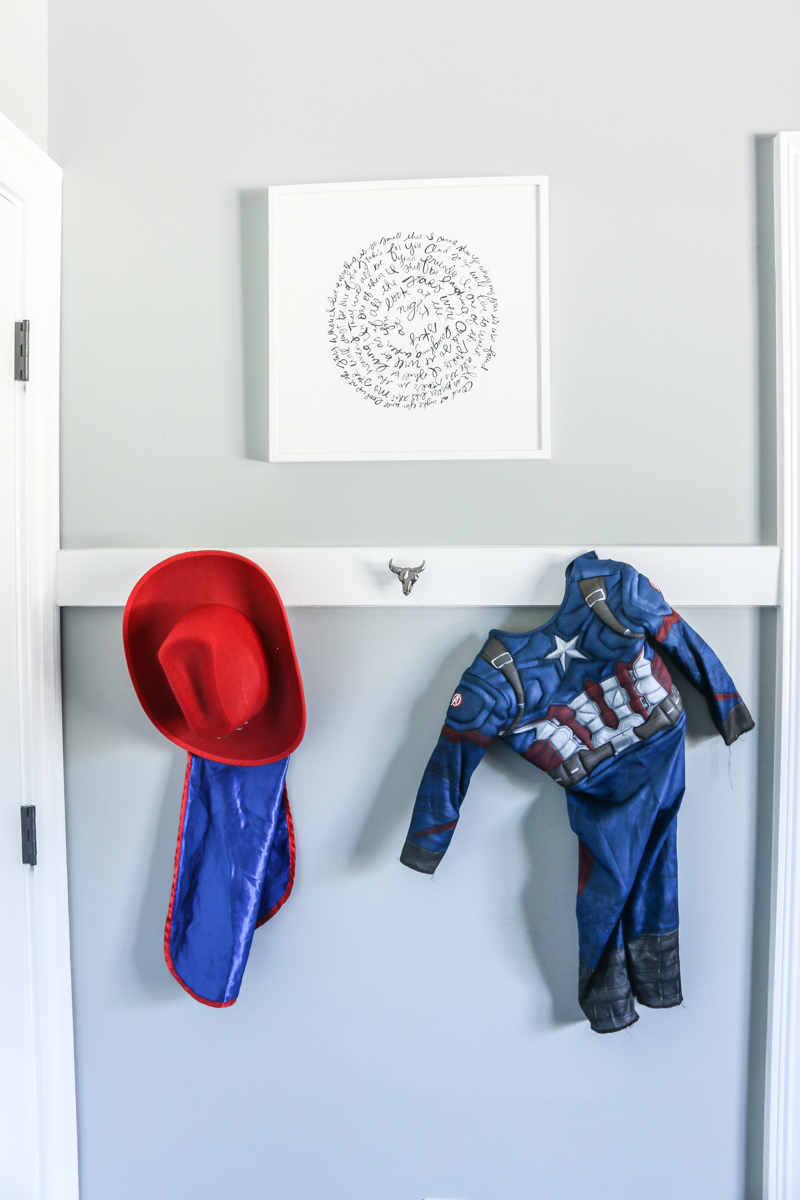
Weston said he was getting tired of the super hero stuff in his room and he wanted more sport stuff so I figured the spot over his bed would be perfect.

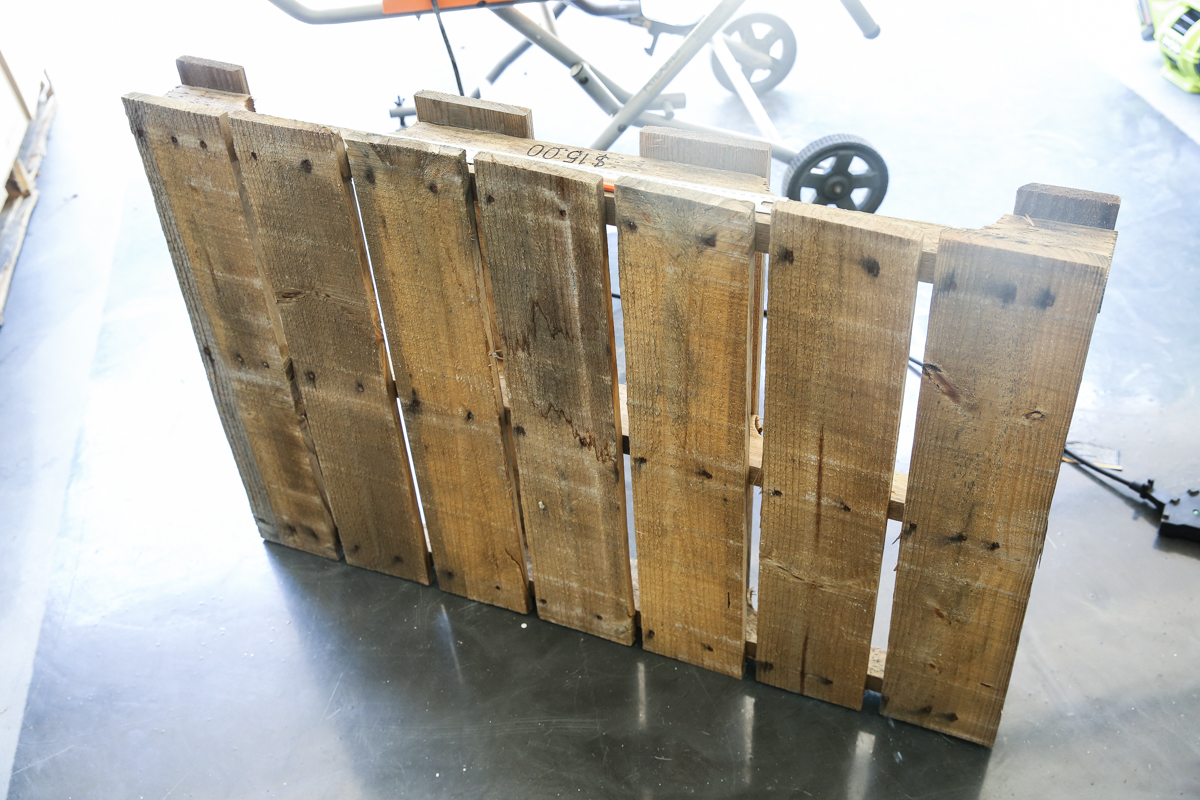
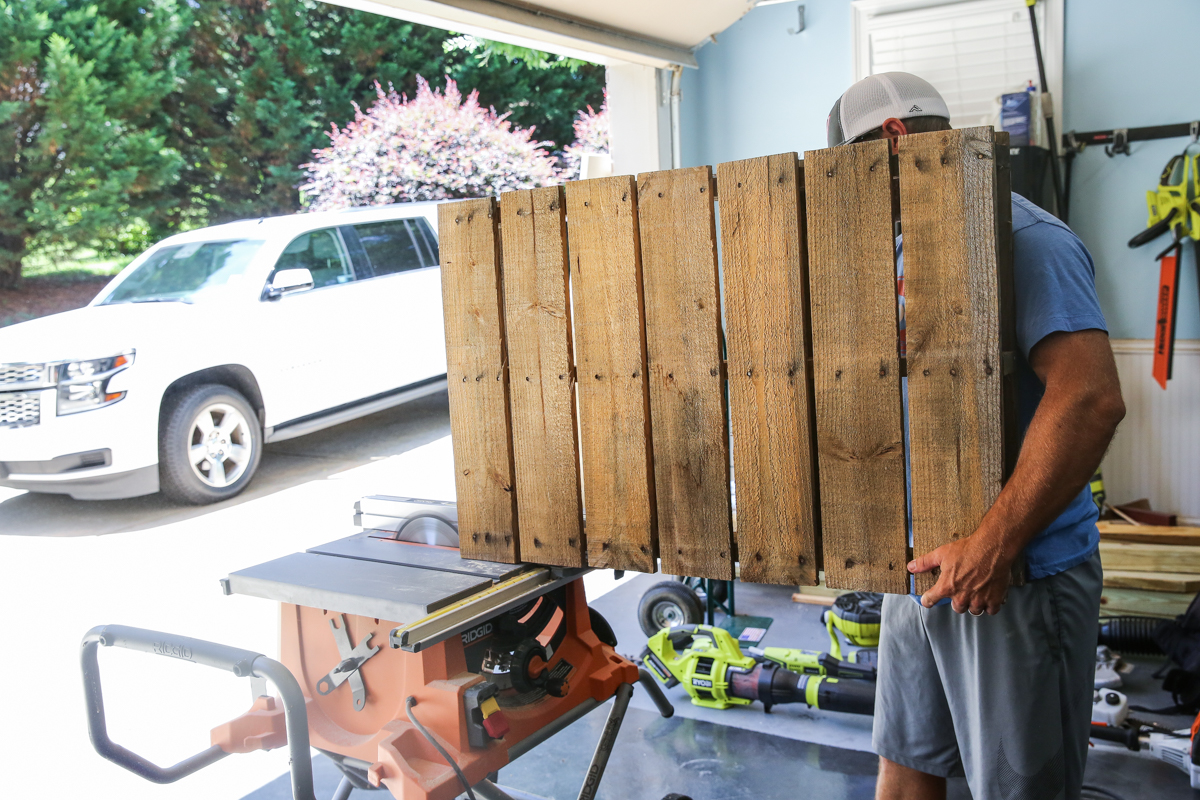
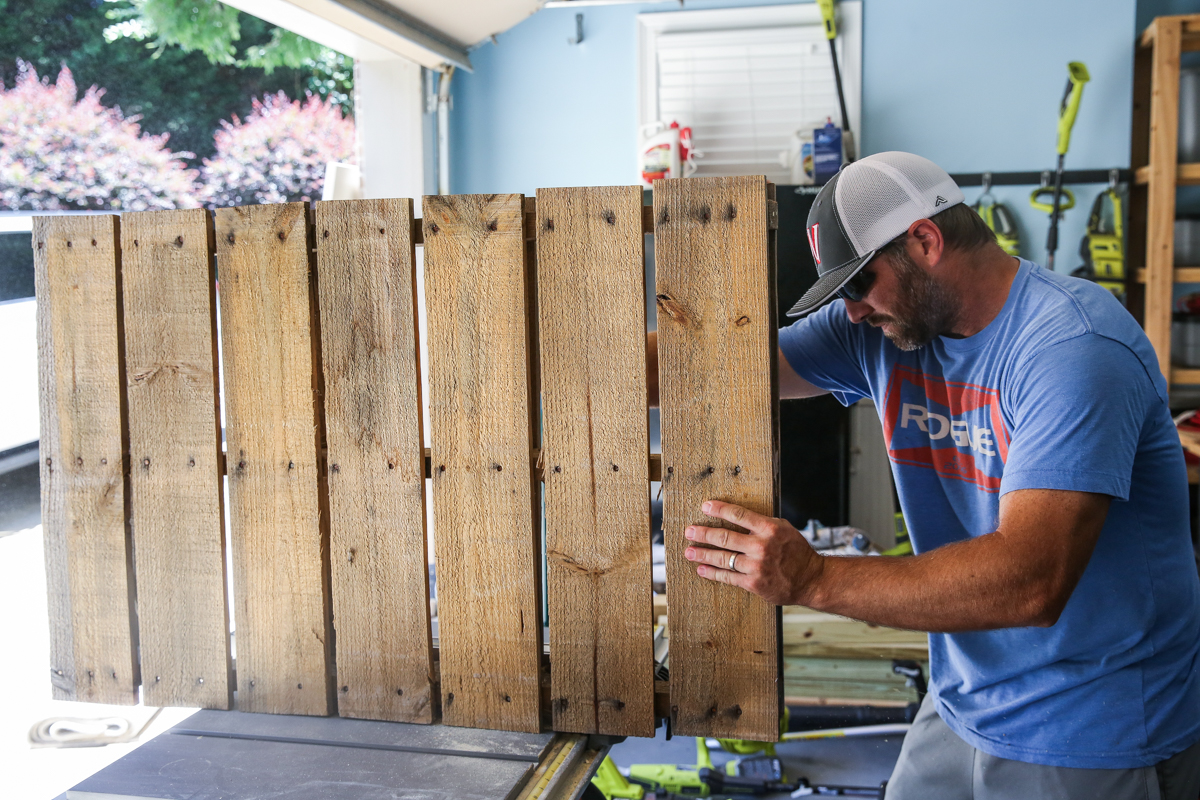
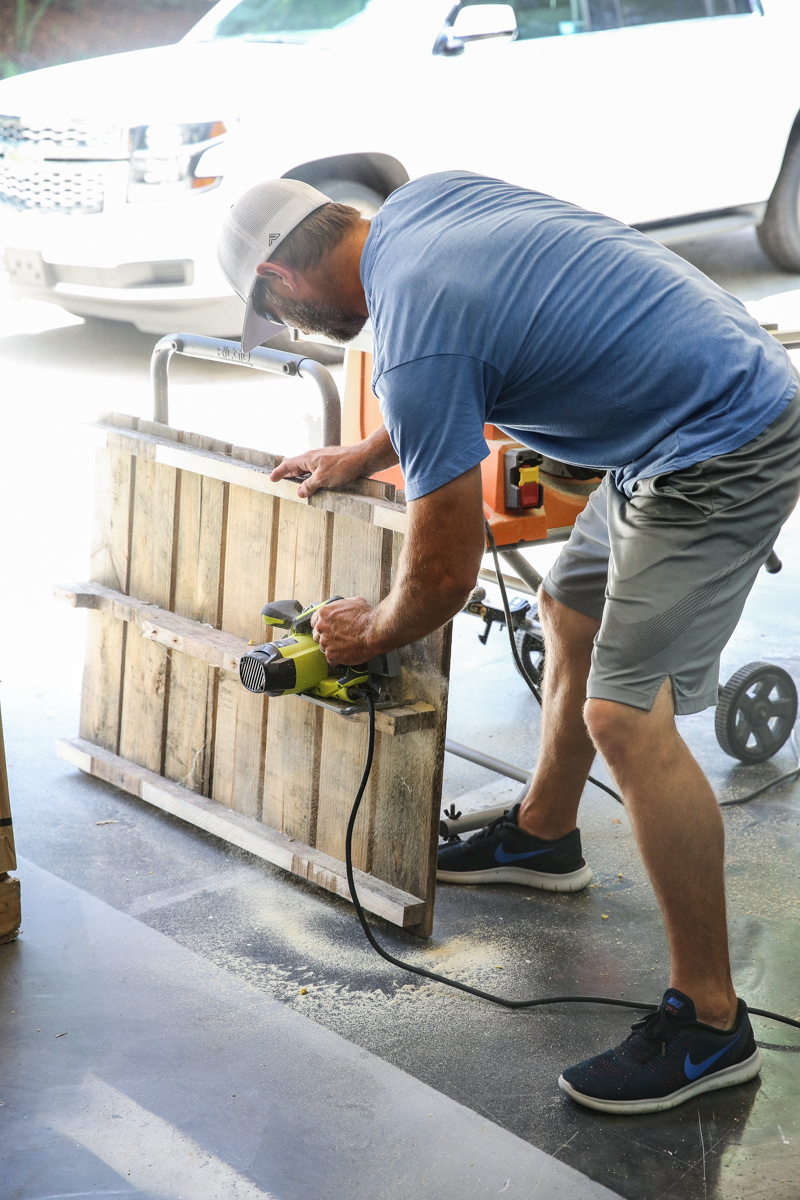
There wasn’t anything super special about the pallet. It just needed to be trimmed down so that we didn’t have it sit too far off the wall.

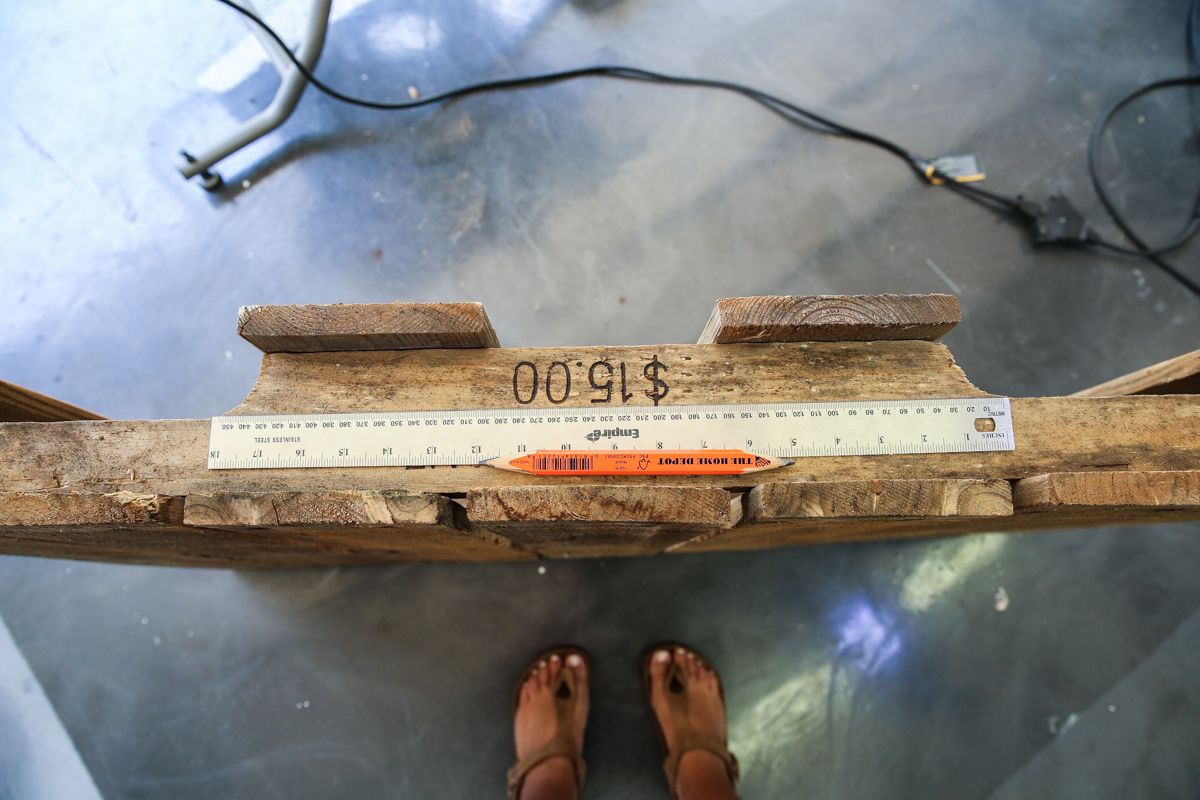
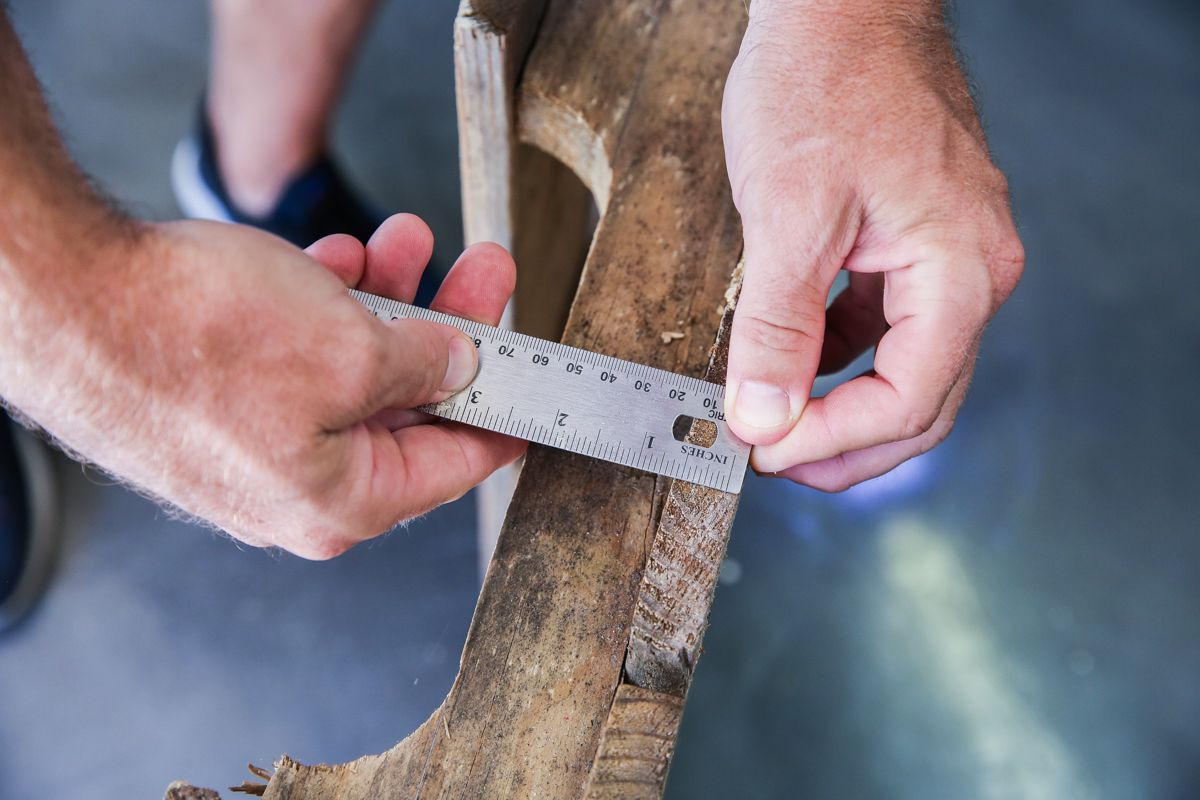
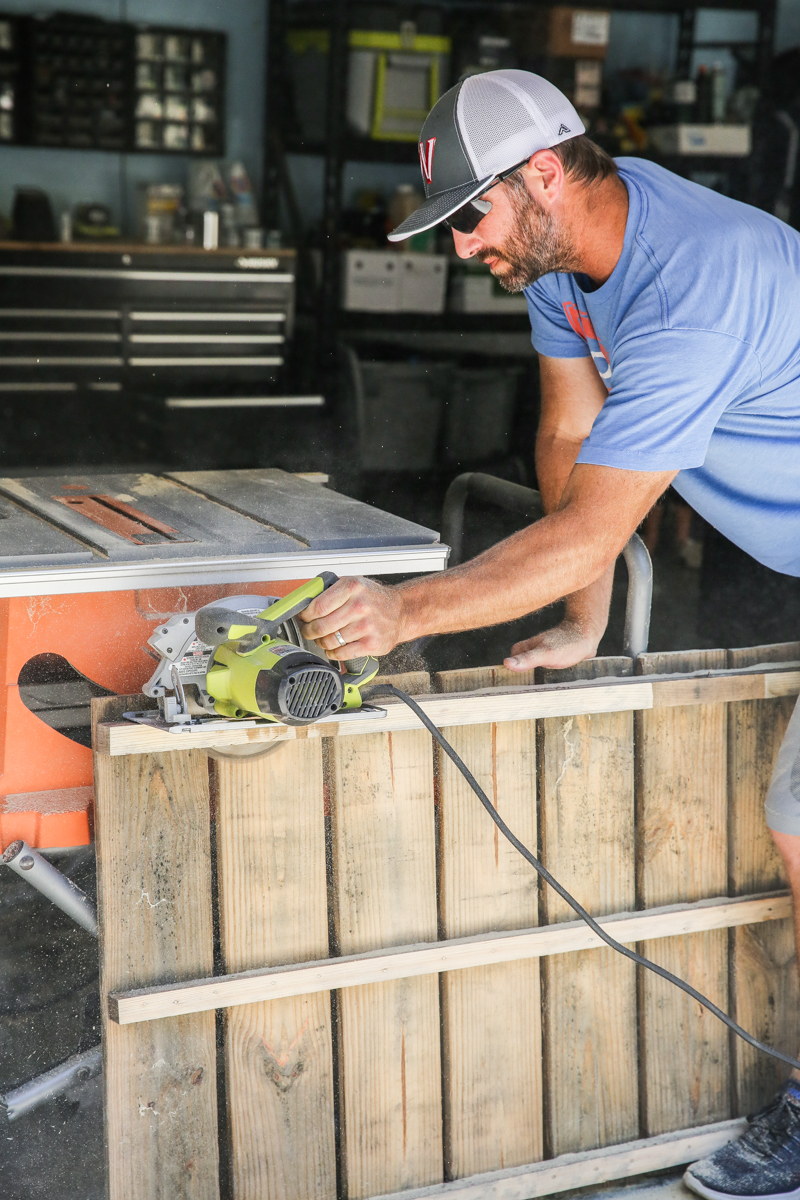
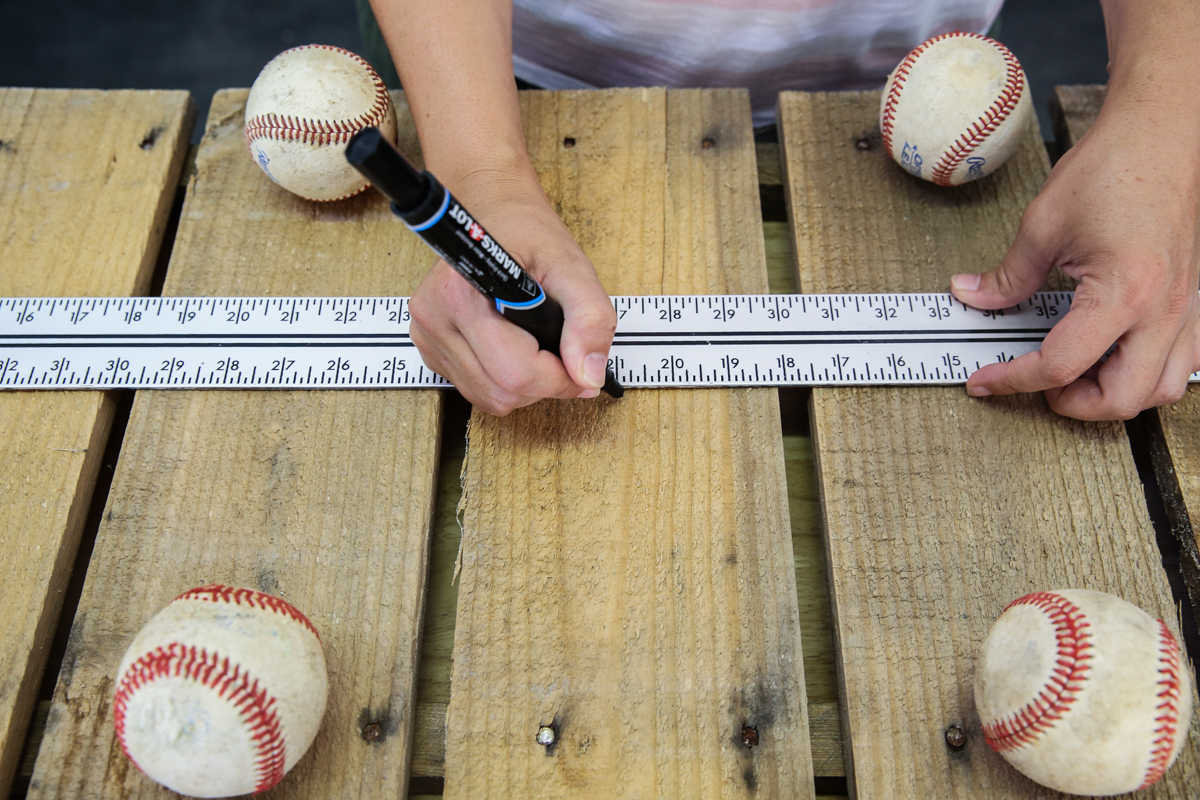
The first thing we did was decide to cut off the bottom. I marked the line with the ruler on the sides so we could take that off.


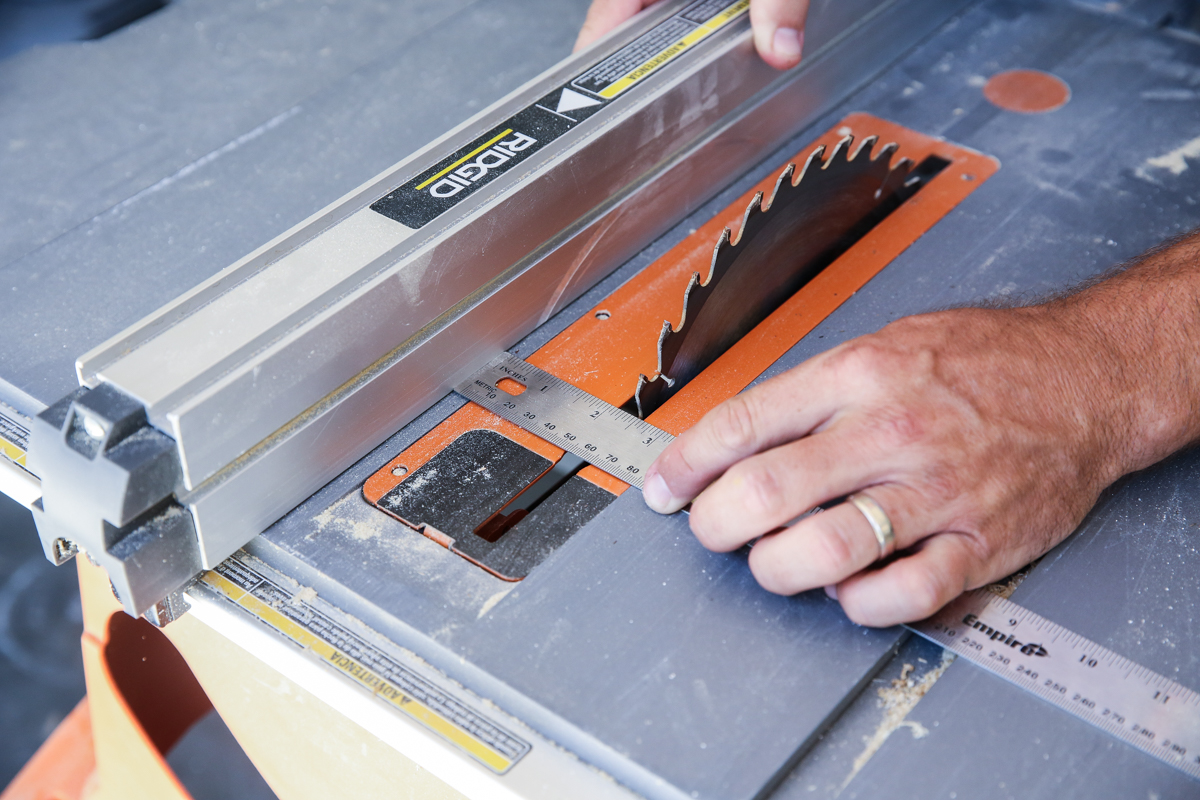
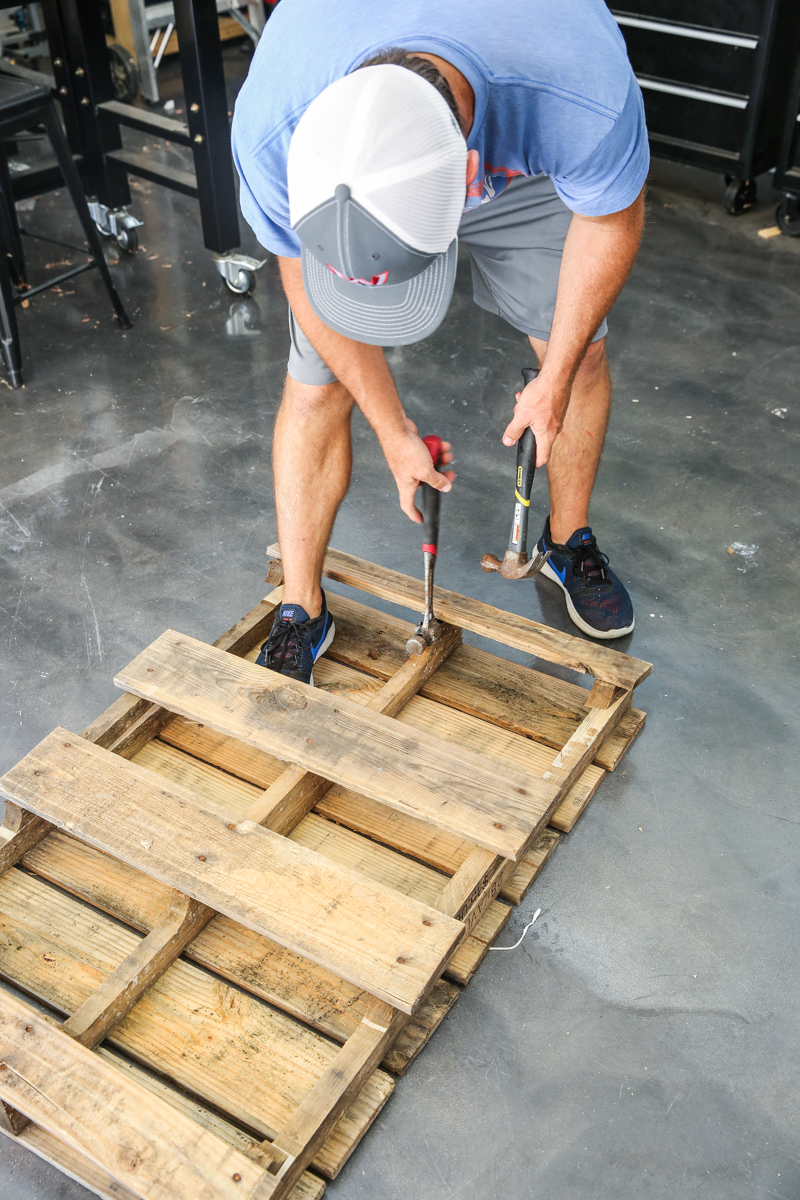
Then once both sides of the bottom were cut off, he had to pry off the additional boards on the bottom.

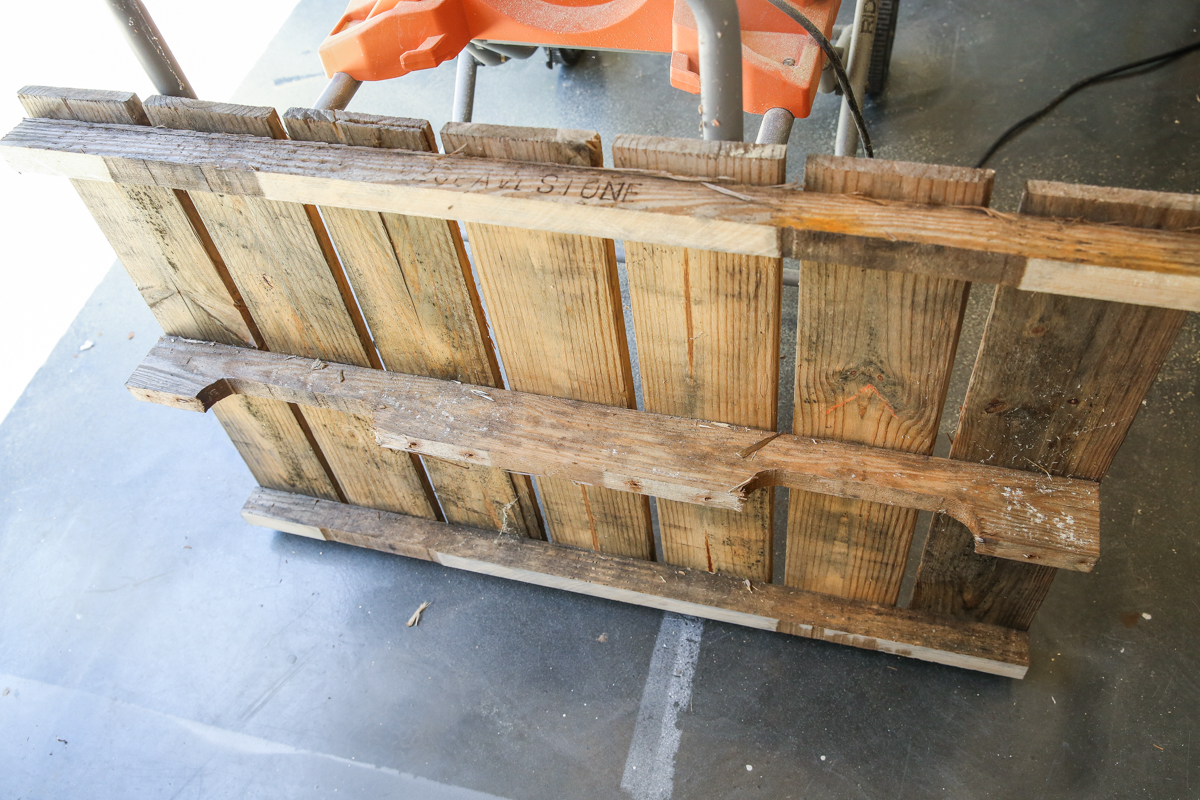
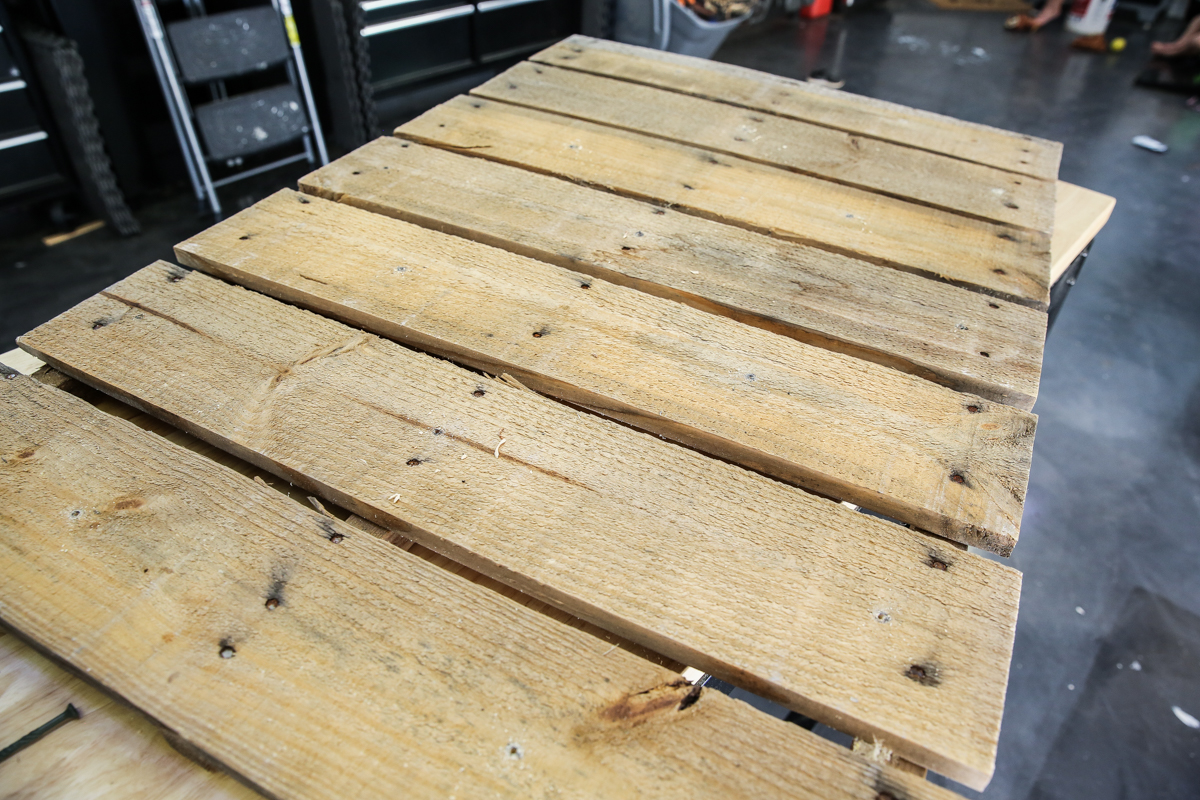
This is what we were left with. I liked it but felt like the horizontal boards were all still a little too deep. I wanted them to be more narrow so that the pallet sat closer to the wall.


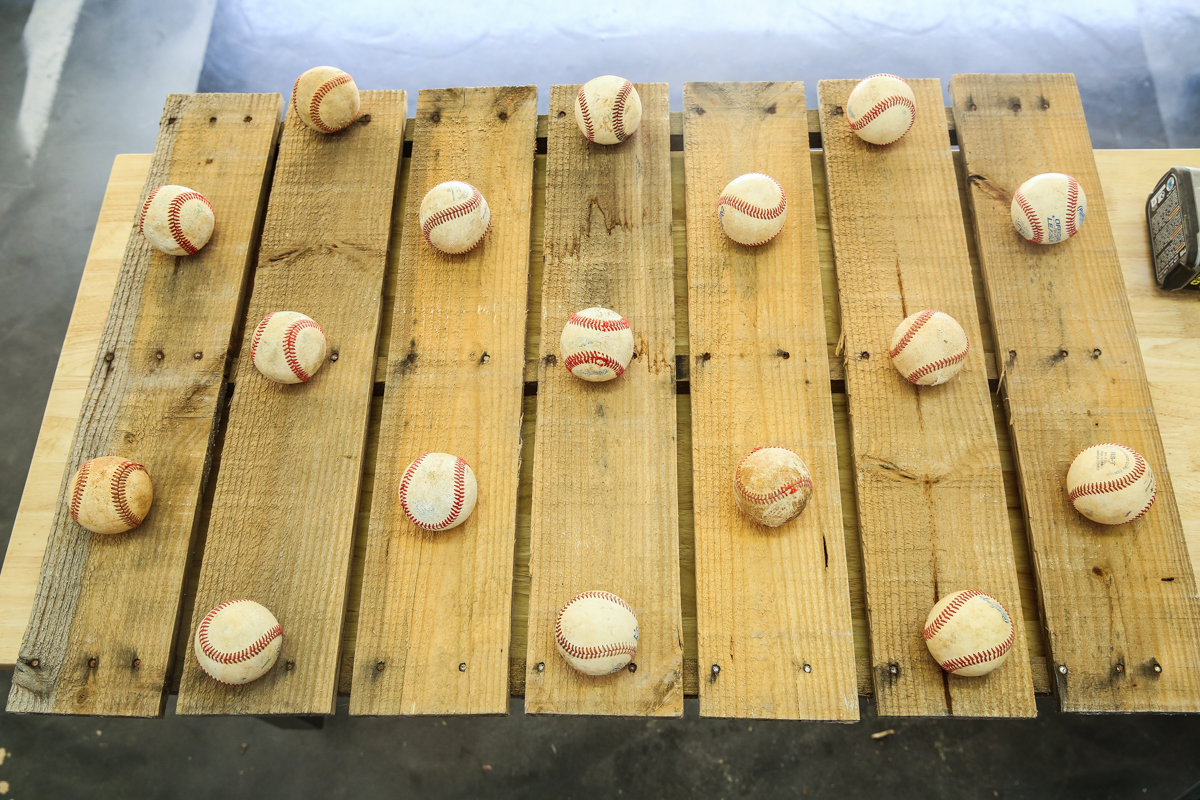
Once we came up with this offset arrangement, I marked all the places with a marker and a straightedge.

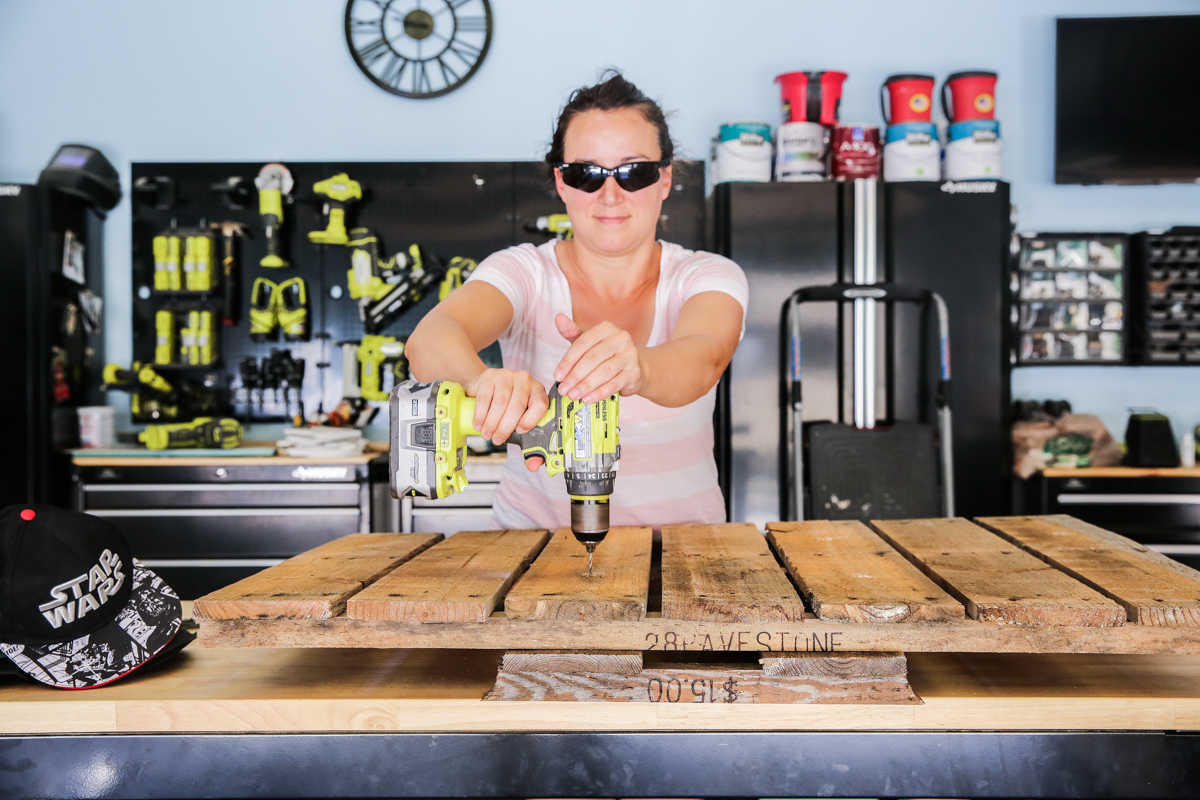
Then I predrilled all the holes. Let it be noted that I posted this photo and Jeremy fully thinks I look ridiculous. He was like “Um…did you mean to look like that?!” Thanks babe. Thanks a lot.

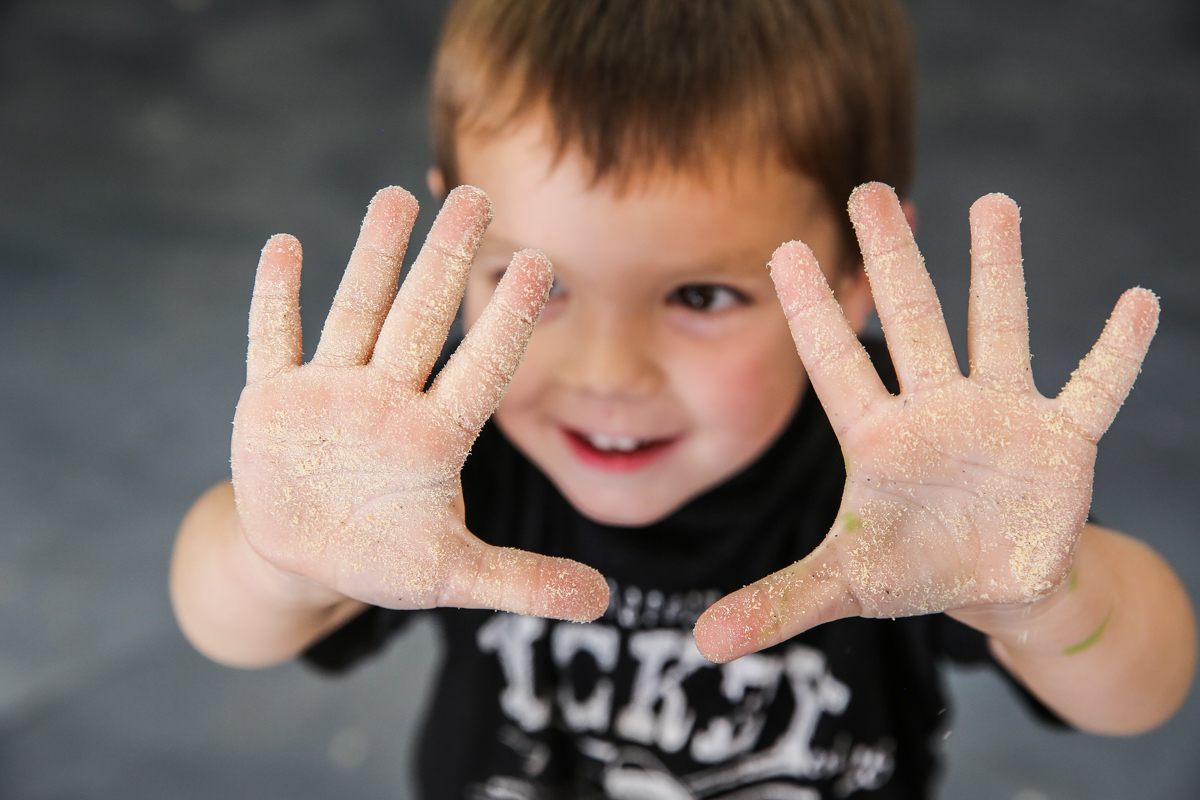
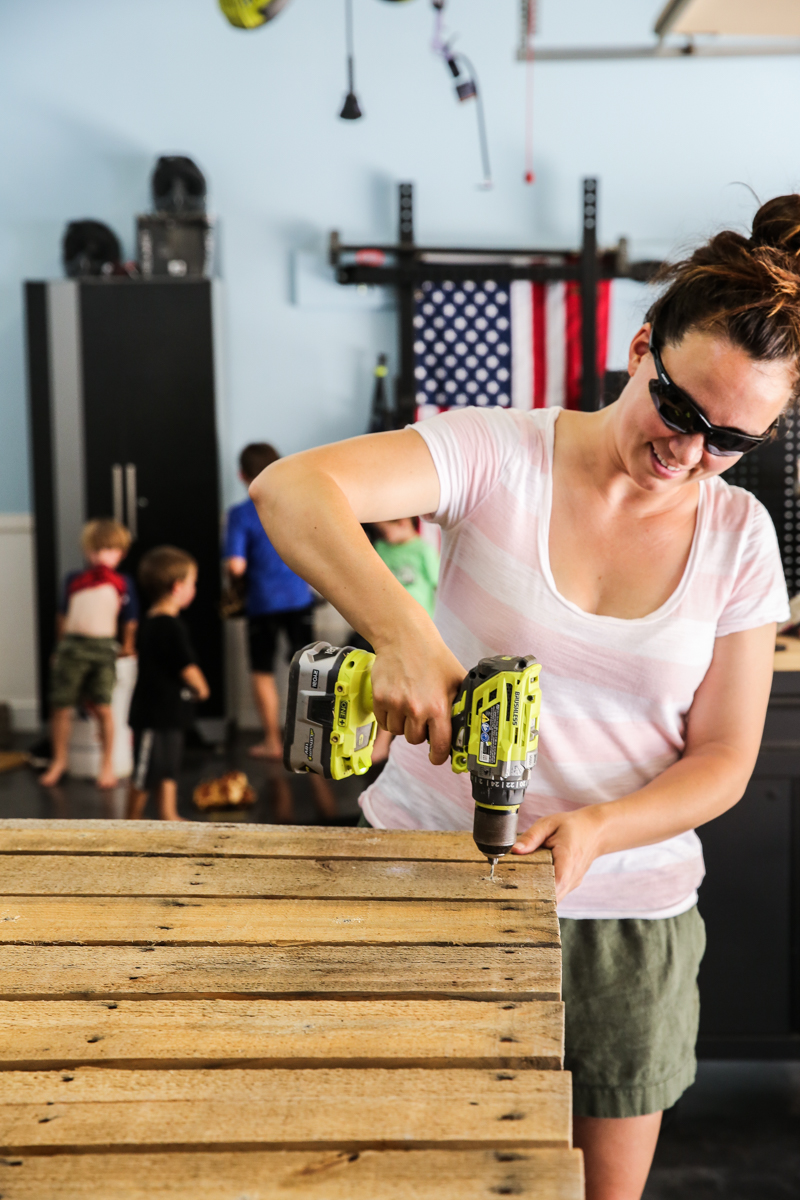
It should also be noted that our children are always with us….even when we do projects. It’s like they suddenly don’t want to play with anything but the exact tools that we are working with


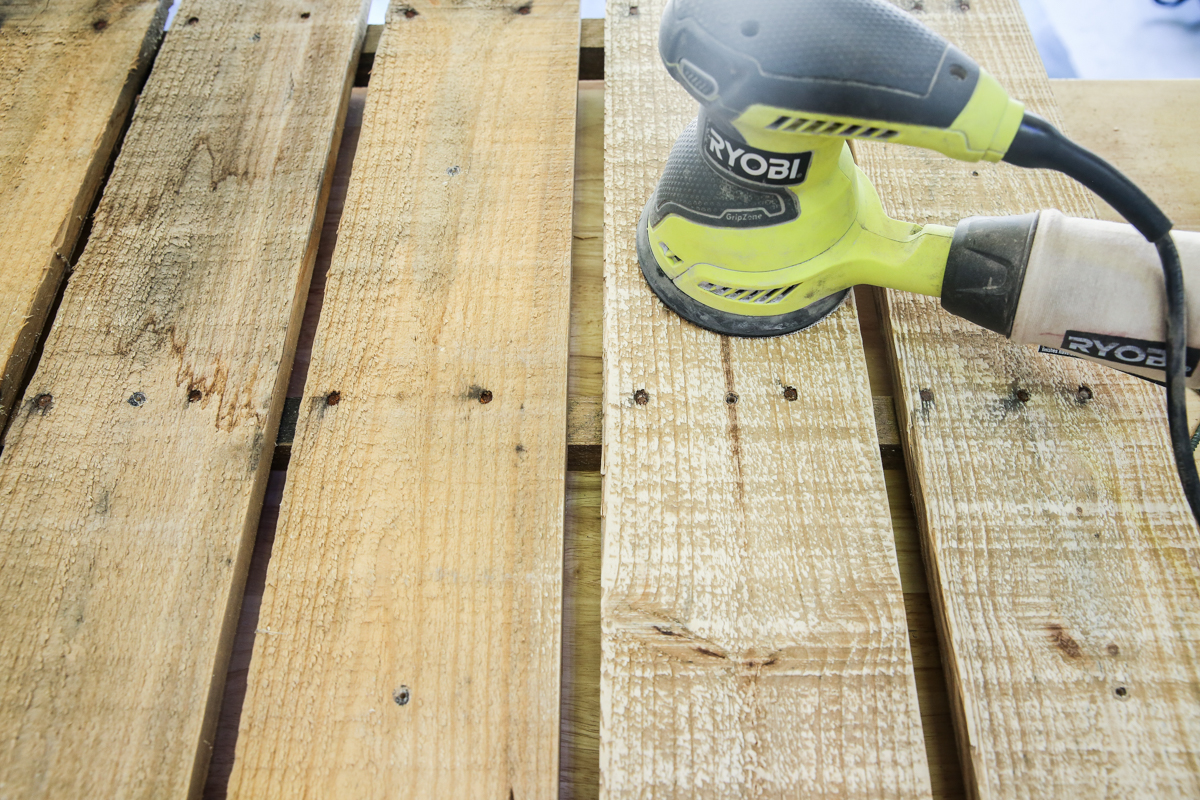
Now I wanted to give this a finer finish. I knew little hands would be grazing this to get their hats….I didn’t want a precious little finger to get a splinter….because you know how fun those are to take out when the kids are LOSING THEIR MINDS.

I used 120 grit sandpaper to give it this cool weathered look. I mean…it already looked weathered…but now it looks weathered and more coastal

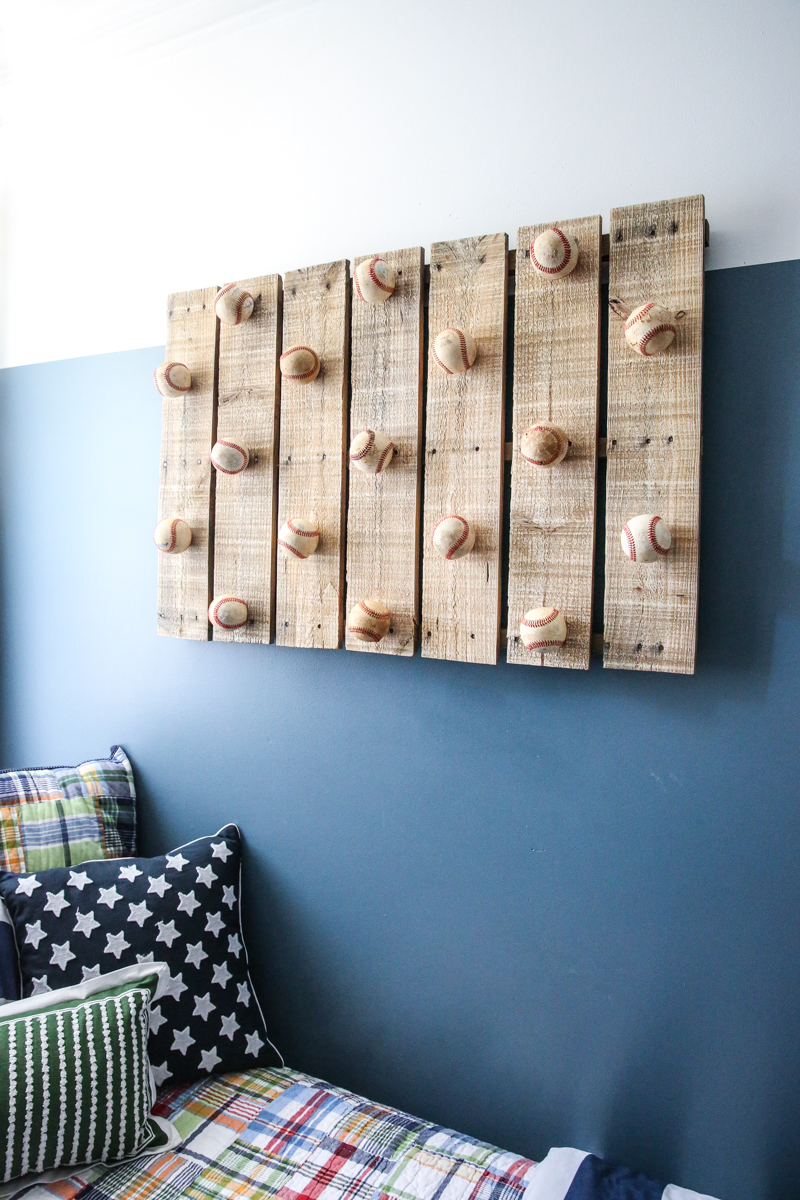
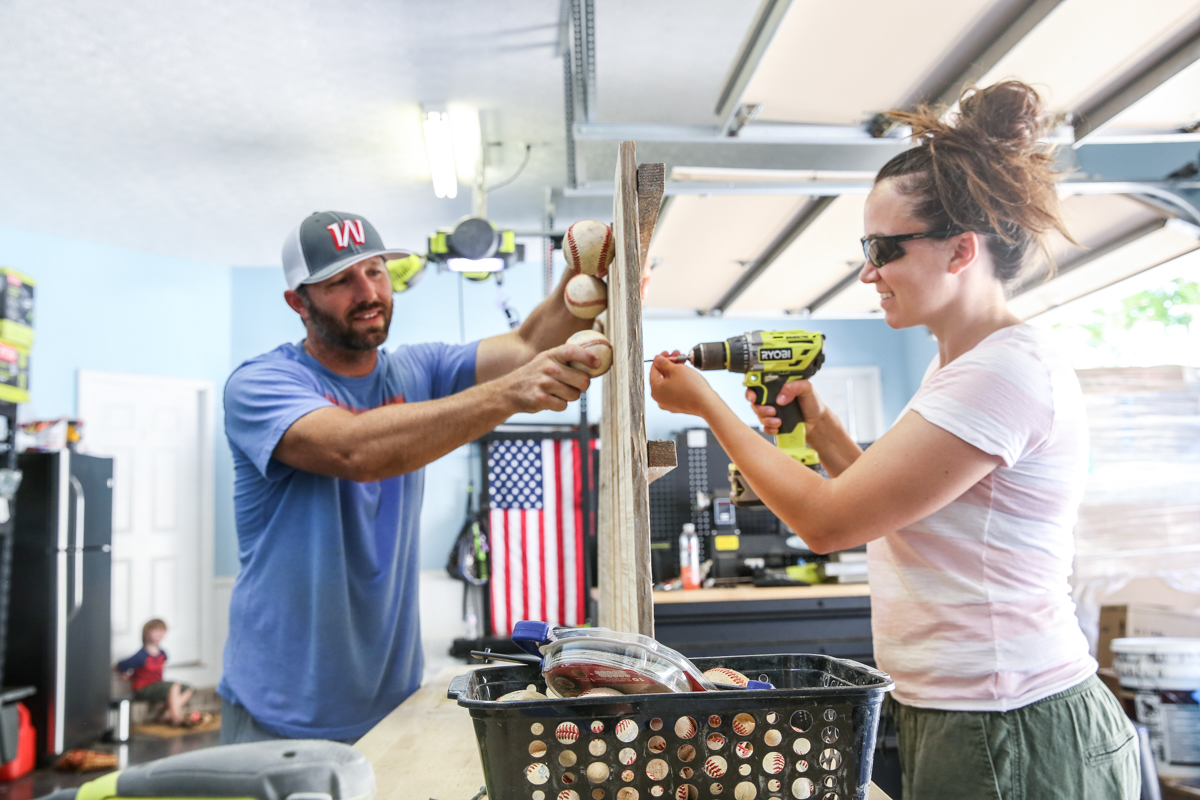
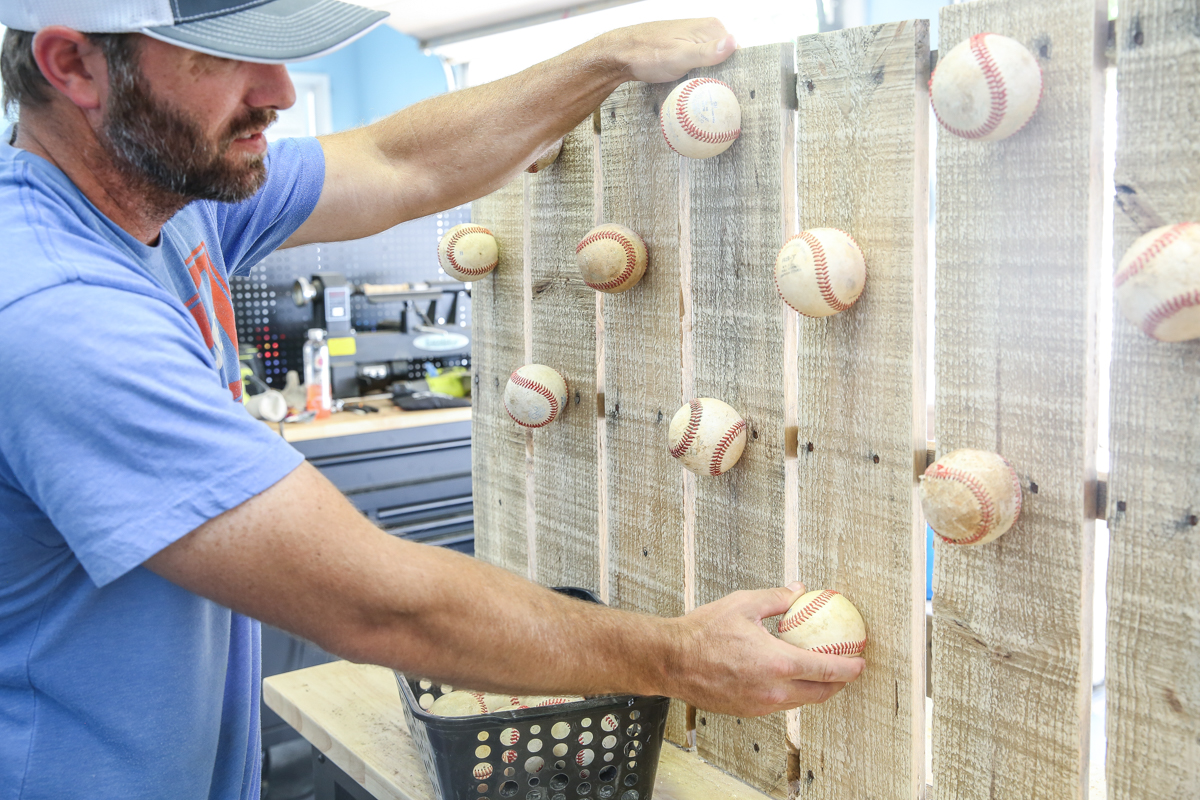
To attach the baseballs, it was surprisingly easy. We used two inch screws and went directly through the board on the back where I predrilled. Jeremy held the ball in place on the front and it went in. Tip – don’t over screw these in because the ball will lose it’s grip on the screw.

I would go around and tell Jeremy how to rotate the ball because I didn’t want the ball stitching to be the same. I liked the detail of having it all different.


Jeremy hung it up by screwing the pallet directly to the studs in the wall. I didn’t want to risk a cleat or something other than the absolute most secure option.

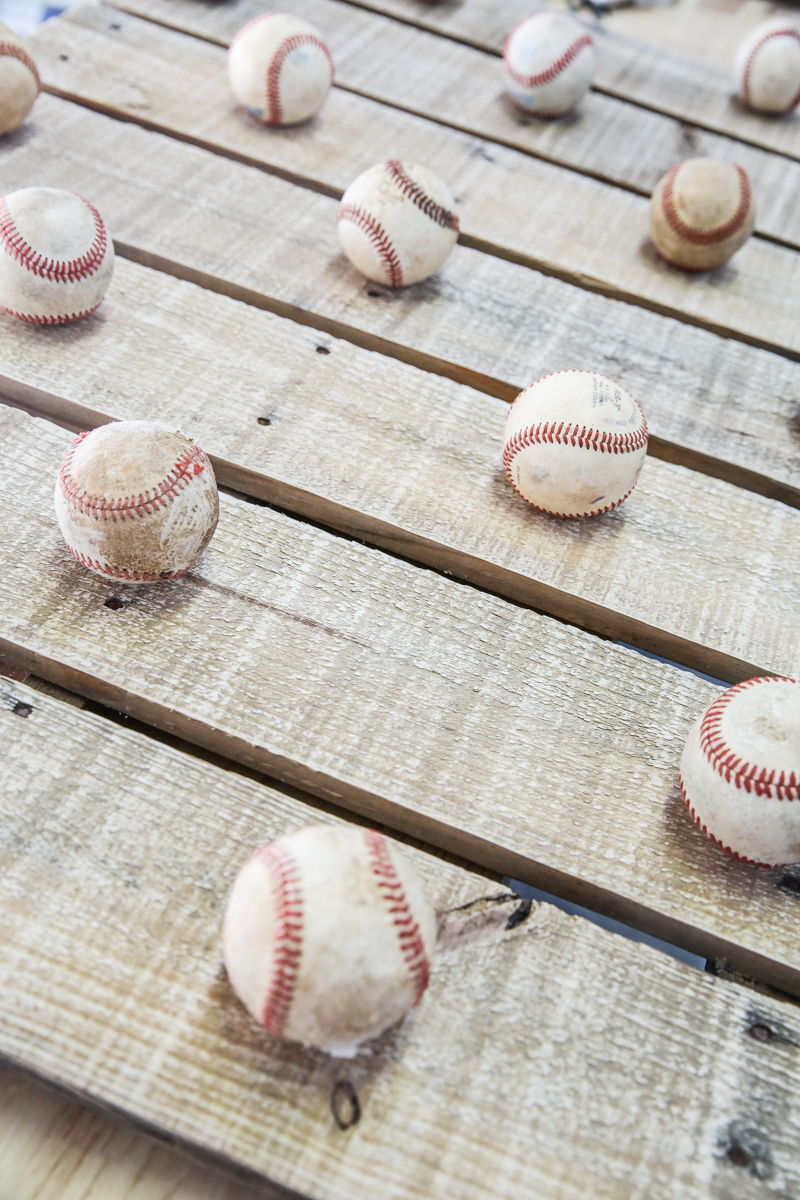
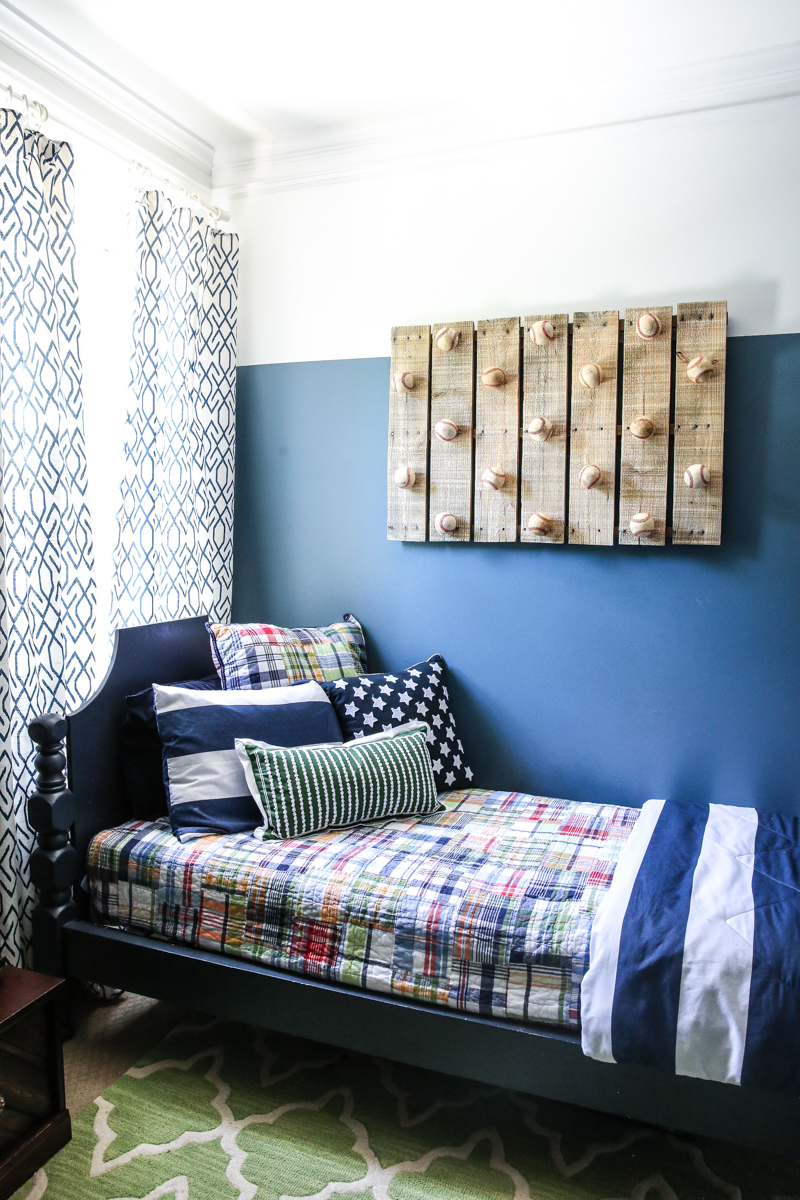
Right away all of us thought it looked like art. Weston said it looked like a baseball wall where all the baseballs were hit so hard that they stuck to the wood

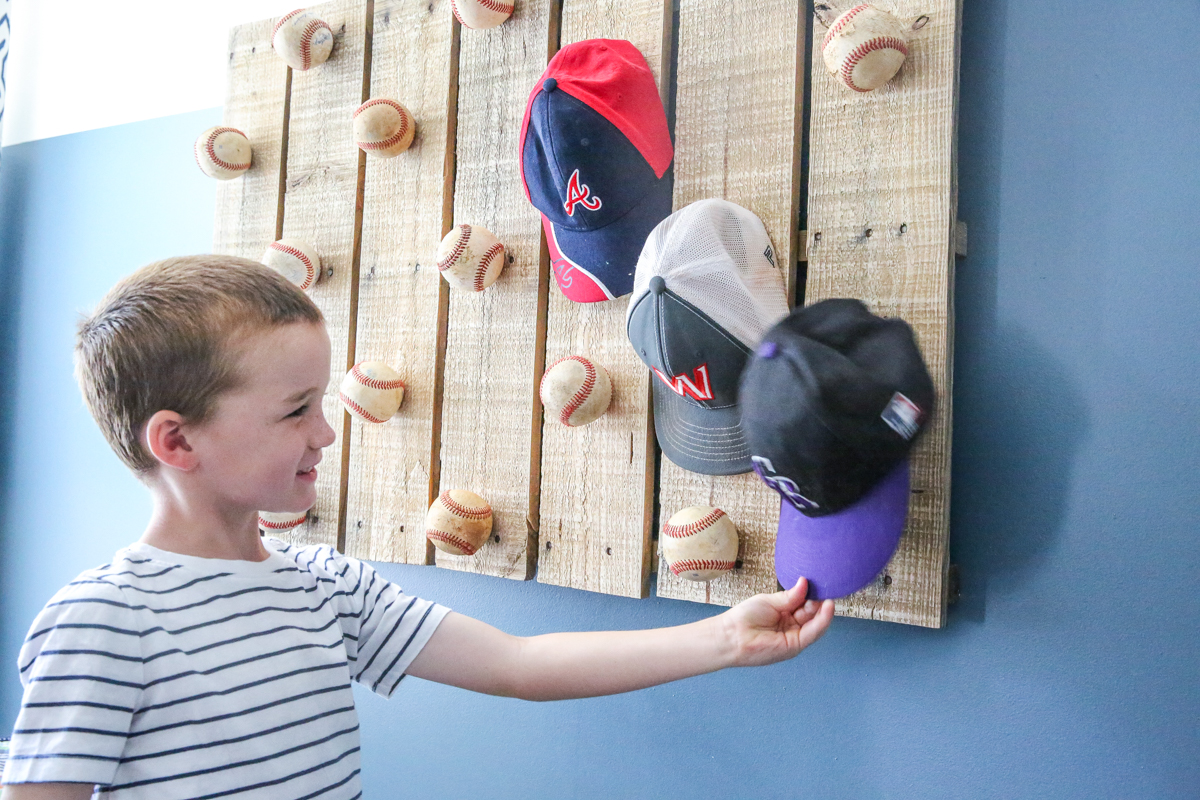
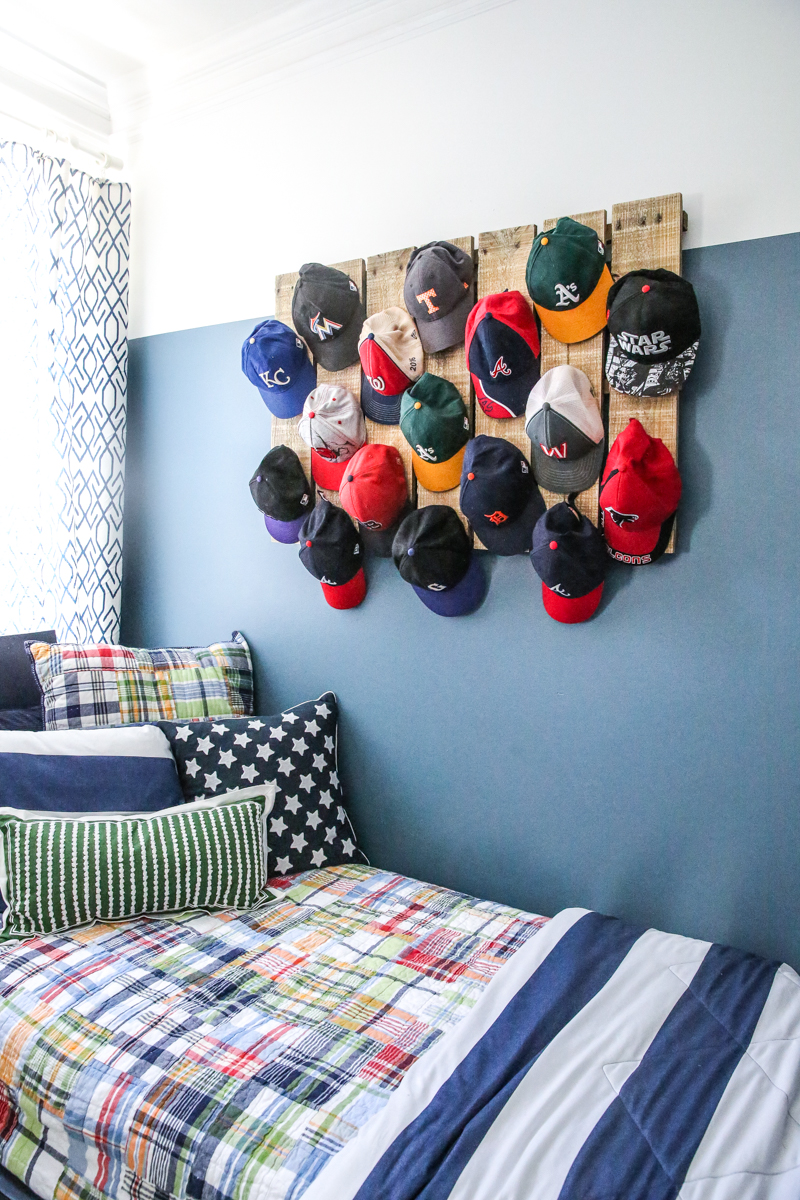
When we told Weston that he could put all his hats on, he spent so much time carefully selecting the right spot. Then he would rearrange. Then he would rearrange again.


I don’t know if it will stay like this because Weston did contemplate just leaving his hats on there and removing all of Will’s hats but for now he said that it looked good because it was ‘very neat and tidy’. Somebody would get approval from Sir Toppin Hat

I also wanted to share some of my other scrap wood projects. These are all really easy to do and perfect for the lumber leftovers you don’t want to waste!
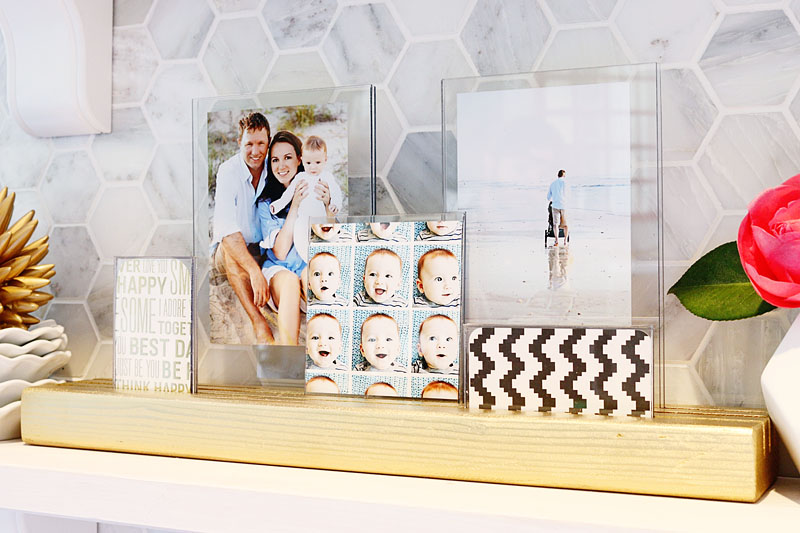

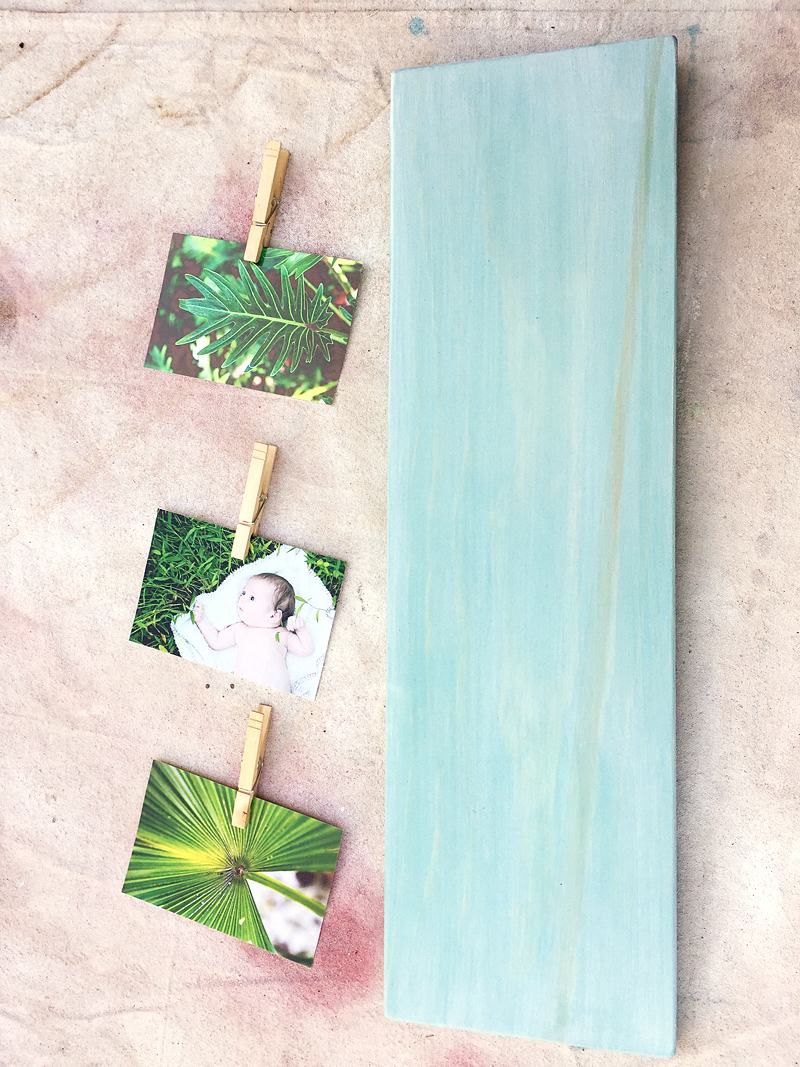


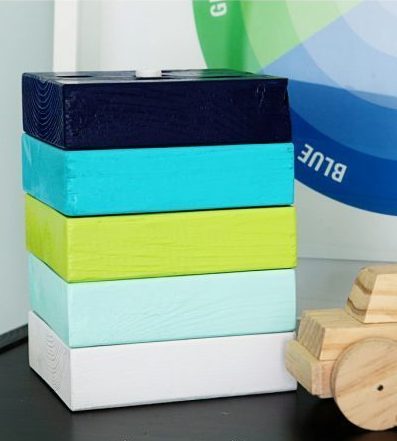
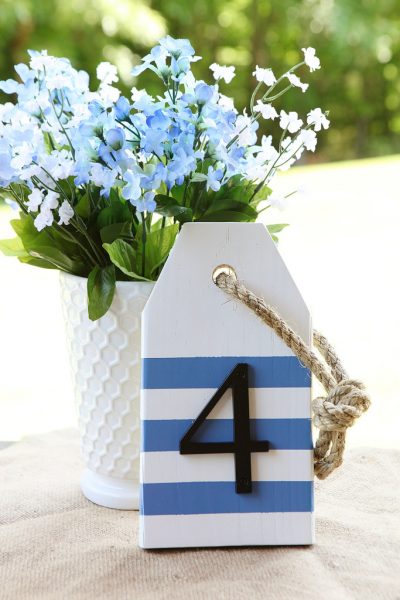
Stacking Kids Toy & Centerpiece Table Number
And if you are looking for even more scrap wood projects, I have got a WHOLE bunch of friend who also tackled this challenge. Check out these other awesome Scrap Wood projects:
- The House of Wood – DIY Bunk Buddy
- 3×3 Custom – Scrap Wood Trivets
- Ugly Duckling House – Mini Garden Deck
- The Created Home – Animal Coin Banks
- Her Toolbelt – 3D Pixel Art
- The Kim Six Fix – Outdoor Drink Stakes
- DIY Huntress – Scrap Wood Coasters
- Mr. Build It & Mrs. Style It – Bent Plywood Headphone Stand
- At Charlotte’s House – Buffalo Check Tray
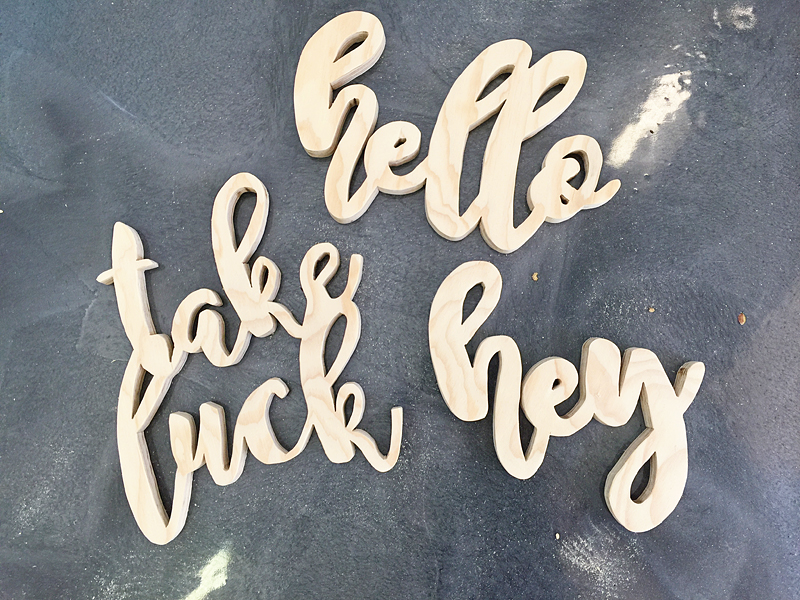
- Sawdust 2 Stitches – Scrap Wood Wall Decor
- Bower Power – Pallet Baseball Hat Rack
- Pneumatic Addict – Table with Epoxy Resin
- Anika’s DIY Life – DIY Spice Rack
- 100 Things 2 Do – DIY Can Crusher
- Hazel Gold Designs – Patio Table Drink Holder
- Reality Daydream – Scrap Wood Shoe Cabinet
- House Becoming Home – Modern DIY Clock
- Chatfield Court – Wooden Garden Obelisk
The post Scrap Wood & Pallet Baseball Hat Rack appeared first on Bower Power.